 Plant As Deco
DIY Home Projects
DIY Floating Shelf Cut List for Beginners
By Plant As Deco · Updated 29 October 2026
A floating shelf is a board plus a concealed support — and the support does all the work. Get the bracket right, land it in studs, and a simple pine board holds books, plants, and frames for years. Miss the studs or overspan the board, and the same shelf slowly tilts toward the room. This guide gives you a beginner cut list, the three bracket types in plain language, honest load limits, and wall-safe mounting that keeps a rental deposit intact.
Weekend-ready: $25–$70, one afternoon. One board, one bracket set — renter-safe.
What you actually need
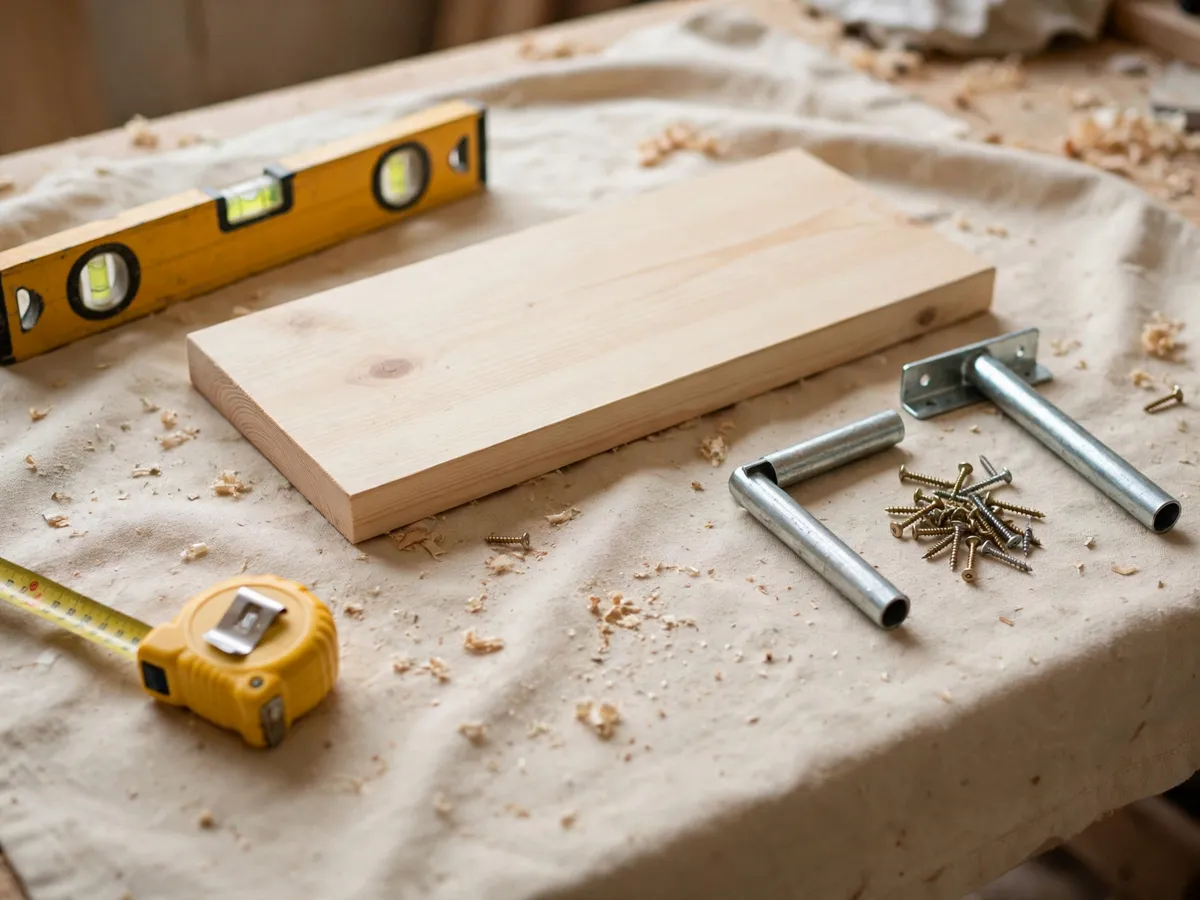
You need a stud finder you trust — an electronic model plus a small magnetic finder for double-checking screw heads makes a solid pair. Add a 24-inch spirit level, a tape measure, a sharp pencil, and painter’s tape for marking without scuffing the wall. A drill or driver with twist bits, a driver bit to match your screws, and the screws or bolts that ship with the bracket set complete the kit.
Materials stay short: one pine board in the size below, one bracket set rated for your shelf length, sandpaper in 120 and 180 grit, and a small can of finish. Keep spackle, a putty knife, and a dab of wall paint on hand — small screw holes patch in minutes, and renters should plan the patch before drilling the first hole.
Cost: $0 in tools if the drill is already home — board, bracket set and finish run $25–$70. Time: 15 minutes to gather everything and clear the wall.
Finding studs you can trust
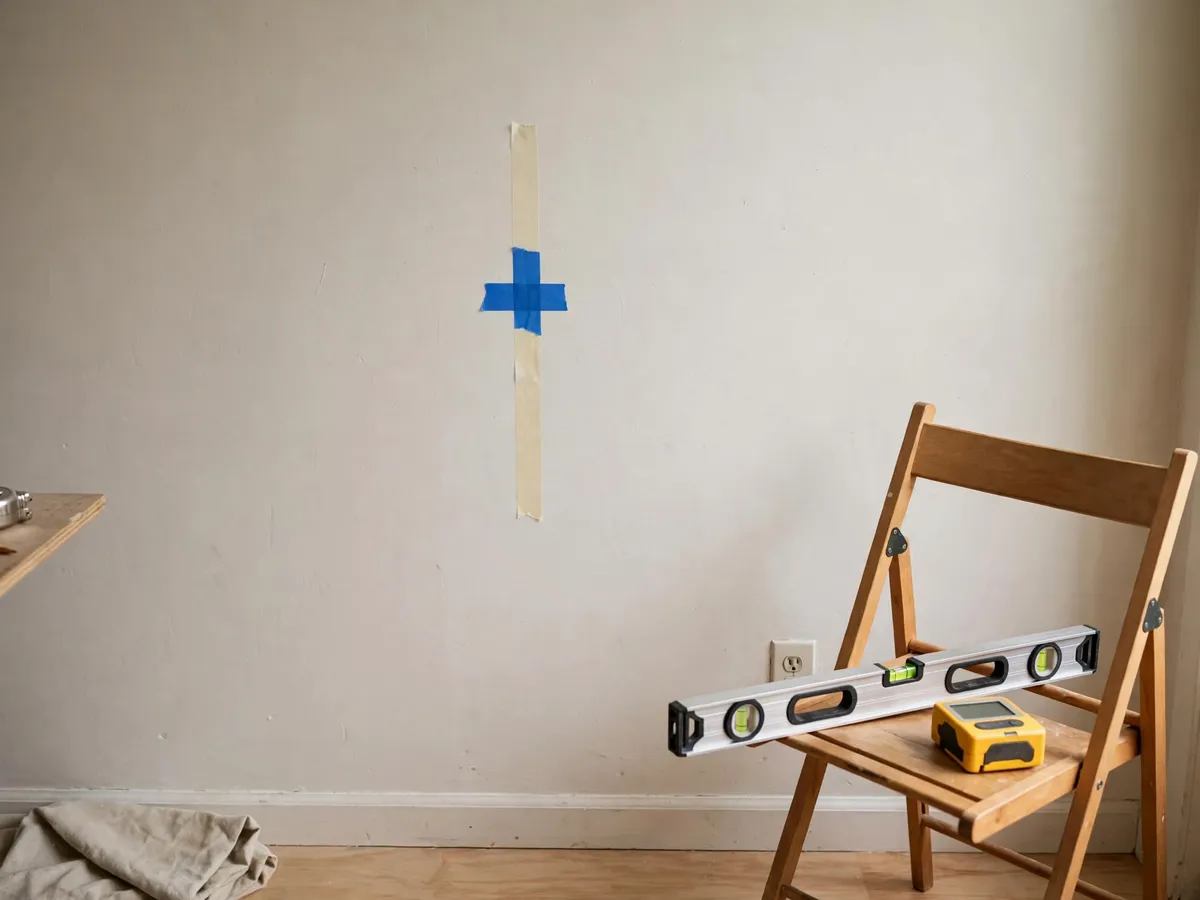
Knock along the wall to find the general area — solid thuds mark framing, hollow sounds mark the bay between. Then calibrate the electronic finder on an empty bay, slide slowly, and mark each stud edge with painter’s tape; the center sits halfway between the two edges. Studs usually sit 16 inches apart, so a confirmed center predicts the next one — confirm each one anyway, because older rooms wander.
Double-check with the magnetic finder: it sticks where drywall screws meet the stud and confirms the electronic reading without new holes. If the magnets find nothing across two feet, stop — the wall may be plaster over lath, metal studs, or concrete, and each needs its own fastener. The renter section below covers what to do when no wood stud shows up.
Brackets and board sizing, in plain language
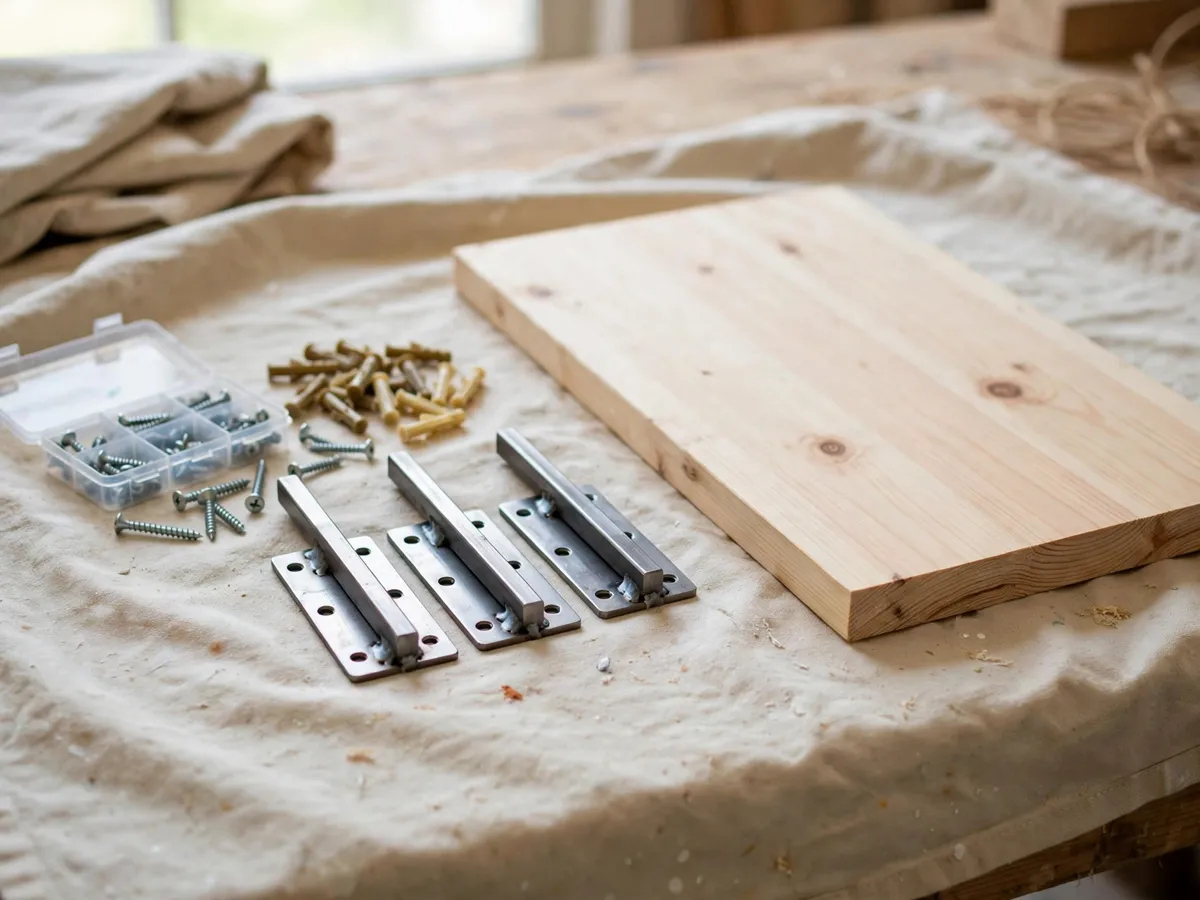
Three bracket types cover nearly every beginner shelf. Hidden-rod brackets sink steel rods into holes drilled in the back edge of the board — out of sight once mounted and the cleanest look. Rail brackets mount a steel rail to the wall and the shelf slides over it — easier to level across two studs. Visible L-brackets or cleats hold the most weight for the least money and suit a utility shelf in a closet or laundry corner.
Size the board to the bracket: for 3/4-inch pine, keep the span between supports at 36 inches or less and the depth at 8–10 inches. A 30-inch shelf on two stud-mounted supports is the sweet spot — long enough to matter, short enough to stay stiff. For spans past 36 inches, step up to a thicker board or add a third support rather than hoping the pine holds.
Cut list for one 30-inch shelf — board: 1 at 30 by 9-1/4 inches (from a 1x10) · bracket set: 1 rated for 30-inch shelves · screws: use the set’s rated screws into studs. Sand to 180 and finish all sides before mounting.
Load honesty: what a floating shelf holds
Honest numbers keep shelves on walls. A 30-inch pine shelf on two stud-mounted rod or rail brackets carries 20–30 pounds spread evenly — a row of paperbacks, two small plants, and a frame. The same shelf on drywall anchors alone, with no stud, carries 10–15 pounds at most: frames, small plants, folded linens. Spread weight across the length, keep the heaviest items near the supports, and press down firmly on the front edge before loading — any wobble means the bracket needs attention, not more weight.
Never ask a floating shelf to hold a television, an aquarium, a microwave, or anything a child might climb toward. If the load needs two people to lift it, it needs furniture, not a floating board.
Wall-safe mounting for renters
Renters can mount floating shelves — the goal is small, patchable holes, not zero holes. Screws into studs leave two to four holes that fill with spackle in minutes, which most leases treat as normal wear once touched up. Read the lease first, skip tile, stone, and concrete drilling in a rental, and keep the shelf where a touch-up blends: painted drywall, not wallpaper or fresh plaster.
When drilling is off the table, choose another wall: a leaning shelf ladder, a freestanding bookcase, or a console table gives the same display space with no holes at all. Honest note — most products sold as no-drill floating shelves are small ledges on adhesive that hold a frame or two. For real books, patchable screws into a stud remain the wall-safe answer.
Mistakes worth skipping
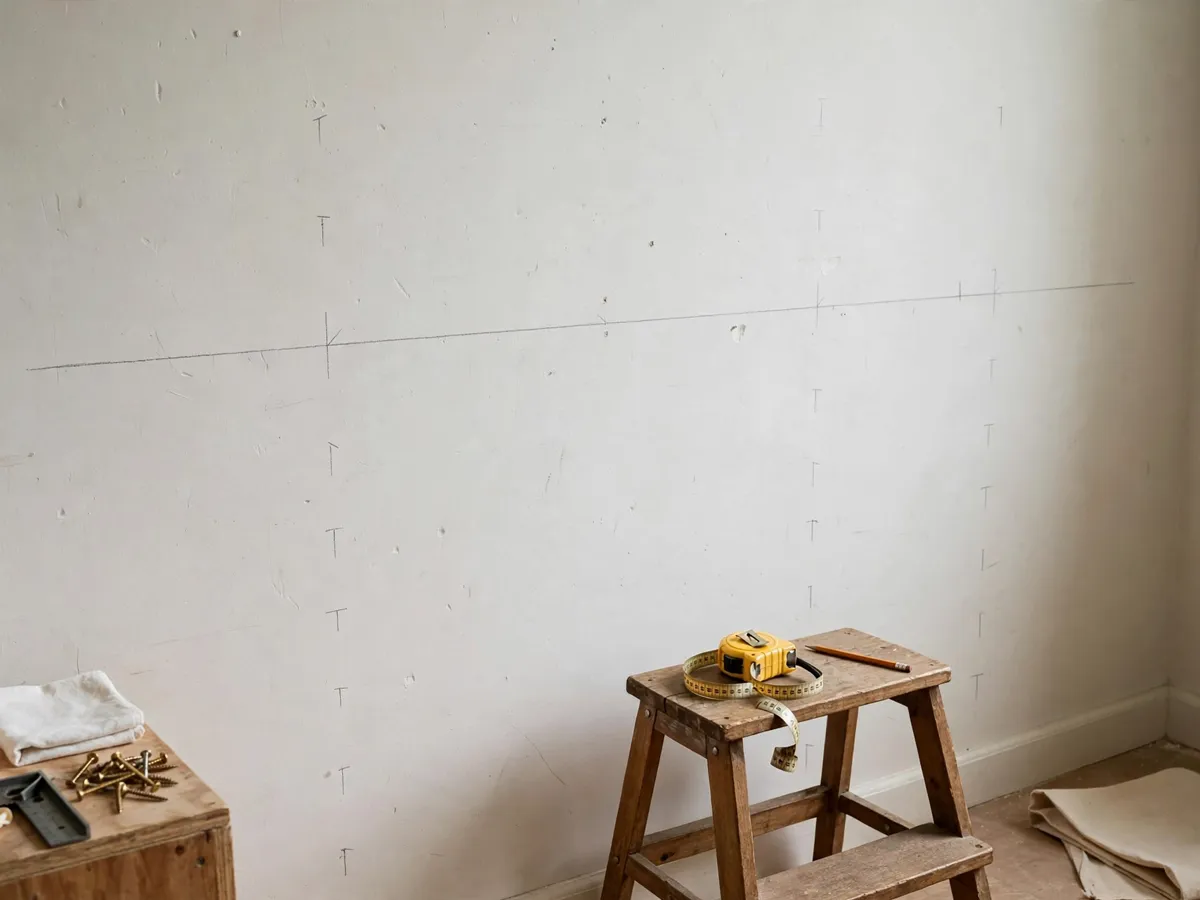
Trusting the knock test alone tops the list — knocks find the neighborhood, only a finder plus a magnet finds the center. Skipping the level in both directions is second: a shelf level left-to-right but tilted front-to-back still slides jars toward the room. Drilling the bracket holes before confirming both stud centers wastes the rail position. Overtightening rod set-screws dents soft pine and loosens the grip. And finishing after mounting drips finish down the wall — sand and seal the board first, then mount.
If the shelf sits 1/8 inch out of level, loosen the bracket screws slightly, nudge, re-check, then tighten. Small corrections beat redrilling every time.
Weekend checklist: copy this before you drill
- Both stud centers found and confirmed with a magnet
- Bracket set rated for the shelf length, screws on hand
- Board cut, sanded to 180, finished on all sides
- Level checked left-to-right and front-to-back before tightening
- Front edge pressed firmly — no wobble before loading
- Weight spread evenly, heaviest items near the supports
- Spackle and touch-up paint ready for patch day
Where the shelf earns its keep
A 30-inch shelf above a desk holds the books the desk cannot; one beside the bed replaces a nightstand in a room with no floor space to spare; two staggered in a reading corner display plants where the light already falls. Pair the mount with the steps in the reading nook ideas for small spaces for a corner that reads finished in one afternoon.
Skip the gallery wall on the same stud bay — loaded frames plus a loaded shelf share the same two studs. Give each wall one job.
Save this shelf plan on Pinterest
Pin the cut list and the load limits — those are the numbers you will check before every future shelf. The rest of the plan-led builds live in the DIY Home Projects collection for cut lists, material lists, and beginner tool checklists you can finish in a weekend.