 Plant As Deco
DIY Home Projects
Finger-Knit Blanket for Beginners: Throw Sizing Guide
By Plant As Deco · Updated 29 October 2026
Finger knitting uses your hands instead of needles, so there is nothing to buy beyond yarn. The trade-off is that every row is a chain of loops you push off one finger at a time — the method is simple, but it is slow, and a throw is a lot of rows. The solution is to knit strips and join them, which also lets you mix colors and stop for the night without unraveling anything. Here is how to size it, what yarn to buy, and how long it honestly takes.
Weekend-ready: $30–$60 in yarn, one weekend for a lap blanket. No needles, no sewing machine — renter-safe.
The finger-knit method in four moves
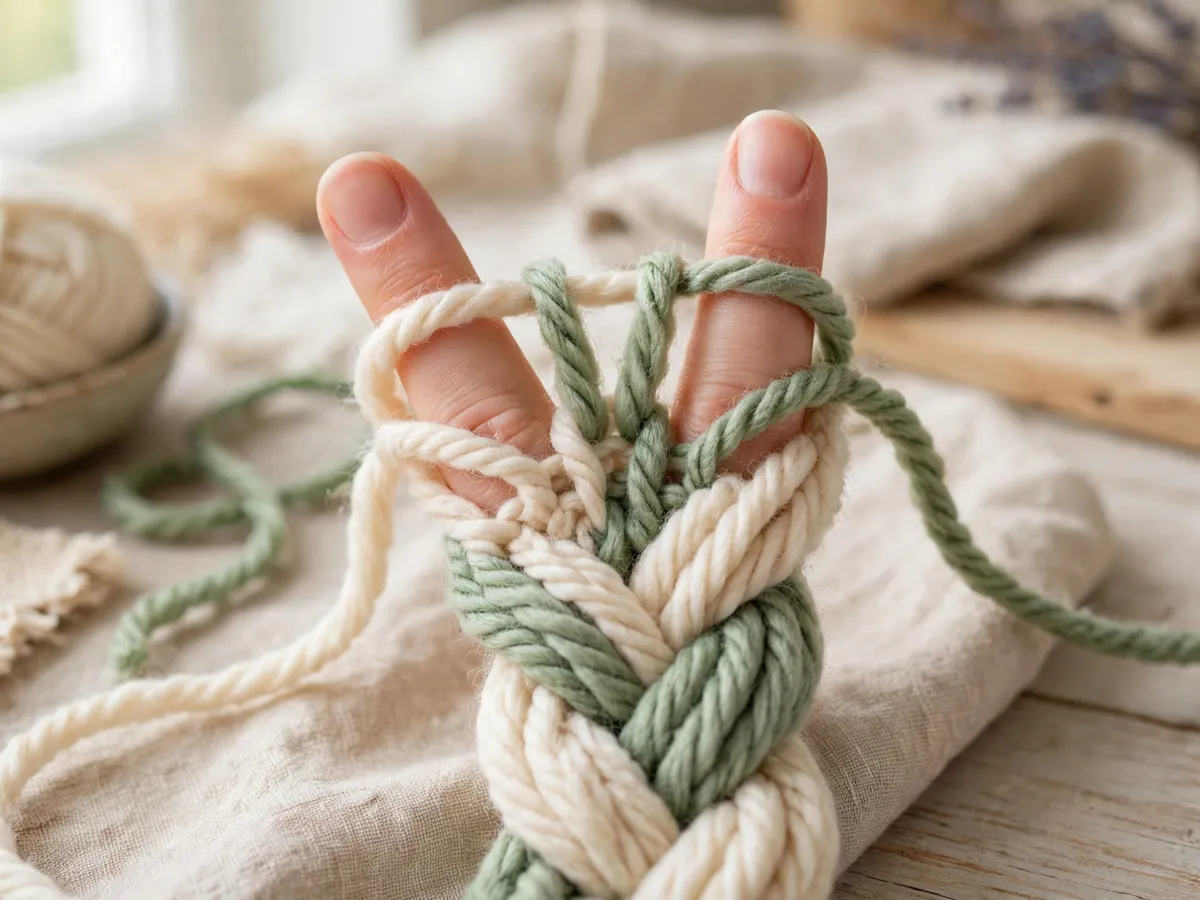
Leave a 6-inch tail, then wrap the working yarn behind your index finger and across your palm in a loop, and pull the tail through to make your first stitch. From there the pattern repeats: knit across your palm, then push each stitch from the bottom finger to the top finger before you knit the next row. When you reach your strip length, cut the yarn and pull the last loop through to lock it.
Use one hand, not two. The classic mistake is trying to hold the working yarn in the other hand like needle knitting — finger knitting keeps the yarn feeding from the ball through your working fingers, and the palm does the tension. Tension should be loose enough that the loop slides off the finger without dragging.
Time: 10 minutes to learn, one strip to feel the rhythm. A 6-foot strip at one strand takes roughly 15–20 minutes; at three strands, closer to 40.
Yarn weight and how many strands
Weight matters more than brand. Worsted weight is the beginner default — forgiving, cheap, and it knits at a readable pace. Bulky and super-bulky knits twice as fast and makes a heavier blanket that drapes less well over shoulders. Cotton knits a dense, cool blanket that is great on a porch chair and slow going in winter.
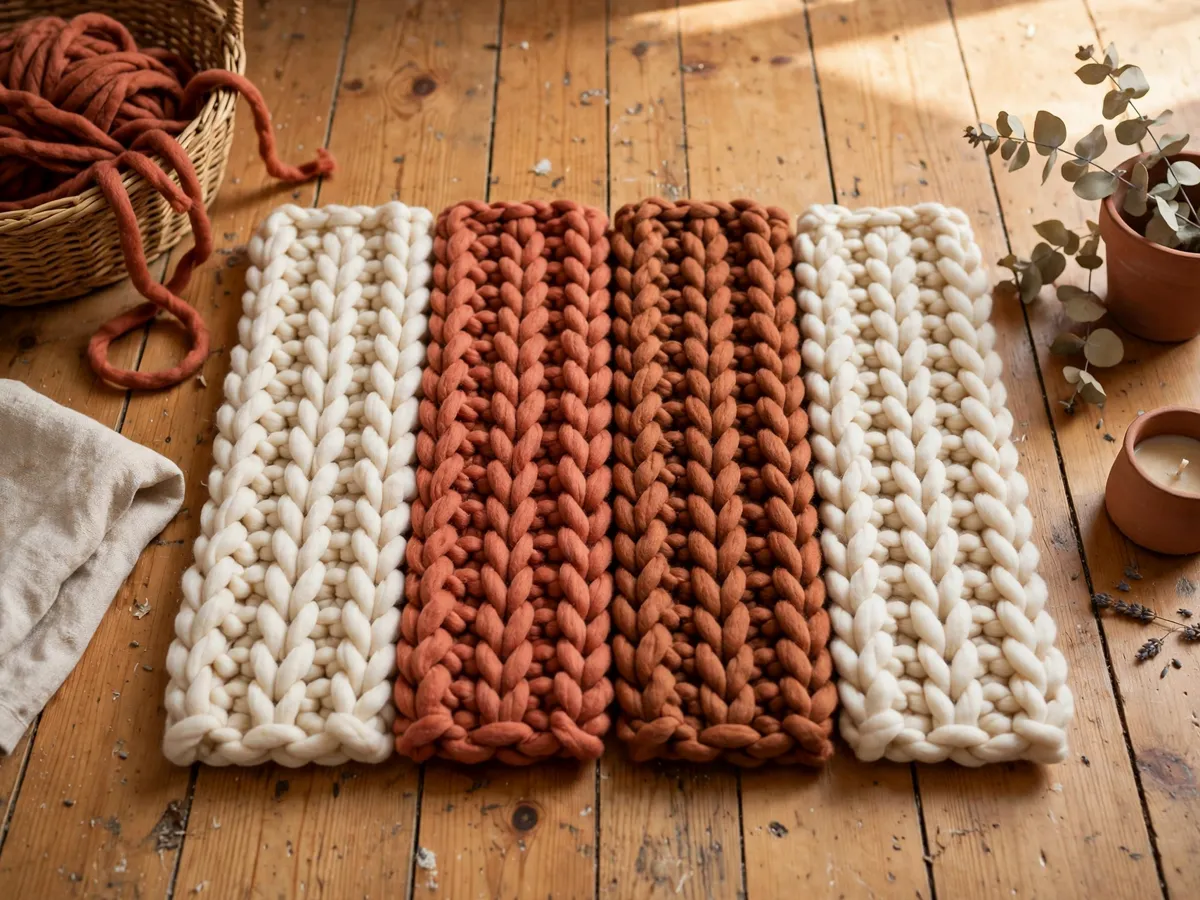
One strand makes a thin, stretchy chain that reads more like a scarf. Two strands give a firm, useful cord. Three to four strands is the sweet spot for a blanket — the stitches are fat enough to see, the strip holds its shape, and the finished piece drapes instead of curling into a rope.
Cost by strand count, for a 40 x 60 throw: one strand $20–$30 · two strands $35–$50 · three strands $60–$80. Feed several strands from one ball or from a single center-pull cake if you can, and join a new ball with a square knot pulled tight and trimmed.
Sizing: throw vs lap blanket
Decide the finished size before you buy yarn, because the difference between a lap blanket and a throw is roughly double the yarn. A lap blanket is 30 x 40 and covers one person on the couch. A throw is 40 x 60 and covers two people on a sofa, or one person tucked under feet included. A full-size bed blanket is 60 x 80 and is a multi-week project, not a weekend one.
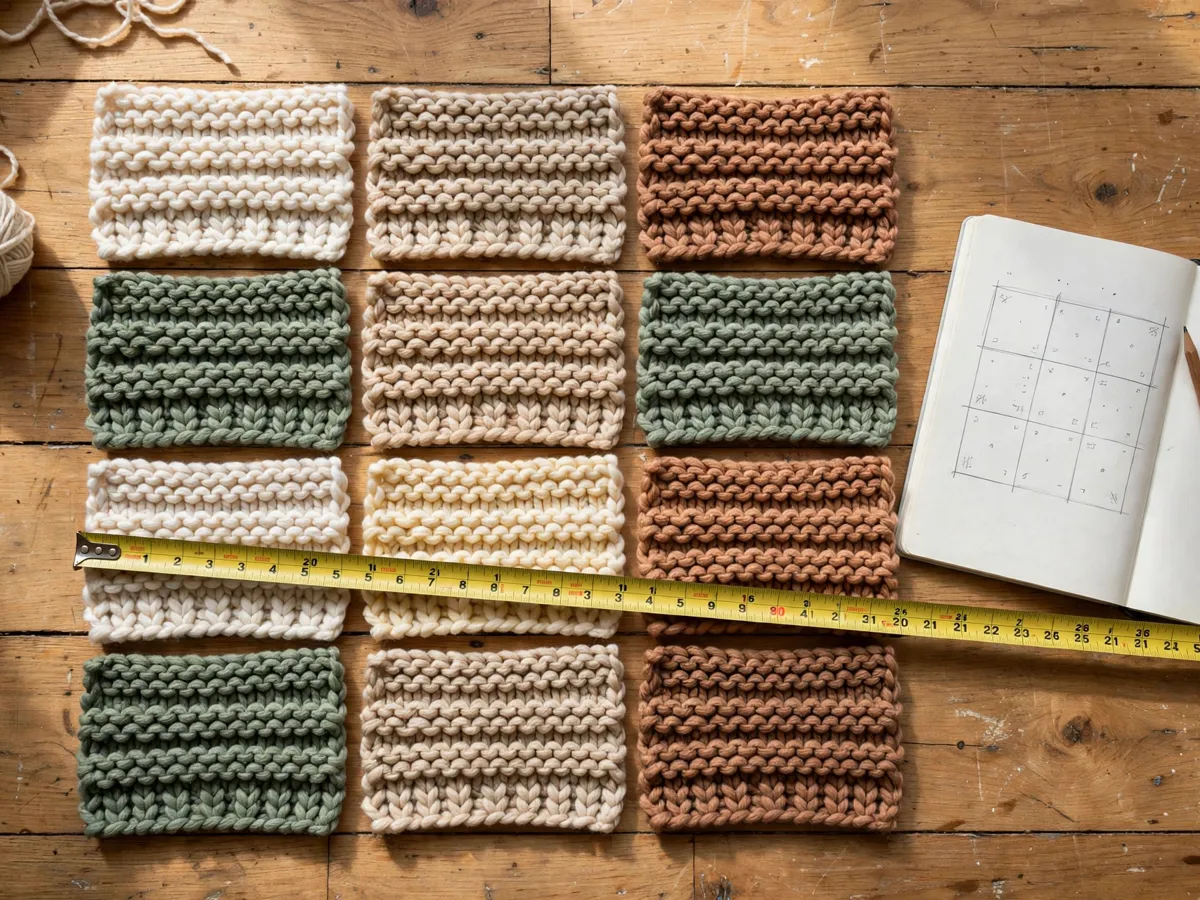
Strip plan, 3 strands, worsted weight, strips about 3 inches wide: lap blanket — 8 strips x 40 inches · throw — 10 strips x 60 inches · bed blanket — 12 strips x 80 inches. Add one strip to each number if your tension runs loose.
Knit every strip the same length by measuring against a marked line on a piece of tape, not by counting rows. Row counts drift as your tension settles in the first hour, and a strip that is two inches short will show up as a lumpy edge in the joined blanket.
Joining the strips
Lay the strips side by side in your final arrangement, then work from the bottom up. The cleanest beginner join is the mattress stitch seam: thread a yarn needle, run it along the outer edge of one strip for about an inch, then along the outer edge of the next strip for an inch, and pull through. It creates a flat, invisible seam that holds a wash.
The quicker option is a single crochet seam, if you have a hook or can borrow one — you are not finger knitting anymore, but the seam goes three times faster. Skip the knot join: knots inside the blanket make bumps that press through when someone sits on it.
Time: 15–20 minutes per seam. A 10-strip throw has 9 seams, so budget two to three hours of joining — most of the real time in the project sits here, not in the knitting.
Finishing the edges
Finger-knit strips want to curl at the cut ends, and a blanket whose edges roll up after the first wash reads unfinished. Leave a 6-inch tail on every strip, then weave those tails in pairs across the seam — two tails woven in opposite directions lock each other in place and no knot is needed.
For the outer edges, work one round of single crochet in the same yarn, or hand-sew a fold-over binding. Both take about an hour for a throw and both survive a cold wash laid flat to dry. Skip the machine dryer: heat relaxes the stitches and the blanket grows an inch in one direction.
Cost: $0 if you already have a yarn needle and a crochet hook. Time: 1–2 hours. Wash test on a single strip before you wash the whole blanket — that is where you learn how your yarn behaves.
Honest time and honest cost
A lap blanket is a real weekend: 8 strips at 15–20 minutes each is two to three hours of knitting, plus two hours of joining and an hour of finishing. A throw is one full weekend if you knit every evening, or two weekends of afternoons. A bed blanket is a three-week project at an hour a day — which is fine, as long as you knew that going in instead of at week three.
Total cost, three strands, worsted weight: lap blanket $35–$45 · throw $60–$80 · bed blanket $110–$140. Acrylic costs about half of wool per blanket and is easier to wash. Merino feels warmer per ounce and costs roughly double.
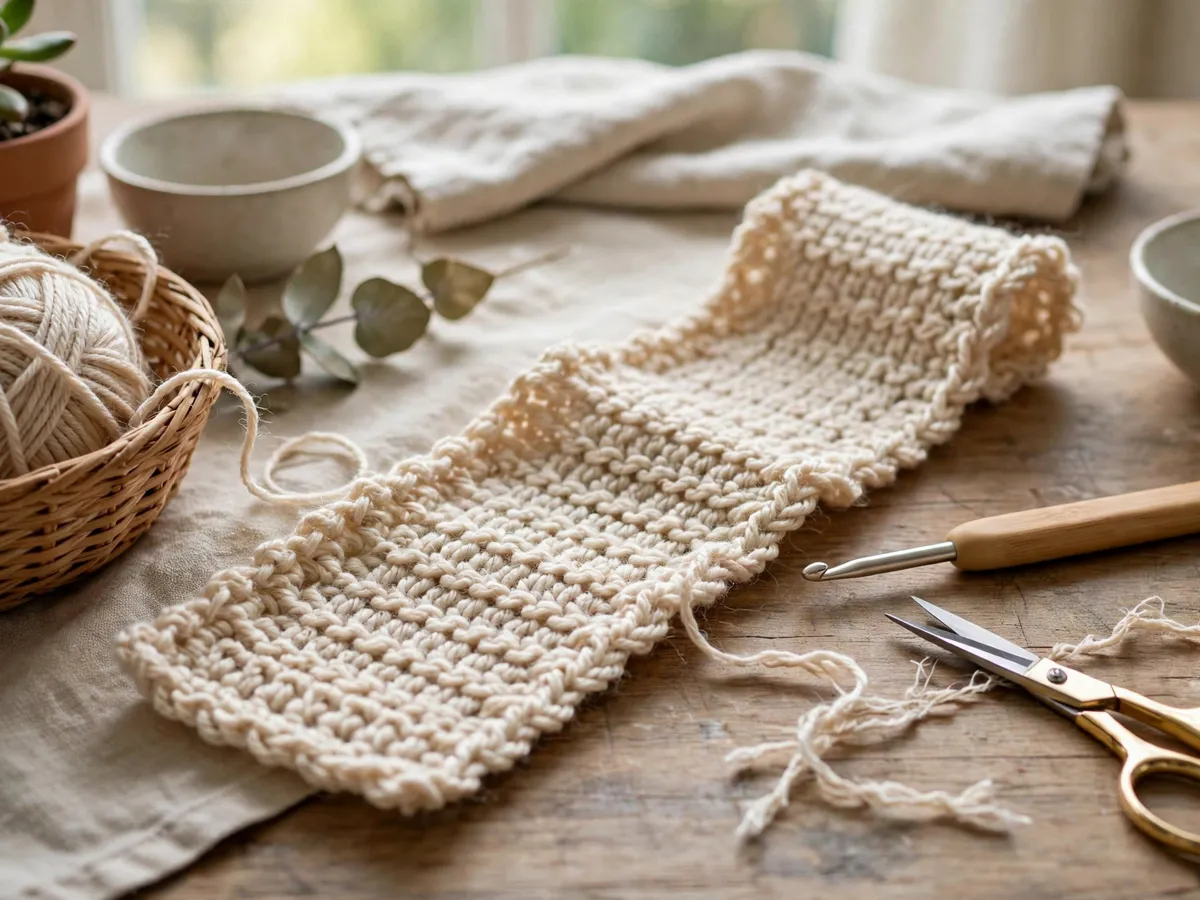
Mistakes worth skipping
Buying yarn before deciding the finished size is the expensive one — the same project at lap size and throw size is a $20 difference, and a half-finished throw is $40 of stranded yarn in a bin. The others: starting with five strands because it looks faster on the first strip (it is slower, and the stitches get hard to push off your fingers); skipping the prewash on wool; and joining strips as you finish them instead of laying them all out first, which is how you end up with a blanket that is longer on one side.
If the blanket grows after the first wash, lay it flat and gently tug the corners back to shape. It settles after two or three washes.
Weekend checklist: copy this before you cast on
- Finished size chosen — lap, throw, or bed
- Strip count and strip length written down
- Yarn weight picked and strand count fixed at three
- Every strip measured against a marked line, not counted
- 6-inch tails left on both ends of each strip
- Strips laid out in final order before the first seam
- Outer edges finished with a crochet round or a binding
- One test strip washed before the whole blanket
Where the blanket goes once it is done
A throw at the foot of the bed or folded over the arm of a chair is the fastest way to make a room read cozy — it adds texture and color without a single nail. Pair it with the lamp and layout moves in the cozy living room ideas for small spaces and the blanket does more work than anything else on the list.
Skip the showroom moves: buying four kinds of yarn to “see which one works,” or starting a bed-size blanket the week you learn the stitch. Make one lap blanket first, then scale up.
Save these on Pinterest
Pin the strip plan — the strip counts per size are the part you will look up again on the next blanket. The rest of the plan-led builds live in the DIY Home Projects collection for cut lists, material lists, and beginner tool checklists you can finish in a weekend.