 Plant As Deco
DIY Home Projects
No-Sew Pillow Cover for Beginners: An Envelope Method
By Plant As Deco · Updated 29 October 2026
A no-sew pillow cover is the right first project: one fabric panel, one fold, and a cover that looks like it came from a store. No sewing machine, no pattern drafting, and no ironing-fuse required if you take the hand-hem or fabric-glue route below. You need a tape measure, sharp fabric scissors, an insert, and about an hour for the first one. Everything after that takes twenty minutes.
Weekend-ready: $15–$30 for the first cover, one afternoon. No sewing machine, no drill — renter-safe.
What you actually need
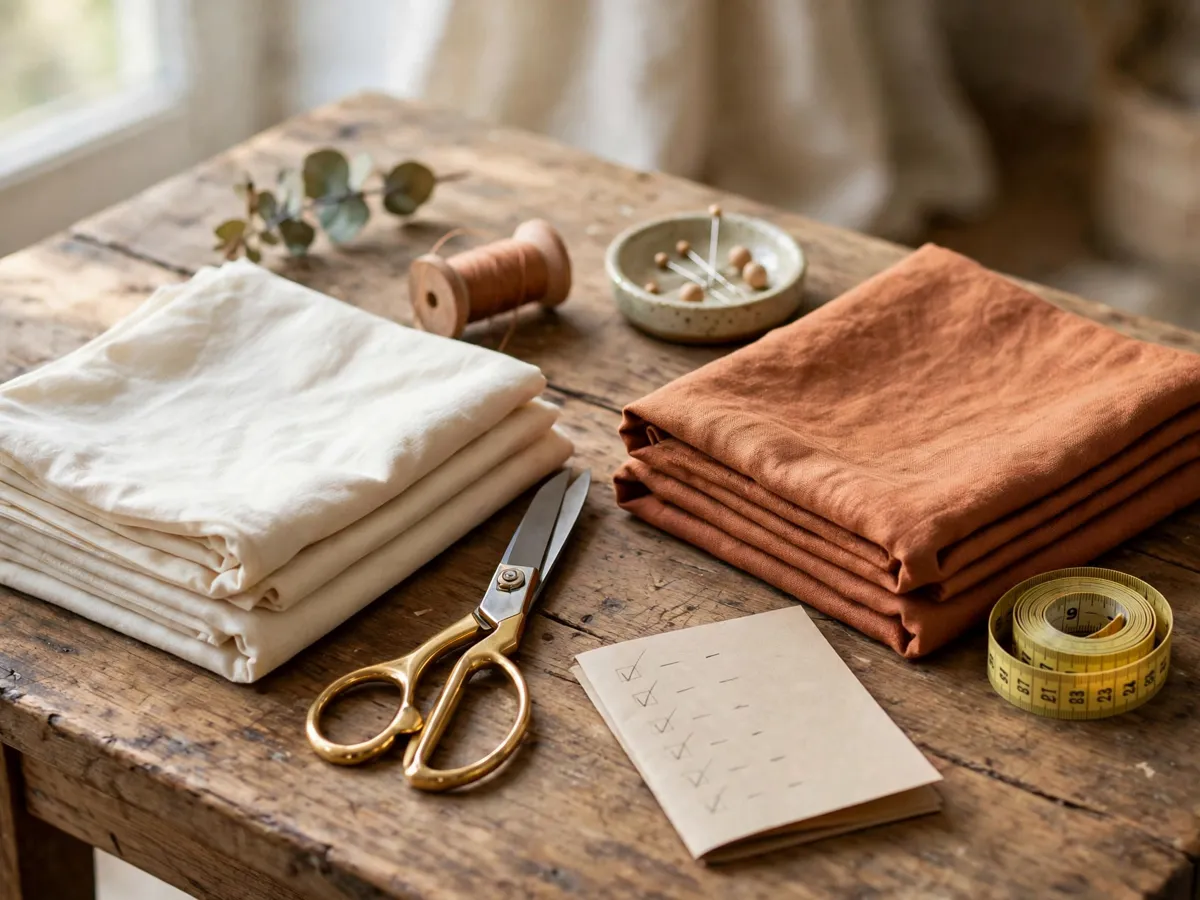
Sharp fabric scissors are the only real tool. Dull scissors chew cotton and leave a ragged edge you will fight for the rest of the build. Everything else on this list makes the job faster or cleaner — none of it is required.
Tools: fabric scissors, a tape measure, a ruler or cutting mat, tailor’s chalk or a fabric pen, straight pins, and clothespins or clips. Keep a seam ripper nearby for the afternoon you cut the back panel the wrong way. Optional: an iron and board if you want a pressed hem.
Materials: 1/2 yard of quilting cotton, one pillow insert, and one hem finish — iron-on hem tape, fabric glue, or a needle and thread for a hand hem. One roll of hem tape covers eight to ten covers, so buy it once.
Cost: $8–$15 for scissors if you do not own a pair. Time: 10 minutes to gather everything on a clear table.
The cut list, insert sizes, and fabric widths
Every measurement below includes a 1/2-inch seam allowance, so cut generously and trim after the seams are closed. The back panel is longer than the front on purpose — that extra length is what folds into the envelope flap that holds the insert in.
Cut list by insert size (front panel / back panel): 16 x 16 insert → 17 x 17 / 17 x 28 · 18 x 18 insert → 19 x 19 / 19 x 30 · 20 x 20 insert → 21 x 21 / 21 x 32 · 12 x 18 lumbar insert → 13 x 19 / 13 x 30. Aim for a flap overlap of 8–10 inches.
Quilting cotton comes 44–45 inches wide off the bolt, so a 19-inch cut fits across the width with room to spare, and 1/2 yard gives you two 19-inch panels — enough for two covers. Home decor fabric runs 54–60 inches wide and works the same way.
Skip the fat quarter for an 18-inch insert: a fat quarter is 18 x 22, and the back panel needs 19 inches of width. Buy 1/2 yard, or two fat quarters if you want two different fabrics on one cover.
Fabric choices that survive the wash
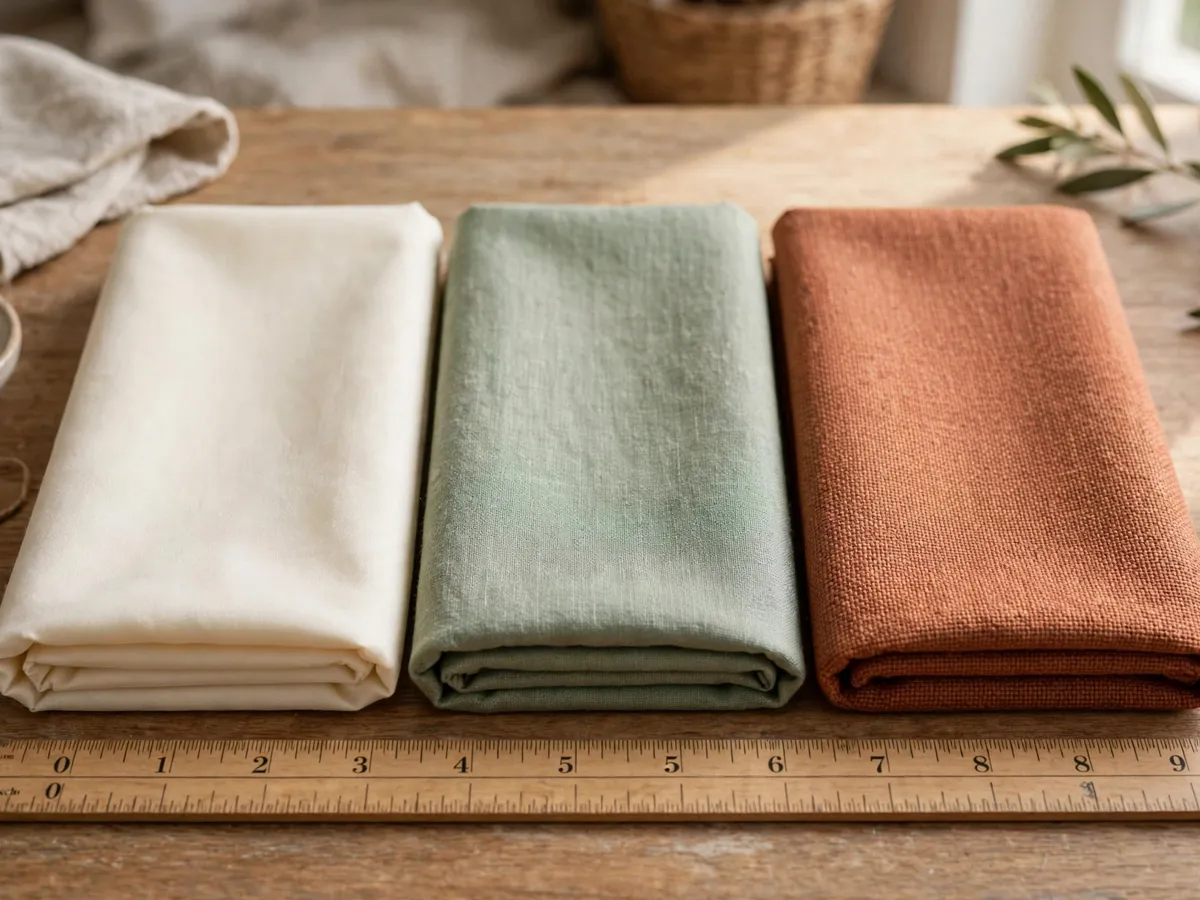
Quilting cotton is the safe answer. It washes cool, dries without a fight, and takes a pressed edge cleanly. Look for 100% cotton or a cotton-linen blend in the 4–6 ounce range — heavy enough to hold a square shape, light enough to fold.
What works: quilting cotton, cotton duck or canvas (stiffer, holds a crisp square), chambray, denim-look cotton, and indoor-outdoor canvas for a porch pillow. What to skip on a first project: rayon and viscose, which weaken when wet and stretch out of shape; silk, which spots; loosely woven knits, which roll and fray; and velvet or fleece, where the nap direction makes seams hard to match.
Wash and dry the fabric before you cut it. Cotton shrinks 3–5% the first time through the machine, and a cover that fits in October can be a full size small by January.
Cost: $6–$12 for 1/2 yard of quilting cotton, more for designer prints. Time: one wash and dry cycle, done the day before you cut.
The envelope-back method, step by step
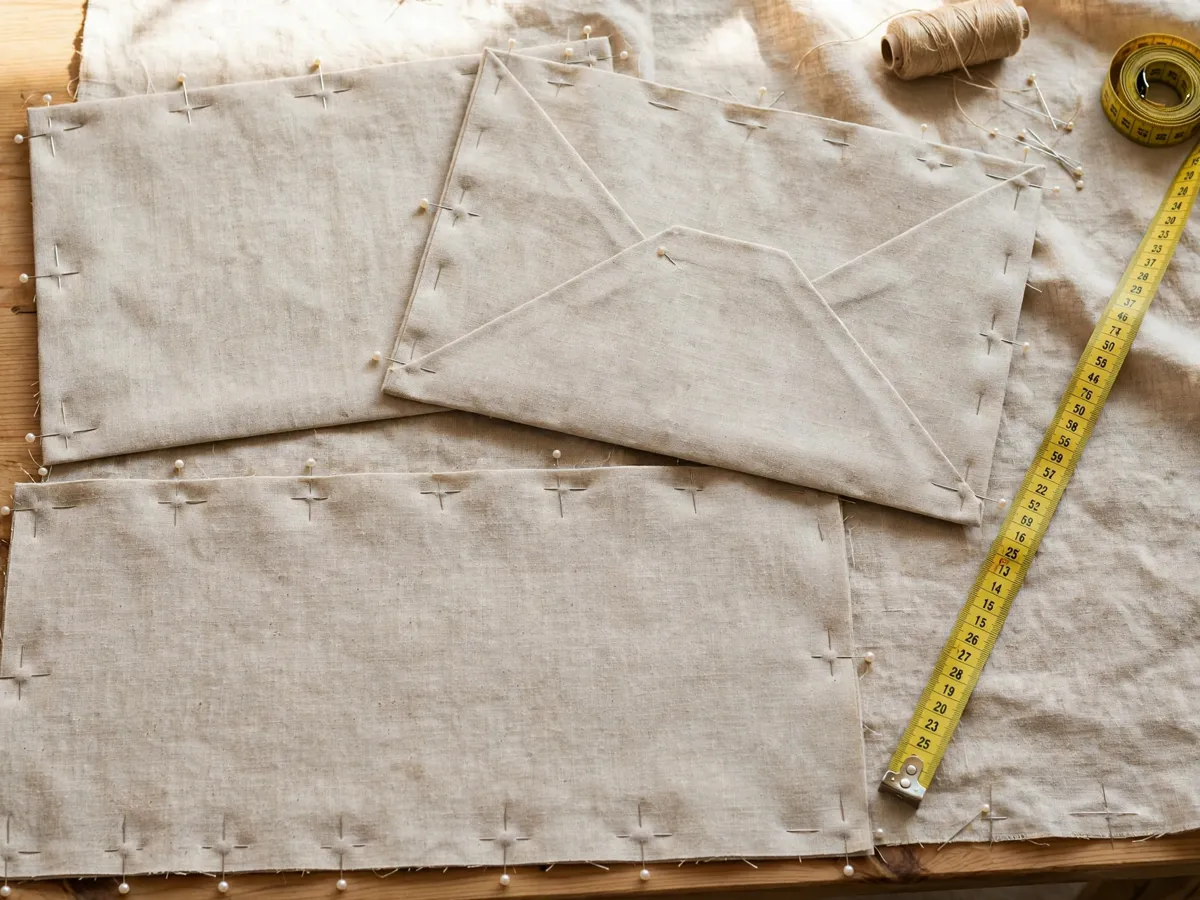
This is the flat version — no turning required. Lay the front panel right side up on the table. Lay the back panel right side down on top of it, aligned at the top and both sides, so the extra length hangs off the bottom edge. Pin down the left and right sides along the front panel’s height, and pin the back panel’s raw bottom edge to the front panel’s bottom edge.
Hem first, sew second. Finish the two side edges and the bottom edge of the front panel, and the two side edges plus the bottom edge of the back panel, using one of the three hem options below. Then join the pinned edges with a 1/2-inch seam. Fold the hanging back panel up and over the front panel — that fold is the envelope flap, and it should overlap the front by 8–10 inches. Slide the insert in through the flap.
One honest note: with this flat method the back panel’s underside becomes the back of the pillow. With quilting cotton the two sides differ only in shade, so it reads as intentional. If you want the print on both sides, cut the back from two overlapping panels instead of one long piece.
Three hemming options — pick one and stay with it
Hand slip-stitch hem: fold the raw edge under 1/2 inch, fold again 1/2 inch, press, and slip-stitch the fold down with small, nearly invisible stitches. Slowest and cleanest, and the only option that needs no heat and no glue. Budget 15 minutes per cover.
Iron-on hem tape: same double fold, with the tape sandwiched between the folds. Press each 3-inch section for 10–15 seconds with the iron on the cotton setting, moving rather than holding. Fast — 5 minutes per cover — and it adds a little stiffness that cotton forgives.
Fabric glue: run a thin bead inside the double fold, clip with clothespins, and let it dry two hours. This is the true no-iron path. Keep the glue line thin and stay 1/4 inch inside the fold edge, because a heavy bead stiffens the fabric and can show through on the right side.
Cost: $5–$8 for hem tape, $5 for fabric glue, $3 for thread. Whichever you choose, test it on a scrap of your fabric before you commit to the real panel.
Real costs and real time
The first cover costs $20–$35 all in: 1/2 yard of cotton for $6–$12, an 18-inch insert for $8–$15, hem tape for $5–$8, and scissors at $8–$15 if you are buying them. Every cover after that costs $3–$8 in fabric, because the insert, tape, and scissors are already on the shelf. Four covers in one print family will change a room more than one cover in a print you like for a week.
Time: 45–60 minutes for the first cover, 20–25 minutes for each one after. Cutting and hemming take most of it; the assembly is ten minutes of pinning and seaming.
Mistakes worth skipping
Cutting the back panel the same height as the front is the classic one — with no overlap the insert slides straight out the bottom. Keep the flap between 8 and 10 inches: under 6 inches slips, over 12 inches wastes fabric and reads bulky on the couch. The other three are skipping the prewash, cutting with scissors that are sharp enough for paper but not for fabric, and buying a fat quarter for an 18-inch insert when you needed 19 inches of width.
If a seam goes wrong, a seam ripper and ten minutes fix it. Do not glue over a mistake — glue on top of glue is the one thing you cannot undo.
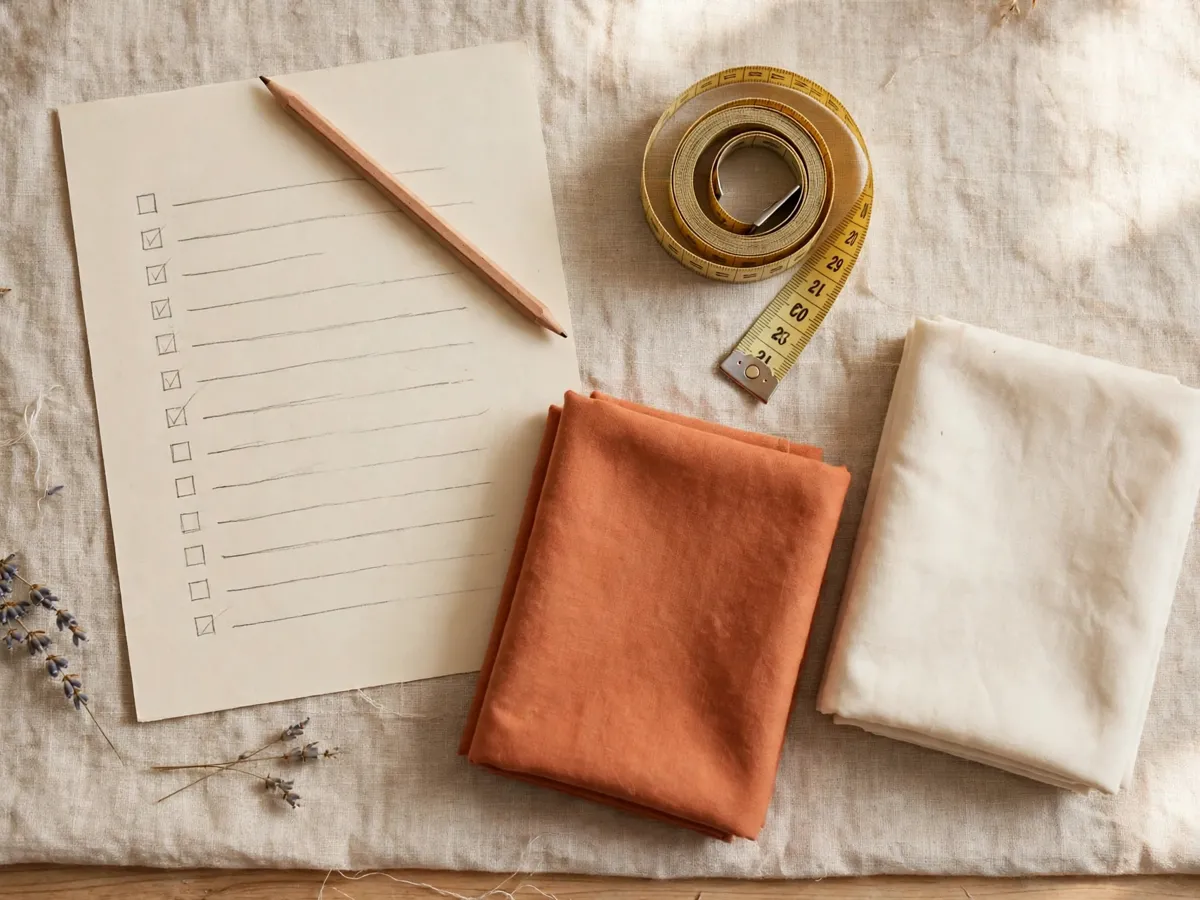
Weekend checklist: copy this before you cut
- Fabric washed, dried, and pressed flat
- Insert measured — cut list written for its exact size
- Front and back panels cut with a 1/2-inch seam allowance
- Back panel cut 8–10 inches longer than the front
- All raw edges hemmed before any seam is joined
- Sides and bottom joined, then the flap folded up and tested
- Insert slid in — cover sits square, no corner gaps
Where the covers go once you have four
Two covers in one print family anchor a sofa, a third refreshes a reading chair, and a fourth in a solid neutral goes on the bed where the cat sleeps. New covers on existing inserts read as a room refresh for the price of fabric — pair them with the lighting and layout moves in the cozy living room ideas for small spaces and you have a full weekend’s work.
Skip the showroom moves: buying twelve inserts before you have made one cover, or choosing a print so busy it fights the room. Make one, live with it a week, then cut the next.
Save these on Pinterest
Pin the cut list — it is the page you will come back to for the next insert size. The rest of the plan-led builds live in the DIY Home Projects collection for cut lists, material lists, and beginner tool checklists you can finish in a weekend.