 Plant As Deco
DIY Home Projects
One-Board Crate Plan: A Beginner Woodworking Build
By Plant As Deco · Updated 29 October 2026
A one-board crate is the right first woodworking build: every part comes from a single common board, the cut list fits on an index card, and the joints are glue plus nails — no dovetails, no dado cuts, no jigs to build first. The plan below gives you exact cuts from one 1x8x10-foot board, the order to sand and assemble so the corners stay square, and an honest budget before you drive to the store. You need a saw, a drill or driver, and one free weekend — the rest is measuring twice and taking your time.
Weekend-ready: $30–$60, one weekend. One common board, basic hand tools — renter-safe.
The beginner tool checklist
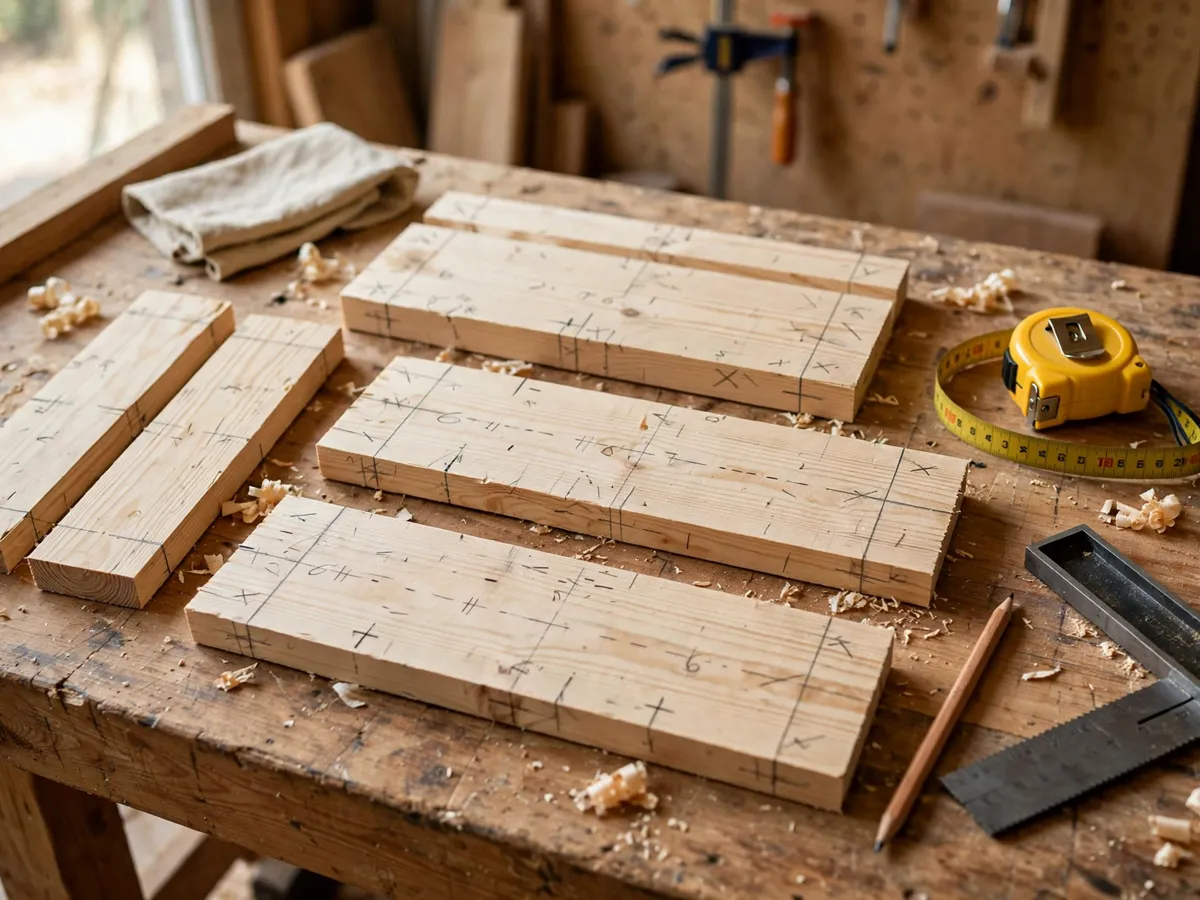
Start with measuring and marking: a 16- or 25-foot tape measure, a sharp pencil, and a square you trust — a 12-inch combination square or a 7-inch speed square both work. The square is the tool that keeps this build honest, so use it to mark every cut line across the board and to check each corner during assembly. A pair of sawhorses or a steady table plus two clamps holds the board still while you cut.
For cutting, a sharp handsaw and a miter box handle every cut in this plan for little money. If you own a circular saw, pair it with a straight-edge guide clamped to the board, because freehand long cuts wander. For assembly you need wood glue, a drill or driver with a pilot bit and a driver bit, and 1-1/4-inch brad nails or #8 by 1-1/4-inch screws. Add a sanding block with 80-, 120- and 180-grit sheets, safety glasses, and a dust mask for the sanding session.
Cost: $0 if the toolbox is stocked — glue, fasteners and sandpaper run $15–$25. Time: 20 minutes to lay out tools and clear a flat work surface.
The board and the cut list
Buy one straight 1x8x10-foot pine or spruce board — actual size 3/4 by 7-1/4 inches. Sight down the length in the store and skip boards with a twist, a deep cup, or loose knots near the middle; small tight knots near the ends are fine because the plan cuts around them. One 10-foot board gives you every part plus spare length for test cuts, which is exactly what a first build needs.
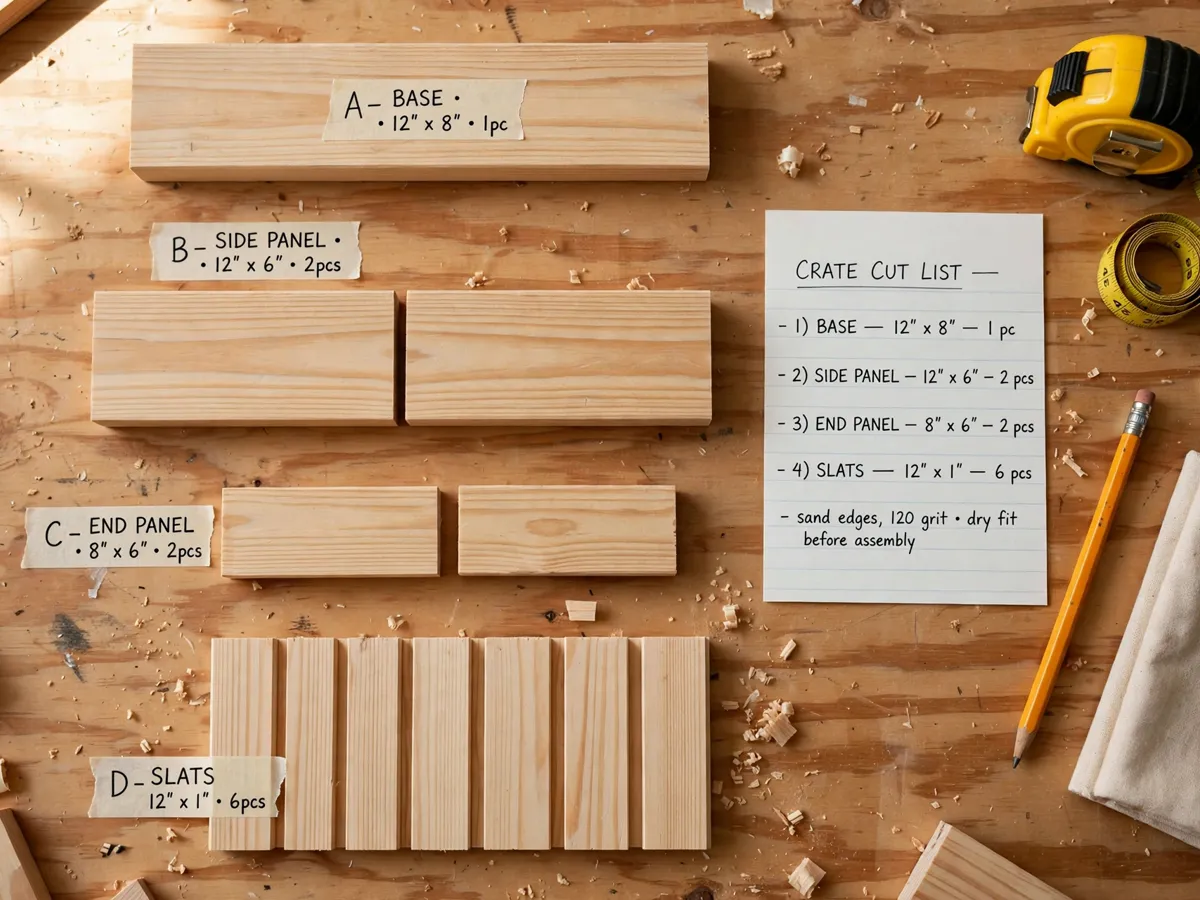
Cut list from the one board — sides: 2 at 20 inches · ends: 2 at 10-1/2 inches · bottom slats: 2 at 18-1/2 inches · handle cleats (optional): 2 at 8 inches. The finished crate measures about 20 by 12 inches and stands 7-1/4 inches tall. The saw blade removes about 1/8 inch per cut, so always cut on the waste side of the line.
Label each part in pencil as it comes off the saw: S1, S2, E1, E2, B1, B2. The ends fit between the sides, and the bottom slats drop inside the assembled box with a small gap between them for airflow. Keep every offcut until the build is done — short pieces are perfect for testing nail depth and finish color.
Sanding and assembly order that keeps corners square
Sand before you assemble — flat parts are easy, inside corners are not. Start with 80 grit only where mill marks show, then sand every face and edge with 120 and finish with 180. Break each sharp edge with two or three light passes so the crate feels smooth in the hand and finish does not pull away from crisp corners. Wipe the dust off with a barely damp cloth and let the parts dry fully.
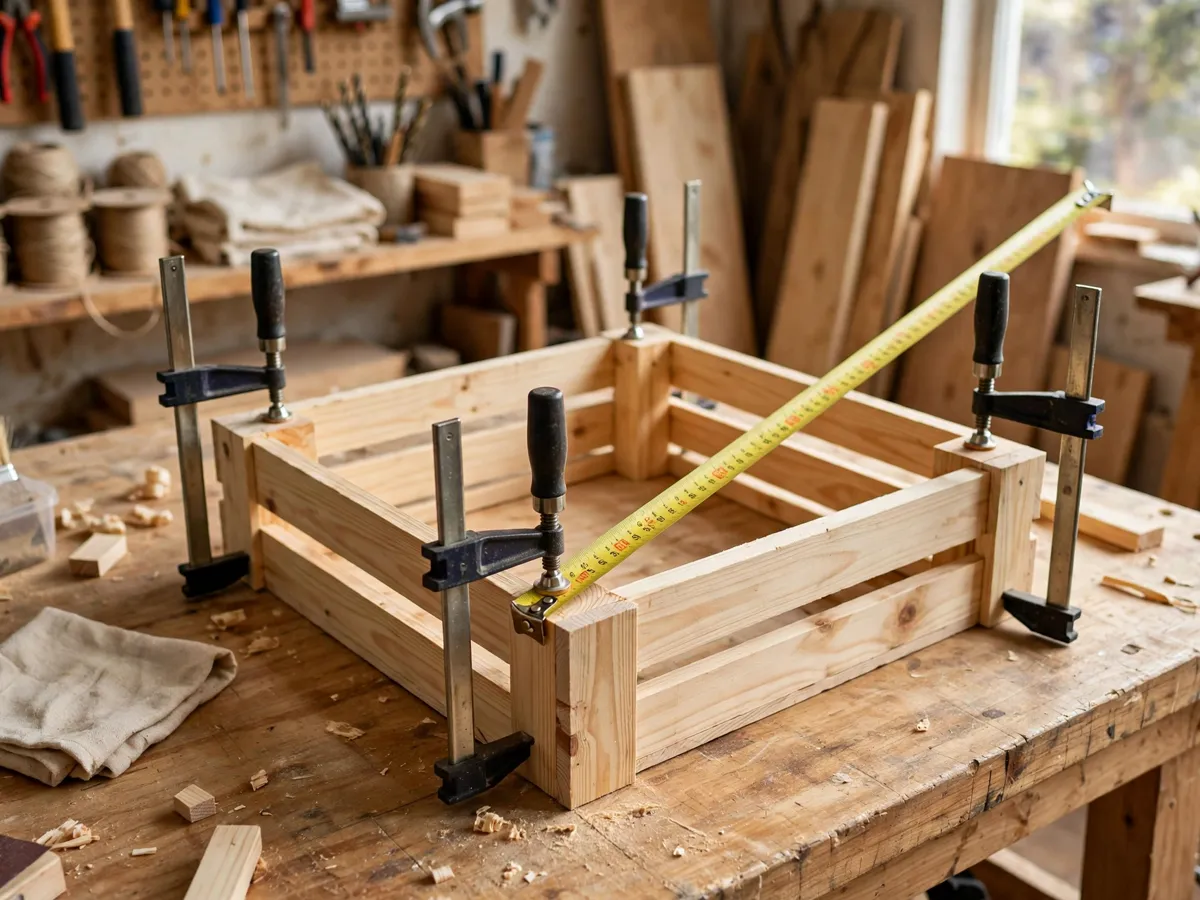
Dry-fit first: stand the sides and ends together with no glue and check that the ends sit flush. Then run a thin bead of glue on each end joint, press the box together, and pin it with three nails or two screws per corner — and drill pilot holes first, especially within two inches of any board end, because pine splits fast. Measure both diagonals across the top: when the two numbers match, the box is square. Drop in the bottom slats with a 1/4-inch gap between them, fasten, and let the glue cure for the time stated on the bottle before sanding the joints flush.
Honest material budget
The board itself runs $18–$28 depending on species and region — pine the least, spruce and fir close behind. A bottle of wood glue costs $6–$9 and builds a dozen crates. A small box of brad nails or screws is $5–$8, a multi-grit sandpaper pack is $6–$10, and a small can of water-based poly or paint is $8–$14. All in, the first crate lands at $30–$60 with tools on hand, and every crate after that costs little more than the board.
Time: 30 minutes to cut, 45 minutes to sand, 30 minutes to assemble, plus glue curing and finish drying. Borrowing a drill and a sander for the weekend beats buying either for one crate.
Finish options that suit a first build
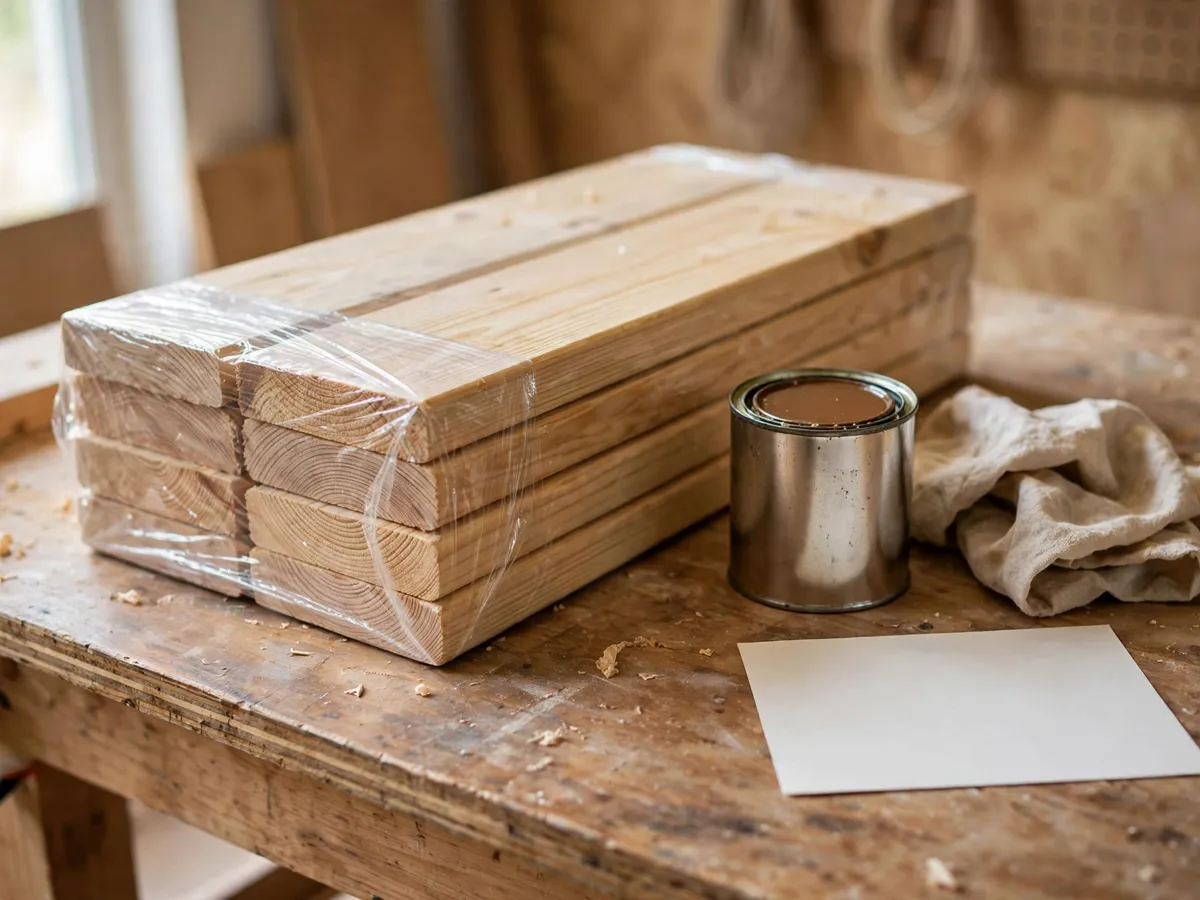
Pine drinks up finish unevenly, so keep the first finish simple. For a storage crate, two thin coats of water-based poly over a 180-grit sanding look clean and wipe down well. For a painted crate, one coat of primer plus two thin topcoats hides small gaps better than any filler. Apply thin coats with the grain, sand lightly with 220 between coats, and work in a ventilated space away from open flames.
Leave crates meant for toys or pantry goods unpainted inside, or seal them with the same water-based poly used outside. The plan works either way — pick the finish that matches where the crate will live, and finish the bottom slats on all sides since they see the most wear.
Mistakes worth skipping
Skipping the diagonal check is the classic one — a box that looks square can sit 1/4 inch out and rock on a shelf for years. Driving fasteners without pilot holes near board ends is second: pine splits along the grain with little warning, and a split end never quite closes. Sanding only after assembly leaves the inside corners rough where hands grab most. Wiping wet glue squeeze-out with a damp rag pushes glue into the grain and shows up as pale spots under clear finish — let the bead skin over, then pare it off with a chisel or putty knife. And remember the kerf: cut to the waste side of the line, because the blade removes a full 1/8 inch.
If a corner gaps slightly, a thin glue-coated shim tapped into the opening disappears under paint. Clear finish shows everything, so save the clear coat for the second crate.
Weekend checklist: copy this before you cut
- Board picked straight — no twist, knots away from the middle
- Cut list written on an index card with the kerf marked
- Every part cut, labeled, and sanded to 180 before glue
- Pilot holes drilled within two inches of each board end
- Diagonals measured equal before the glue sets
- Bottom slats spaced with a small airflow gap
- Finish applied in thin coats, bottom slats sealed all sides
Where the crate earns its keep
One crate corrals shoes by the door; two stack into a nightstand-height unit beside the bed; three in a row tame a closet floor better than a tall bin ever could. Pair the build with the steps in the small closet reset for a full weekend reset that costs less than one new furniture piece.
Skip the extras on the first one: no lid, no dividers, no casters. Build the plain box, live with it a month, then let the second crate carry the upgrades.
Save this plan on Pinterest
Pin the cut list — it is the page you will come back to when the second board comes home. The rest of the plan-led builds live in the DIY Home Projects collection for cut lists, material lists, and beginner tool checklists you can finish in a weekend.