 Plant As Deco
Gardening & Planting Tips
How to Repot a Houseplant One Size Up: A Beginner Guide
By Plant As Deco · Updated 29 October 2026
Repotting is not a rescue operation. Most houseplants are better off left in the pot they came in than moved into a pot three sizes bigger, because the extra soil holds water the roots cannot reach and the mix stays wet long enough to cause problems. The move you want is small and specific: one pot size up, roughly 1–2 inches wider in diameter, when the plant has actually outgrown its container. Here is how to tell, and what to do when you get there.
Weekend-ready: $15–$40, one afternoon. One pot, one bag of potting mix, and no special tools — renter-safe.
How to tell a plant is actually rootbound
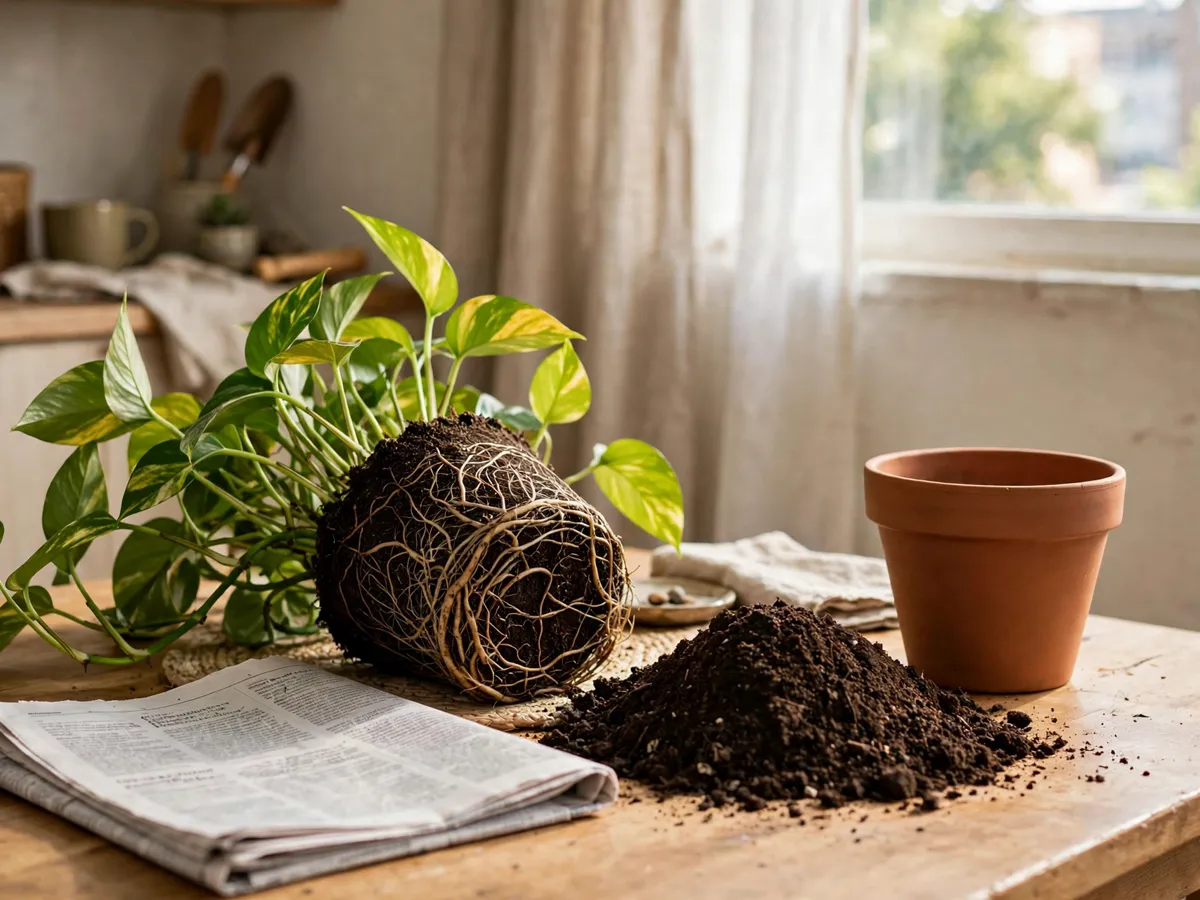
“Rootbound” has a narrow meaning: the roots have filled the pot so thoroughly that they have taken over the soil volume, and the plant has run out of room to grow. The tell is not a slow plant — a slow plant is far more often a light problem — it is what the roots are doing.
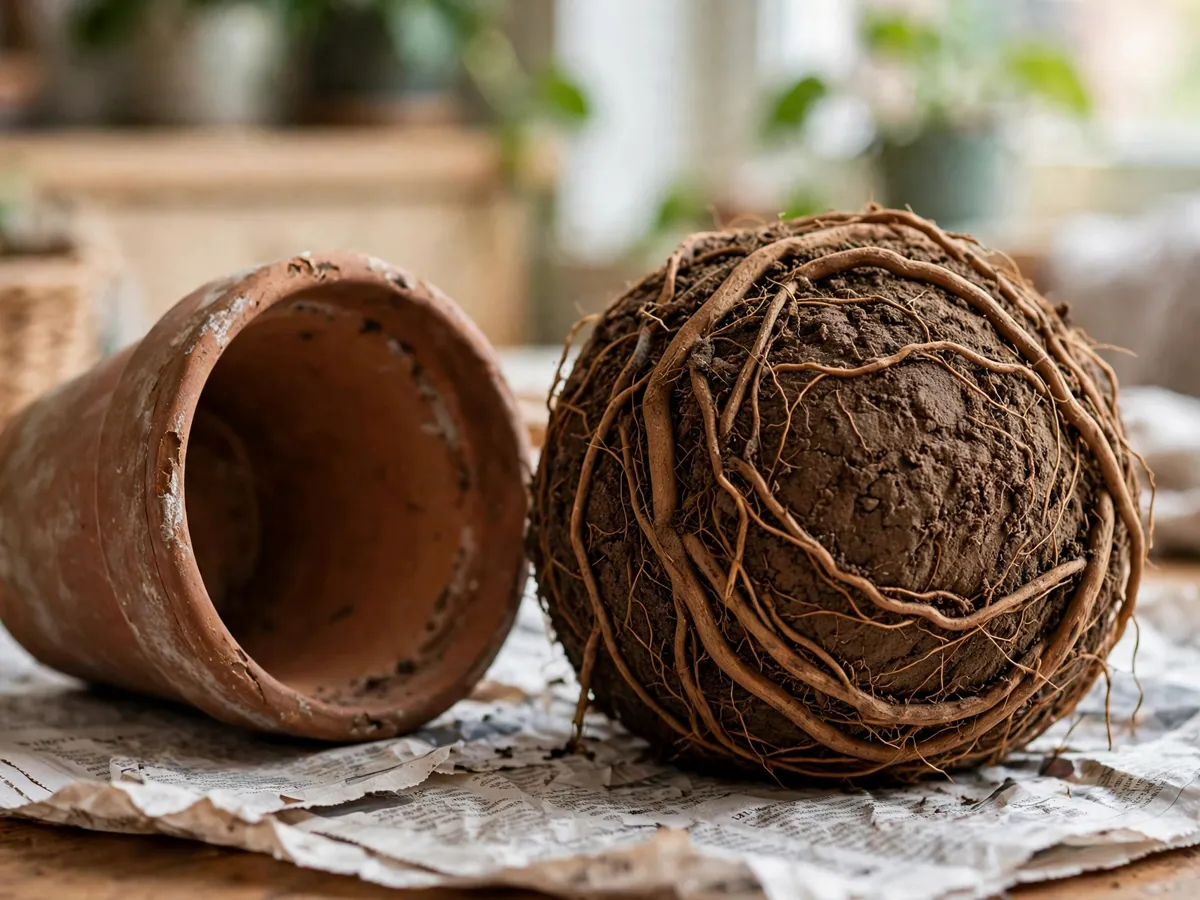
Four signs, and you want at least two before you commit. Roots growing out of the drainage hole at the bottom. Roots circling the surface of the soil or pressed against the inside of the pot. Water running straight through the pot the moment you pour it, because there is more root than soil left to hold it. And a root ball that slides out as one solid, matted cylinder when you tip the pot on its side.
What is not a sign of being rootbound: a plant that stops making new leaves, yellow lower leaves, or a leaning stem. Those point at light, watering, or the season — check those first, because repotting a stressed plant adds stress to whatever the real problem is.
Picking the next pot size — one step, not three
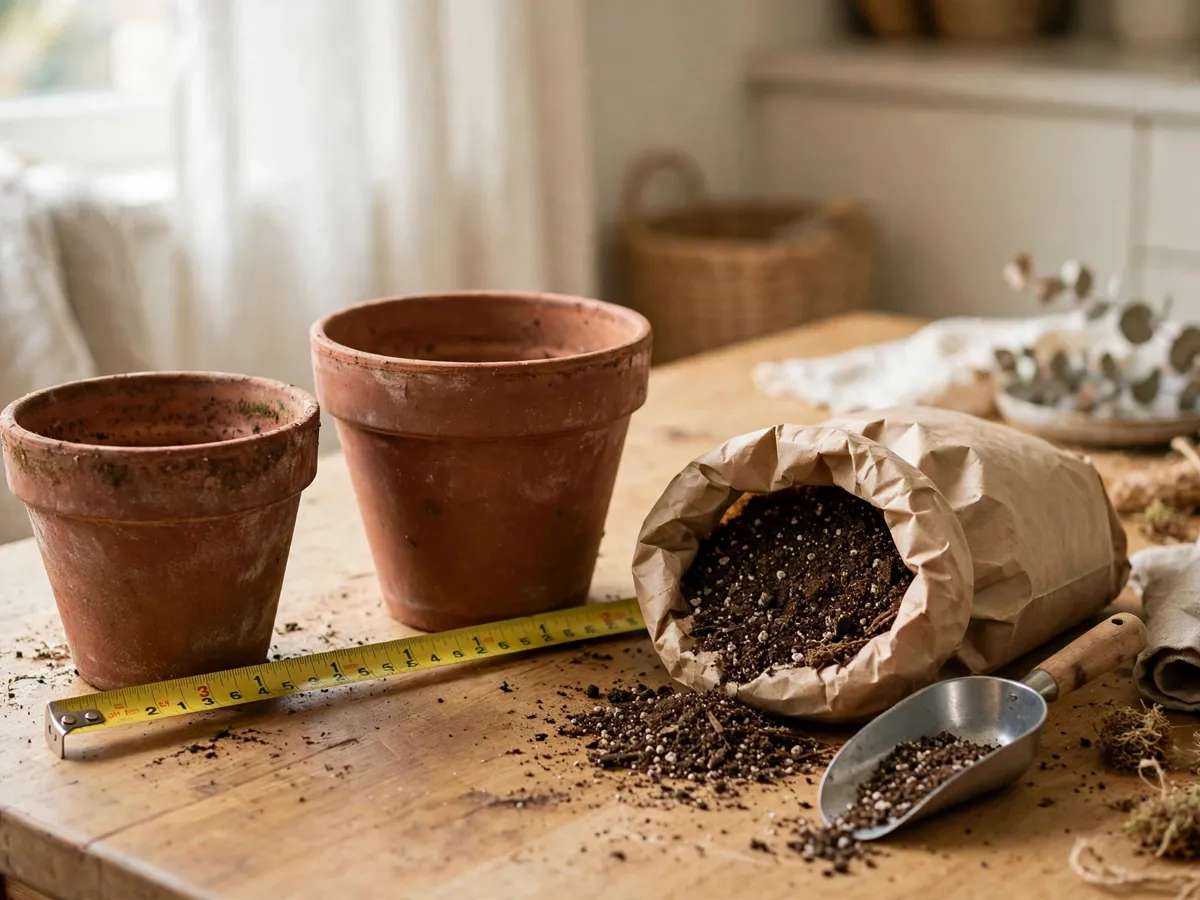
The rule is 1–2 inches wider in diameter than the current pot, and never more. A plant in a 6-inch pot goes into an 8-inch pot, not a 12-inch. The reason is water: soil volume grows faster than the root system that has to dry it out. Move up too far and the roots sit in a permanently damp block of mix, which is the single most common cause of a plant that declines after repotting.
Depth matters as much as width. Choose a pot only slightly deeper than the one the plant is leaving, so the root ball sits at the same level it was growing at. Set the plant in the new pot dry, before any mix goes in, and check where the soil line lands — it should sit about an inch below the rim so water has somewhere to go. If the plant ends up sitting too low, add mix under the root ball rather than burying the stem deeper.
Material is a preference, not a rule. Terracotta dries out faster, which suits a plant you tend to over-water; glazed ceramic and plastic hold moisture longer, which suits a bright, warm spot. Whatever you choose, it needs a drainage hole — that part is not optional.
Cost: $8–$18 for an 8-inch plastic or terracotta pot. Buy one size now and keep the receipt — you will need the next one in a year or two.
Soil, and what is already in the pot
Use a potting mix made for containers, not garden soil and not topsoil. Potting mix is loose enough to hold air around the roots; garden soil compacts into a dense block in a pot and drains poorly. A general-purpose indoor potting mix is the right default for pothos, snake plants, ZZ plants, philodendron, and most other common houseplants.
You do not have to strip all the old mix off the roots. Shake or tease away the loose, broken-down surface mix and loosen the outer roots with your fingers, then keep the root ball intact and settle it into fresh mix. Teasing the roots matters when they are circling tightly — gently pull the outer roots loose and, on a badly matted ball, slice two or three vertical lines down the sides with a clean knife so new roots can grow outward into the new soil.
Two additions are worth the small cost. A handful of perlite mixed in lightens the mix and improves drainage, which helps most houseplants in an indoor pot. If your plant is a cactus or a succulent, switch to a mix labeled for cactus and succulents, or blend your general mix half-and-half with perlite or coarse sand.
Cost: $6–$12 for a bag of potting mix, $8–$10 for perlite. One bag of mix repots three or four 8-inch pots.
The repot, step by step
Water the plant a day before, not the same day. Moist roots handle the move better than bone-dry ones, and a plant watered the same morning turns the whole job into mud.
Cover the table, then turn the pot on its side and support the plant’s base with one hand while you slide the root ball out with the other. If it will not come, tap the sides of the pot and run a knife around the inside edge — do not pull the plant by the stem, because the stem is the part that snaps.
Tease the outer roots loose, put an inch or two of fresh mix in the bottom of the new pot, center the root ball, and fill the gap around the sides with mix. Press it down lightly with your fingers — firm enough to remove big air pockets, not hard enough to crush the roots. Leave that inch of space below the rim, water until it drains out the bottom, and let the pot finish draining before it goes back on the saucer.
Time: 20–30 minutes including cleanup. Do it in spring or summer when the plant is actively growing — a plant repotted in winter sits in cold, wet mix for months before it pushes new roots.
Watering the first two weeks
This is where most repots go wrong. After a move, the roots are damaged and cannot drink as much as they could before, so the soil stays wet longer than usual even though the plant looks the same size. The instinct is to keep it evenly moist — that is exactly what causes root rot in week two.
Instead, let the top inch or two of mix dry out before you water again, and check with a finger rather than a calendar. Keep the plant out of direct sun for a week while it settles, then move it back to its usual spot. Do not fertilize for four to six weeks: fresh potting mix carries enough nutrients to get the roots re-established, and feeding early pushes growth the damaged root system cannot yet support.
Expect a little sulking — a droopy leaf or two in the first week is normal and usually clears. New growth in weeks three to six is the sign the repot worked.
Common beginner mistakes
Overpotting is the big one — the jump from a 4-inch pot to a 10-inch pot, or a nursery plant straight into a decorative pot twice its size. If a plant looks stressed after a big move, the pot is almost always the reason. Moving up one size, then waiting a year or two, does more than any single large repot.
The others: burying the stem deeper than it was growing before, which rots the crown; using garden soil or topsoil, which compacts; leaving the drainage hole empty and letting the pot sit in a saucer of standing water; repotting on a schedule instead of on evidence, so a plant gets disturbed every six months for no reason; and repotting in winter, when a plant is barely growing and the mix stays wet for weeks.
One habit worth building: check the drainage hole at the bottom of each houseplant every month. It is a five-second look that tells you when a plant is ready before the pot cracks.
Weekend checklist: one size up, done properly
- Two rootbound signs confirmed — drainage-hole roots, circling roots, or a matted root ball
- New pot 1–2 inches wider, with a drainage hole
- Plant watered the day before, not the same morning
- Container potting mix ready, plus a handful of perlite
- Root ball slid out on its side — never pulled by the stem
- Outer roots teased loose; tight circles sliced on two or three sides
- Soil line kept level — an inch below the rim, stem not buried
- Watered until it drains, saucer emptied
- Out of direct sun for a week, then back to its usual spot
- No fertilizer for four to six weeks
Where the new pot goes in the room
Repotting is a good moment to fix a placement problem. A plant that has been leaning toward the window wants a quarter-turn each week, and a plant in a dim corner wants a spot nearer the glass — the light-reading method in the low-light indoor plants guide shows how to judge a corner properly.
Skip the decorative cachepot straight away. Let the plant settle into the plain pot for a few weeks first, then drop it into the pretty one — a cachepot with no drainage hole is fine for display, as long as the real pot gets lifted out to water.
Save these on Pinterest
Pin the rootbound checklist — it is the page you will come back to before every move. The rest of the beginner planting plans live in the Gardening & Planting Tips collection for repotting, low-light plants, and container basics you can start in a weekend.