 Plant As Deco
DIY Home Projects
Tote Bag Sewing Pattern Free: A Beginner Cut List
By Plant As Deco · Updated 13 November 2026
A tote bag is the fastest useful thing you can sew. It is one rectangle folded in half, two side seams and two straps, and the fold becomes the bottom of the bag, so there is no bottom seam to fight. You do not need a printed pattern or a PDF: the table below is the whole pattern. Draw the rectangle on your fabric with a ruler, cut it out, and the size is decided before you thread the machine. The first bag takes an afternoon; the second takes about half of one. Everything fits on a kitchen table, and nothing here needs a dedicated sewing room.
Weekend-ready: $10–$25, one afternoon. One yard of fabric, no pattern to print — renter-safe.
At a glance
- Who it is for
- A first bag, with no machine experience needed.
- What you need
- One rectangle of fabric per bag, thread, pins and scissors.
- What it costs and takes
- $10–$25, 60–75 minutes for the first bag, 30–40 minutes after that.
What you actually need
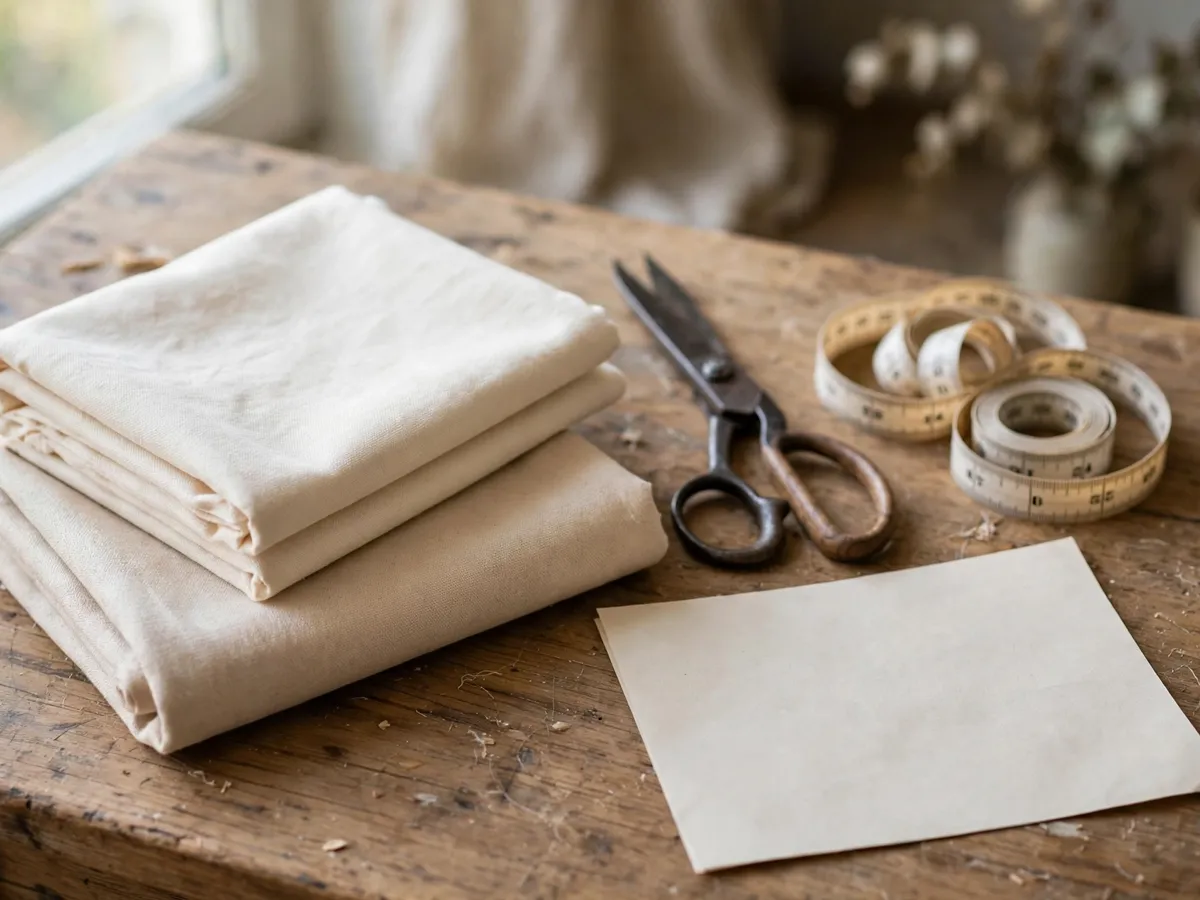
Tools: fabric scissors, a tape measure, a ruler, tailor’s chalk or a fabric pen, and pins or clips. An iron is optional, but it is the difference between a flat strap and a twisted one. A sewing machine is faster; a hand needle works for the two side seams and the straps at roughly double the time.
Materials: one rectangle of 44/45-inch cotton canvas or quilting cotton, all-purpose thread, and two strap strips cut from the same fabric. That is the whole list — no interfacing, no lining and no zipper for a first bag. Buy the fabric after you choose a size, because the next section tells you how much to ask for at the cutting counter.
Set the machine up before you cut: a fresh needle, a straight stitch, and a test seam on a scrap of the same fabric. If the scrap puckers, fix the tension on the scrap, not on the bag.
Cost: $0–$8 if you own scissors and thread. Time: 15 minutes to gather everything and clear a table.
One rectangle, three bag sizes
The bag is one rectangle folded in half, so there is no bottom seam. The fold is the bottom. Seam allowance is 1/2 inch on every edge, so the rectangle is your finished width plus 1 inch, by your finished height doubled plus 2 inches. Pick a size, cut one rectangle, and the rest of the bag follows.
Measure twice before the scissors move. Chalk wipes off, but a short rectangle cannot be stretched, and the table is the only place the error shows up.
| Finished bag (W x H) | Cut one rectangle | Two strap strips | Fabric to buy |
|---|---|---|---|
| 12 x 12 in | 13 x 26 in | 4 x 24 in each | 1 yard |
| 15 x 16 in | 16 x 34 in | 4 x 26 in each | 1 yard |
| 17 x 18 in | 18 x 38 in | 4 x 28 in each | 1-1/8 yards |
44/45-inch fabric is the standard quilting width, and the table leaves room for the selvage. The 12 x 12 rectangle uses 26 inches of length and leaves a 10-inch strip at the end, wide enough for both straps. The 15 x 16 uses 34 inches of length, so the straps come from the 28 inches left across the width.
The 17 x 18 rectangle is 38 inches long, which is longer than a yard, so buy 1-1/8 yards. Plainly: one yard covers the two smaller bags, and the market tote needs the extra eighth.
Cost: $8–$18 for the fabric. Time: 10 minutes to measure and cut.
Sew the two side seams
Step 1: fold the rectangle right sides together so the short edges meet, with the fold at the bottom. Step 2: pin both side edges, matching the raw edges and the fold. Step 3: sew each side with a 1/2-inch seam, backstitching at both ends.
Step 4: clip the seam allowance at the bottom corners, cutting up to the stitching but not through it, so the corners turn sharp. Step 5: turn the bag right side out. Step 6: press the side seams flat with the seam allowance opened.
Before the second seam, check the first one against the table. Both sides should measure the same from fold to top, and a small difference is obvious once the bag is loaded.
The failure mode to watch is a seam that is wider at one end than the other, which makes the bag narrower at the top and gives it a lean. Measure the seam allowance from the needle, not from the edge of the presser foot. The foot is a guide, not a gauge, and its width changes when you move the needle.
Cost: $0. Time: 15 minutes.
Make the straps and attach them
Press each 4-inch strip into a 1-inch strap. Fold the strip in half lengthwise and press. Open it, fold both long edges to the center crease, and press again. Fold it back on the center crease and topstitch both long edges.
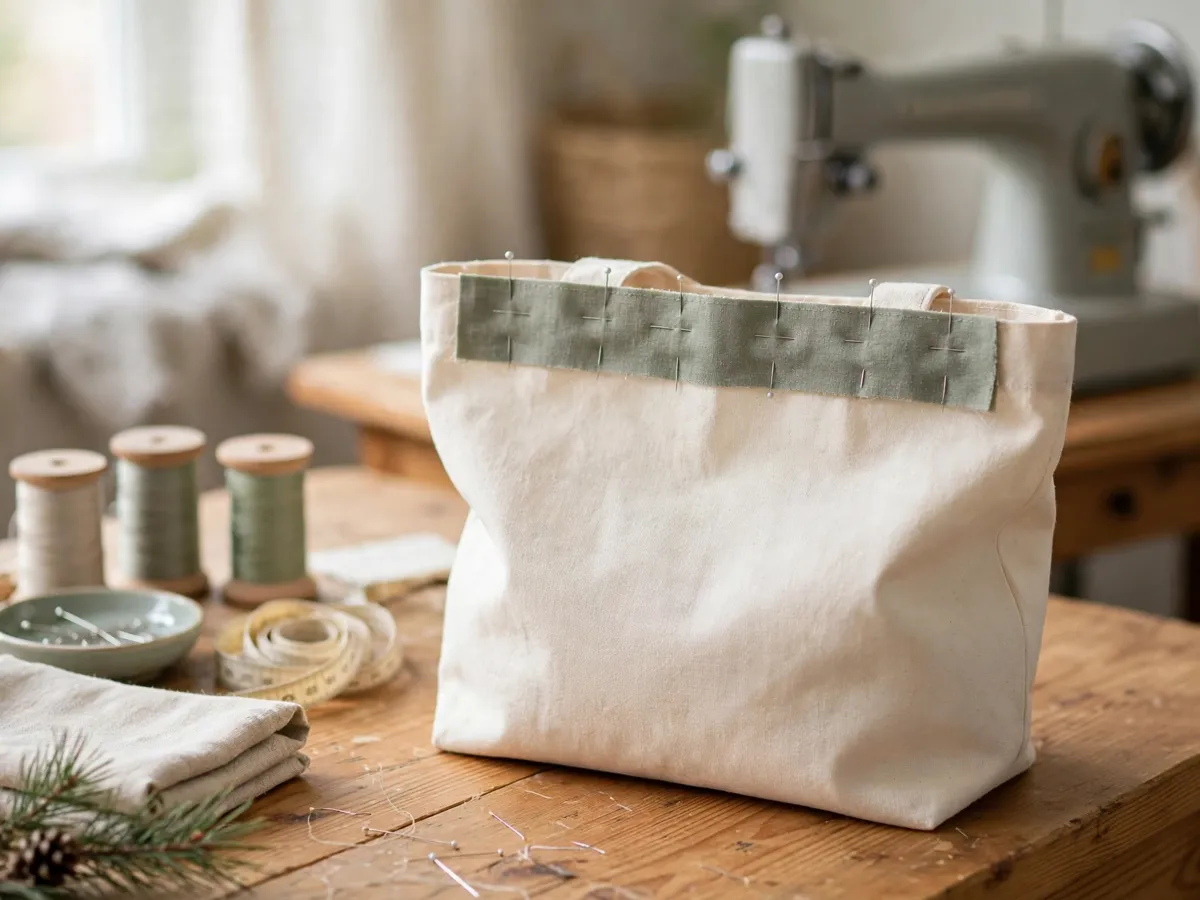
Attach each strap 3 inches in from a side seam, with the ends tucked inside the bag and the strap hanging down. Stitch a square with an X inside it through all layers, and backstitch at the start and the finish. That box-X carries the weight; a single line of stitching pulls out in the first week. Pin through all the layers before the needle moves, and lift the bag body out of the way so the machine does not catch the opposite side.
Strap length is worth measuring before you cut. 24 inches is a hand carry, 26 inches sits at the shoulder for most adults, and 28 inches clears a winter coat. Measure a bag you already own from seam to seam before you cut, because torso length varies more than a size chart suggests.
Three fixes worth knowing. A twisted strap is a pressing problem, so unpick it and press it flat before it goes near the machine. A wavy strap is a tension problem: lower the upper tension a notch, or sew over a strip of tissue paper and tear it away. A handle that pulls out needs the box-X plus backstitch, and a second row of stitching is cheaper than a repair.
Cost: $0. Time: 20 minutes.
Optional: boxed corners for a flat bottom
Mark a 2-inch square at each bottom corner and cut the squares out. Pinch a corner so the two cut edges meet, and sew straight across the opening. Repeat on the other corner.
The trade is height. A boxed tote stands up on the floor, but it loses about 2 inches of height, so cut the rectangle 2 inches longer than the table size if you plan to box it.
Cost: $0. Time: 10 minutes.
Fabric that survives a wash
Canvas in the 10–12 ounce range is the sturdiest beginner choice. It holds a boxy shape, takes a topstitch cleanly, and does not need interfacing. Quilting cotton works, but it needs a second layer or a piece of fusible interfacing, or the bag slumps. Linen blends fray, so plan a French seam or accept a raw edge inside.
A French seam hides the raw edge: sew the seam wrong sides together, trim it close, then sew again with the right sides together and press. It is slower, but linen stops shedding inside the bag.
Pre-wash and dry the fabric before you cut. Cotton shrinks, and a bag cut before the first wash comes out a size small. The straps shrink too, which is worse.
Skip on a first bag: vinyl, slippery lining fabric, upholstery-weight fabric, and anything with a directional print that makes the two straps mismatched.
If you want a fabric project with no machine at all, the no-sew pillow cover is the same afternoon with a pair of scissors.
Cost: $0–$6 for interfacing. Time: one wash cycle plus drying.
Crochet is a different craft
A crochet tote is a separate project with separate math. It uses cotton yarn, a 5 mm hook and 200–250 yards for a market bag, and it takes 3–4 hours. Do not blend the two methods: the sewing measurements on this page do not transfer to yarn, and a crochet bag needs a lining if it will carry keys.
Cost: $12–$25 for yarn. Time: 3–4 hours.
What we would skip
Skip buying a pattern you have to print and tape together when the table above is the whole pattern. Skip piping, a zipper and a lining on the first bag; each one adds a step and a tool, and none of them makes the bag carry better. Skip the second bag before the first one is finished. A plain bag in a solid canvas is easier to live with than a print you tire of, and it shows the topstitching you worked for.
Skip the one-yard mystery bundle if the fiber content is not on the label. A bag that sags after one wash is a fabric problem, not a sewing problem, and more topstitching will not fix it.
If you want a no-machine project for the same weekend, the finger-knit blanket is a different craft with a lower setup cost.
Weekend checklist
- Fabric washed, dried and pressed
- Rectangle cut to the table size
- Strap strips cut and pressed
- Machine threaded with a fresh needle
- Side seams sewn and backstitched
- Corners clipped and turned
- Straps pinned 3 inches in and box-X stitched
- Bag turned, pressed, and loaded with what you actually carry
Questions beginners ask
Do I need a sewing machine?
No. A hand backstitch works for both side seams and the straps, at roughly double the time.
How much fabric for one tote?
One yard of 44/45-inch fabric for the 12 x 12 and the 15 x 16. The 17 x 18 needs 1-1/8 yards.
What seam allowance?
1/2 inch on every edge. Measure it from the needle, not from the edge of the presser foot.
Can I make this without a printer?
Yes. The table is the pattern, so there is nothing to download and no email sign-up.
Save these on Pinterest
Pin the cut list table — it is the page you will come back to for the next size. The rest of the plan-led builds live in the DIY Home Projects collection for cut lists, material lists and beginner tool checklists you can finish in a weekend. Make the first one, carry it for a week, then cut the next size.