 Plant As Deco
Home Organization & Storage
Pantry Organization by Zones: A Weekend Reset Guide
By Plant As Deco · Updated 29 October 2026
Most pantries fail for one reason: the food is sorted by package, not by use. Baking ingredients live in three places and the snacks are behind the pasta, so every recipe starts with a hunt. Zoning fixes that. Sort by what you reach for together — baking, breakfast, snacks, cooking staples, backup — and the pantry starts answering questions instead of asking them. One weekend, five zones, and a reset that holds.
Weekend-ready: $40–$120, one weekend. Five zones, no drilling — renter-safe and reversible.
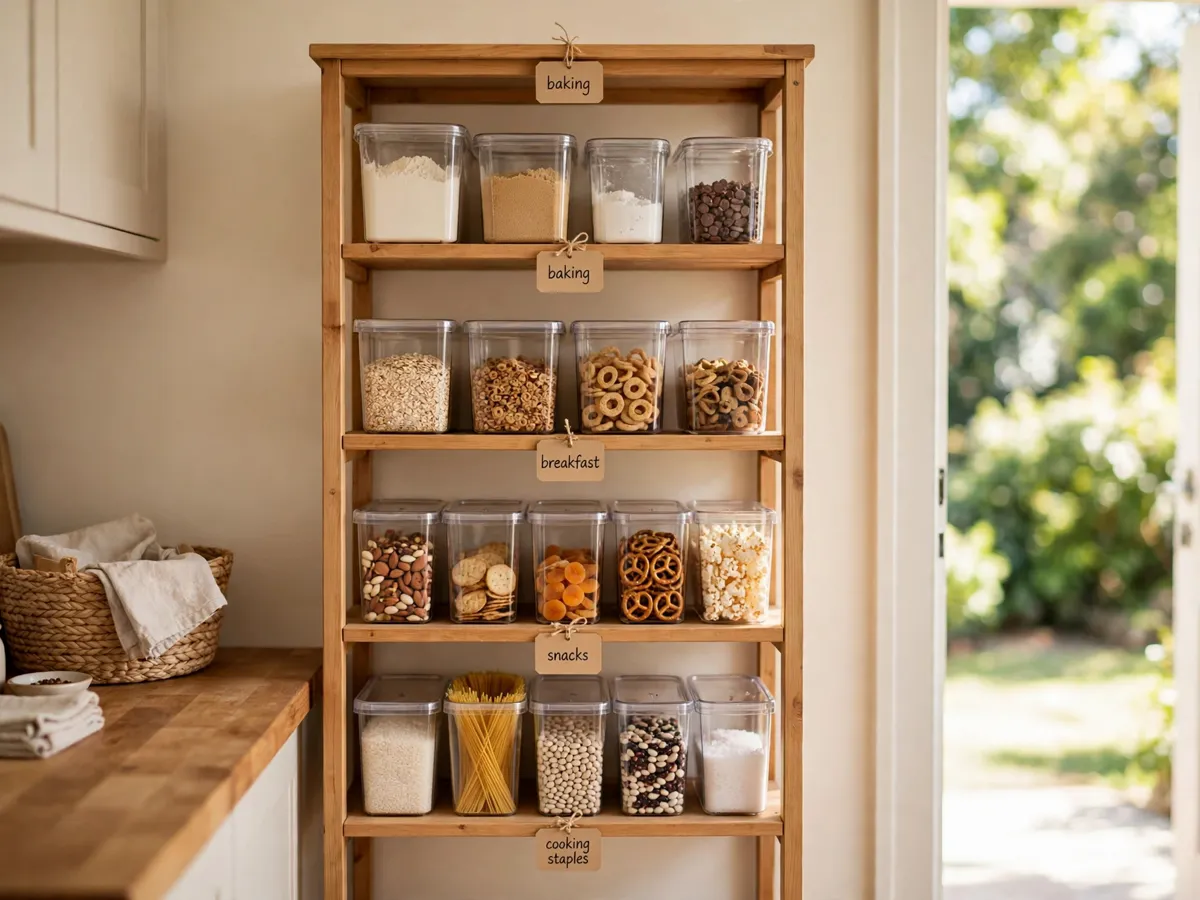
Why zones beat categories
A category says what a food is. A zone says when you reach for it. "Flour and sugar" is a category; "everything I need when I bake" is a zone — and the zone is what saves you time, because you stop walking back and forth across the kitchen mid-recipe. Zones also tell you where a new item goes the second it comes through the door, which is the part most pantry resets miss.
Five zones cover a normal kitchen: baking, breakfast, snacks, cooking staples, and backup. If your pantry is one shallow cupboard instead of a room, use the same five zones as shelf levels instead of separate shelves. The method is the same either way.
Cost: $0. Time: 10 minutes to write your five zones on a sticky note before you pull anything off the shelf.
The five zones, mapped to your shelves
Put them in order of how often you use them, top to bottom. Baking first if you bake, breakfast first if mornings are the crunch. Every zone gets one container or one clear boundary on the shelf — a bin, a tray, or a marked-off block of space. Without a visible edge, zones melt back into piles in about nine days.
Baking: flour, sugar, baking powder, vanilla, chocolate chips, sprinkles, and the pans you use weekly. Breakfast: cereal, oats, granola, coffee, tea, the bread you actually eat. Snacks: crackers, nuts, dried fruit, the kids' stuff — the zone that overflows first, so give it the biggest bin. Cooking staples: oil, vinegar, soy sauce, spices, rice, pasta, canned tomatoes, broth. Backup: the second bag of rice, the extra canned goods, the restaurant-size anything — the zone that keeps you from buying duplicates of what is already behind the baking bin.
Cost: $0 to map. Time: 30 minutes. If a shelf is taller than your reach, put the daily zones at eye level and the backup zone on the top shelf — you touch it monthly, so it can live high.
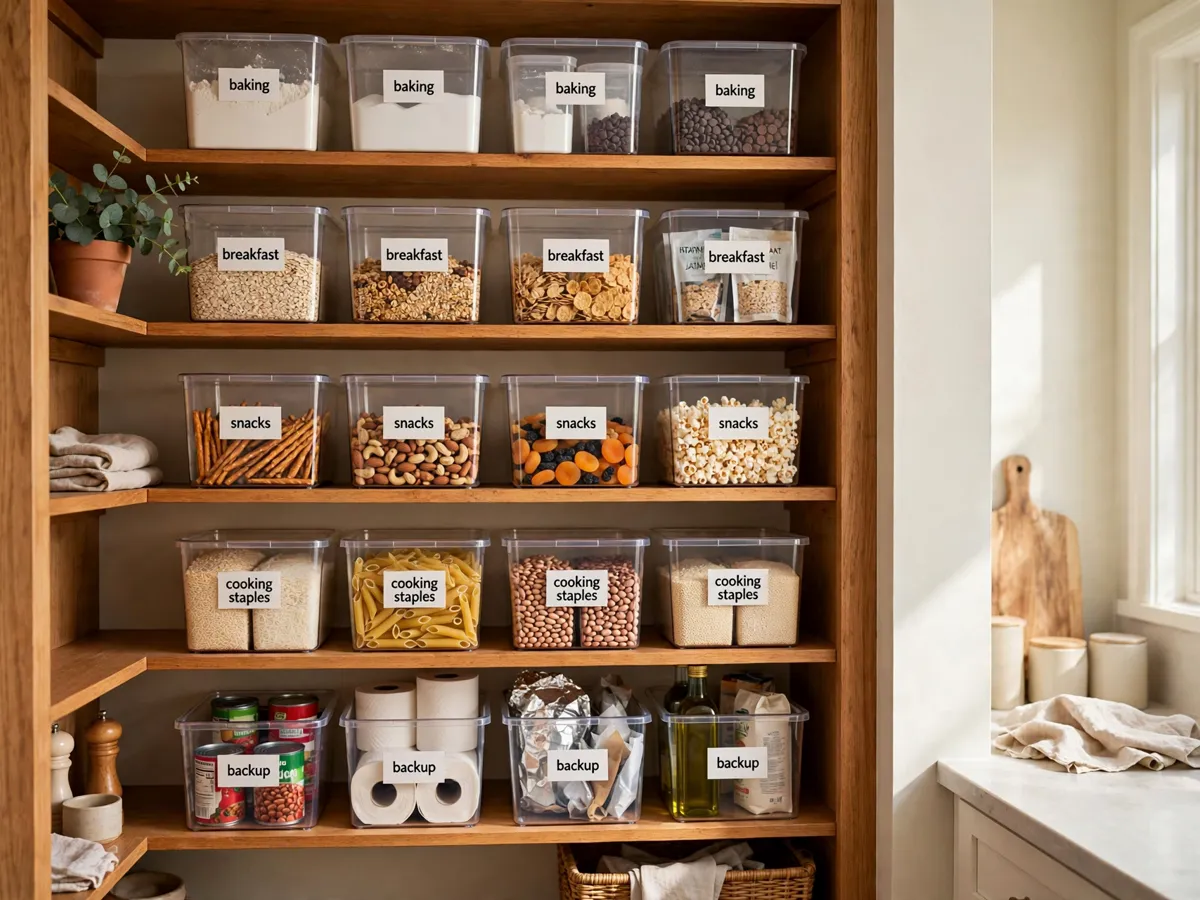
A container strategy that survives the week
The mistake is buying thirty matching containers before emptying the pantry. Do it the other way: empty first, then buy only the containers the food you actually kept needs. Most people find they need six to ten, not thirty, and half of those are for the three or four bags that spill every time someone reaches past them.
Clear beats opaque in a pantry, because you can see the level without pulling the bin out — that single choice is what keeps the shopping list honest. Square beats round, because square bins sit shoulder to shoulder with no dead space between them. And match the container to the food: one deep bin for baking bags, a couple of medium bins for snacks, a slim tray for spice jars, a small caddy for the packets that never have a home.
One hard rule: nothing goes in a container that will not finish before it goes stale. Transferring a giant bag of flour into a bin the size of a shoebox just means you now have a shoebox of stale flour. Keep the bulk in the backup zone and fill a small working bin from it.
Cost: $40–$120 for six to ten clear bins and a couple of trays, less if you reuse jars and tubs. Time: 2 hours for the transfer once the zones are set.
Label habits: one word on the front, not a paragraph
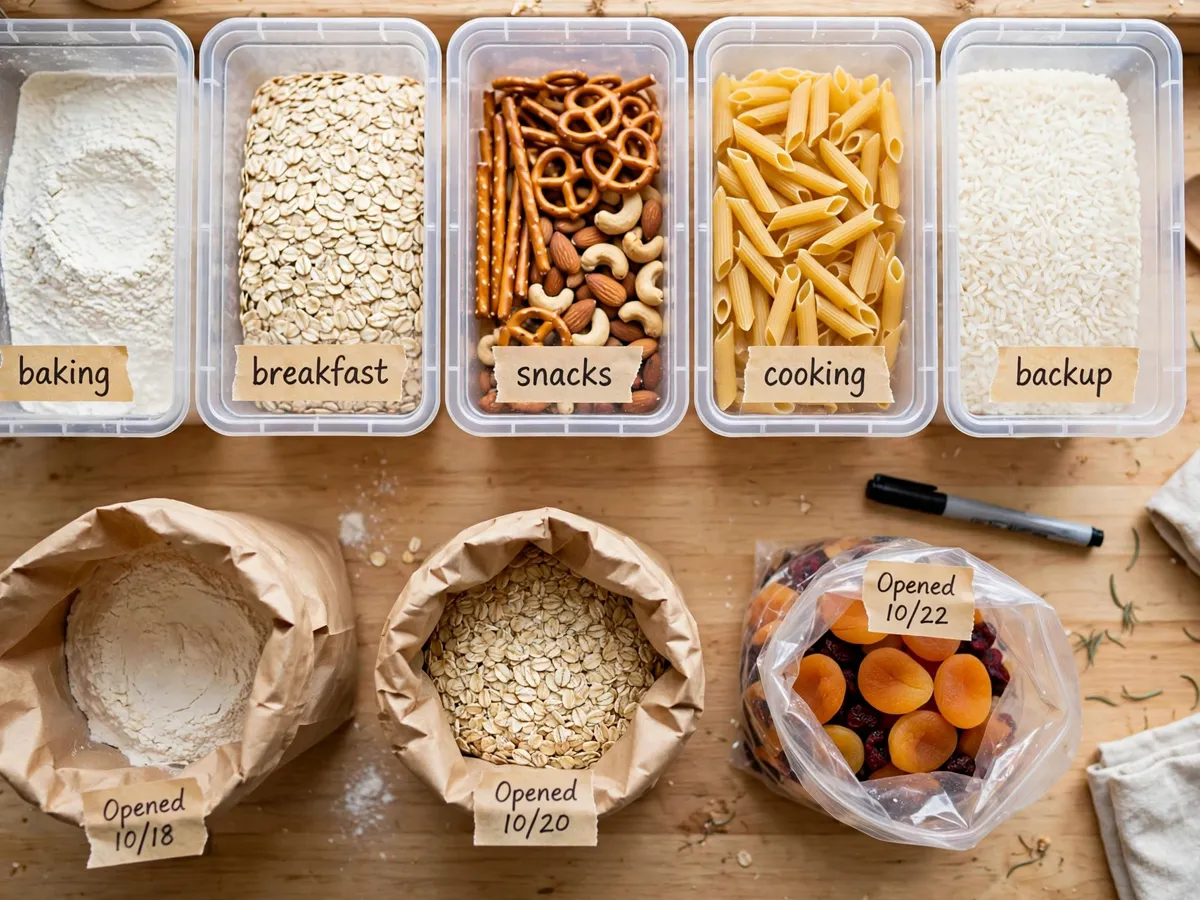
Labels are not decoration — they are what makes a bin returnable. When the person who did the reset is not the person who unloads the groceries, a label is the only thing standing between a tidy pantry and a slow slide back. One word on the front edge, facing out, at eye level: BAKING, BREAKFAST, SNACKS, COOKING, BACKUP. That is the whole system.
Add a date label to anything transferred out of a bag, and an open-date on the working bin, so you can see at a glance whether the oats went in last month or last spring. A strip of masking tape and a marker works fine and comes off clean at the next reset. If you want it to look intentional, a label maker with one clean sans face beats handwriting that drifts by the third bin.
Cost: $0–$12 for a label maker or tape and marker. Time: 20 minutes for the whole pantry. Label before you fill — it is much easier on an empty bin.
The reset: five steps, in this order
Pull everything out onto the counter, grouped loosely as you go so you can see what you have twice of. Toss expired and open items that have gone stale — check dates, not hopes. Wipe the shelves, then set your five zones and place the bins empty. Transfer only what survived the toss, and finish with the backup zone on the highest shelf.
The order matters. Wiping after the bins go down just means lifting them again, and buying containers before the toss means buying containers for food you were about to throw out. If the whole kitchen needs the same reset, the kitchen storage checklist takes the same zone approach to the cabinets and the counters.
Cost: $0 for the reset itself. Time: 3–4 hours for a full pantry, or 90 minutes if you are only re-zoning one that already works.
What makes it hold: two minutes and one rule
A pantry reset decays for one reason — new groceries land wherever there is space, not where they belong. So set the rule: groceries get put away into their zone the same trip, never on the counter "for now." The counter pile is where zoning goes to die.
Then run a two-minute nightly tidy while the kettle boils. Front the bins, pull anything that expired, and put the loose bag back in its bin. Once a month, do a five-minute level check on the working bins and refill them from the backup zone — that is the moment you catch the second bag of flour hiding behind the first.
Cost: $0. Time: 2 minutes nightly, 5 minutes monthly. This is the part that decides whether the weekend was worth it.
Weekend checklist: copy this before you start
- Five zones written down, ordered by how often you cook
- Everything out on the counter, duplicates visible
- Expired and stale tossed — dates checked, not hoped
- Shelves wiped before the bins go back down
- Bins placed empty first, then filled only with food that will finish in time
- One-word label on the front edge of every bin
- Open bags dated, backup zone parked on the top shelf
- Rule set: groceries to their zone the same trip
Before and after: what actually changes
Before: three half-bags of flour, snacks buried behind the pasta, and a recipe that starts with four trips across the kitchen. After: five labeled zones, one bin per job, and everything visible without pulling a shelf apart. Same cupboard, same food, same budget. The difference is that you can see what you have before you buy it again.
Skip the showroom moves: buying thirty matching containers first, decanting bulk bags into bins too small to finish, and labeling bins you have not emptied yet. Empty, toss, zone, then contain.
Save these on Pinterest
Pin the zone-map shot — it is the one people come back to when they re-do a shelf. The rest of the kitchen system lives in the kitchen storage checklist and the room-by-room declutter plan, both in the Organization & Storage collection.