 Plant As Deco
Home Organization & Storage
Kitchen Storage Ideas for Small Spaces: A Weekend Checklist
By Plant As Deco · Updated 13 November 2026
Small kitchens fail at the same four points: the cabinet you avoid, the drawer that jams, the counter that collects everything, and the fridge shelf where food goes to be forgotten. This checklist fixes them zone by zone — measure first, sort, place by height, contain last — with honest costs and a nightly reset that holds. Everything here is renter-safe: nothing drilled or glued.
Weekend-ready: $30–$90, one weekend. Declutter first, buy containers last — renter-safe.
This guide contains an affiliate link. As an Amazon Associate we earn from qualifying purchases, at no extra cost to you.
1. Measure the cabinet and the counter before you buy anything
Organizers get returned for one reason: nobody measured. Take three cabinet numbers — interior height from the shelf to the underside above it, width at the narrowest point, and depth from the back wall to the inside of the door. Then take the counter depth, wall to front edge, and the clearance up to the upper cabinets. Subtract the height of what you store; if the leftover is under a hand's width, a riser does not belong there.
Cost: $0. Time: 20 minutes. Photograph the open cabinet and check listings against the numbers.
2. Sort by zone before buying anything
Pull out one cabinet at a time and sort into three piles: daily, weekly, never. The never pile leaves the kitchen today. Duplicates go first — one can opener, one peeler and one good board is enough. Then count the thing that overflows; mugs, containers and lids are the usual three, and the count decides how many stay. Most small kitchens gain a full shelf back before buying anything.
Cost: $0. Time: 1 hour for the worst cabinet. Containers bought first always end up holding clutter instead of food.
3. Zone the cabinets by height, not by category
Category says what a thing is; height says where it can live. Eye level and the shelf below hold the daily set — plates, bowls, glasses, mugs, coffee. The bottom shelf and the cabinet floor hold anything heavy: stock pot, cast iron, mixer, stacked pans, so you lift down instead of up. The top shelf, the one that needs a step, holds one rarely-used category and nothing heavy. No pantry in the rental? The cabinets plus one closet shelf are the pantry.
Cost: $0. Time: 45 minutes per cabinet. Lids live beside their containers, never stacked on top of them.
When the back row of a deep shelf disappears
The zoning above costs nothing and fixes most cabinets. The case it cannot fix is a deep shelf where the front row hides the back row: you keep buying a second jar of cumin because the first one is behind the flour. A stepped riser solves that by lifting the back row into view, which is the same height logic one shelf down. Try the free version first — pull the back row forward and see whether the shelf is actually full, or just badly ordered.
See the three-tier cabinet riser. It measures 15 inches wide, 9 deep and 3 high, with each step about 2.75 inches deep — sized for a standard cabinet, and shallow enough that it does not eat the front row. Measure the shelf depth before you order; a 9-inch riser in a 10-inch cabinet leaves no room for a jar in front of it, and then you have moved the problem rather than solved it. The steps have a non-slip lining, so jars stay put when the door closes.
Price and stock were checked when this guide was last updated; they move. As an Amazon Associate we earn from qualifying purchases.
4. Fix the under-sink cabinet without buying bins first
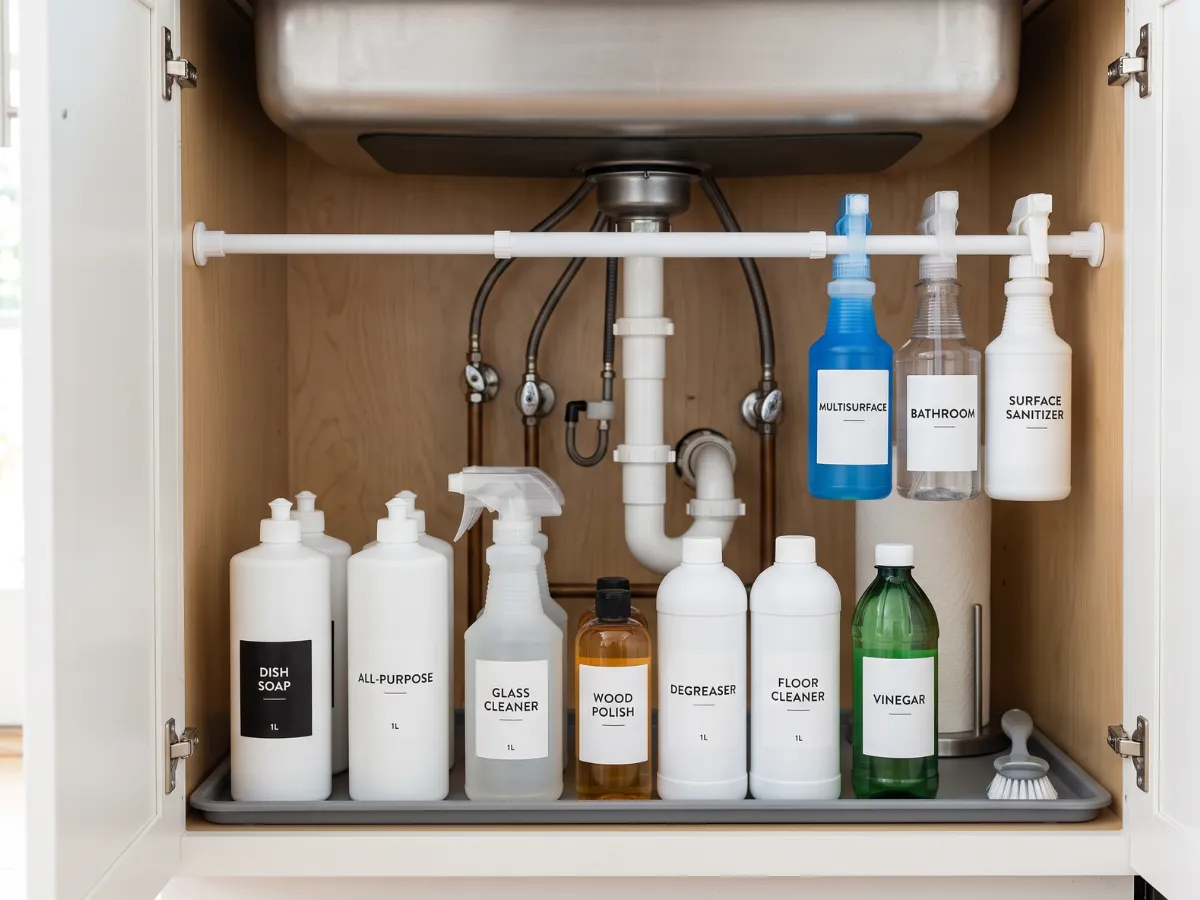
Measure the plumbing before the organizer: how far the drain pipe sits off the back wall, and how far the trap projects. A pipe hugging the wall leaves room for a sliding shelf; a trap dead center leaves a U-shaped gap that wants two small bins flanking it. Group cleaners by frequency with the daily spray at the front, stand bottles upright with labels out, and run a tension rod across the cabinet to hold sprays off the floor. A door rack takes foil, wrap and bags.
Cost: $0–$10. Time: 30 minutes. Only add a tray if you have leaks, not as decoration. For safer cleaner choices, the EPA Safer Choice guide explains what to look for on the label.
5. Give the junk drawer a real job
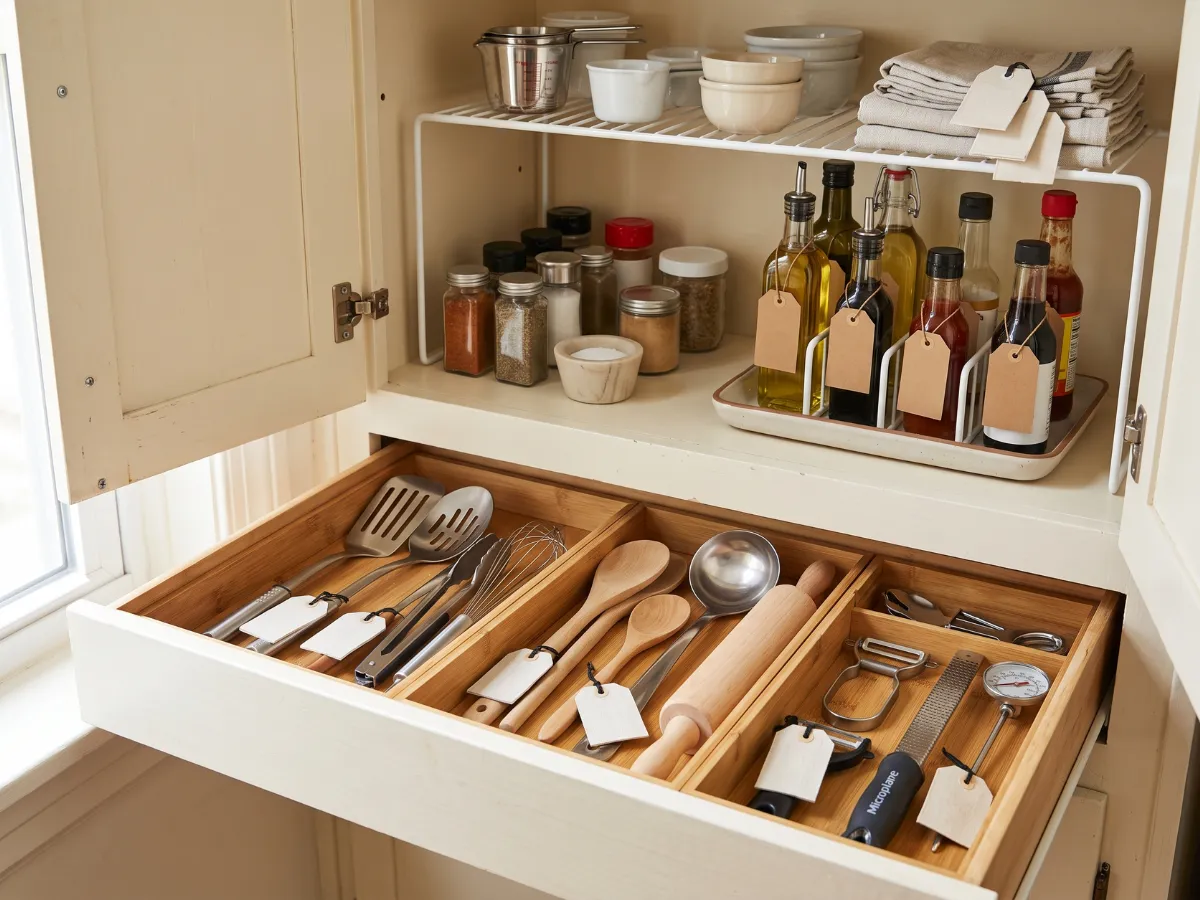
One drawer holds the miscellany — but only one, and only with adjustable dividers, because drawers differ and fixed trays do not. Batteries, tape, spare bulbs, twist ties and the takeout menus live there; everything else has a zone. Give lids their own drawer or bin, standing on edge rather than stacked flat. If a drawer sticks, check the track — a jam is hardware, not storage.
Cost: $8–$15 for dividers. Time: 20 minutes. If it overflows again in a month, another zone is using it.
6. Use the vertical space the rental allows
Small kitchens hide storage in height. A shelf riser doubles one cabinet, but only where the height you measured clears it. Hooks inside cabinet doors take the apron, the mitts and a small basket; a magnetic strip replaces the knife block; a rail with S-hooks holds what you reach for mid-recipe. All removable, all mark-free. With few or no cabinets, one open shelf for daily dishes, hooks for what hangs, one closed box for backup stock.
Cost: $10–$25. Time: 45 minutes. Measure the interior before ordering — most returns come from guessing.
7. Standardize containers only where it pays
Matching containers pay off in two places: dry goods you rebuy monthly, and the fridge door. Everywhere else, reuse what you have. Decant flour, rice and coffee; leave the rest in its packaging with a clip. Square beats round because it uses the corners, and a container shallower than the shelf stays one visible row instead of a hidden second one. Label the contents and the date — three plain bins and a roll of tape do the job of a matching set.
Cost: $12–$25 for a starter set. Time: 30 minutes to decant. Buy them last, once the sorting tells you the sizes.
8. Clear the counter to three daily items
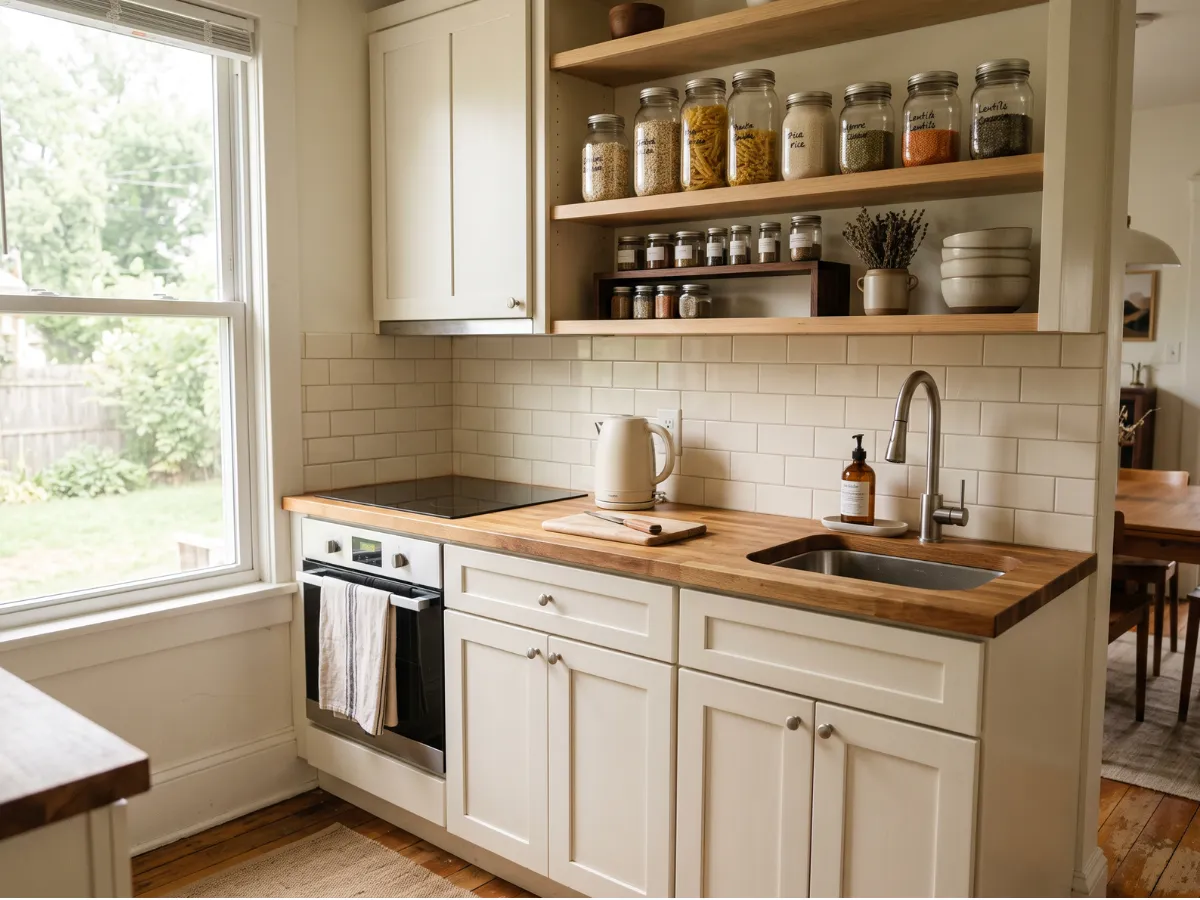
Counters are workspace. Keep three daily items out — kettle, one board, soap — and leave the front third empty, because that strip is where the mixing bowl, the grocery bag and the hot pan land. On a counter 24 inches deep wall to front edge, anything taking more than half that depth has stopped being workspace. Then one-in-one-out: a new appliance enters only when an old one leaves, and the mugs stay at the number that fits.
Cost: $0. Time: 20 minutes plus one honest decision per appliance. The twice-a-year appliance lives in the closet now.
9. Treat the fridge as a storage zone
The fridge is a cabinet with a door, and it clogs from the back forward. Audit in a fixed order so you finish: door shelves, then top shelf, middle, drawers, back wall. Anything without a date gets one this pass or leaves. Leftovers go in one clear bin at the front of the top shelf, at eye level — the front row is this week, everything behind it is next week. A small fridge wants fewer, shallower containers, and jars obey one-in-one-out too.
Cost: $0–$10 for one clear bin. Time: 30 minutes for the full audit, 5 minutes a week for the front row. Dates, not wishes.
10. Hold it with a 10-minute nightly counter reset
Four moves, every night, same order. One: dishes in the dishwasher or washed and put away, nothing standing in the sink. Two: one wipe of the counter and the stovetop. Three: the three daily items back in place, and whatever wandered in — mail, keys, a mug — carried back out. Four: trash out if the bag is full, plus a quick look at the floor. Ten minutes, no decisions, paired with something you already do.
Cost: $0. Time: 10 minutes nightly. Miss a night and the next night is twenty — that is the whole rule.
Common questions
How to organize under your kitchen sink?
Measure the pipe, then zone by frequency: daily spray at the front, refills behind it, bottles upright with labels out. Two small bins flanking a center trap beat one wide caddy. No food down there.
Kitchen organization when you don't have a pantry?
The cabinets and one closet shelf become the pantry. Zone them by height — daily at eye level, heavy at the bottom, rarely used on the top shelf — and keep backup stock out of the kitchen.
Which kitchen storage ideas are safe for a rental?
The removable ones: a shelf riser, inside-door hooks, a magnetic knife strip, a rail with S-hooks, adjustable dividers and a tension rod — the same list that passes the renter test below.
Fridge organization for a small fridge: where does everything go?
Fewer, shallower containers, and one clear bin at the front of the top shelf for leftovers. The front row is this week; everything behind it is next week. Audit door, top, middle, drawers, back wall, and date anything undated or let it go.
Kitchen storage ideas without cabinets: what works?
One open shelf or a small rack for the daily dishes, hooks for what hangs, one closed box for backup stock. The open shelf needs a visible edge — a bin, a tray or a marked-off block — because loose items on open shelving read as clutter within days.
Weekend checklist: copy this before you start
- Cabinet interior and counter depth measured, numbers saved
- One cabinet at a time sorted: daily, weekly, never
- Duplicates out; mugs and containers counted, not guessed
- Cabinets by height: daily at eye level, heavy at the bottom
- Under-sink grouped by frequency, bottles upright, labels out
- One drawer with dividers, lids standing on edge
- Vertical trio set: riser, door hooks, magnetic strip
- Counter down to three items, front third clear
- Fridge front row is this week, every jar dated
- Nightly reset: four moves, ten minutes, same order
Before and after: what actually changes
Before: heavy pots on the top shelf with the daily plates behind them, a counter holding four appliances and the mail, a drawer that jams, a fridge back wall of undated jars. After: heavy at the bottom, daily at eye level, three items on the counter, one divided drawer, a fridge front row that is this week. Same kitchen, same rental — position, not square footage.
Skip the showroom moves: containers bought before the sorting, a riser on an unmeasured shelf, or an organizer for a drawer that sticks. Measure first and let the cabinet decide.
The renter test for every organizer
Before anything enters a rental kitchen it must pass three questions: does it leave with you in one trip, does it leave no mark, and would you buy it again for the next place? Tension rods, risers, dividers, magnetic strips and hooks pass. Anything screwed, glued, or cut-to-fit fails — storage you cannot take with you is a donation to the landlord.
Save these on Pinterest
Pin the zone you will tackle first — under-sink and the junk drawer are the fastest wins. The rest of the system lives in the Organization & Storage collection for the pantry and closet resets.