 Plant As Deco
DIY Home Projects
Beginner Woodworking Plans: How to Read and Choose One
By Plant As Deco · Updated 13 November 2026
Most beginner plans fail in the same place: they show a photo of a finished thing and skip everything between the board and the bench. A usable plan tells you the board, the cuts, the tools and the order before you buy anything. This page is about reading that kind of plan, and it ends with the two plans this site actually publishes. Read it once on the couch, then again at the rack with the board in front of you.
Weekend-ready: $0–$30 in new tools, one afternoon. No workshop, no table saw — renter-safe.
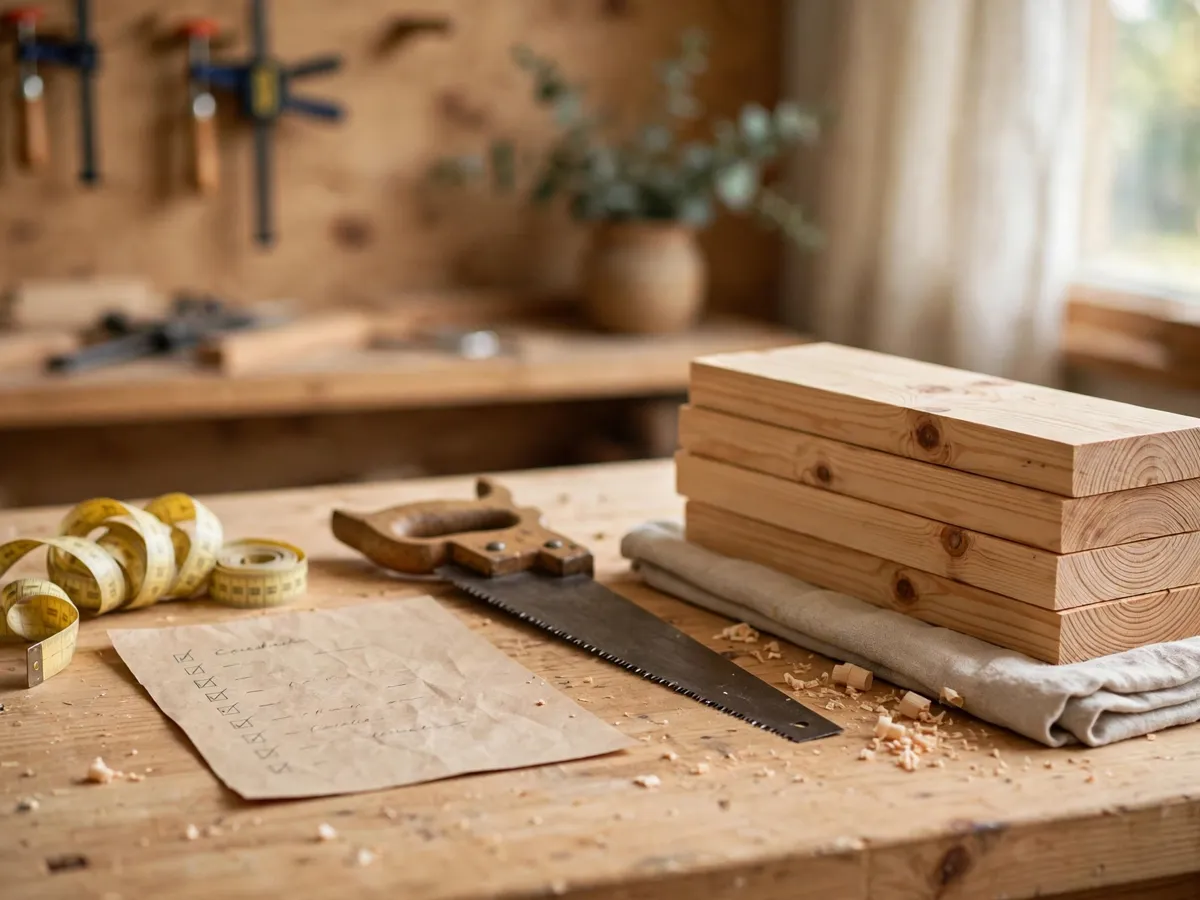
At a glance
- Who it is for
- Anyone about to cut wood for the first time.
- What you need
- A tape measure, a square, a pencil and one clear board.
- What it costs and takes
- $0–$30 in new tools, one afternoon to read and set up.
The six things a complete plan tells you
- The board by its real name, not the rack name, with the finished size you carry home written as a number: 3/4 inch thick, 7-1/4 inches wide, at the length on the tag.
- A cut list in the order you cut, longest piece first, and the part each piece becomes — two sides, two ends, a bottom, a cleat. If the list is alphabetical instead of sequential, it was written by someone who never carried the board.
- A material list that includes the glue and the fasteners and how much of each, so the second trip is for nothing rather than for screws.
- A tool checklist split three ways: what you must buy, what you can borrow for one afternoon, and what you can skip entirely. A plan that lists a workshop of tools is a plan for someone else.
- An assembly order, so you know what gets glued before what gets measured, and which square check happens while the glue is still open.
- An honest time and cost, including the first-project factor that doubles the estimate. The first build is slower because you are learning the order, not because the wood is different.
A plan missing any one of those is a photo, not a plan.
Cost: $0. Time: 10 minutes.
Nominal size versus real size
A board sold as a 1x8 is a rough size, a name from the mill rather than a measurement. By the time the board reaches the floor it has been planed and squared, and the board you carry out measures 3/4 inch thick by 7-1/4 inches wide. The 1 has gone down to 3/4. The 8 has gone down to 7-1/4.
A cut list built on nominal sizes is short by a fraction of an inch on every cut, and the error compounds at every joint. That is why a plan that does not name the real size sends you to the rack twice, usually on a Sunday afternoon when the straight boards are gone.
Read the tag stapled to the board end, or put the tape across the end grain in the aisle before the board goes in the cart. The two widths a beginner meets most: a 1x4 measures 3-1/2 inches, and a 1x6 measures 5-1/2 inches. Write the real number on your card, because the number on the rack is not the number the saw will see.
Cost: $0. Time: 5 minutes.
Reading a cut list without getting lost
A cut list is an order of operations, not a shopping list. Cut the longest pieces first, because a miscut on the longest part still leaves stock long enough for a shorter one. Reverse the order and a bad cut on the 20-inch side leaves a pile of 8-inch pieces and no way to make the side again.
Mark every cut line with a square, across the face and around the edge, so the line meets itself on both sides of the board. Before the saw starts, decide which side of the line the kerf goes on. The saw removes a sliver with every pass, so a line cut down the middle comes out short every time.
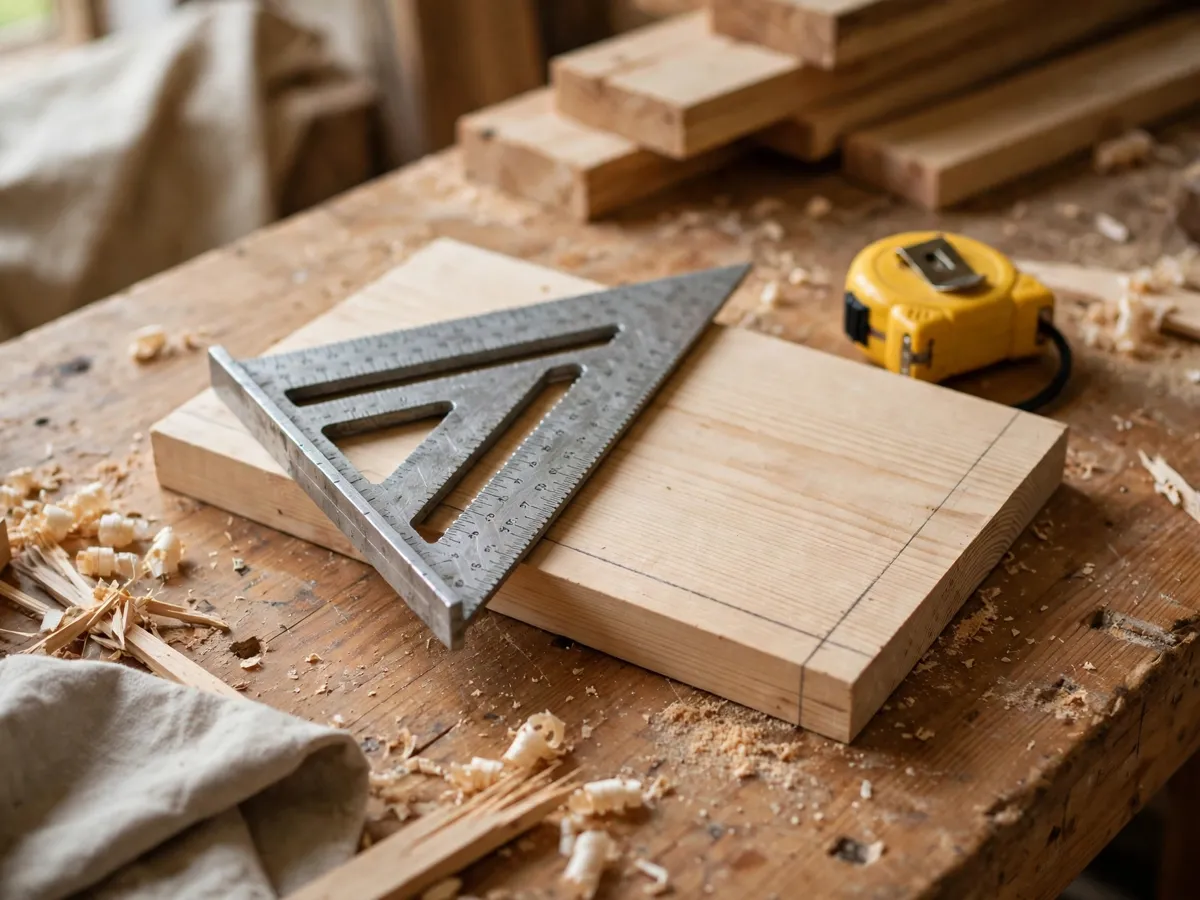
Then check the square on the diagonals once the piece is assembled. Hook the tape on one corner, read to the opposite corner, swap corners and read again. Equal numbers mean square corners, and the check is worth nothing after the glue grabs.
The beginner mistake is cutting all the short pieces first because they feel easy, then discovering the long piece needs the offcut the shorts just consumed. Long to short keeps one continuous offcut and a way back from a bad mark.
Cost: $0. Time: 15 minutes.
The beginner tool list, honestly split
The split is what makes the first project affordable. Buy the measuring tools and the sandpaper because they come back on every build. Borrow the power for an afternoon. Skip the machines that belong to a workshop you do not have.
| Tool | Buy, borrow or skip | Why |
|---|---|---|
| Tape measure and square | Buy | $8–$15, and they come back on every project |
| Handsaw and miter box | Buy | Every cut here for little money; freehand long cuts wander |
| Drill and bits | Borrow | One afternoon of use does not justify a first purchase |
| Two clamps | Borrow | They hold the board while you cut and glue |
| Sanding block and 80/120/180 grit | Buy | $6–$10, and sanding is what makes a first build read as finished |
| Router or table saw | Skip | Not one cut on either plan here needs one |
Buy the measuring tools and the sandpaper, borrow the power, skip the rest, and the first project costs less than the wood.
Cost: $20–$30. Time: 20 minutes.
What a beginner should build first
Build one thing that fits on a table, uses glue and screws, and cannot fall on anyone. That rules out shelves above a bed and anything tall enough to tip, and it leaves small boxes, crates and trays, which is exactly where the lessons are.
The first project is about the order of work, not the object. A small crate teaches more than a large shelf because every cut shows: the long sides come first, the ends come off the same offcut, and one mistake is visible on all four faces before the glue sets.
The two real starts are the one-board crate plan and the floating shelf cut list. Start with the crate if the saw is new. Start with the shelf if the wall is the real question and you would rather learn a bracket than a joint.
If sawdust is not the mood this weekend, the finger-knit blanket is the same lesson in soft material: no tools, one afternoon, and the order of work still decides how it comes out.
Cost: $0. Time: 5 minutes.
The plans this site publishes
Two, both beginner, both one board or one bracket set. Each one carries a cut list you can read at the bench.
- One-board crate — every part comes from a single 1x8, so the cut list fits on an index card.
- Floating shelf — stud finding, bracket choice and the honest load limit, which is the part a shelf photo never shows.
That is the whole list today, and a new plan joins it only after it has been built and photographed, not on the promise of a number.
Cost: $0. Time: 5 minutes.
What we would skip
- The free plan with no cut list and no material list.
- The plan that opens with a photo of a workshop you do not own.
- Buying a second board before the first one is cut.
- Any plan whose first step is to build a jig.
- A plan that needs a table saw.
If a plan cannot be read at the bench with one hand on the board, it is not a beginner plan.
Cost: $0. Time: 2 minutes.
Weekend checklist
- Board bought with the real size read off the tag
- Cut list written on one card in cut order
- Longest pieces marked and cut first
- Every cut line squared across the face and around the edge
- Tools split into buy, borrow and skip
- Work surface cleared and clamped
- Diagonals checked before glue
- Time doubled, then started anyway
Questions beginners ask
What is the first thing to build?
Something that fits on a table and uses glue and screws. A small crate teaches the order of work faster than a shelf, because every cut shows.
What is the difference between nominal and real size?
A 1x8 is a rough name; the board you carry home is 3/4 by 7-1/4 inches. Read the tag on the board end, or put the tape across the end grain.
What tools do I need for a first build?
A tape measure, a square, a handsaw with a miter box, and a sanding block with 80, 120 and 180 grit. Borrow the drill and the clamps.
Where do I get the plans?
The two on this page, linked in the section above; that is the whole list.
Save these on Pinterest
Pin the cut-order checklist, because it is the part you will use on every project after this one. The two plans and the checklists that go with them live in the DIY Home Projects collection.