 Plant As Deco
DIY Home Projects
Fabric Crafts Ideas for Beginners: No-Sew to Machine
By Plant As Deco · Updated 17 November 2026
Fabric crafts are the cheapest way into making something for your home: a fat quarter costs less than a coffee, a thrifted sheet costs less than a yard of new cotton, and the first useful project takes an afternoon. This page ranks the projects on the site by skill, says what each step asks you to buy, and links the full step-by-step guide when you are ready for it. No sewing machine is needed to start. With scissors, a needle and one afternoon, the first project on this list is finishable this weekend.
Weekend-ready: $20–$45 for a first project plus starter tools, one weekend. No machine, no drill, nothing fixed to a wall or a door — renter-safe.
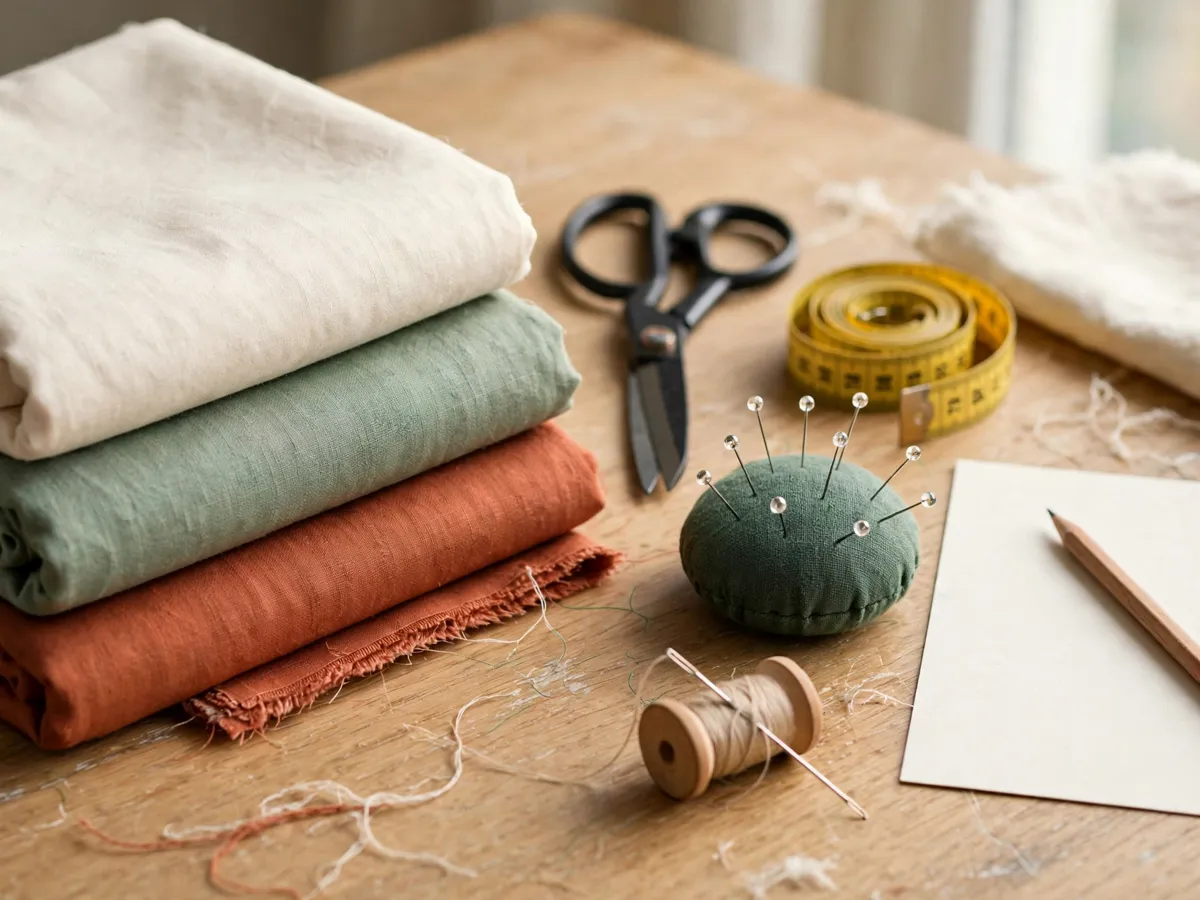
1. The skill ladder: pick the rung, not the photo
Rank fabric projects by the tool they demand, not by how they look on a mood board. Every rung below adds one tool family and one new skill, and each rung is already written out as a full guide on this site. Start one rung below where you think you are.
- No-sew. The no-sew pillow cover is the true beginner project: one front panel, one longer back panel, and an envelope fold that holds the insert. Heat tape, fabric glue or a hand hem closes the edges. It teaches measuring, squaring a corner and finishing an edge — the three things every later project repeats.
- Hand-sew. The same cover, hemmed with a needle and thread instead of tape, or a hand-stitched fabric lining in the crochet tote. This rung adds needles, thread and a slip stitch. No machine yet.
- No-machine needlework. The crochet tote bag is the option for a household with no machine and no room for one. A hook and cotton yarn replace the sewing kit, and the project teaches tension, counting and even edges.
- Machine. The tote bag sewing pattern is one rectangle and two side seams. A machine turns a slow hand job into ten minutes and makes the seam stronger than tape. It also unlocks canvas and denim.
The order matters for money, not just pride. Each rung is a check: if the no-sew cover is a chore, the machine on the last rung becomes an expensive closet ornament. Finish one rung, carry or use the result for a week, then decide whether to climb.
Cost: $0–$25 for a project on any rung of this list. Time: 45–90 minutes for the first project you finish. Pick the rung below your ambition, not at it.
2. Where the fabric comes from first
Buy fabric before you buy anything else, and buy it in the smallest amount the project allows. A first project does not need a bolt; it needs one piece big enough for the cut list, and there are five places to get that piece for less than a new yard costs at a craft store.
A fat quarter, $2–$6. A fat quarter is a pre-cut piece around 18 by 22 inches. It suits small work: a drawstring pouch, four coasters, or the front panel of a 15-inch cushion. It does not make a whole 18-inch pillow cover, because the back panel needs more length than 22 inches allows — buy two fat quarters or a half yard for that.
The remnant bin, $1–$5 a yard. Bolt ends and mis-cuts, usually a quarter yard to two yards, sold at a steep discount. This is where first-project fabric belongs: enough for a tote body or a cushion, cheap enough that a bad cut is not a disaster. Read the fiber content on the bolt end before you buy, because a remnant has no second chance to tell you what it is.
A thrifted flat sheet, $2–$8. A queen flat sheet is roughly 90 by 100 inches, which is several yards of cotton or cotton blend for the price of one new yard. It cuts into a table runner, two or three cushion covers, or a lined tote. Wash it hot before cutting; a sheet has already been washed many times, so what you cut is the size it stays.
Thrifted curtains or drapes, $1–$6 a panel. A standard panel runs about 50 inches wide and 84 inches long in a heavier woven fabric, which makes good tote bodies and cushion backs. Check the bottom hem for sun fade and the lining for stains before you commit — the fade will not wash out.
Thrifted men’s dress shirts, $2–$5. Quilting-weight cotton with the buttons and buttonholes already attached. One shirt gives straps, a patch pocket, a pouch or two, and a free lesson in how a real seam is finished.
New yardage, $6–$14 a yard. Craft-store quilting cotton is the one purchase where the fiber and the width are printed on the bolt end — usually about 44 inches usable. That certainty is worth paying for on a project where the fabric choice decides the result. Avoid pre-bundled fat quarter packs: the price per piece looks better, but you pay for two or three prints you will never cut.
Size-to-project, in one line: a fat quarter for anything under 15 inches, a half yard for a 16–18 inch pillow cover or a tote body, a full yard for a lined tote or two covers, and a thrifted sheet when you want several projects from one wash.
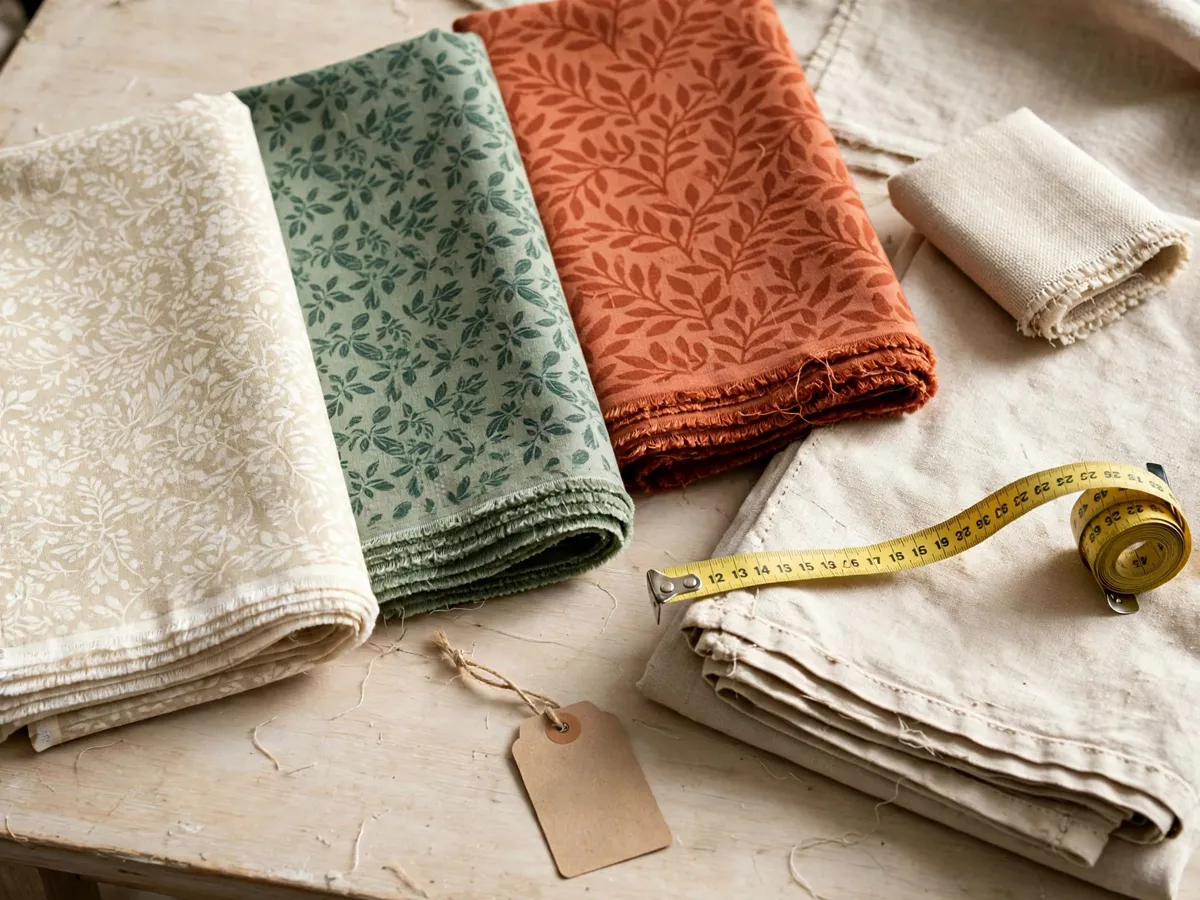
Cost: $2–$12 in fabric for a first project. Time: 30–60 minutes in one store or one thrift loop. Wash and dry everything before you cut it.
3. The tools to buy now, and the ones to leave
A starter kit is five things, and the useful half of it costs about $15–$30. The table below is ordered by when a real project asks for each item, so you can buy down the list instead of all at once.
| Tool | What it does | Honest price | When to buy |
|---|---|---|---|
| Fabric scissors | Cuts a clean edge; paper dulls them | $8–$15 | Now |
| Straight pins | Holds layers while you cut and sew | $2–$4 | Now |
| Hand-sewing needles | Slip stitch, backstitch, repairs | $2–$4 | Now |
| All-purpose thread | Holds a seam; polyester or cotton both work | $3–$5 | Now |
| Fabric marker or chalk | Marks the cut line and washes out | $3–$5 | Now |
| Tape measure | Flexible, 60 inches, for every size | $0–$5 | Now, if you lack one |
| Seam ripper | Undoes a bad seam in minutes | $3–$5 | First week |
| Iron and board | Presses a fold before it is sewn | $0 if owned | Before rung two |
| Sewing machine | Two seams in ten minutes, stronger than tape | $100–$200 new | Rung four |
| Rotary cutter and mat | Faster, straighter long cuts | $15–$30 | Project three or later |
| Pinking shears | Slows fraying on a raw edge | $8–$15 | Optional |
| Cutting machine | Cuts shapes and letters from a file | $150–$350 | Skip |
| Serger or overlock | Factory-style seam finishing | $200–$400 | Skip |
What beginners buy first, and should not: fabric starter kits with no fiber list on the box, a cutting machine, a serger, a dress form, and the twenty-pack of fat quarters that was on sale. None of those answer the real question of a first project, which is whether the cut came out square and the edge stayed closed.
The one purchase worth stretching for is the scissors. A cheap pair saws at the weave, and a ragged edge costs more time than the price difference saves. Keep them for fabric only; one cut through paper is enough to blunt them.
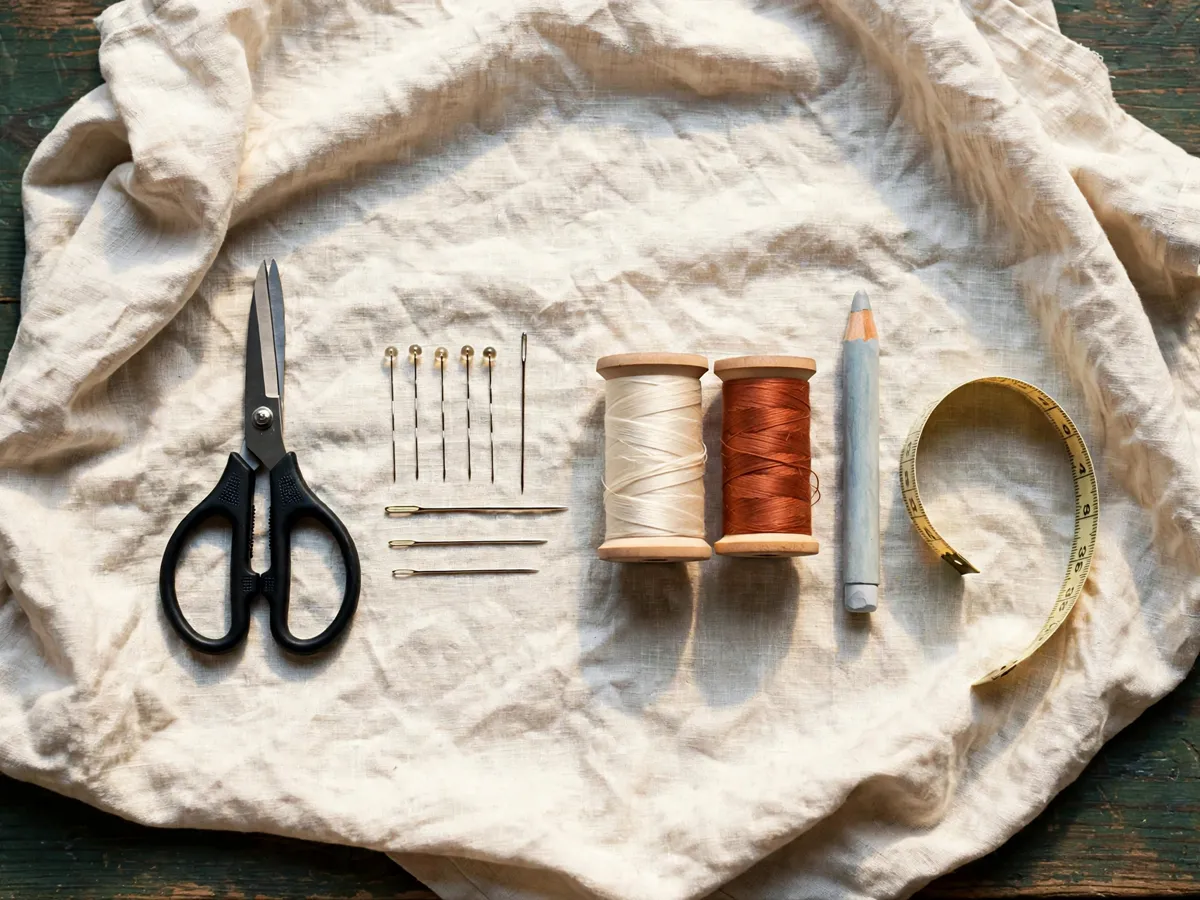
Cost: $15–$30 for the five tools that matter. Time: 20 minutes to gather them on a clear table. Buy the scissors first and leave the rest on the shelf until a project asks.
4. The fabric rules that decide whether a project fails
The same tote pattern is a two-hour success in quilting cotton and a two-day fight in jersey. Fabric is the decision that decides whether a first project looks like the guide or like a mistake, so read the bolt end before you read the print.
| Fabric | Frays | Stretches | Presses | On the same tote |
|---|---|---|---|---|
| Quilting cotton | A little | No | Crisp, holds a fold | Holds a square body, seams match, the safe first choice |
| Linen or cotton-linen | Yes, quickly | No | Crisp but creases | Beautiful, needs enclosed seams; better as a pillow cover than a bag |
| Cotton canvas or duck | Some | No | Wants steam and pressure | Great bag, hard going at corners on a beginner machine |
| Jersey knit | Curls instead | Yes, both ways | Will not hold a crease | Sags at the seams; skip it for a first tote |
| Rayon or viscose print | Yes; weaker when wet | On the bias | Presses, then grows | The pretty print that ruins the project |
The pattern on the bolt is not a fabric choice. Lightweight apparel prints — the soft, drapey ones sold for dresses and blouses — are made to fall, not to stand up, and a structured project like a tote or a box cushion needs body. If you love a print like that, use it where drape is welcome: a pouch lining, a pillow front, a fabric basket liner. On a tote it will pucker at the seams and sag the moment it carries anything.
Match the scale of the print to the size of the project, too. A large motif loses its shape on a four-inch pouch, while a tiny ditsy print disappears on a cushion. Hold the bolt at arm’s length and imagine one motif inside your cut line; that is the size you will actually see.
Two habits prevent most first-project failures. Wash and dry the fabric before cutting, because unwashed cotton shrinks enough to pull a hem out of square after the first laundry day. And press the fabric flat before you mark it, since a crease becomes a cut line that is not straight.
Cost: $6–$14 for a yard of the right quilting cotton. Time: 5 minutes of handling at the bolt. If it drapes like a scarf, it will not hold a bag.
5. Rung one: the no-sew project
The no-sew pillow cover is one fabric panel folded into an envelope, and it is the honest test of whether fabric crafts are for you. It teaches the four moves every project repeats: measure the thing you are covering, add a seam allowance, cut square, and finish the raw edge before anything is joined.
The buy list is short: half a yard of quilting cotton, one pillow insert, and one edge finish — hem tape, fabric glue, or a needle and thread. What makes it forgiving is that a crooked line hides on the back of a cushion, and an insert can be swapped if the first cover comes out a size off.
Cost: $15–$30 for the first pillow cover. Time: 45–60 minutes. It is the cheapest way to find out whether you enjoy this at all.
6. Rung two: hand-sewing, one stitch at a time
Rung two keeps the same project and swaps the shortcut for a needle. Hem the pillow cover with a slip stitch instead of tape, or hand-stitch the fabric lining into a crochet tote. The tools added are a needle and thread, and the skill added is tension — holding the fabric so the stitches sit even without pulling the edge out of shape.
Three stitches cover almost everything at this level. A running stitch joins two edges quickly. A backstitch is the strong one, and a backstitched seam is more durable than any hem tape. A slip stitch closes a folded hem invisibly, which is what makes a hand-finished cushion look store-bought rather than taped.
Work in daylight, thread a needle with about 18 inches of thread, and knot the end. Short lengths tangle less. If the thread twists, let the needle hang and unwind before the next stitch.
Cost: $3–$8 for needles and thread if you own none. Time: 15–25 minutes per hemmed edge. Small even stitches are the whole skill; speed is not.
7. Rung three: the no-machine bag
If a machine is not in the budget, or the apartment has no table for one, the crochet tote bag is the third route into fabric crafts and the one that needs the least equipment: one hook, cotton yarn, and a pair of scissors. Rung two’s needle still earns its place here — a yarn needle weaves in the ends and joins the panels.
What this rung teaches is different from sewing: tension you can see row by row, counting that has to stay consistent, and how a fabric gets its body from density rather than from interfacing. A mistake is also cheap here — you pull the row back and crochet it again, with no fabric lost.
Cost: $15–$35 for yarn and a hook. Time: one weekend for a small tote. Your first rows will be uneven, and that is normal.
8. Rung four: the machine project
The free tote bag pattern is one rectangle, two side seams and a hem at the top. The machine does not make the project more complicated; it makes the seam faster and more consistent, which is exactly what a beginner needs on the third and fourth bag.
Buy a machine only when a project asks for one. A basic mechanical model with straight stitch and zigzag runs $100–$200 new; a used one from a repair shop runs $40–$100 and often arrives better set up than a new budget model. Skip embroidery units, sixty decorative stitches and anything sold by the stitch count. Test any machine on a scrap of your real fabric before money changes hands.
The machine also widens the fabric shelf: canvas, duck and denim become workable once the seam is driven by a needle bar instead of a hand. Keep a pack of size 16 needles for those, and change the needle when a seam starts skipping.
Cost: $10–$25 for tote fabric, plus the machine if you do not own one. Time: 2–3 hours for the first bag. Two seams do not need a fancy machine.
9. What a first project really costs, start to finish
Add it up honestly, tools included. A no-sew pillow cover runs $20–$35 all in: half a yard of cotton, one insert, and the hem tape. A crochet tote runs $15–$35 for yarn and a hook. A machine tote runs $10–$25 for fabric and thread, with the machine as the one large purchase on the ladder. The five starter tools are $15–$30 once, and they serve every project after that.
The second project is where the math improves, because the tools are already on the shelf: $3–$12 in fabric is a realistic cost for a cushion cover, a pouch or a second tote. That is why the ladder starts cheap — the expensive mistake is buying the whole hobby before the first finish.
Cost: $20–$45 all in for a first project plus starter tools. Time: one weekend, including the wash-and-dry wait. Every project after the first costs fabric only.
10. Mistakes that end a first project
Six failures account for most abandoned first projects, and all six are cheap to avoid.
- Cutting before washing. Cotton shrinks, and the hem you sewed to fit will not fit after the first laundry day.
- Buying the print before the fiber. An unlabeled remnant that turns out to be jersey cannot become a structured tote, no matter how good the color is.
- Cutting with paper scissors. A dull edge chews the weave, and the fray line wanders away from the mark.
- Skipping the test scrap. A hem tape or a stitch that fails on a four-inch scrap will fail on the real panel.
- Buying a machine first. The machine is the reward for finishing rung two, not the entry fee.
- Making the first one a gift. First projects run long. Make the first for your own couch, where a crooked corner is a story instead of an apology.
Cost: $0 to avoid all six. Time: 10 minutes of reading before you cut. The expensive mistakes happen in the store, not at the table.
What we would skip
Skip fabric starter kits with no fiber list on the box. A kit that will not name the content cannot tell you how the fabric will behave, and the savings disappear the first time a project fails because the mystery fabric stretched.
Skip cutting machines and sergers for a first year of fabric crafts. Neither answers a beginner question — one cuts shapes you can cut with scissors, the other finishes seams you can finish with a zigzag or an enclosed seam. Skip expensive fashion fabrics for a first project: silk, fine wool and designer rayon are for project ten, when a mistake costs confidence instead of a month of saving.
And skip the second project before the first is finished. One cushion cover, hemmed and living on the couch for a week, teaches more than three half-cut projects in a drawer.
Weekend checklist: before the first cut
- Fabric chosen by fiber and weight, not just print
- Fabric washed, dried and pressed flat
- Project picked from one rung of the ladder
- Tools on the table: scissors, pins, needle, thread, marker, tape measure
- Cut list written in inches for your exact size
- Test scrap finished with the hem method you chose
- Raw edges finished before any two pieces are joined
- Finished project used for a week before buying more fabric
Questions beginners ask
How much does it cost to start fabric crafts?
About $20–$45 for a first project plus starter tools. The five tools that matter run $15–$30, and a first project’s fabric runs $2–$12, with a no-sew pillow cover landing at $20–$35 all in once the insert is counted.
What is the easiest fabric craft for a beginner?
The no-sew pillow cover. It is one front panel, one longer back panel and an envelope fold, closed with hem tape, fabric glue or a hand hem. It teaches measuring, squaring and edge finishing without a machine.
Can I do fabric crafts without a sewing machine?
Yes, three ways: the no-sew cover, hand-sewn hems and seams, and crochet. The crochet tote needs only a hook and cotton yarn, with a yarn needle to weave in the ends.
What fabric should a beginner buy?
Quilting cotton, about 44 inches wide and label-readable. It frays a little, does not stretch, and presses crisply. Avoid jersey, rayon and lightweight apparel prints for a first structured project; a thrifted flat sheet is the budget route to the same behavior.
How much fabric does a first project need?
A fat quarter for anything under 15 inches, a half yard for a 16–18 inch pillow cover or a tote body, and a full yard for a lined tote or two covers. A thrifted queen sheet covers several projects at once.
Save these on Pinterest
Pin the ladder — it is the page you will come back to when a new project asks for a tool you do not own yet. The rest of the plan-led builds live in the DIY Home Projects collection for cut lists, material lists and beginner tool checklists you can finish in a weekend. Start on rung one, finish it, then climb.