 Plant As Deco
DIY Home Projects
DIY Nightstand Plans: Three Builds, One Board Each
By Plant As Deco · Updated 17 November 2026
A nightstand fails in a small bedroom for one of two reasons: it is too deep for the gap beside the bed, or it is the wrong height and everything on it sits just below your hand at night. Building one fixes both, because you choose the depth and the height before you choose the wood. Here are three builds on one difficulty ladder — a one-board floor stand cut with a handsaw, a wall-hung shelf that needs two studs, and a caddy that slides under the mattress and needs no tools at all. Each carries a real cut list, its hardware and a plain note on the wall holes it leaves behind.
Weekend-ready: $25–$70, one afternoon. Tools: a saw, a drill, sandpaper.
That range covers the two builds that need a board off the rack. The third is an offcut and runs $0–$18. All three use the same height rule, so measure that first — it decides more than the design does.
1. What you need before you buy the board
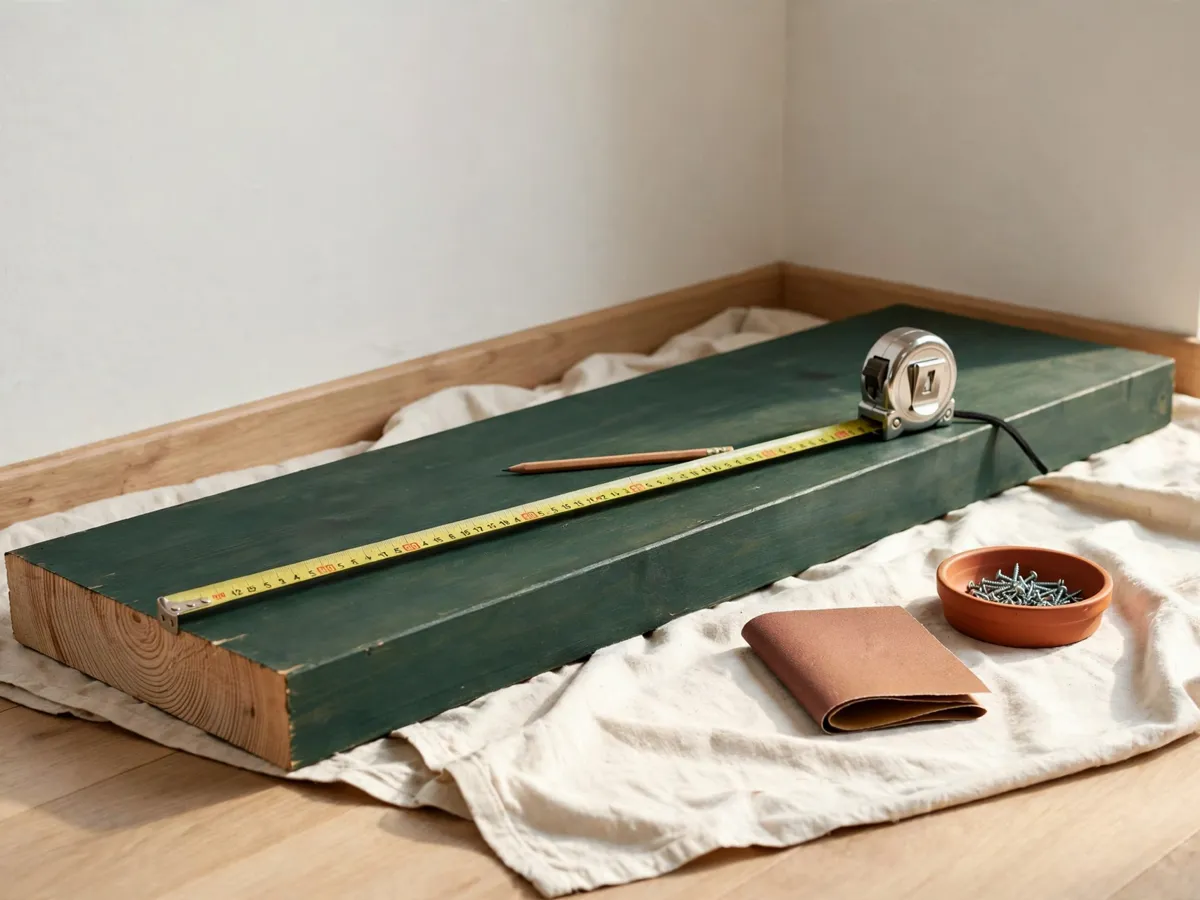
The three builds share a short list: a tape measure, a pencil, a drill or driver, a sanding block, 120 and 180 grit paper, and a saw. The saw can be a crosscut handsaw. Every cut in the main build is a square crosscut, and the single rip cut is small enough to hand off to the store. No table saw, no jointer, no workshop.
- Build A: saw, drill, 1-1/4 inch screws, two small clamps or a heavy book. No wall holes.
- Build B: drill, level, stud finder or a magnet, two L-brackets, screws, spackle. Four to six wall holes.
- Build C: a store that cuts, or a friend with a saw, plus glue if you want the lip. No wall holes, no fasteners.
Buy the board by its real measurement, not its name. A 1x12 is 11-1/4 inches across the face once it reaches the rack, and a 1x10 is 9-1/4. Put the tape across the end grain in the aisle and write the number down; every dimension below assumes 11-1/4 inches of depth.
If you would rather buy than build, the guide to small bedroom nightstand ideas covers the shapes that exist in stores. This page is the other road: three diy nightstand ideas cut to the gap you actually have.
Cost: $0–$40 in tools if the drill and saw are already home. Time: 15 minutes to gather and buy. Caveat: the board is the one thing you must get right on the first trip.
2. Measure the height first, then everything else
Measure from the floor to the top of the mattress, not to the bed frame. A box spring plus a mattress usually lands between 22 and 25 inches, and that number decides the build. Your hand should drop onto the nightstand top at night, not reach down for it and not climb up to it.
The rule is one inch below the mattress top. A 24 inch mattress top puts the nightstand top at 23 inches. A 22 inch mattress top puts it at 21 inches. That single inch is the difference between a stand that looks built in and one that looks like a mistake, and it explains why a store-bought 18 inch table feels low beside a modern bed.
Now the arithmetic for the build in the next section. Cut the sides at 17-1/4 inches and the 3/4 inch top sits on them, so the finished height is 18 inches — right for a low platform bed with a mattress top around 19 inches. For the common 22 to 25 inch stack, cut the sides at 22-1/4 inches instead and the top lands at 23 inches. The same 8 foot board still makes every piece with about 17 inches to spare. The tall version belongs against a wall, with the heavy things in the bottom bay, because height is easier to tip.
Two more measurements decide whether the stand fits at all. Leave about 2 inches between the nightstand and the bed frame, enough to tuck a hand in when you change the sheets, and keep 24 inches of walkway clear in front of it. Then check the depth: 11-1/4 inches of board is the whole depth of build A, so a 10 inch gap needs the shelf or the caddy.
Cost: $0. Time: 5 minutes with a tape. Caveat: write the three numbers on the board end in pencil — mattress top, gap width, gap depth — before the saw comes out.
3. The cut list: one 1x12 board, five pieces
One 8 foot 1x12 gives you every piece of build A with room for a mistake. The board is 96 inches long. The five pieces use 67-1/2 inches of it, and five saw kerfs at roughly 1/8 inch add about 5/8 inch, which leaves near 27 inches spare.
| Part | Size | Qty | Notes |
|---|---|---|---|
| Top | 12 in long | 1 | Full board width, no rip. Best face up. |
| Sides | 17-1/4 in long | 2 | Cut these first and stack them to check the ends match. |
| Shelf | 10-1/2 in long | 1 | Fits between the sides: 12 in minus two 3/4 in sides. |
| Back rail | 10-1/2 in long, 3 in wide | 1 | Ripped from the spare end to stop the box twisting. |
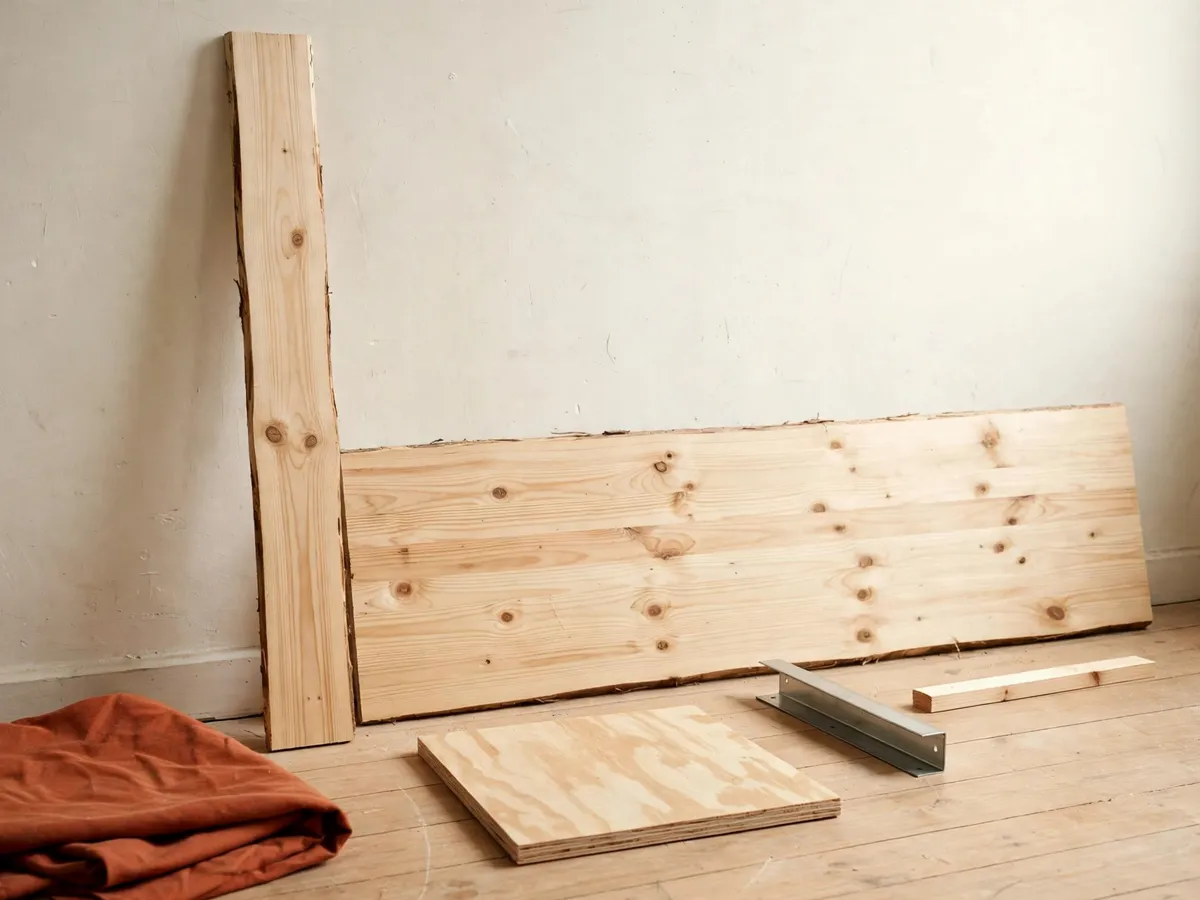
Only one cut is a rip, and it is the rail. Have it marked before you join the line — most US lumber desks rip a short piece on their panel saw, and the first one or two cuts are usually free. If you would rather not rip at all, buy a 1x2 furring strip and cut it to 10-1/2 inches.
The shelf is 10-1/2 inches because that is the space between the two sides once they are on: 12 inches of top, minus 3/4 inch for each side. Cut it across the board, not along it, and leave its depth at the full 11-1/4 inches so it finishes flush with the front edge.
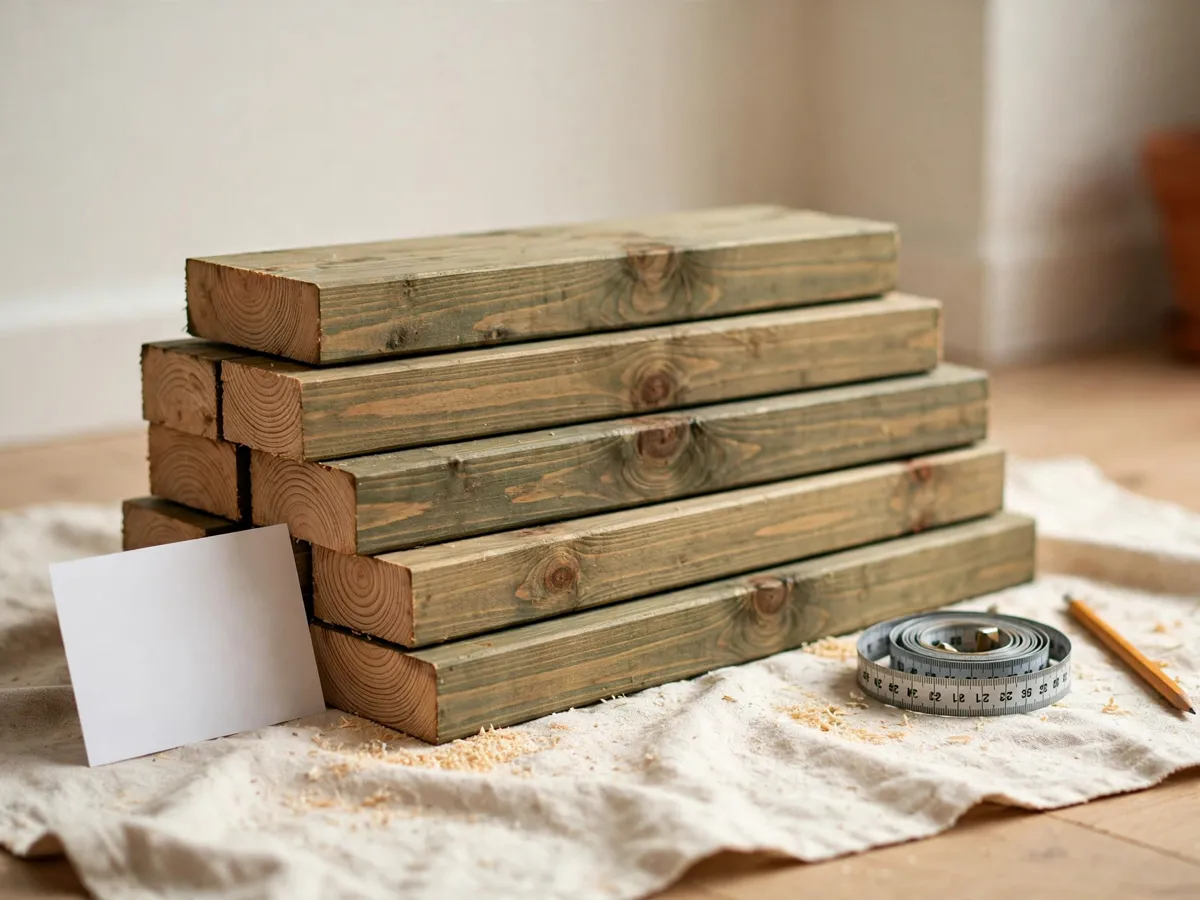
Cost: $15–$28 for the board. Time: 20 minutes of cutting, most of it spent measuring. Caveat: check the two sides against each other before you cut the top — the next section explains why.
4. Build A: the one-board slim floor nightstand
This is the slim nightstand plan to start with. Work on a hard floor, not carpet, and keep the pieces face up in the order you need them.
- Cut the two sides first. Stack them, sight down the ends, and re-cut the long one before you touch the top.
- Mark a face side on all five pieces with a pencil squiggle near an end, then keep every mark facing the same way.
- Sand the inside faces and the shelf to 120 then 180 now. You cannot reach the inside of the box once it is screwed together.
- Stand the two sides on the floor, outside faces out, exactly 12 inches apart, and brace them with a clamp or a heavy box so they cannot slide.
- Lay the top across them, flush at both ends, and pre-drill down through the top into the end grain of each side — two holes per side.
- Drive the 1-1/4 inch screws down into the sides, snug rather than cranked. Pine strips its own threads if you keep turning.
- Set the shelf between the sides with its top edge 6 inches above the floor, and pre-drill through the sides into its ends. Two screws each.
- Set the back rail between the sides, flush with the back edge and 2 inches below the top, and screw through the sides into its ends. This is the piece that keeps the box from racking.
- Check for square by measuring both diagonals of the front opening. Equal diagonals mean square. If they differ, loosen the screws a quarter turn, nudge, and re-check before tightening.
- Set every screw head just below the surface, fill the holes if you plan to paint, then sand the whole thing to 120 and 180. Wipe the dust, seal or paint, and let it cure before it goes beside the bed.
The finished size is about 18 inches tall by 12 inches wide by 11-1/4 inches deep, or 23 inches tall if you cut the sides at 22-1/4. Butt joints and screws are the whole joint — no biscuits, no dowels, no pocket holes.
Cost: $27–$49 in materials. Time: about 90 minutes of assembly, plus the cure time on whatever you finish it with. Caveat: there is no drawer. A drawer needs a table saw or a bought drawer box, and this plan skips both on purpose.
5. Build B: the wall-hung floating shelf nightstand
The floating shelf nightstand is the answer to a gap too narrow for legs. One 1x10 board 24 inches long — 9-1/4 inches deep once planed — on two L-brackets, hung so its top sits an inch below the mattress top. You gain the whole floor under it, which in a 10 foot bedroom is where the laundry basket was going to live anyway.
The honest note on diy floating shelf nightstand builds: this one makes holes. Four to six of them, and they need spackle and a dab of paint on move-out day. Ask before you drill. If the lease does not allow it, put this build in a room where anchors are allowed, or take build A or C instead. Nothing here pretends a wall shelf is hole-free.
The load limit is the part people skip. Two brackets on a 24 inch board, at least one of them driven into a stud, carry about 25 pounds spread along the length — a small lamp, a book, glasses, a phone. A 24 inch board usually crosses two studs at 16 inch centers, so find both with a finder or a magnet and mark the centers before you drill. If no stud shows up, toggle bolts are the next step and 25 pounds becomes the ceiling. Drywall plugs alone are not a nightstand.
“Floating” here means no legs, not invisible hardware. Hidden rod brackets cost more than the board and need a hole drilled in the back edge; the floating shelf cut list covers those bracket types and their real limits. Visible L-brackets under a 9 inch deep board barely show from standing height and hold the same weight.
Cost: $30–$58. Time: about 45 minutes of wall work, plus 10 minutes of patching on move-out day. Caveat: this is the only build on this page that leaves holes.
6. Build C: the mattress-gap caddy that needs no tools
Some rented rooms will not take a single hole and the gap is too shallow for anything with legs. The caddy is the fallback: a piece of 3/4 inch plywood or MDF, roughly 10 by 14 inches, slid between the mattress and the box spring so about 8 inches sits under the mattress and 6 inches cantilevers out. The mattress weight is the clamp. No brackets, no screws, no wall.
The lip is a 1-1/2 inch wide strip glued along the outer edge, so a phone cannot slide off in the night. Glue only — no fasteners, and the joint carries almost nothing. Skip the glue and the flat version still works, just with no curb at the edge. Most US lumber desks make the cuts for you: the first one or two are usually free, and the rest are charged per cut.
Where it fails, plainly. A pillow-top mattress with no box spring has no gap to slide into. A very thick mattress can swallow the board so nothing shows. A platform bed with a high side rail blocks it. It takes no weight at the outer edge — nothing heavier than a paperback, a phone or the remote. If you need a lamp, put it over the part under the mattress.
Cost: $0–$18. Time: 10 minutes, or none if the offcut is already in the closet. Caveat: it is a surface, not furniture — treat the outer 6 inches as a shelf edge, not a table.
7. What the three builds cost, side by side
These are US lumber-aisle ranges, not quotes. They move by region and by season, and the low end assumes you already own sandpaper and a partial box of screws.
| Build | Lumber | Fasteners | Paper + finish | Total |
|---|---|---|---|---|
| A — floor stand | $15–$28 | $6–$9 | $6–$12 | $27–$49 |
| B — wall shelf | $12–$20 | $12–$28 | $6–$10 | $30–$58 |
| C — gap caddy | $0–$10 | $0–$4 | $0–$4 | $0–$18 |
Three things blow this budget, and only one of them is wood. A pre-finished board costs two to three times the bare pine and it still needs a sanded edge where you cut it. Hidden floating-bracket hardware runs $25–$60 a pair — near the whole cost of build B. And a bought drawer box for a first build is $40–$90, which is why this page does not have a drawer in it. Buy the bare board and the visible brackets.
Cost: $0–$58 for one build if you already own a drill. Time: one afternoon for the floor stand, half that for the shelf. Caveat: the totals assume one build, not all three.
8. Keep a first build square
A nightstand is four joints and two ends, so almost every way it can go wrong is a measurement that drifted. Five habits cover the drift.
- Cut the sides first and stack them. If the two ends do not line up, you have found the problem while it still costs one short board instead of the whole box.
- Mark a face side on every board. Pine has a better face and a worse one, and the worse one is fine inside the box. Without the mark you will assemble it backwards and only notice after the finish.
- Pre-drill every screw hole in pine. A 1/8 inch bit through the first board and a smaller pilot into the end grain stops the split that turns an edge screw into a two-piece side.
- Assemble on a flat floor, never on carpet. Carpet lets one corner sink, and whatever you build on it keeps that twist when you stand it up.
- Sand to 120 then 180 before assembly, at least where the boards meet. The seam between top and side traps dust, and no sanding after the fact reaches into it.
The order is the discipline: sides, then top, then shelf, then rail, checking square between each one. If the box racks when you press a corner, the rail is not seated — fix it before you finish anything.
For the longer version of this thinking, the beginner woodworking plans guide covers what a plan should tell you before you buy the board.
Cost: $0. Time: 20 minutes of care spread across the build. Caveat: a single bad crosscut costs more than the box of screws.
What we would skip on a first build
- Drawer slides, and the drawer with them. Slides need a square opening measured to a sixteenth. Buy the box or skip the drawer until build two.
- A pocket-hole jig, unless it is already in the closet. Butt joints and 1-1/4 inch screws hold this box; the jig is a nicer joint, not a stronger one at this size.
- Paint on unsanded pine. Anything under 180 grit shows every sanding scratch through the paint, and the fix is stripping it back down.
- Pre-finished shelving board. It doubles the price and still needs a cut edge sanded and sealed.
- Drywall anchors as the only fixing for a wall-hung nightstand. One stud or two toggles, or pick a different build.
- Cutting all five pieces before the sides are checked against each other. That is the one shortcut that can waste the whole board.
Cost: $0 by skipping, and $25–$60 saved on the two big ones. Time: none. Caveat: skip the slides, not the drawer if you truly need one — buy the box instead.
Before the saw comes out
- Floor to mattress top measured, in inches, written down
- Nightstand top set 1 inch below that number
- Gap width, gap depth and the 24 inch walkway checked
- Board measured across the end grain — 11-1/4, not 12
- Sides cut and stacked, ends matching, before the top is cut
- Face side marked on every piece
- Pilot bit and driver bit both on the bench
- Hard floor cleared, drop cloth down, no carpet under the box
- Wall holes approved, if you are building the shelf
Cost: $0. Time: 5 minutes. Caveat: the checklist is faster than the second trip to the store.
Questions before you cut
Do I need a table saw for diy nightstand plans like these? No. Every cut in the floor stand is a square crosscut, and the only rip is the 3 inch back rail, which the lumber desk will do on their panel saw. A handsaw and a steady line are enough for the rest.
How tall should a nightstand be? One inch below the top of the mattress. A 24 inch mattress top puts the nightstand top at 23 inches, and a 22 inch mattress top puts it at 21. Cut the sides at 22-1/4 inches for the 23 inch version, or 17-1/4 inches for an 18 inch stand beside a low platform bed.
Will the wall shelf hold a lamp and a stack of books? About 25 pounds spread along a 24 inch board on two brackets, with at least one in a stud. That covers a small lamp, glasses and a book or two. Without a stud, toggles hold that figure and drywall plugs do not.
Can I add a drawer to the one-board build? Not on this plan. A drawer needs a square opening cut on a table saw or a bought drawer box, and either one costs more than the rest of the build. Build A is open shelving on purpose.
What if my bed has no box spring? Then the caddy has no gap to sit in, and the choice is the floor stand or the wall shelf. Measure the space between mattress and frame before cutting the offcut — a platform bed usually leaves none.
Save these nightstand plans on Pinterest
Pin the cut list and the height rule — those are the two things worth finding again at the lumber rack. More plan-led builds, with material lists and tool checklists you can finish in an afternoon, sit in the DIY Home Projects collection.