 Plant As Deco
Home Organization & Storage
Pantry Organization on a Budget: The $0-to-$60 Plan
By Plant As Deco · Updated 16 November 2026
Most pantry makeovers begin with a shopping trip, which is exactly backwards. The reset comes first and costs nothing: empty the shelves, toss what is dead, and group what is left by the meals you actually cook. Only then can you see which two or three containers would change your week — and which fifteen would just match. This page is that plan, in spending order: a $0 weekend reset, a price ladder for every container choice, the five buys worth making first, and a hard $60 ceiling.
Weekend-ready: $0–$60, one weekend for the reset plus short shopping trips later. Renter-safe — nothing drills, mounts or needs the landlord.
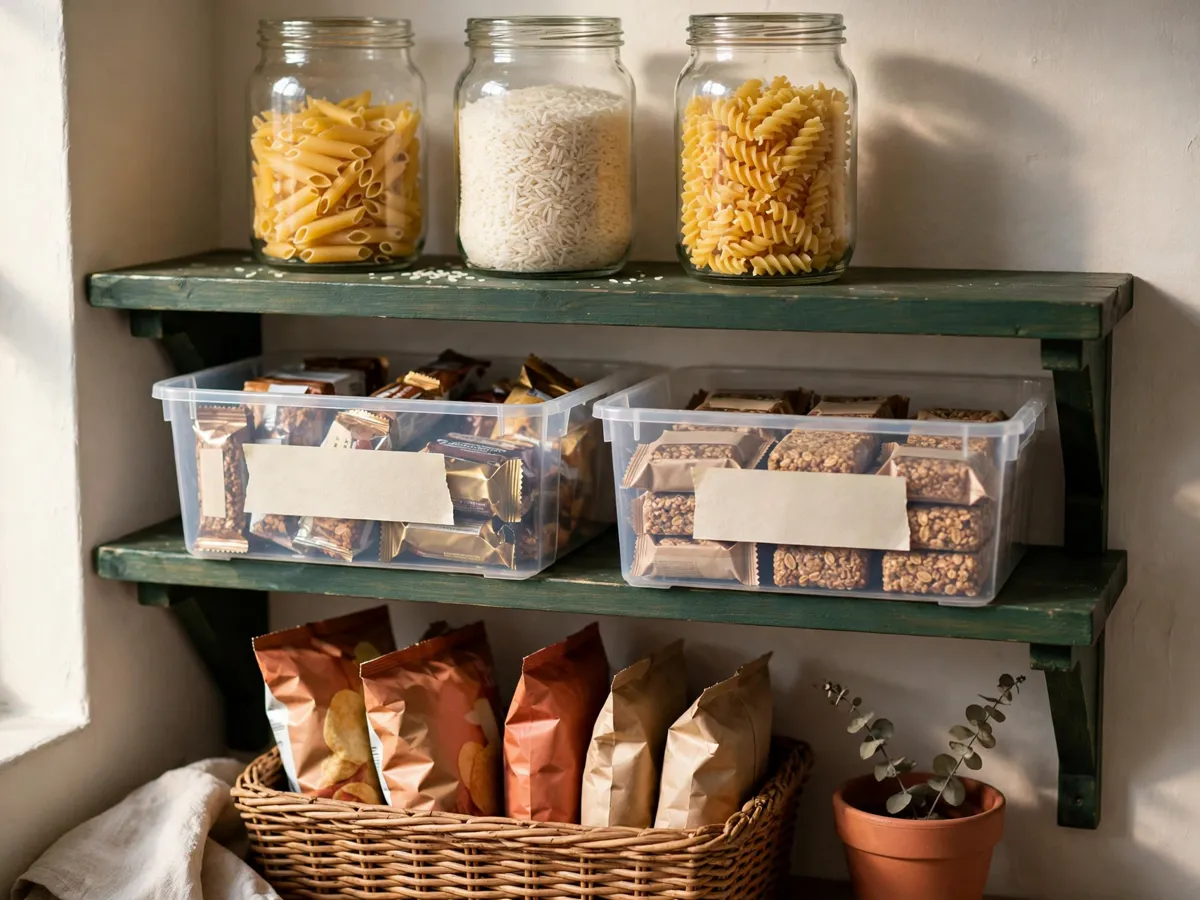
1. The $0 reset: empty it before you buy anything
Every container decision depends on information you only get after the reset: what you own, what you double-bought because you could not see it, and which shelf actually fails you. Pull everything onto the counter, grouping loosely as you go, and check dates on the way past — expired spices, the third half-bag of flour, the crackers from last spring all go. A pantry that stores food you will never eat is paying rent for nothing, and tossing it is the cheapest space you will ever gain.
Then group by use, not by package. Everything you reach for together belongs together — the oatmeal with the honey, the pasta with the canned tomatoes, the coffee with the tea. If you want the full method with the five zone names, the zone-by-zone pantry reset walks it shelf by shelf; the short version is that grouping does most of the work people blame on containers. Wipe the shelves while they are bare — it is the only moment it costs two minutes instead of twenty.
Now live in it, and cook from it, before spending a cent. Washed-out pasta-sauce and pickle jars hold the bags that spill. Shoe boxes hold the packets. The basket you never liked anywhere else holds the snacks. This is not the end state — it is the two-week test that turns "my pantry is a mess" into a specific, fixable, three-line list.
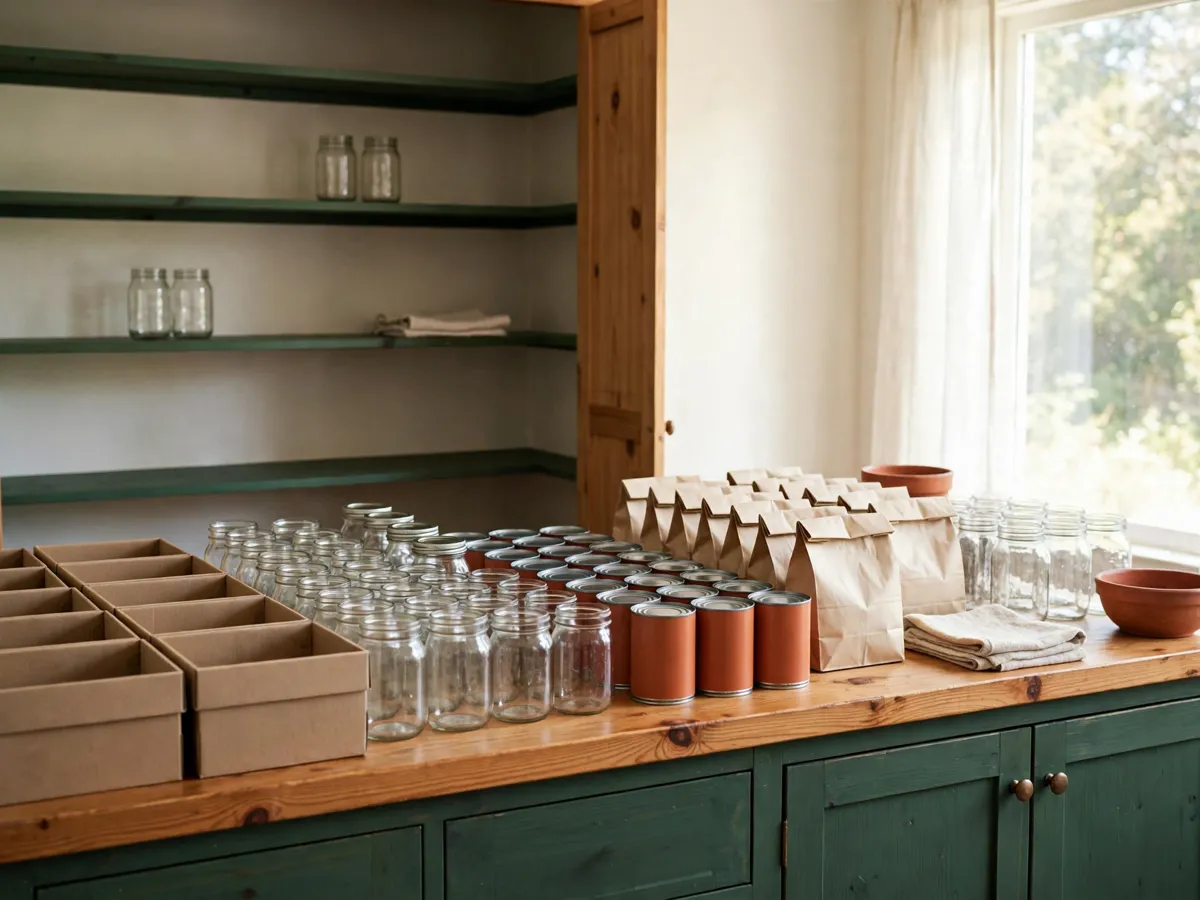
Cost: $0. Time: 90–180 minutes for a full pantry, or 45 for one cabinet. If you run out of steam, finish the top two shelves first — they hold most of the daily food.
2. The price ladder: four tiers, four different jobs
Containers are not one purchase, they are four, and confusing the tiers is where budgets die. The ladder below is the whole decision: match the tier to the job the container does, never to how it photographs.
| Tier | Price | Holds well | Fails when |
|---|---|---|---|
| Reused | $0 | Light dry goods, packets, the working amount of a staple | Only as many as you save; sizes never match |
| Dollar-store | $1–$3 | Light snacks, packets, spice pouches on a shallow shelf | Weight bows the base; shallow depth wastes a deep shelf; cracks when carried full |
| Mid-range | $4–$10 | Bins you carry monthly, deep-shelf bins, stackable snack bins | Costs stack — eight bins at this tier spends the whole budget |
| Sturdy | $10–$15 | Heavy staples — flour, rice, backup amounts — and any bin carried weekly | Buying here first, before the reset, is the classic mistake |
Two rules fall out of the ladder. First: a $1 bin holding granola bars does exactly the job a $14 bin would do — light food, still shelf, shallow zone — so buy the cheap one and keep the difference. Second: the sturdy tier belongs only where weight or carrying is involved; spending it anywhere else is buying the look, not the fix. And if your shelves are the wire kind common in rentals, pick bins with a flat solid base for anything small — round jar bottoms and wire gaps argue.
Cost: $0–$60 across the whole ladder, spread over the phases below. Time: 60 minutes to shop once you know your tiers, 45 minutes to fill. Buy the deep bin at the sturdy tier and let the light zones stay cheap.
3. What to buy first: five purchases, in this order
The buy order is the part budget guides skip — they show the finished pantry, not the shopping sequence. This one is ordered by what fails loudest: spilling first, overflow second, invisibility third.
- One deep bin for the bag zone. The shelf where half-open bags lean and spill — flour, sugar, oats. This is the single container that changes daily life most, because it ends the spill that cascades every time someone reaches past it.
- Two medium bins for the snack zone. It is the zone that overflows first in nearly every pantry, because it gains something from every shopping trip. Two bins, not one, split however your household actually snacks.
- One slim tray for the packets. Sauce sachets, seasoning mixes, the coffee filters — the flat things that never have a home and slide to the back of every shelf. A tray turns the pile into a drawer you can pull.
- One small caddy for the daily carry. Coffee, tea, the sweetener — whatever walks to the counter every morning. A caddy with a handle ends the four-trip breakfast.
- A roll of masking tape and a marker. One word on the front edge of each bin. The tape peels off clean at the next reset, so the label can change when the zones change.
Everything else — matching jar sets, shelf risers, turntables, can racks — is a later purchase, and only a purchase if the failure list from section six still names it. Buying any of them first is paying to solve a problem you have not confirmed you have.
Cost: $18–$35 for the five. Time: 30 minutes to shop, 45 to place and label. If one purchase must be skipped this month, make it the caddy — the tape can label a shelf edge in its place for now.
4. Dollar-store bins vs proper bins: the carry test
Where the cheap bin wins: light food, a bin that sits still, a shallow shelf, a zone you reorganize often. If a bin holds granola bars and never leaves the shelf, there is no honest reason to pay four times more for it — the food cannot tell, and neither can the shelf.
Where it fails, in the order you find out: weight, depth, carrying. A five-pound bag of flour bows a soft base until the lid stops closing. A shallow dollar bin on a deep shelf wastes the back half of the shelf — you paid less and lost space, which is the worst trade on this page. And a full dollar bin carried to the counter and back is the one that cracks first. Proper bins earn their price exactly three ways: they hold weight, they survive carrying, and they sit flat and stack square.
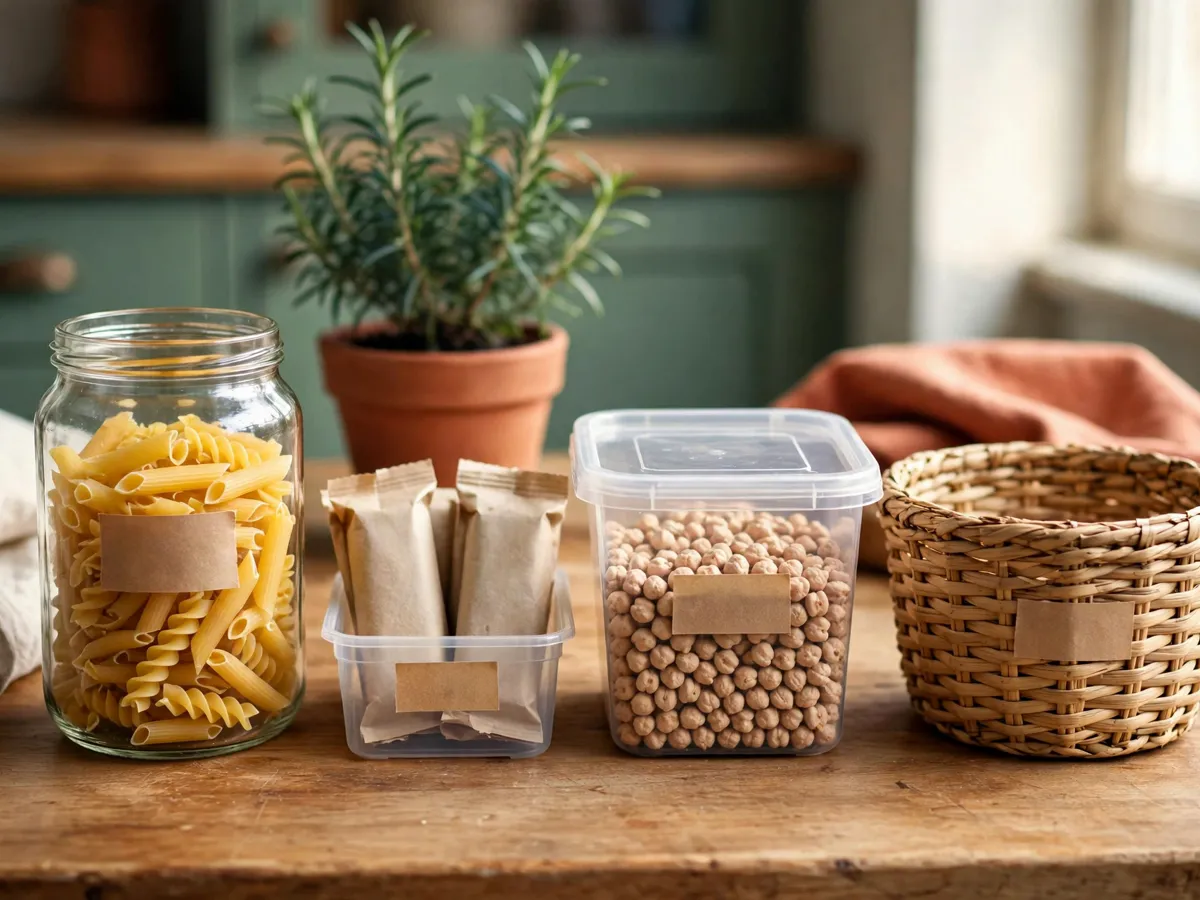
So run the carry test before every purchase: will this bin be lifted out monthly or more? Yes — buy the sturdier tier, once, and stop rebuying. No — the dollar bin does the job for a quarter of the price. The test works because it separates the containers that are tools, moved and loaded and trusted, from the containers that are walls, sitting still and holding light things and marking a zone.
Cost: $1–$15 depending on the verdict. Time: 2 minutes per bin, at the shelf. Replacing a cracked cheap bin twice costs more than one sturdy bin — run the test before the crack, not after.
5. Decanting: what pays for itself, and what never does
Decanting — moving food from its bag into a jar — pays for itself only when one of three things is true: you buy that staple weekly and want to read the level from the doorway; the bag spills every time someone reaches past it; or the bag hides how much is left, so you buy a duplicate you already owned. Rice, pasta, oats, and flour if you bake often are the usual yeses.
It never pays for the monthly items, the one-off spices, or the backup amounts. The backup bag stays a bag — decanting storage food doubles your container count for zero daily gain, and the bag keeps its printed date where you can read it. Decanting food that finishes slowly also means the jar, the washing and the label bought you nothing: the same money spent on one bin for the spill shelf does daily work.
Jars themselves sit on the price ladder. Reused glass — pasta sauce, pickle, jam jars — is the $0 tier and it is genuinely good: airtight, washable, and free with food you already bought. Wash them, dry them overnight, and pick the sizes that fit your shelf depth rather than the ones that photograph well. A matching jar set is the $12–$30 tier, and it is a phase-three purchase only: buy it after the free jars have served for a month, not before.
Cost: $0 with reused jars, $12–$30 if the matching set ever earns itself. Time: 15 minutes to wash a batch, 20 to fill. Dry the jars fully overnight — a damp jar ruins the staple you decanted to save.
6. The phased plan: $0, then $25, then $60, then stop
Phases exist because the failure list is written by living in the pantry, not by reading this page. Spend in this order and every dollar lands on a problem you have actually met.
Phase one, $0, this weekend: the reset, the grouping, the reused jars and boxes. The gate: live in it two weeks and write down the exact moments the pantry failed you — "could not see the rice", "the flour spilled again", "could not find the tea". No shopping until the list has two real entries.
Phase two, about $25, against the list: the five buys from section three, sized to what failed. Usually the deep bag bin and the two snack bins cover the top of the list, with tape left over. The gate: one more month, same habit — what still annoys you every single week?
Phase three, up to $60 in total: finish the working set. The sturdy bin if the list still names the flour shelf, the jar set if the free jars have been in daily service, the tray or caddy if they are still missing. Then the ceiling: at $60, stop. Past that line you are decorating — matching lids, coordinated colors, a seventh bin for a zone that was never full — and a pantry that still fails at $60 has a food-volume or shelf-depth problem, not a container problem.
Cost: $0, then $25, then to $60 — and never past it. Time: two weeks of living between each phase. A phase skipped forward almost always means containers bought for a problem the reset never confirmed.
Before you spend anything
- Everything out, expired tossed, duplicates counted and noted
- Food grouped by the meals you actually cook, not by package
- Two weeks lived in the $0 reset, failure list written
- Every bin purchase named against a line on that list
- Carry test run: lifted monthly — sturdy; sits still — dollar tier
- Working amounts in containers, backup amounts in bags
- Running total tracked against the $60 ceiling
Cost: $0 to check. Time: 10 minutes, best spent before any shopping trip.
What we would skip
- A matching jar set for everything — decant the weekly staples into free reused glass and leave the rest in bags.
- Shelf risers before measuring the shelf — a riser on a shallow shelf steals headroom you did not have.
- A turntable for the oils you touch monthly — it earns its spin only where everything is reached daily.
- Labeling a shelf that is still full — label the empty bin, in tape that peels.
- Shopping before the reset — you would buy containers for food that goes in the trash that same afternoon.
- Replacing every bin at once — phases cost less because later phases often do not need to happen.
Cost: $0 to skip, and it is the cheapest section on the page. Time: 2 minutes to read.
Common questions
Can I actually organize my pantry for $0?
Yes — the reset, the grouping and reused glass jars solve most of what feels broken, because much of it was grouping, not containers. The money is for the two or three shelves the reset proves are failing.
Are dollar-store bins worth buying?
For light food on a shelf that sits still, yes — the cheap bin does the same job. Run the carry test: if the bin leaves the shelf monthly or more, buy the sturdier tier once instead.
What should I decant first?
The weekly staples in bags that spill: rice, pasta, oats, and flour if you bake often. Leave monthly-use items, one-off spices and backup amounts in their bags — the jar buys you nothing there.
How much should pantry organization cost in total?
$0 to $60, spent in phases: $0 for the reset, about $25 against the failure list, and up to $60 to finish the working set. Past $60 you are decorating, not organizing.
Does this work for a single cabinet instead of a real pantry?
Yes — the zones become shelf levels and the phases shrink, but the order is the same: reset at $0, buy against failures only, and keep the backup amounts at the back of the highest shelf.
Save these on Pinterest
Pin the price ladder — four tiers, four jobs — so the next container aisle starts at the right tier instead of the prettiest one. This guide lives in the organization and storage collection with the rest of the checklists.