 Plant As Deco
Small Room Decor
Warm Lighting Bedroom Ideas: The Bulb Sheet, Three Layers, One Switch Fix
By Plant As Deco · Updated 16 November 2026
Warm lighting bedroom ideas come down to three decisions you can make in one evening: which bulb number goes in each socket, how many layers a small room actually needs, and how each layer gets its own switch. This guide covers the bulb sheet — kelvin, lumens and the color-accuracy number that changes how skin and bedding look — then a three-layer plan sized for a rental bedroom with one landlord fixture, and the fix for the switch that runs the ceiling fan and the light together. No rewiring, no new fixture, no drilling.
Weekend-ready: $60–$280, one evening. Renter-safe, no wiring.
1. Read the number on the bulb, not the word on the box
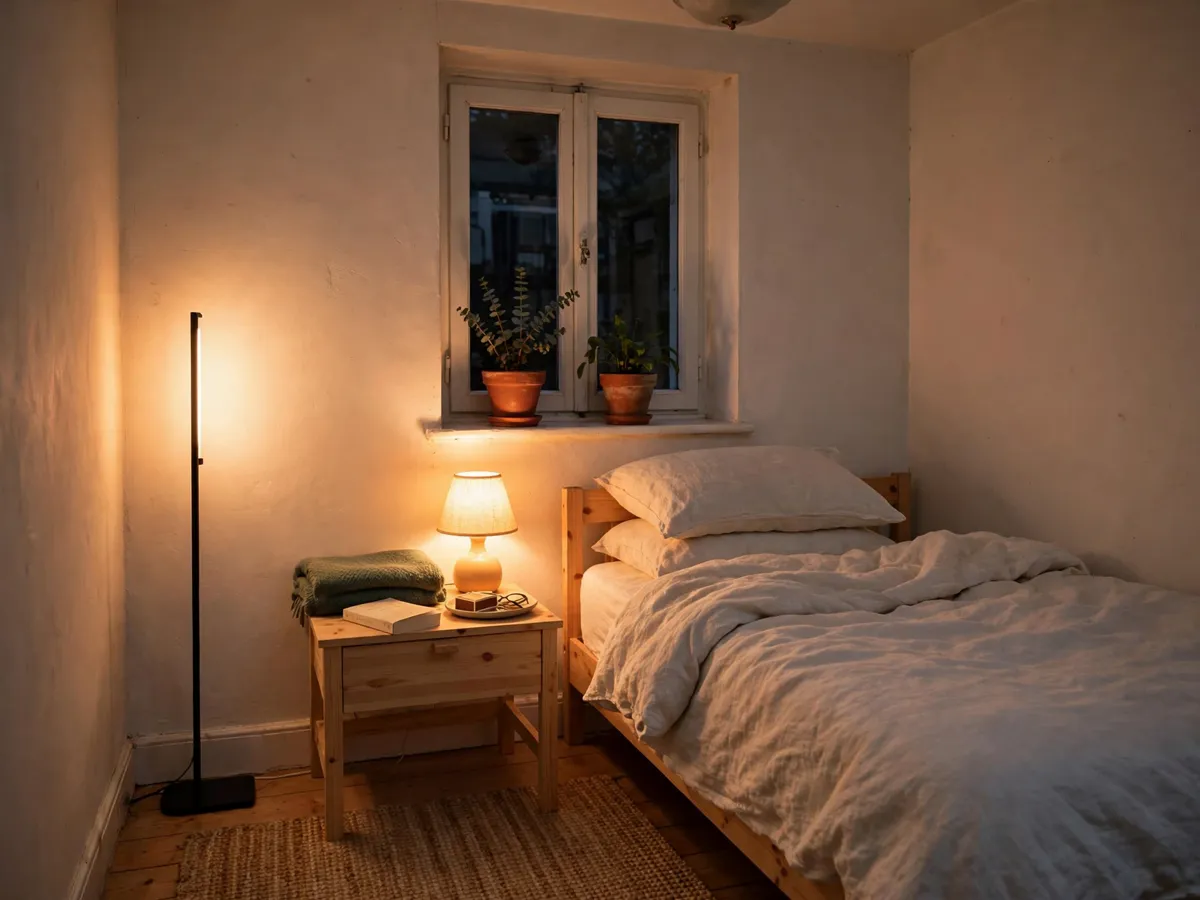
Start with kelvin, because it is the only warmth number a manufacturer has to print honestly. Lower means amber, higher means bluish. Candle flame sits around 1900K. 2200K is the color of an old incandescent bulb near the end of its dimming range — deep amber, no blue in it at all. 2700K is the classic warm household bulb and the tone this plan uses for its working lamps. 3000K reads crisp rather than cozy. 3500K to 4100K is the neutral white of a kitchen or an office. 5000K and above is sold as daylight, and in a bedroom it reads like a parking lot at 9 p.m.
The words on the box are marketing and they are not consistent between brands. "Soft white" is usually 2700K, but "warm white" is 2700K at some brands and 3000K at others, and a third label, "general purpose", can mean either. That is why two bulbs both calling themselves soft white can sit side by side on two nightstands and make one of them look dirty. Turn the bulb over: the kelvin number is printed on the glass or on the base, and it is the number to match across the room.
The second number worth reading is the color rendering index, CRI, a 0-to-100 score for how faithfully a bulb shows colors under it. The cheap shelf standard is 80. Ninety and above costs a dollar or two more per bulb and it shows exactly where a bedroom needs it: on skin in the morning when you are dressing by lamplight, on wood floors and veneer headboards, on a terracotta pot, on linen bedding. A low-CRI warm bulb turns a pine-green wall slightly grey, makes beige bedding look sallow and flattens the difference between a walnut frame and a pine one. In a room where the lamp is also the dressing light, that is the cheapest quality upgrade on the whole page.
The third line on the box decides whether a bulb can be dimmed at all: "dimmable" or "not dimmable". A non-dimmable LED on a dimmer buzzes, flickers at the low end and dies early. And one feature to look for by name is "dim-to-warm": instead of holding 2700K and merely getting darker, those bulbs slide down toward 2000K to 2200K as you turn them down, which is the incandescent look most people are actually chasing. It is a bulb feature, not a dimmer feature, so it has to be on the package.
For the living room version of the same question, the warm lighting living room guide holds one tone across three corners; a bedroom can afford a step warmer on the glow layer because nobody reads the wall.
Cost: $16–$36 for four 2700K bulbs at CRI 90 or higher. Time: 15 minutes to swap and check the room after sunset. Match the kelvin number, not the label — the label is brand copy.
2. Lumens: what 400, 800 and 1100 look like in a small bedroom
Lumens are output; watts are the old shorthand that used to imply it. The equivalents still hold as a translation: 400 lumens is what a 40-watt bulb threw, 800 is a 60-watt, 1100 is roughly a 75-watt and 1500 to 1600 is a 100-watt. An LED reaching those numbers draws about 4, 8, 10 and 15 watts. A bedroom is the room where fewer lumens is usually the right answer, and where the spread matters more than the total.
400 lumens in a nightside lamp is enough to find a phone and read a page when the rest of the room is dark, and it goes grey against a sunny window. In the ceiling socket it is the compromise bulb: the fan comes on, the room gets a soft wash instead of a flood. 800 lumens is the comfortable reading lamp, and the same bulb in a corner floor lamp lights the wall for three or four feet around it, which is what makes the corner stop reading as a black hole. 1100 lumens is dressing brightness — the moment you need to see a lint mark on trousers — and in a 10-by-12 room a single 1100-lumen bulb overhead flattens every corner and every fold of the bedding into one glare.
Our working numbers for a small bedroom, roughly 100 to 140 square feet: around 1,200 to 1,600 lumens spread over three sources for the evening, with the overhead left at 400 to 800 because it is the fan compromise rather than the atmosphere. The dressing and cleaning moment can reach 1,600 to 2,000 lumens if the ceiling takes an 1100-lumen bulb and one lamp adds 800. Those are our budgets and habits, not a code requirement, and a room with a dark wardrobe wall or a north-facing window will want the upper end.
Two sockets in the ceiling fixture are the common trap. Two 800-lumen bulbs make 1,600 lumens from one point, and one point at that height reads harsher than 1,600 lumens laid across a nightstand, a corner and a headboard wall — even though the number on the boxes is identical. If the fixture has two sockets, put the warmer, lower-output pair in it and spend the saved money on the layer below.
| Kelvin | Lumens | Where it goes | What it costs |
|---|---|---|---|
| 2200K | 400 | The glow layer: behind the headboard, the strip or rope on its lowest step, the corner uplight | $6–$12 a bulb |
| 2700K, CRI 90+ | 800 | The workhorse: each nightside lamp and the corner floor lamp | $4–$9 a bulb |
| 2700K | 400 | The overhead compromise bulb, in a fan-light combo or any single-switch fixture | $3–$6 a bulb |
| 2700K, dim-to-warm | 800–1100 | Any lamp on a dimmer, where the low end drops to about 2200K instead of only darkening | $8–$14 a bulb |
| 3000K | 1100 | Dressing and cleaning only, if you want the overhead a touch crisper — never in the glow layer | $5–$10 a bulb |
| 5000K and up | any | Nowhere in this room — the daylight label is the one that kills the warm plan in a single socket | skip it |
Cost: $0 to plan. Time: 10 minutes to write one line per socket. Buy lumens by role — one high-output bulb in the wrong place costs the room its glow.
3. Three layers, sized for a rental bedroom
A bedroom has three lighting jobs, and a rental gives you exactly one of them fixed. The overhead layer is the landlord fixture: a flush mount, a fan-light combo, or a bare single socket on a cord. Its job here is dressing, cleaning and finding things — never atmosphere. Do not replace it. A new fixture is $60 to $200, it belongs to the landlord the moment it is mounted, the original bracket has to go back, and the swap leaves you explaining a hole or an exposed box at move-out. Change the bulb in it instead, which is $3 to $10 and travels with you.
The task layer is the nightside light, and the rule is one per sleeper rather than one per bed. Two people sharing one lamp means the room goes dark for the non-reader the moment the reader stops, and it means one arm has to reach across the other person to reach a switch. One 800-lumen warm bulb each, aimed at the page or the hands, not at the ceiling and not across the pillow.
The ambient layer is the glow, and in a small bedroom it takes the corner or the headboard wall. This layer is about the wall, not the floor: light spread on a vertical surface makes the room read larger and softer, while light pooled on the floor makes it read smaller and closes in the corners. Two ways to get it. A floor lamp in the corner that the eye lands on when you sit down — the corner diagonally from the door, usually beside the window or the wardrobe wall. Or, if the bed backs onto a wall, a strip or a length of rope light tucked along the top back edge of the headboard or into the gap between headboard and wall, set back far enough that the diodes never show and only the wash on the wall does. In a room with no floor space for a lamp, the headboard wash is the whole glow layer, and it costs less than one lamp.
Where each one physically goes, in a room with barely any space to spare. The floor lamp stands clear of the barefoot path — the 20 to 24 inches along the side of the bed that feet cross in the dark — with its base on the wall side of the walkway, not the middle of it. Its cord runs along the baseboard to the nearest outlet, taped flat where anyone steps. The nightside lamps sit on the nightstands with their cords dropping behind the inner leg, never across the top where a phone and a glass of water already live. The headboard strip plugs into the outlet behind the bed, or into a small strip so it shares nothing with a vacuum.
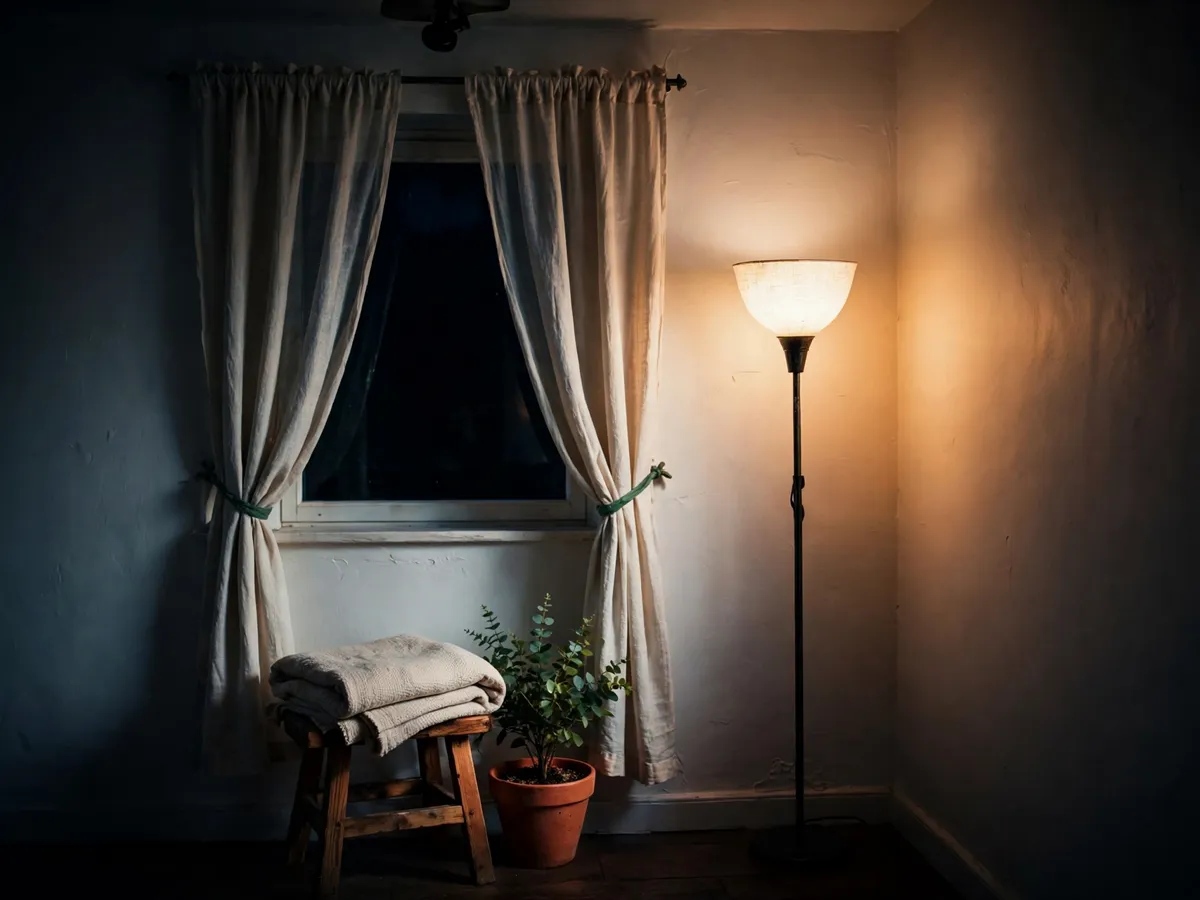
If the budget says one thing at a time, buy in this order. Nightside lamp first, because it is used every single day. Then the overhead bulb swap, which is five dollars and changes the harshest moment in the room. Then the corner or headboard glow. The fourth fixture can wait until the three above are placed and aimed; a bedroom with three working layers does not need a fourth, and adding one before the three settle is how a room ends up reading as a set of bulbs instead of a set of pockets. The cozy small bedroom guide handles the furniture side of the same room, and the low-ceiling bedroom guide covers the case where a tall floor lamp will not fit at all.
Cost: $40–$90 for the corner floor lamp, $12–$25 for the headboard glow, $5–$10 for the overhead bulb. Time: 30 minutes to place and route cords. Light the wall with the glow layer, not the floor.
4. Where the nightside lamp physically goes
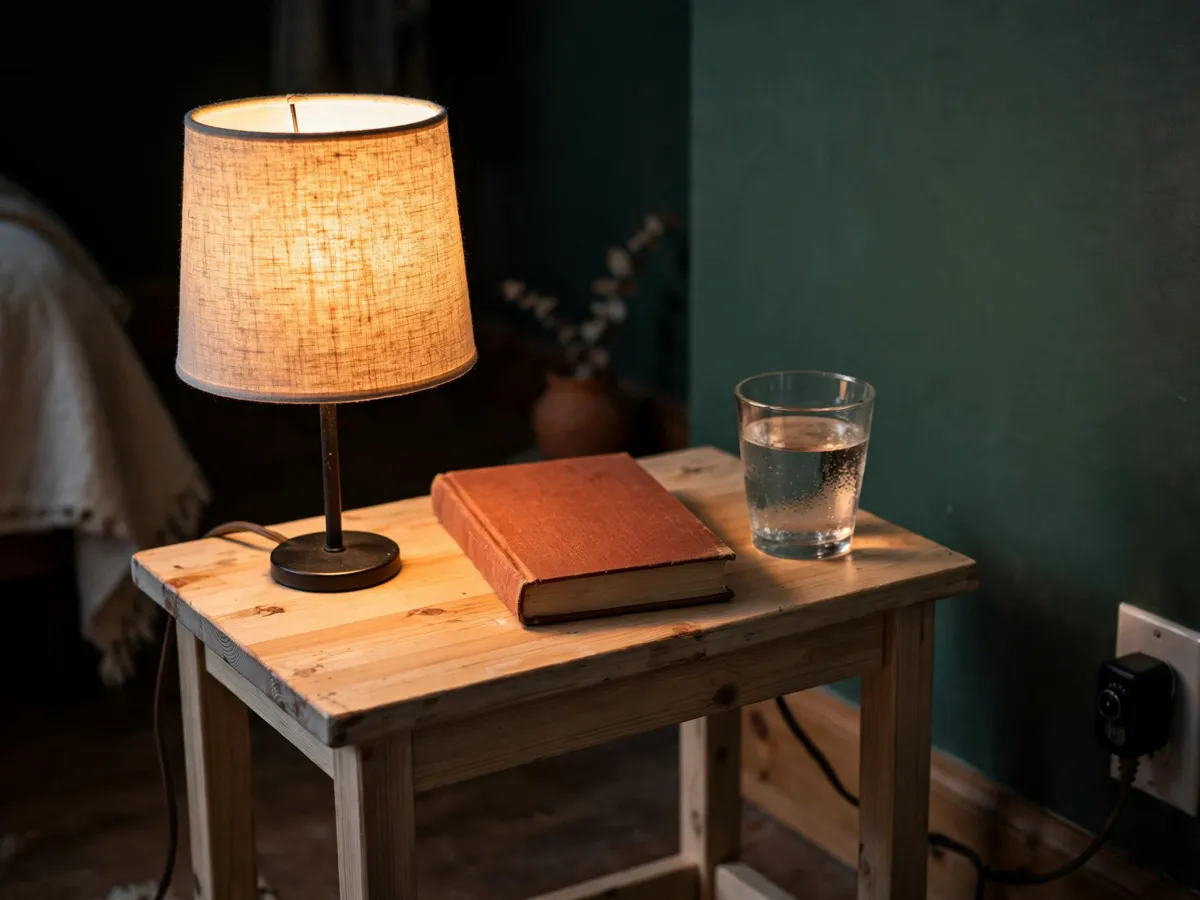
Measure the nightstand top before you look at a single lamp, because in a small bedroom the nightstand is usually 14 to 18 inches wide and a 5-to-6-inch lamp base eats a third of it. You need a clear 6-to-8-inch patch for a phone, a glass and the hand that reaches in the dark. A 20-to-24-inch lamp with a 4-to-5-inch base is the shape that works; a wide drum-base lamp on a narrow nightstand is furniture sabotage dressed as lighting.
Height matters more than style here. A 20-to-24-inch lamp on a 24-to-26-inch nightstand puts the lower edge of the shade at roughly 44 to 50 inches from the floor, which is about the eye height of someone sitting up against the headboard. That is why the small lamp works and a tall one does not: a taller shade throws light over the top of the book and into the other person's face, and a shorter one leaves the page in shadow. Aim the opening at the page or the hands. If the shade is fixed, turn the whole lamp a quarter so the opening faces inward rather than across the bed.
When there is no nightstand — the bed in a corner, a 12-inch gap behind the headboard, or a desk doubling as the surface — three renter-safe options remain. A clamp lamp grips a headboard edge or a shelf lip that has at least two inches of solid material to bite, with a rubber pad so it does not mark the finish; that is $12 to $25 and it keeps the whole surface free. A narrow console or a plant stand at 10 to 12 inches wide takes a small lamp beside the bed where a full nightstand will not fit. What does not work is an adhesive shelf: the ones rated for a towel and a soap dish will not carry a lamp, a cord pull and a years-long heat cycle, and the failure mode is the lamp landing on the floor at 2 a.m.
The outlet is the last physical problem. One wall socket beside a bed usually has to serve two lamps, two phone chargers and the glow strip. A short power strip with an individual switch per outlet solves two things at once: nothing is unplugged to turn a light off, and each sleeper gets a switch that does not cross the other person. Twelve to twenty dollars, mounted or taped under the nightstand edge rather than lying on the floor where it collects dust and a vacuum nozzle.
For a shared room, the placement question is really a courtesy question, and the same logic runs through the small bedroom for couples guide : two sleepers, two surfaces, two switches. The nightstand guide sizes the furniture this section sits on top of.
Cost: $25–$60 per nightside lamp, $50–$120 for two; a clamp lamp is $12–$25 and a switched strip $12–$20. Time: 20 minutes per side. Buy to the nightstand width first — the style is the last decision, not the first.
5. The switch reality: one switch, a fan, and no rewiring
The most common rental bedroom problem is not the bulb, it is the switch: one wall switch that controls the ceiling fan and the light together, because a fan-light combo usually arrives wired as one circuit, and separate fan and light switches need a second wire the switch box may not have. Every fan moment becomes a light moment, and the soft glow plan falls apart each time anyone reaches for cool air.
Work through these in order of cost. First, look up at the fixture for pull chains. Many combos carry two, one for fan speed and one for the light, and if yours does, the wall switch stops being the problem: leave it on and the light chain separates the two jobs. That fix costs nothing and takes two minutes. Second, if there is no light chain, put a 400-lumen 2700K bulb in the ceiling socket, three to six dollars, so the fan-on moment is a wash rather than a flood. Third — and this is the real solution — move the room atmosphere to the lamps, each with its own switch, so whatever the ceiling does stops mattering.
A plug-in cord dimmer is the cheapest control upgrade in the whole plan: ten to fifteen dollars, it clips onto the lamp cord within reach of the pillow, and it turns one fixed lamp into a range from 100 lumens to 800. Check the package says LED-compatible. The older incandescent-only dimmers are forward-phase, and with an LED bulb they buzz, flicker at the low end or cut out; a trailing-edge LED dimmer does not. Pair it with a bulb marked dimmable, and the nightside lamp gets every level the plan needs without a single smart device.
Smart bulbs have one job in this room and it is not the lamps. Their catch is that the wall switch has to stay on, because the bulb loses power with it and an app cannot reach a dead socket — so the first roommate, guest or cleaning shift that flips the switch resets the whole thing to off. That makes them worth it on the one socket you cannot put a cord dimmer on: the hardwired ceiling fixture. Eight to fifteen dollars for that single bulb, plus a habit of leaving the switch on, and the overhead gets dimming and a warm low end. On the lamps, a $12 dimmer does the same job for a third of the price and cannot be defeated by someone else's hand.
There is a fourth option for a bare ceiling socket with no chain: a pull-chain socket adapter that screws into the socket and takes the bulb on top of it. It is not rewiring, but it does mean reaching inside the fixture, so the power goes off at the wall switch and the breaker first, and if the fixture will not come down easily or the breaker sits in a locked corridor, skip it and stay lamp-side. The same applies to any swap behind a cover plate: this plan is built so nothing needs one.
Cost: $0 for the pull-chain check, $10–$15 per plug-in dimmer, $8–$15 for one smart bulb on the overhead only. Time: 15–30 minutes. Give every layer its own control, or the room has exactly one setting.
6. The night order: which layer goes off first
Once the layers exist, the last decision is the sequence, and it is worth agreeing out loud in a shared room. This is the order we run: the overhead is off from the moment the evening starts and the lamps carry the room. The glow layer — the 2200K strip behind the headboard or the corner on its lowest step — retires first at the end of the night, for a plain physical reason: it is the closest source to a face lying on the pillow, so in an otherwise dark room it reads as the brightest thing in view even at its lowest setting. The nightside lamps go next, each sleeper on their own switch, and the overhead is the last light of the day — back on briefly for the final functional minute, the charger, the laundry, the lock check.
The point of the order is that the coolest, highest, harshest source is never the one you are sitting in. It is a tool you reach for and put down. A room that runs on its overhead from 7 p.m. and then clicks to total darkness at 11 has one setting and no in-between, and that is the setup most people live in until they notice the lamps were the answer the whole time.
With two sleepers, the order is per person, which is the entire argument for one lamp each: the reader keeps their 800-lumen nightside lamp on its dimmer while the other side runs on the glow alone, and neither switch touches the other person.
Morning reverses the priorities rather than canceling them. The same bulbs read differently against daylight: a 2200K glow disappears next to a bright window, and the 2700K CRI-90 nightside lamp becomes the dressing light, which is where the color-accuracy number earns its two extra dollars. In a room with a small or north-facing window, that lamp is doing double duty all day, so buy the honest bulb for it and the warm glow bulb for the layer that only ever runs after sunset.
Judge the whole plan after dark, once, with the ceiling off. Stand in the doorway — the view a guest gets — and check that three separate pockets read as pockets rather than one dim blur. Then sit on the bed and look slowly around the room. If one source is obviously the brightest thing in view, that layer is carrying too much and its dimmer goes down a step; if a corner is entirely black, the glow layer is pointed at the floor instead of the wall.
Cost: $0. Time: 5 minutes to agree the order and one evening to check it after dark. This is a household convention about feel and glare, not a health instruction.
What we would skip
- The full-room smart-bulb kit — six sockets, six apps, six prices. One smart bulb on the ceiling socket you cannot dim any other way, and $12 cord dimmers on the lamps that matter, buys the same control for less.
- "Daylight" 5000K bulbs anywhere in a bedroom, including the one left over from the garage. A single cool socket next to three warm ones reads as a mistake, not a palette.
- Hardwired sconces, a new flush mount, or any fixture swap in a rental. The bulb in the existing socket is the upgrade that travels with you.
- A non-dimmable LED on a dimmer, or an incandescent-only dimmer with LED bulbs. Buzzing, flicker and an early death, for no change in the light.
- An adhesive shelf as a lamp stand. Rated for a towel, not for a cord pull and a heat cycle.
- One shared nightside lamp for two sleepers, and the fourth lamp before the three layers are placed and aimed.
Cost: $0 to skip. Time: 5 minutes to rule out the kit, the cool bulb and the fixture swap.
The before-you-buy checklist
- Kelvin number read off the bulb or the box, not the label — 2700K for the working lamps, 2200K for the glow
- CRI 90 or higher on the nightside lamps, the ones that double as the dressing light
- Lumens written per role: 400 overhead, 800 per nightside lamp, 800 for the corner, 400 for the glow
- Nightstand width measured before the lamp is chosen: 5–6 inch base on a 14–18 inch top, with a 6–8 inch clear patch left over
- One task lamp and one switch per sleeper
- Floor lamp and cords kept out of the 20–24 inch barefoot path, cords along the baseboard
- Glow set back behind the headboard edge so only the wall wash shows
- Every layer given its own control: pull chain, $12 LED-compatible cord dimmer, or one smart bulb on the overhead only
- Budget written first: bulbs $16–$36, two nightside lamps $50–$120, glow $12–$25 or corner lamp $40–$90, dimmers $10–$30 — $60–$280 all in
Cost: $0 to check. Time: 15 minutes before the first store run.
Common questions
What bulb color should a bedroom use?
2700K for the working lamps and 2200K for the glow layer, matched by the printed kelvin number rather than the words on the box. Keep CRI at 90 or above on the nightside lamps, since those double as the dressing light.
How many lamps does a small bedroom actually need?
Three layers, which usually means two or three fixtures: one nightside lamp per sleeper, plus a corner floor lamp or a headboard glow, with the existing overhead bulb swapped to a 400-lumen warm one. A fourth lamp waits until those are placed and aimed.
The ceiling fan and light share one switch. What are the options?
Check the fixture for a second pull chain first — that separates the two jobs for nothing. If there is none, drop a 400-lumen 2700K bulb into the ceiling socket so the fan-on moment stays soft, and run the room atmosphere on lamps that each have their own switch.
Are smart bulbs worth it in a rental bedroom?
For the one hardwired overhead socket, yes, as long as the wall switch stays on. For the lamps, no: a $12 LED-compatible cord dimmer gives the same range for less and cannot be switched off by anyone else in the house.
Which layer should turn off first at night?
The 2200K glow behind the headboard, because it sits closest to a face on the pillow and reads brightest in a dark room. The nightside lamps follow on their own switches, and the overhead comes back only for the last functional minute.
Cost: $0 to use these answers. Time: 2 minutes to check them against your room.
Save these on Pinterest
Pin the bulb sheet first — kelvin, lumens and CRI decide every other buy on this page — then the three-layer placement and the one-switch fan fix. This guide sits in the Small Room Decor collection with the rest of the room guides.
Cost: $0 to save. Time: 1 minute to pin the three views you want handy at the store.