 Plant As Deco
Gardening & Planting Tips
Composting for Beginners: The Apartment Version, Start to Finished Compost
By Plant As Deco · Updated 16 November 2026
Apartment composting fails for one reason: it is run like a backyard heap. A heap eats a wheelbarrow of leaves; a kitchen produces a handful of coffee grounds and a carrot peels worth of scraps a night. This page sizes the whole job to the scraps you actually make — the greens-and-browns balance in real amounts, a bin that fits where you live, the two failures every apartment composter meets (flies, smell) and their fixes, and what to do with a handful of finished compost when you have no garden beds.
Weekend-ready: $0–$40, one afternoon to set up. Renter-safe, no drill needed, bin fits under a sink or on a balcony corner.
1. What compost is — and what it is not
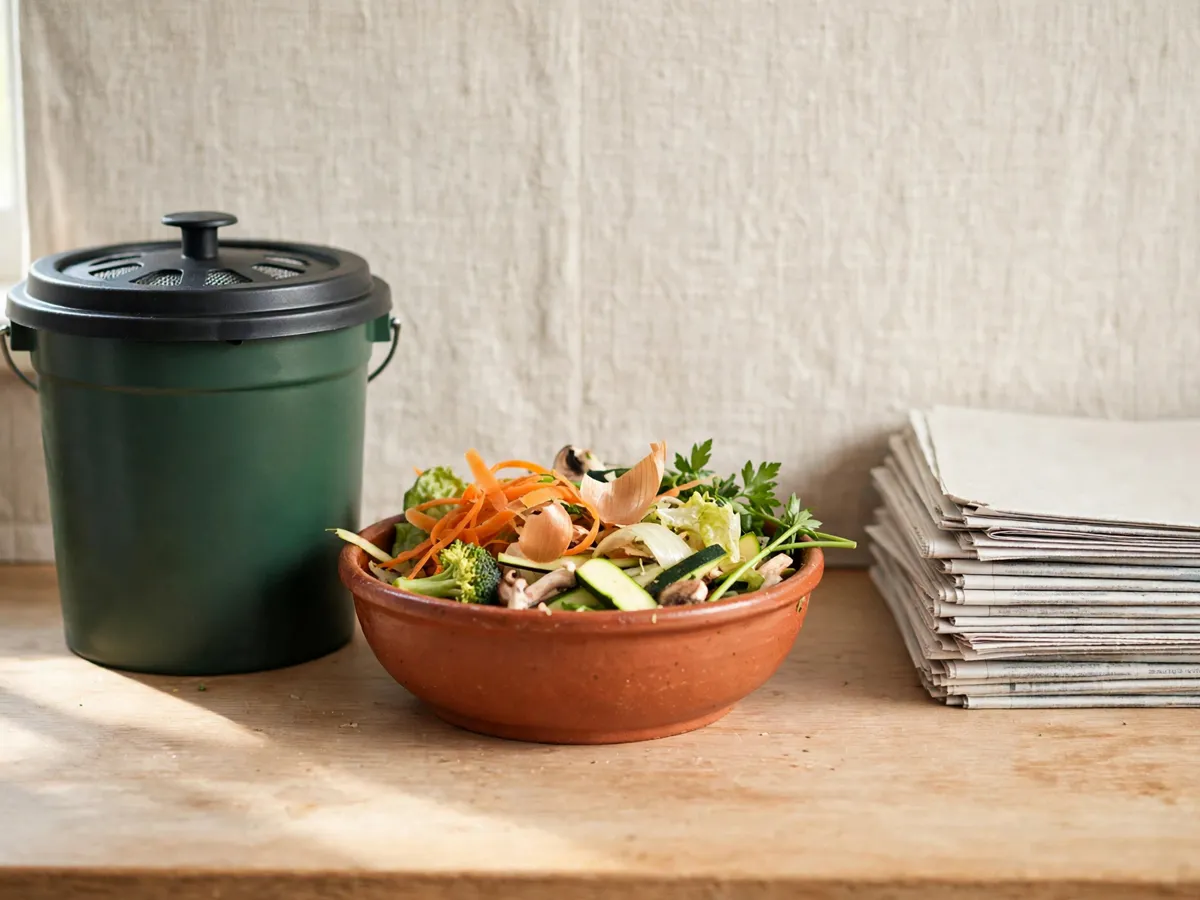
Compost is not waste disposal. It is a controlled rot: kitchen scraps and dry paper torn small enough to break down, kept moist and airy, until they become dark, crumbly, soil-smelling material. The process is feeding microbes, and microbes need a balanced diet — the greens and the browns below. A bin you only drop scraps into is a trash can with extra steps.
Greens are the moist, nitrogen-rich bits: vegetable scraps, coffee grounds with the filter, loose-leaf tea, wilted cut flowers. Browns are the dry, carbon rich ones: shredded newspaper, torn cardboard (plain brown, tape removed), dry leaves, paper egg cartons, paper towel rolls. The apartment rule of thumb is one part greens to two or three parts browns by volume — a scoop of scraps buried under two scoops of shredded paper. When in doubt, add more browns; a pile that smells always needs them.
What never goes in, anywhere, at any scale: meat, fish, dairy, eggs, oils and fats, and anything greasy. They rot anaerobically, they smell, and they attract the pests an apartment cannot absorb. Cooked leftovers stay out too — same reason. Stick to raw plant material and paper, and the whole thing stays neighbor-safe.
Cost: $0. Time: 10 minutes of reading that prevents the smelly week. Compost is a balance, not a bin.
2. Where it lives: under the sink or on the balcony
An apartment has two honest spots, and they do different jobs. The countertop or under-sink pail — 1 to 2 gallons, $10–$25, with a lid holding a charcoal filter — is the collection point. It takes the nightly scraps, keeps fruit flies in and smells down, and gets emptied into the real bin every three or four days. The pail alone is not the composter; it is the staging area.
The balcony bucket is the composter: a 5-gallon bucket ($4–$8 new, free from a bakery) with a lid and, if you want it faster, a row of quarter-inch holes drilled near the top edge for air — or a tight lid and weekly stirring instead, if drilling on a rental balcony is not yours to do. A balcony is the right home for the bucket: compost wants fresh air and outdoor temperature swings, and a corner a chair does not use is enough room. No balcony at all? The bucket lives on a pat of concrete outside the door, or the whole operation waits for the worm-bin upgrade in the skip box — some things are honest limits.
A note on patience: a 5-gallon bucket at apartment scale is slow compost. Expect months, not weeks, from a single bucket — which is fine, because a one-person kitchen also produces scraps slowly. Two buckets in rotation is the apartment pro move: while one fills and works, the other takes the fresh scraps.
Cost: $15–$35 for the pail and bucket together. Time: 30 minutes to set up. Two buckets rotate; one bucket waits.
3. The balance, in real amounts
"One part greens to two or three parts browns" is advice that works at wheelbarrow scale and means nothing at coffee-mug scale. Here is the apartment translation, per week, for one or two people cooking most nights.
| What you add | Counts as | A week of it looks like |
|---|---|---|
| Vegetable scraps and peels | Greens | 1 to 2 gallon-bags, loose |
| Coffee grounds + filter | Greens (filter is a brown) | 5 to 10 filter-cakes |
| Shredded newspaper | Browns | 1 Sunday paper, torn into strips |
| Plain cardboard, torn small | Browns | 2 to 3 delivery boxes |
| Paper egg cartons, paper towel rolls | Browns | A small stack, torn once |
| Dry leaves (seasonal) | Browns | 1 grocery bag, crumbled |
The honest note inside the table: a small apartment produces plenty of greens and runs short on browns, the opposite of a yard. The fix is free — every delivery box and paper towel roll you already throw away is a brown. Keep a bin of torn cardboard next to the compost pail, and the balance stops being a calculation and becomes a habit: scraps in, paper over them, lid on.
Cost: $0 — the browns are already in your recycling. Time: 5 minutes a week of tearing paper. When in doubt, add more browns.
4. The weekly routine, and where it goes wrong
The routine is three moves. Empty the pail into the bucket every three or four days, before the pail smells. Cover the greens with a couple of handfuls of torn paper or cardboard every single time — this is the step that prevents every problem below. Stir weeklywith a hand trowel or a sturdy stick, and check the feel: it should be damp like a wrung-out sponge. Drier than that, splash a little water; wetter and clumping, add browns.
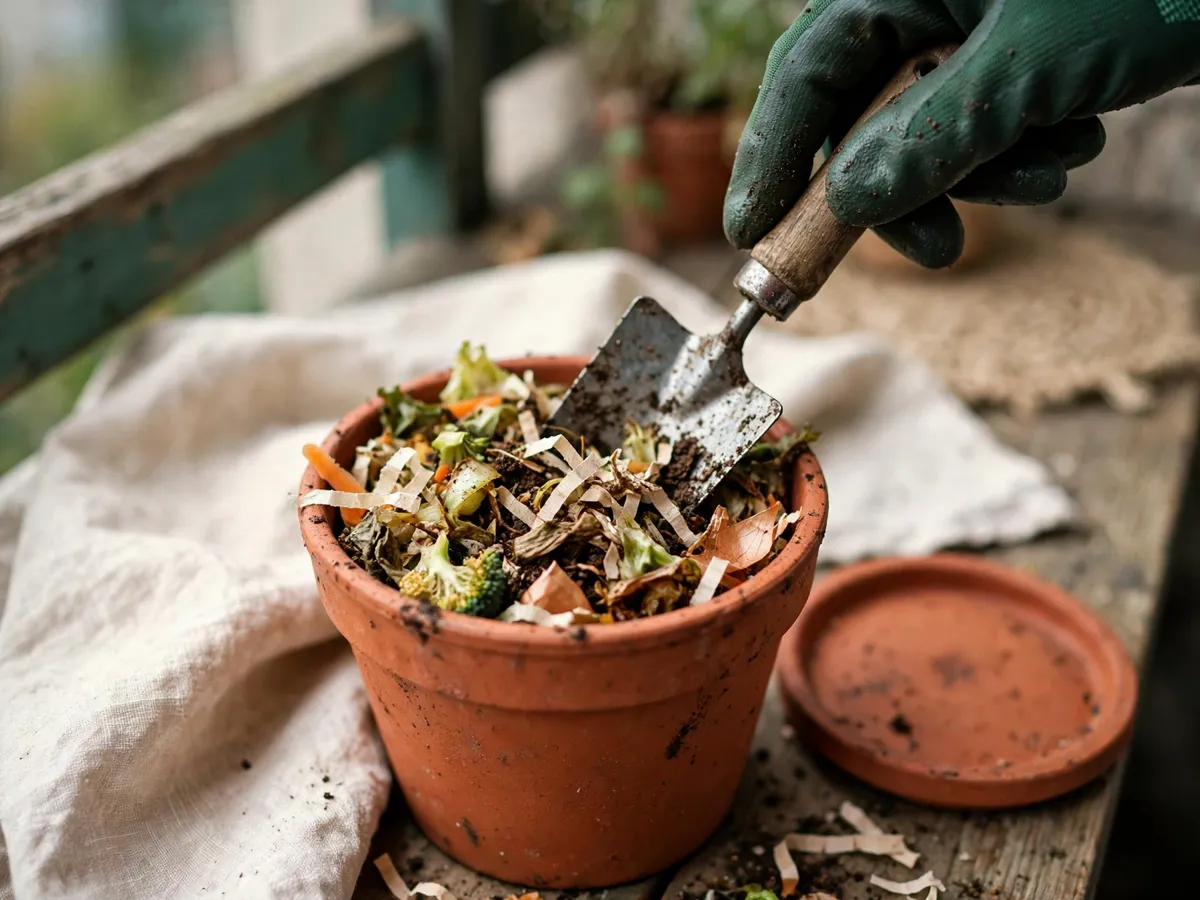
Fruit flies around the pail mean scraps are sitting too long or the lid seals poorly. Empty more often, wash the pail, and freeze your food scraps in a bag until bucket day — a frozen scrap cannot host larvae, and it thaws into the bucket fine. A shallow dish of vinegar and a drop of dish soap beside the pail catches the flyers that are already indoors.
A smell from the bucket means one of two things: too wet, or not enough browns — usually both, because kitchen scraps are mostly water. Stir in shredded paper until the smell fades within a day. A compost bucket that is working smells like forest floor, not lunch. If the smell survives a full brown bailout, something from the never-list has crept in; dig it out and reset.
Neighbors. The bucket on a shared balcony is a goodwill project: tight lid, no smell, no drips, and it looks like a bucket, not a science experiment. A label with a marker — "compost, ask me about it" — has started more neighbor conversations than it has ended.
Cost: $0 a week. Time: 10 minutes total. Cover every layer, stir every week, and the bucket stays boring — boring is the goal.
5. Finished compost: the wait and the payoff
At bucket scale, first finished compost arrives somewhere between two and four months after the bucket starts. You will know it by look and feel: dark brown, crumbly, no recognizable scrap shapes, and it smells like soil. If a whole tomato seed or an avocado peel is still visible, it is not done — give it another month and stir.
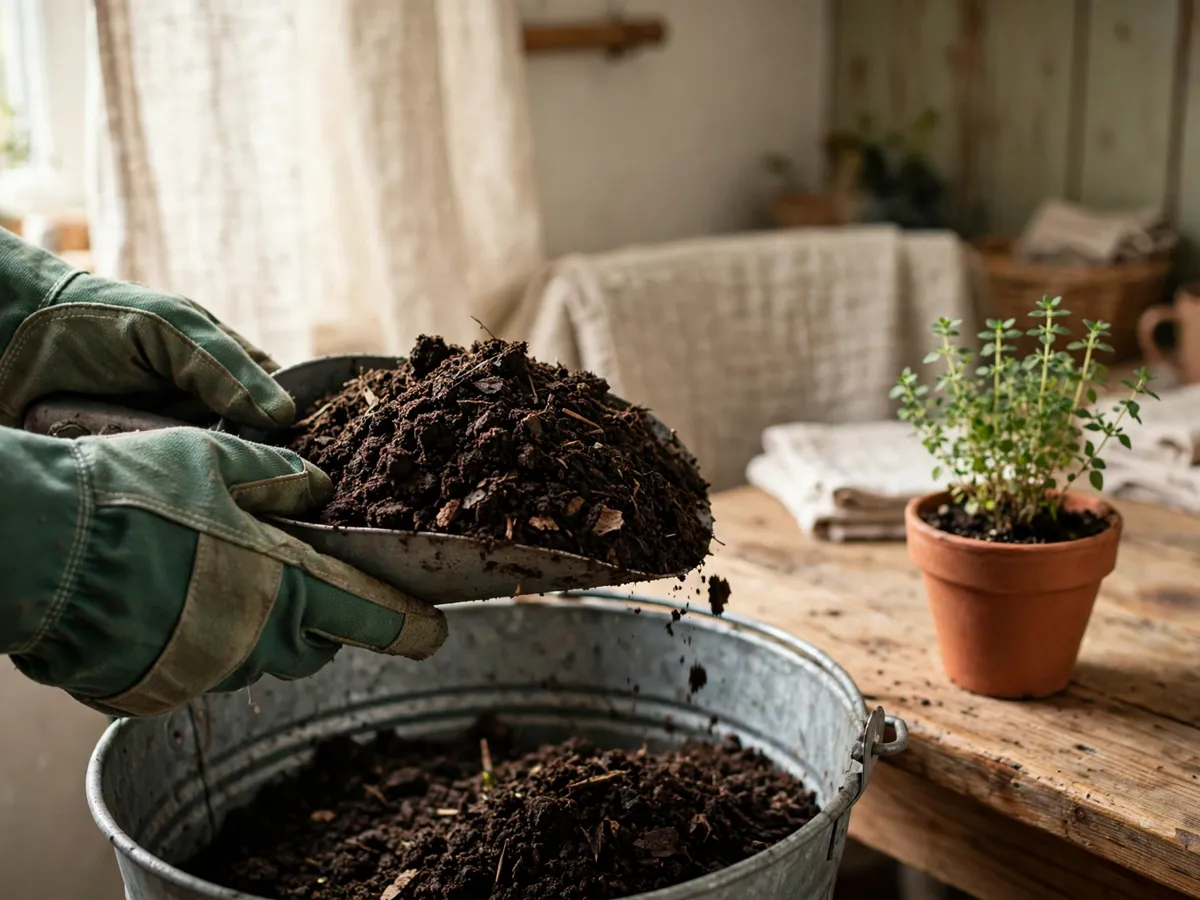
A 5-gallon bucket yields a few quart-sized handfuls of finished compost — not a soil supply, a treat. In an apartment, that is the point: one handful worked into the top of a pot of herbs or a balcony tomato, once a month through the growing season, is all the feeding a small container garden asks for. If you grow anything, the container vegetable guide sizes the pots this compost will feed; the indoor herb garden guide covers the windowsill version.
Overflow you cannot use has honest homes: a neighbor with a garden or a balcony full of pots, a community garden within a short drive, or houseplant friends who repot in spring. The handfuls are small enough that finding them a home is one message, not a logistics project.
Cost: $0. Time: two to four months of waiting, 10 minutes of harvesting. First batch is the slowest — the bin is working while you read this, if you started today.
What we would skip
Skip the countertop electric composters at the $300-and-up end of the shelf: a small bucket of browns does the same job for pocket change, and the electric version mostly dries and grinds — it is a scrap processor, not a composter. Skip the big plastic tumblers while you are at one bucket; they are sized for a yard’s worth of leaves and look empty at apartment scale. Skip the worm bin as your first step — it is a genuine, excellent step two once a bucket has run for a season, but as a first purchase it adds a livestock question (worm care, bin temperature, a two-week vacation) to a habit you have not built yet. And skip the "compost starter" powders: a scoop of finished compost or plain garden soil from any living plant pot carries the same microbes for free.
Cost: $0 to skip. Time: five minutes of reading that keeps a $300 box out of a small kitchen.
The start-this-weekend checklist
- Countertop pail chosen, with a charcoal-filter lid, 1–2 gallons
- 5-gallon bucket with a tight lid set on the balcony or doorstep
- A torn-cardboard bin placed next to the pail — the browns supply
- Never-list posted inside a cabinet door: no meat, fish, dairy, eggs, oils, grease, cooked food
- Scraps covered with browns every single empty
- Weekly stir with the damp-sponge check
- Freezer bag plan for fruit-fly weeks
- Second bucket added when the first is two-thirds full
- One neighbor or community garden already asked about overflow
Cost: $0 to run. Time: 15 minutes against the list.
Questions beginners ask
Can you compost in an apartment without a balcony?
Yes, with a balcony or doorstep bucket replaced by a worm bin under the sink — that is the honest indoor-only route, and it works best as step two once a bucket-and-pail habit exists. A plain bucket indoors is workable with a tight lid and weekly stirring, but the balcony does the smelling for you.
Why does my compost smell, and how do I fix it?
Too wet or not enough browns — kitchen scraps are mostly water, so both usually arrive together. Stir in shredded paper or torn cardboard until the mix is damp like a wrung-out sponge; the smell fades within a day. A working bucket smells like forest floor, not lunch.
How do I stop fruit flies in my compost pail?
Empty the pail into the bucket every three or four days, freeze scraps in a bag until bucket day — larvae cannot hatch in a freezer — and set a dish of vinegar with a drop of dish soap beside the pail for the ones already indoors.
What should never go in apartment compost?
Meat, fish, dairy, eggs, oils, fats, and anything greasy or cooked. They break down without air, smell, and attract pests an apartment cannot absorb. Raw plant scraps, coffee grounds, tea, and plain paper are the whole safe list.
How long does apartment compost take?
Two to four months to the first finished, dark, crumbly batch at 5-gallon bucket scale — slower than a hot backyard heap, but the inputs arrive slower too. Visible scraps or seeds mean it is not done; give it another month and a stir.
Save these on Pinterest
Pin the greens-and-browns table — the real weekly amounts are the numbers you will want at the counter — then the weekly routine and the never-list. The Gardening & Planting Tips collection holds the rest of the small-space growing ideas.