 Plant As Deco
Gardening & Planting Tips
Garden Planning: One Page, One Afternoon, a Season of Harvests
By Plant As Deco · Updated 17 November 2026
Most first gardens fail on paper, months before anything is planted: the plan is drawn for seedlings instead of grown plants, the sun is guessed instead of measured, and every date is written for a city the reader does not live in. This guide builds the opposite — one sheet of paper that holds the real measurements, the real sun, the real spacing and dates counted from your own frost date — for a balcony, a patio, or a few pots and one small bed.
Weekend-ready: $0–$25, one afternoon with paper and a tape measure. Renter-safe.
1. Measure what you actually have
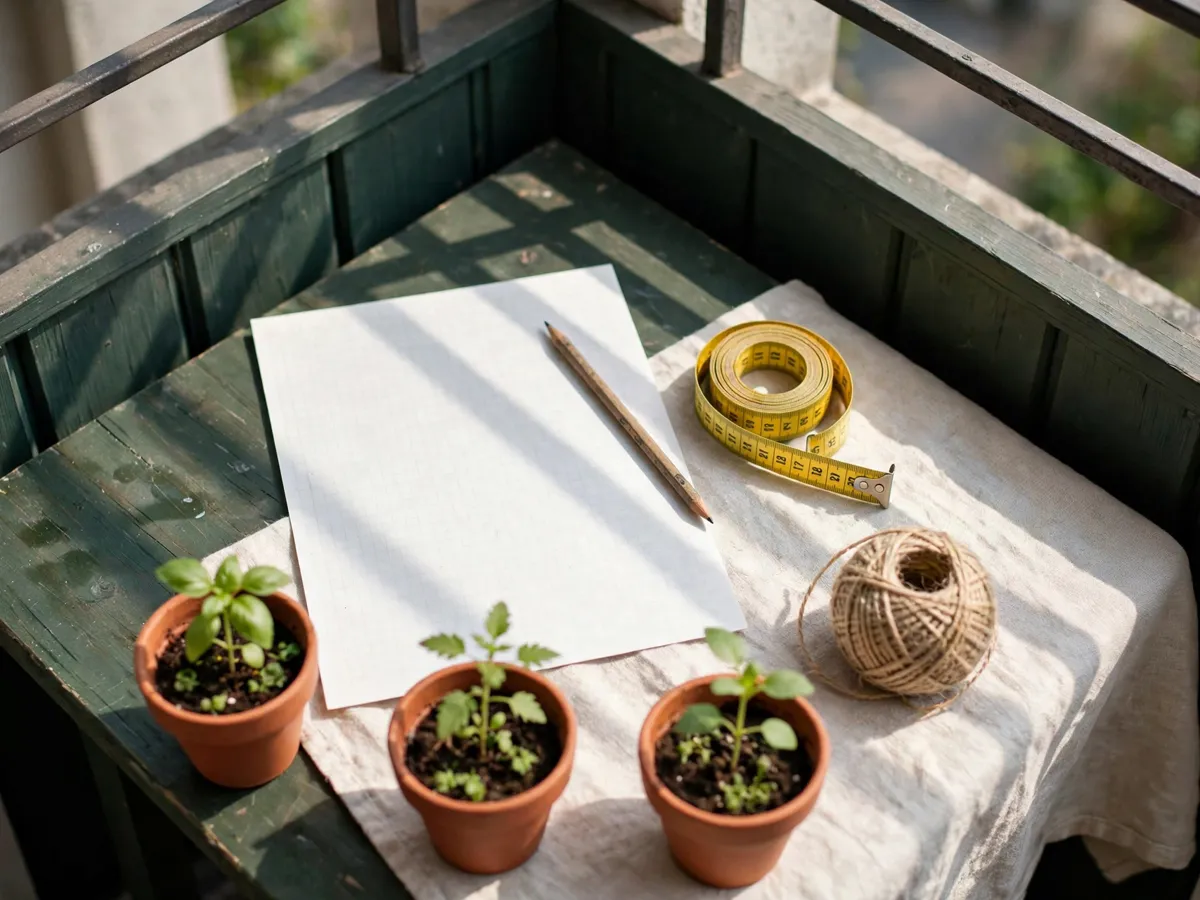
The plan starts with a tape measure, not a plant list, because every later decision — what fits, how many, where — hangs on four honest numbers. You need a tape measure, a pencil, one sheet of paper (grid paper is nice, plain paper is fine), and your phone for the photos in step two. Total gear cost is whatever a tape measure runs if you do not own one.
Measure with the furniture still in place. The balcony you have on planting day is the balcony with the chair, the doormat and the bike in it — measure the space those things leave, not the empty rectangle. Write down the length and depth of the open floor, then the width of the strip you must keep clear: the door swing, the path from door to railing, and anywhere a person walks with laundry or a drink. In a rental, that clear path is the one line that is not yours to negotiate with a pot.
Then count the containers. Measure each pot you own across the rim and note its depth, because a 10-inch pot and a 14-inch pot hold very different plants. If you have a small bed instead — or as well — measure its length, width and how deep the soil sits. One more measurement matters on a balcony: the railing height and the height of any overhang above you, since both decide whether you can grow upward, which is where small-space gardens find their extra room. Note what you may and may not attach things to; a railing you can tie to is a trellis, a wall you cannot drill is not.
If a raised bed is part of your plan, the raised bed guide walks the sizing and siting of the bed itself — do that reading before this sheet, because a bed already built is a measurement you cannot change.
Cost: $0–$5 if you need a tape measure. Time: 15 minutes. Measure around the furniture — the empty balcony is a fiction.
2. The sun map: one day, hour by hour
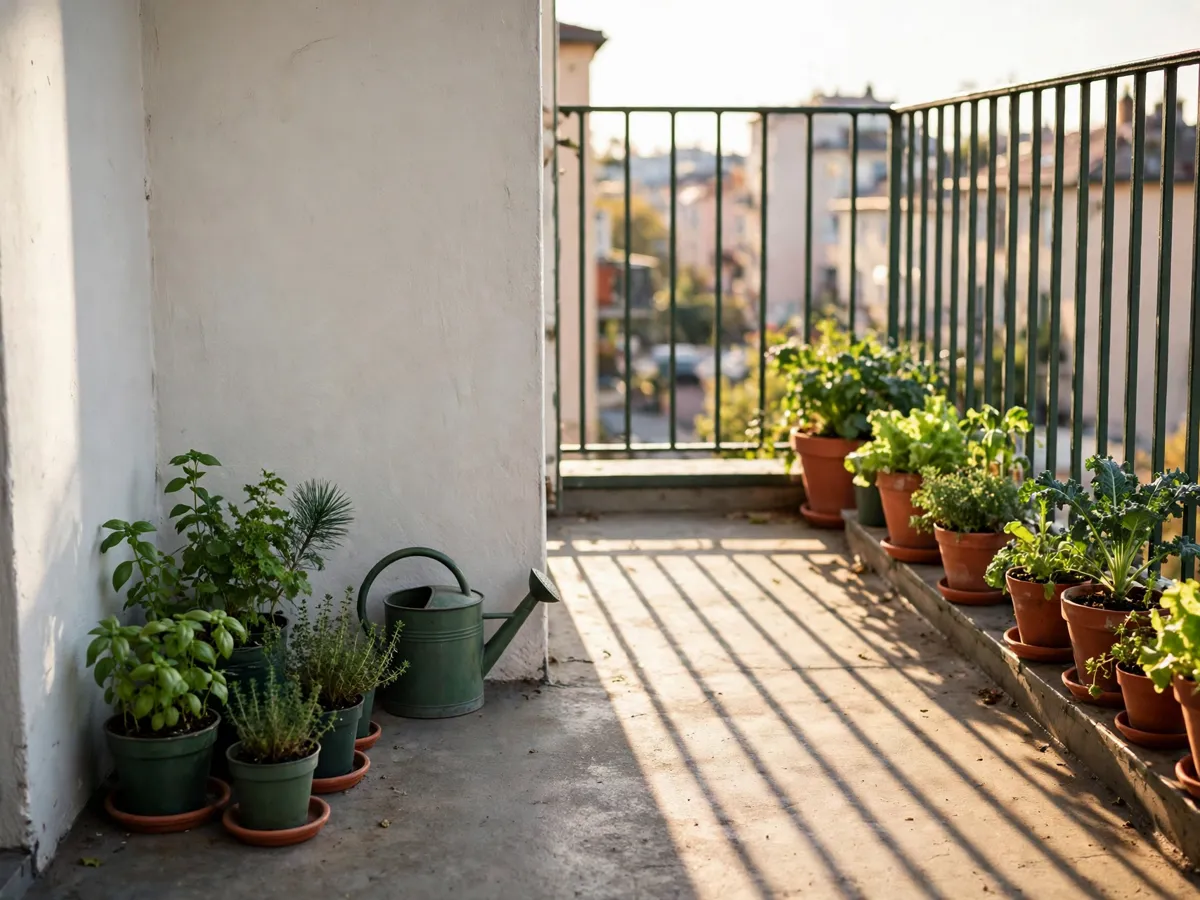
Sun is the one input no plan survives getting wrong, and it is the one nobody measures. Guesses are worse than useless in an apartment, because a balcony’s light is shaped by the building: the overhang above you, the wall beside you, the tower across the courtyard. So spend one clear day measuring it instead. From morning to evening, once an hour, take a photo of the space from the same corner. At the end of the day you have ten photos that show exactly where the sun actually fell, hour by hour.
Read the photos with one rule: direct sun is a hard-edged shadow. Stripey shade through a railing still counts — the light between the slats is direct. Count the hours for each patch of floor and rail: six or more hours of direct sun is your full-sun zone, four to six is part sun, and under four is shade. Write the number on each patch of your paper plan, because that number, not the compass direction, is what your plant list answers to.
Direction is still a useful first guess, so long as you treat it as the guess it is. A south-facing balcony usually gets the longest, strongest light — the full-sun zone, where fruiting crops belong. West gets the hot afternoon stretch: intense, shorter than south, and hard on lettuce in midsummer but good for tomatoes and peppers. East gets gentle morning sun — kindest to greens and herbs, not enough to ripen a tomato. North stays bright but mostly indirect: herbs that tolerate shade and spring lettuce, nothing that fruits. The map overrides the compass every time, because your north corner may sit under a white wall that bounces light back into it.
That wall is the apartment trick worth knowing: a white or light wall reflects real, usable light onto the pots in front of it, and can lift a shaded corner into genuine part sun. When you plan, give the wall-side pots the benefit of that bounce and keep them a hand-span out from the wall so air still moves behind them.
One honest translation, because seed packets say “part shade” like it means one thing. For a tomato, part shade means a leggy plant that ripens two fruits and apologises for the rest — tomatoes want the six-hour zone, full stop. For a lettuce, the same spot is a good address through late spring, and even welcome once June heat arrives. Same label, two different plants, two different truths: your plant list places them accordingly.
Cost: $0. Time: one day, five minutes each hour. Do it in the month you plan to plant — a March sun map lies in June, when the sun rides higher and reaches deeper.
3. The zone list and the plant list
Now the paper earns its keep. Name each patch you measured — “railing edge, 7 hours”, “corner by the door, 3 hours”, “wall side, 5 hours plus bounce”. That is your zone list, and it is the most useful ten words you will write all season, because a zone with a sun number attached can be matched to plants without guessing.
The plant list answers one question: what will you actually eat? A balcony feeds a household, not a farmers market, so three to five crops is the honest ceiling for a first plan. In small spaces the dependable set is short: cherry tomatoes and peppers for the full-sun zone, lettuce for part sun, herbs wherever they fit, and maybe peas or beans if you have something for them to climb. Leave corn, pumpkins and watermelons out of a plan measured in feet — they want more room than any balcony can lie about.
Match plant to zone on paper before a single seed is bought. Tomatoes and peppers in the six-hour zone; lettuce and most herbs in the four-to-six-hour zone; the true-shade corner gets mint, chives, or a pot of spring spinach that will bow out early. If the list is longer than the zones can hold, the paper just told you something a seed catalog never will: cut the list, not the spacing.
If you plan to start those plants from seed indoors — the cheapest way to fill a balcony — the seed starting guide builds the shelf-and-light rig, and its sowing dates feed straight into step five below. If you will buy seedlings instead, the plan works identically; only the dates on the paper change.
Cost: $0 for the list. Time: 20 minutes. Cut the list to what you eat — a garden of food you do not eat is yardwork.
4. Spacing math: draw circles at grown-up size
Here is the mistake almost every first plan makes, and it costs the whole summer: the plan is drawn in April, when every plant is a hopeful little dot. By July those dots are shrubs, the circles overlap, air stops moving between them, wet leaves stay wet, and the whole corner of the balcony turns into a mildew experiment. The plan did not fail — it was drawn at the wrong size.
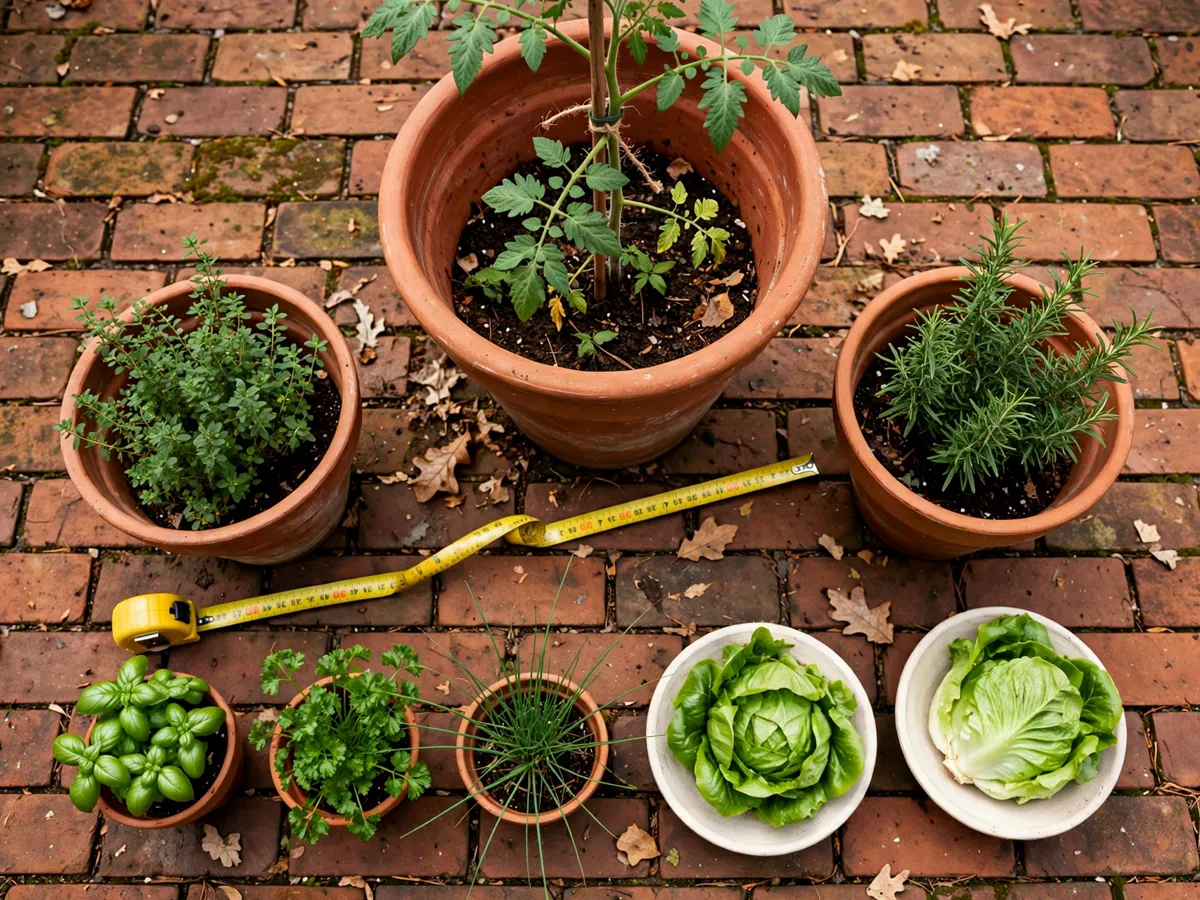
The fix is one rule: every plant on your paper is drawn at its mature spread, the width it reaches at harvest time, not the width it is on planting day. That single change makes the plan honest — when two circles overlap, the paper itself says so, and you either move a pot, cut a plant, or send something upward on a string.
| Plant | Mature spread | What that means on the paper |
|---|---|---|
| Cherry tomato, staked or caged | 24 inches | One plant owns a two-foot stretch of rail; two of them need four feet between their centres |
| Pepper | 18 inches | Two peppers fit a four-foot rail edge — barely — with air between them |
| Lettuce | 6–8 inches | Three heads to a 24-inch window box, drawn as three circles edge to edge |
| Herbs (basil, parsley, chives) | 12 inches | One plant per foot of box; a 12-inch pot holds one herb, not a “little herb garden” |
Draw those circles on your plan, to the same rough scale as the balcony outline, and count what honestly fits. A four-foot rail edge is one tomato or two peppers — not one tomato, two peppers and a basil, however good that sounded in the catalog. This is also the moment to plan upward: a tomato tied to the railing grows tall instead of wide, and a string run from pot to overhang gives peas a ladder — check what you may tie to first.
For what each of these crops needs in pot size and depth — spread and pot depth are different numbers, and both matter — the container vegetable guide carries the pot-by-pot list.
Cost: $0. Time: 15 minutes with the circles. Draw every plant at harvest size — a seedling-sized plan is a July failure on paper.
5. Season windows: dates as offsets, not calendar days
This is where most planning guides quietly assume you live where their author lives. They say “plant tomatoes in May”, and May is a different month in Minneapolis and Mobile. Instead, your plan hangs every date on one local anchor: your area’s average last spring frost date. Find it by searching your city or zip code with the phrase “average last frost date” — seed packets and local garden calendars publish it — and write that single date at the top of the plan. Every other date on the paper is now counted from it, and the plan works in any city you move it to.
The offsets that matter, in the order the season runs:
- 4 to 6 weeks before the frost date: sow cool-season seeds — lettuce, spinach, radishes, peas. These plants shrug off cold nights and want the head start.
- 6 to 8 weeks before the frost date: start tomato and pepper seeds indoors, if you are starting from seed, so transplants are ready on time.
- 1 to 2 weeks after the frost date: plant out warm-season crops — tomatoes, peppers, basil. The “after” is deliberate: the frost date is an average, and a cold year’s late frost lands past it.
- Every 3 weeks after the first lettuce sowing: sow a few more seeds. One sowing gives you one glorious week of salad and then bitterness; three pots in rotation give you salad all season.
- 8 to 10 weeks before the average first fall frost: a second cool-season round — lettuce again, spinach, radishes — fills the pots the summer crops are emptying.
Convert each offset to a real calendar date on your plan, and write the date next to each zone’s plant list. The succession line is the one that makes the plan feel less like a bet and more like a schedule: three lettuce circles in three pots, sown three weeks apart, with the sowing dates written beside them — and the fourth sowing written as the fall round.
Cost: $0. Time: 15 minutes. The anchor date is an average, so warm crops go out 1–2 weeks after it — never on it.
6. The one-page plan: draw it
Everything so far was gathering; now it becomes one sheet. The plan is a five-column table that fits on a single page, with the balcony drawn above it. The columns: Zone (the named patch), Sun (its measured hours), Plants (what lives there), Spacing (each plant’s mature spread), and Dates (its sowing and planting days, converted from the frost anchor). A stranger should be able to water your balcony for a week from this sheet alone.
The order, one afternoon:
- Draw the outline of the space to rough scale — the rail line, the door swing, the path you keep clear, the bed if you have one. This is the boundary; nothing on the plan goes outside it.
- Copy the sun zones onto the outline from your photos, and write each zone’s measured hours on it.
- Name the zones: railing edge, door corner, wall side. The names are how the rest of the plan refers to places.
- Write the plant list into the five columns, one line per plant, each with its mature spread and its dates.
- Draw the circles at mature spread on the outline. Where circles overlap, fix it now: move the pot, cut the plant, or tie it upward.
- Write the frost anchor date at the top of the page, and convert every offset to a calendar date.
- Add the succession rows: the re-sowing dates, every three weeks, and the fall round at the bottom.
- Tape the sheet inside a cabinet door or photograph it — the plan only works if you can find it in June.
A sheet of grid paper is the whole planning kit, and it is a better first tool than any app: the measurement, the sun map and the circles are things you drew and therefore trust, and a paper plan can be taped where the watering happens. Keep the sheet at the end of the season and next year’s plan is a ten-minute edit — the sun map is the only part worth re-measuring.
Cost: $0–$2 for paper you may not own. Time: 45 minutes. The page is only as honest as the sun map behind it — do not draw it from memory.
7. What goes wrong
1. The plan fills with plants that never fit. Cause: circles drawn at seedling size. Fix: redraw at mature spread — the table in step four carries the numbers.
2. A full-sun crop sits in a three-hour corner. Cause: the sun was guessed from the compass, not mapped. Fix: the hour-by-hour photos — and remember a pot can move; that is the container garden’s whole advantage over a bed.
3. One weekend of harvest, then nothing. Cause: everything sown on one date. Fix: the three-week re-sowing rows, and the fall round at the end of the sheet.
4. Fourteen seed packets, five pots. Cause: seeds bought before the plan existed. Fix: buy after the plant list — the list is short on purpose.
5. The balcony becomes unusable by June. Cause: the walkway was drawn as pot space. Fix: the door swing and path are the first lines on the outline, and they are not negotiable in a rental.
Cost: $0. Time: 10 minutes to check. Every one of these is visible on the paper before a seed touches soil.
What we would skip
- A garden-planning app before the paper version exists. The app is only as good as the measurements you bring to it, and you learn the sun, the spacing and the dates by drawing them once yourself. Add an app in year two if the paper still annoys you.
- Buying seeds before the sun map. The map decides the plant list; the catalog only suggests. Bought first, seeds turn a plan into a wish list.
- Square-foot grids on a balcony. That math assumes a four-by-four bed of flat ground; a railing and a row of pots are a line and a cluster, and circles at mature spread are the honest geometry for both.
- The printed garden planner with fifty pages. One sheet holds the whole season for a balcony, and the unused pages just become a reason to skip the planning.
Cost: $0 to skip. Time: 5 minutes to strike them off the list.
The plan-on-one-page checklist
- Space measured with the furniture still in place, door swing and walkway drawn first
- Sun map photographed hour by hour for one clear day, 6+ hour spots named
- Zones named with their measured hours — railing edge, door corner, wall side
- Plant list cut to three to five crops you actually eat, matched to zones
- Every circle drawn at mature spread, overlaps resolved or sent upward
- Average last frost date written at the top, every offset converted to a calendar date
- Re-sowing dates every three weeks on the sheet, plus the fall round
- The sheet taped inside a cabinet door or photographed where you can find it in June
Cost: $0 to run. Time: 20 minutes against the list.
Questions beginners ask
How much space do I need before planning?
A balcony, a patio, or a few pots and one small bed are all enough — the method is the same at any size. What matters is that the measurements are real: the plan is drawn to the space you measured, with the furniture still in it and the walkway kept clear.
When should I make the plan?
Late winter, before you buy seeds — the plan is what keeps the seed order short. Do the sun map in the month you plan to plant, and re-measure it once in early summer, because the sun rides higher in June than in March and reaches deeper onto the balcony.
How many hours of sun does a tomato need?
Six or more hours of direct sun — a hard-edged shadow — which is why the plan counts hours instead of trusting the compass. In a four-hour zone a tomato grows leggy and ripens almost nothing; that zone belongs to lettuce or herbs.
What does “part shade” mean for a tomato versus a lettuce?
For a tomato, part shade is a bad address: a stretched plant with a couple of fruits. For a lettuce, the same spot is comfortable through late spring and even helpful once summer heat arrives. The label is the same; the plant decides what it means.
Do I plan again for fall?
No new sheet — the fall round is a line already on it. Sow cool-season seeds again 8 to 10 weeks before your area’s average first fall frost, into the pots the summer crops are finishing in, and the season gets a second half.
Save these on Pinterest
Pin the one-page plan — the five columns, the mature-spread circles and the frost-date offsets are the parts you will want again every spring — then the sun map and the succession rows. The Gardening & Planting Tips collection holds the rest of the small-space growing ideas.