 Plant As Deco
Small Room Decor
Bathroom Wall Decor Ideas: Where Each Piece Goes
By Plant As Deco · Updated 16 November 2026
A bathroom wall gets one glance from the doorway and one long look from the toilet, and most rentals leave it blank because nothing obvious goes there. The blank wall is not a style problem. It is a placement problem: the rectangle above the tank is 16 to 20 inches tall, the vanity wall already carries a mirror, and the wall beside the shower eats paper within a month. Sort the four zones first, then match the hanger to the surface under it.
Weekend-ready: $36–$86, one afternoon. Renter-safe, no drill.
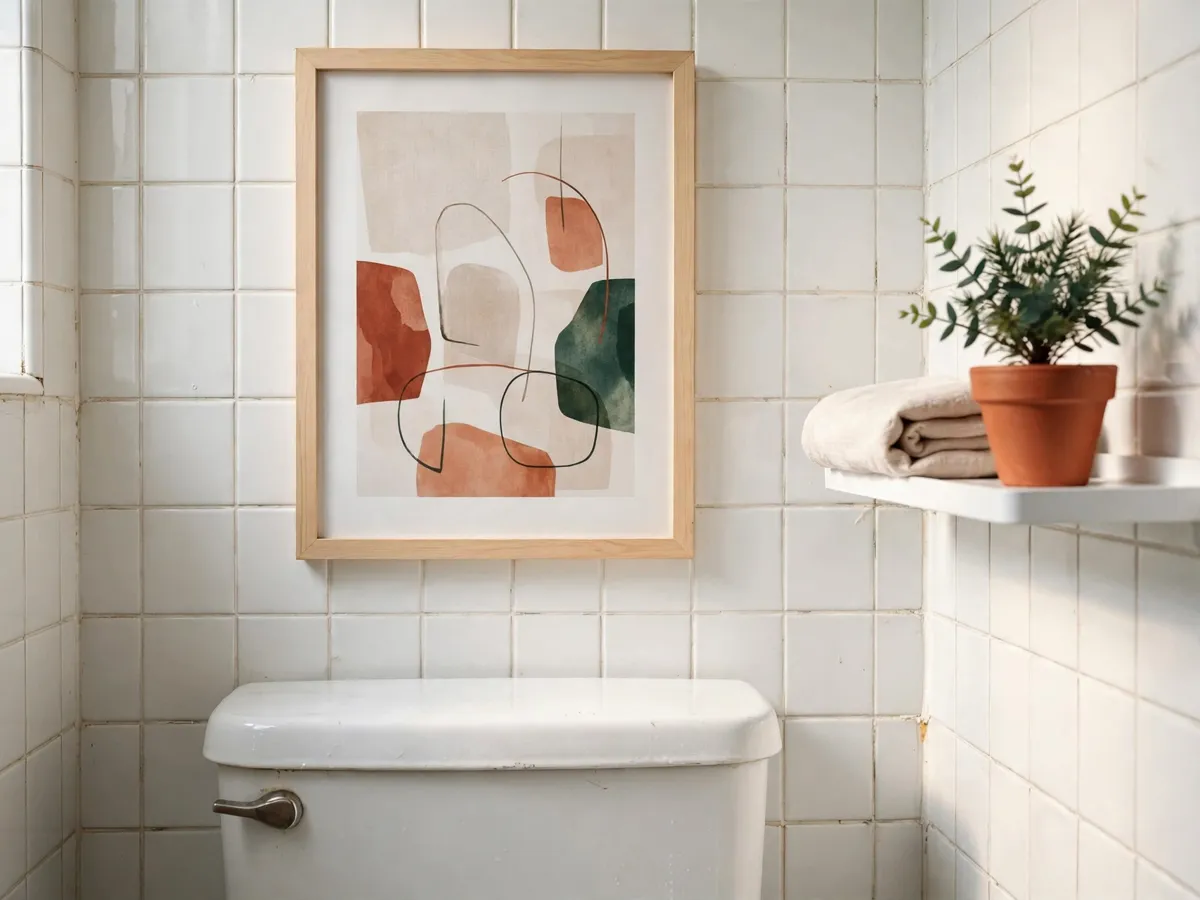
1. Map the four wall zones before you buy anything
Four walls, four different jobs, and they are not ranked by how pretty they are. They are ranked by how much clear wall the room gives you and how often you stand in front of it.
The first is the rectangle above the toilet. It is the dead rectangle every bathroom has: usually 16 to 20 inches of clear height between the tank lid and the ceiling, and 30 to 36 inches wide on a standard wall. Nothing else in the room hands you a full rectangle like that, and it is also the one piece of wall you face every time you sit down.
The second is above the vanity sink. The mirror already owns the middle, so what is left is a strip on each side of it, and the strip is usually narrower than the frame you had in mind.
The third is the empty corner wall, usually between the vanity and the shower. It is the only wall in the room that nothing is competing for, which makes it the place for height.
The fourth is the wall beside the tub or shower, and it is the one that punishes a wrong choice within a month.
| Zone | What fits | What does not | No-drill hanger |
|---|---|---|---|
| Above the toilet | One frame, a matched pair, or a slim shelf set high | A shelf low enough to block the tank lid, or a frame you have to duck under | Adhesive strips on cured paint; tile hooks on glazed tile |
| Above the vanity | One small frame per side of the mirror, a narrow ledge, or a towel hook | A second mirror, or a frame in a strip narrower than 8 inches | Adhesive strips, an over-mirror hook, a short tension rod |
| The empty corner | A leaning shelf, one tall narrow frame, a basket on a hook | A gallery wall, or anything wider than the wall segment | None needed when it leans; strips or one tall hook otherwise |
| Beside the tub or shower | Glass-framed art with a sealed back, glazed ceramic, sealed metal | Paper prints without glass, most fabric, untreated wood, real plants that need airflow | Suction on smooth glass or glazed tile only; sealed metal hook |
Cost: $0. Time: 20 minutes with a tape measure. Measure the clear rectangle, not the whole wall.
2. Above the toilet: the 16–20 inch arithmetic
The rectangle above the tank is where the numbers pay off, because a frame that is 2 inches too tall looks wrong in a way that is hard to name from the doorway. Measure the clear width between the side walls, or between the toilet-paper holder and the wall, then the clear height from the top of the tank lid to the ceiling.
- Width: the piece or group should fill 60 to 75 percent of the clear width. On a 32-inch wall, that is 19 to 24 inches of frame, gaps included.
- Height: leave at least 2 inches of air above the tank lid and 2 inches below the ceiling. An 18-inch gap takes a frame up to 14 inches tall; a 16-inch gap takes 12 inches.
- Pairs: two frames with a 2 to 3 inch gap. Two 11 x 14 frames and a 2-inch gap are 24 inches wide, which is 75 percent of a 32-inch wall — the widest a pair should go.
- A shelf: keep the underside at least 12 inches above the tank lid so the lid still lifts, and check the flush arm before you commit.
- Centre: about 57 to 60 inches off the floor where the gap allows it, which is eye level for most adults standing in the doorway.
For a worked example, take the gap most rentals have: 18 inches tall and 32 inches wide. A single 12 x 16 frame turned landscape is 12 inches tall, which leaves 3 inches of air top and bottom, and 16 inches wide, which is only half the wall. Add an 8 x 10 beside it and the group runs to roughly 26 inches, a shade over the range. Two 11 x 14 frames with a 2-inch gap land at 24 inches wide and 14 inches tall, and both numbers sit inside the range. That is the whole calculation, and it takes one pass with a tape.
A simpler version, if the numbers already feel like homework: buy the pair, not the single, and buy it in the two weeks after the tape comes out, while the measurement is still in your head. A pair placed inside the 60-to-75 band looks right from the doorway even when the gap is an inch off the standard. The calculation exists so a reader who measures once buys right; a reader who would rather eyeball it still has a rule that holds.
One more check before the frame goes up: stand at the doorway and look at the gap with a strip of painter's tape across the top of the intended frame. The doorway view is the one that decides whether the wall reads finished or crowded, and it is a different view from the one you get standing next to the toilet.
For placement rules that apply to every room in the flat — the 57-to-60-inch centre line, the gap to furniture, the gallery spacing — the how high to hang pictures guide carries the full set, and the four-zone logic above plugs straight into it.
Cost: $18–$45 for a frame, a glass print and strips. Time: 25 minutes. A mat counts as frame size, so measure the outer edge, not the picture.
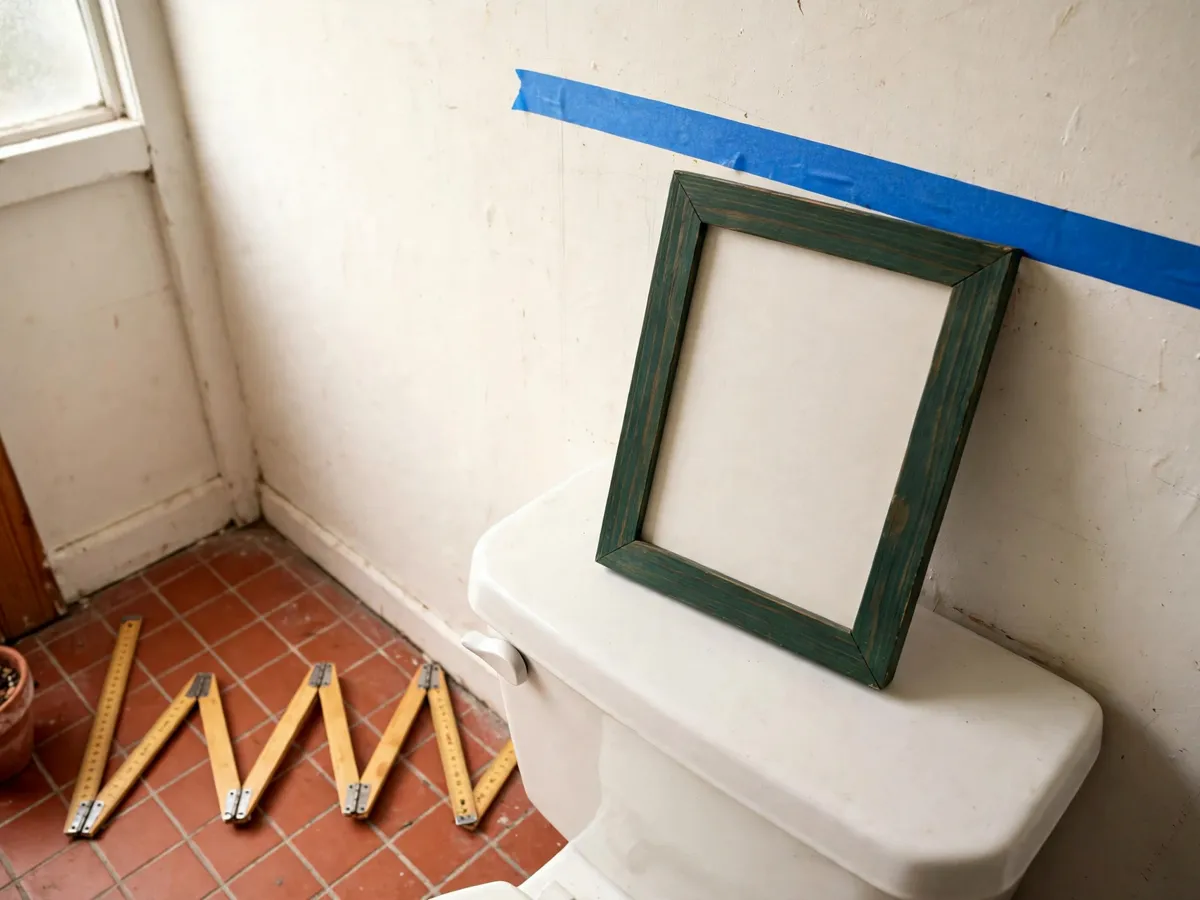
3. Above the vanity: use the strips the mirror left
The mirror has already made the decision for you: the middle is taken, so the decor goes to the strips beside it. Measure from the mirror edge to the next wall or shower screen. Under 8 inches, a frame crowds the mirror and reads as a mistake — use a hook for the hand towel, or leave the strip empty and put the wall piece at the end of the vanity where the wall turns the corner.
If the strip is 8 inches or wider, one small frame per side works, matched to the lower third of the mirror rather than its top, so the two sides read as a pair instead of two afterthoughts. If there is 6 inches of wall above the mirror, a narrow ledge beats a frame: it holds a jar, a small plant and nothing else, and it does not compete with the glass.
What does not work is a second mirror on either side. Two reflective surfaces at different heights make a small room read busy, and the room already has one job for reflection. If you want the light, the mirror placement guide covers where the one mirror should sit instead.
Cost: $10–$25 for a ledge or two small frames. Time: 20 minutes. An adhesive ledge needs a flat, cured patch, not the wall over a steamy sink the day after painting.
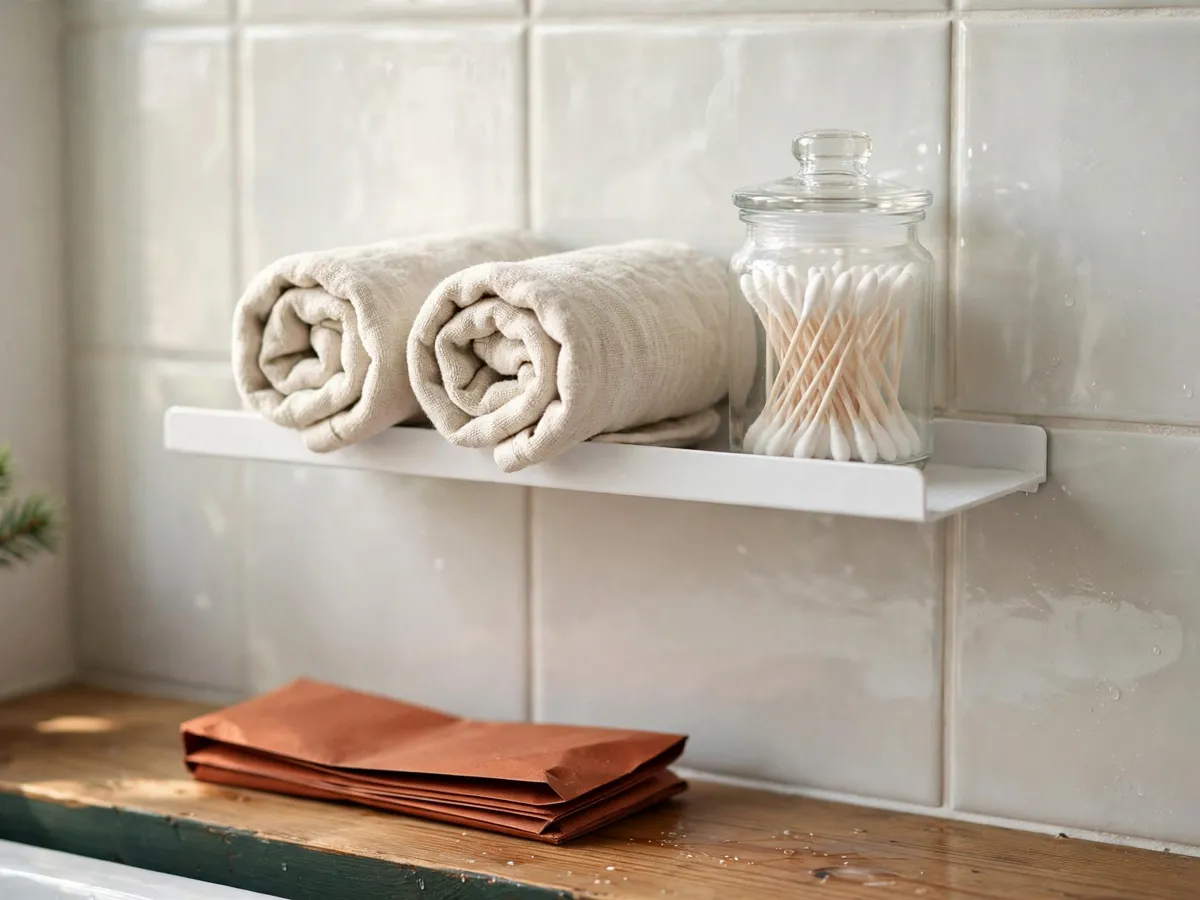
4. The empty corner: lean it, do not hang it
The corner wall is the only one nobody is competing for, which makes it the place for the piece that is too tall for the rectangle above the toilet. A leaning shelf or a tall narrow frame on the floor gives you height without a hanger, and it takes about 12 inches of floor depth at the base.
Two things make a leaner work: a level floor and a foot that will not slide. A rubber pad under the base solves the second, and it costs less than a coffee. A thick baseboard solves neither — it tilts the piece out at the top, so measure the baseboard depth and add it to the footprint before you buy. A 60-inch shelf that leans on a thick baseboard projects further at the top, and in a narrow bathroom that projection is the thing you walk past twice a night.
If the floor is already full, the corner takes a basket on a hook at about 60 inches instead. That is the same height as the towel rail, which keeps the room's lines level, and it uses the one part of the corner that nothing else touches.
Cost: $14–$35 for a leaner or a tall hook and basket. Time: 15 minutes. Keep the walkway clear; a leaner is not for a wall you have to cross.
5. Beside the shower: the steam rule
The wall beside the tub or shower is the one place in the flat where a decorative choice is also a materials choice. Warm water and steam sit on that wall for part of every day, so the test is not whether it is pretty but whether it cares. Four things fail there:
- Paper prints without glass. The sheet takes on the moisture and cockles, and a print that was flat in the shop develops a wave you cannot press out.
- Most fabric. Cotton and linen wick the damp and stay cool and heavy long after the shower is over.
- Untreated wood. It swells across the grain, the joint opens and the colour darkens unevenly.
- Real plants that need airflow. A bathroom can suit a plant, but not a plant pressed against a wall that runs wet twice a day. Most of them want a dry spell between waterings, and that wall never gives one.
What survives: glazed ceramic, glass, sealed metal, resin, and a glass-framed print whose back is sealed with tape. A sealed metal hook, a glass shelf on metal brackets and a small glazed pot all belong on that wall. So does a plain plastic or resin frame, which is why the shower wall is the one place where the cheap frame is the correct one.
The practical line is about 3 feet from the shower head. Inside that line, or anywhere the spray lands directly, use the sealed list and nothing else. Past it, the wall behaves like the rest of the room, and the sizing math from step 2 applies again. If the room has a fan, run it during and after a shower; a wall that dries faster is a wall that keeps what you hung on it, and that is as far as this page goes on the subject.
Cost: $0–$20 for one sealed piece. Time: 10 minutes. A paper mat inside a glass frame is still paper, so it belongs on the far wall.
6. Match the hanger to the surface, not to the frame
Three things defeat a no-drill hanger, and weight is only one of them: texture, water, and a paint film that is still soft. Read the surface first, then choose the hardware. The no-drill wall decor guide has the weight ratings; this is the surface half of the same decision.
- Glazed ceramic tile. Suction with a lever holds, and so do adhesive strips pressed onto one clean, flat tile. Wipe the tile with rubbing alcohol and let it dry completely — a tile that feels dry to the hand can still carry a film that adhesive will not grab.
- Textured or matte tile, and grout lines. Suction lets go within hours because air gets under the cup, and a strip that spans a grout line is holding to nothing in the middle. Use a tension rod, a leaner or an over-the-door hook instead.
- Painted drywall. Adhesive strips hold well on cured paint and badly on new paint: the strip takes the paint film down with it. Most paint needs about 30 days to cure, so a wall painted this month is the wall to leave alone.
- Glass shower door and mirror. Suction only, on the glass itself, never on the frame or the backing board. A curved or textured door takes nothing at all.
- Grout and caulk. Nothing sticks to either, and nothing should try.
One number to carry into the shop: buy a strip rated for at least twice the weight of what you hang. A 2-pound frame on a 4-pound rating has margin; a 3-pound frame on a 3-pound strip is a coin toss on a humid morning. Press for the full time the packet gives, then wait before you load it.
Cost: $8–$16 for hangers for the whole wall. Time: 15 minutes plus the wait. An hour of waiting in a steamy bathroom is not the hour the strip needs.
7. The order of work
This order exists so you only measure once and only peel one strip off the wall by mistake.
- Measure the rectangle above the tank — clear width, clear height, height of the lid — and write the three numbers down. Guessing here is what costs a second frame.
- Pick two zones to finish today. Four zones in one afternoon means the last one gets whatever is left, and it shows.
- Wipe every surface with rubbing alcohol and let it dry while you open the frames. Adhesive on a dusty wall is the most common reason a strip lets go in week two.
- Tape paper templates on the wall with painter's tape, then check them from the doorway and from the toilet. Move them before anything is stuck down.
- Hang the heaviest piece first. If a hanger is going to fail, you want to know while the wall is still empty.
- Press each strip for the full time on the packet, then wait before adding weight. Do the shelf last, because it needs the longest wait.
- Step back to the doorway and take one thing off if the wall reads busy. In a small bathroom, one piece placed well beats three placed evenly.
Cost: $0. Time: about 90 minutes for two zones. The strip wait is most of it.
What we would skip
Skip the six-frame gallery wall above the toilet. The rectangle is 16 to 20 inches tall and a grid of six turns it into wallpaper; the gallery wall layouts belong on a wall with room to read them. Skip the shelf that sits low enough to block the tank lid, which is the one purchase people regret within a week. Skip real plants within reach of the spray, and skip paper prints without glass anywhere near the shower. Skip the matching set of four frames; buy two, live with them for a week, then decide whether the wall wants a third. And skip buying hangers before you have measured, because the strip you need is decided by the surface, not by the frame.
Cost: $0. Time: the afternoon you do not spend returning things.
8. Honest costs: what two zones actually add up to
Two zones, which is what most renters finish in one afternoon: $18 to $45 for the frame, glass print and strips above the toilet, $10 to $25 for the vanity ledge, and $8 to $16 for the hangers. That is $36 to $86, and it is where the line at the top of the page comes from.
All four zones: add $14 to $35 for the corner leaner and $0 to $20 for one sealed piece by the shower, and the flat reaches $50 to $141. Past $90 you are furnishing four zones in one afternoon, and in a small bathroom that usually means one of them was a guess. The lowest honest number is $36, and it buys a wall that looks deliberate with two pieces on it.
Cost: $36–$86 for two zones; $50–$141 for all four. Time: one afternoon, plus the strip wait.
Before you start: copy this
- Clear width, clear height and tank-lid height above the toilet, written down
- Two zones chosen for today; the other two left empty on purpose
- Frame or group at 60 to 75 percent of the clear width, with 2 inches of air top and bottom
- Hanger chosen by surface: strips on cured paint, suction on smooth glazed tile, nothing across grout
- Strip rated for twice the weight of the piece, pressed for the full time and left to wait
- On the shower wall, sealed materials only; paper, fabric, bare wood and thirsty plants stay on the far wall
Cost: $0 to check. Time: 15 minutes, before you buy anything.
Questions renters ask
How high should wall decor go above a toilet?
Aim for a centre about 57 to 60 inches off the floor where the gap allows it, and keep at least 2 inches of air above the tank lid and below the ceiling. In an 18-inch gap that means a frame up to 14 inches tall; in a 16-inch gap, 12 inches.
How wide should the art above the toilet be?
Fill 60 to 75 percent of the clear width. On a 32-inch wall that is 19 to 24 inches, which is why a pair of 11 x 14 frames with a 2-inch gap works and a single narrow frame looks stranded.
Can I hang art on bathroom tile without drilling?
Yes, on smooth glazed tile, with suction or an adhesive strip pressed onto one flat tile that has been wiped with alcohol. On textured tile, or across a grout line, neither holds; use a tension rod or a leaner instead.
Do adhesive strips work on freshly painted walls?
Not well. Most paint needs about 30 days to cure, and a strip applied before that takes the paint film with it when it comes down. Give a newly painted bathroom a month before you hang anything sticky on it.
What can I put on the wall beside the shower?
Sealed things: glazed ceramic, glass, sealed metal, resin, and a glass-framed print with a sealed back. Paper without glass, fabric, untreated wood and real plants that need airflow belong on the far wall, past about 3 feet from the shower head.
Save these on Pinterest
Pin the 16–20 inch arithmetic first, because it is the step that stops the second frame purchase. The hanger ratings live in the no-drill wall decor guide, the room-level plan — open counter, storage off the floor, warm bulb — is in the small bathroom decor guide, and both sit in the Small Room Decor collection for the next wall you finish.