 Plant As Deco
Small Room Decor
Gallery Wall Layout Ideas: Four Patterns, Real Spacing
By Plant As Deco · Updated 16 November 2026
A gallery wall is four decisions wearing one name: the pattern, the gap math, the frame count, and the drilling. This page takes them in order — four patterns matched to the wall you actually have, the spacing numbers for each one, the arithmetic that says how many frames fit, and the route that needs no drill.
Weekend-ready: $30–$250, one afternoon. The floor template keeps the holes low, and the grid runs with no drill at all.
1. Pick the pattern by the wall you have
Most gallery wall advice starts with the frames. It should start with the wall, because the wall — its width, its slope, and your right to drill it — is what picks the pattern. Four patterns cover nearly every wall in a small apartment: the even grid, the salon hang, the ledge rail, and the stairwell diagonal. Each has its own spacing numbers, and each has a wall it fails on. If your question is which wall to use and whether four frames is the ceiling for a small space, that is a different decision — the small-spaces gallery wall guide answers it — while this page is about the shape the arrangement takes.
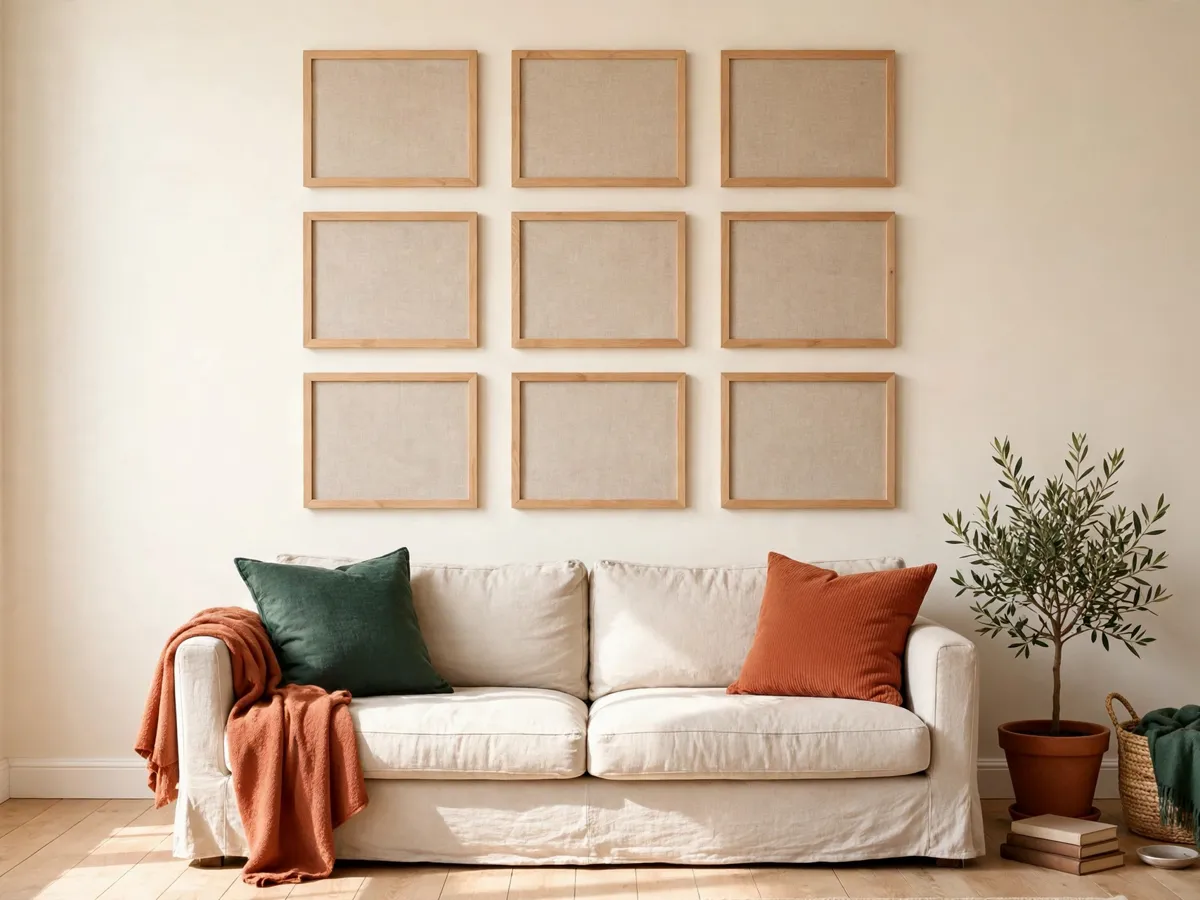
The even grid — the wall that is short and level. Identical frames, one size, one gap, repeated in rows and columns. The count comes from the wall's width, not from a picture you saw: a six-foot wall (72 inches) takes three columns of 12 by 16 inch frames at a 2.5 inch gap — three frames at 12 inches plus two gaps at 2.5 is 41 inches of wall, centered to leave about 15 inches of clear wall on each side. Two rows of the same frames plus one more gap stands 34.5 inches tall, so six frames in total cover the wall without crowding it. The grid reads calm and intentional because nothing varies — which is also why it is the pattern that forgives the least. One crooked frame breaks the whole illusion, so the level matters as much as the math.
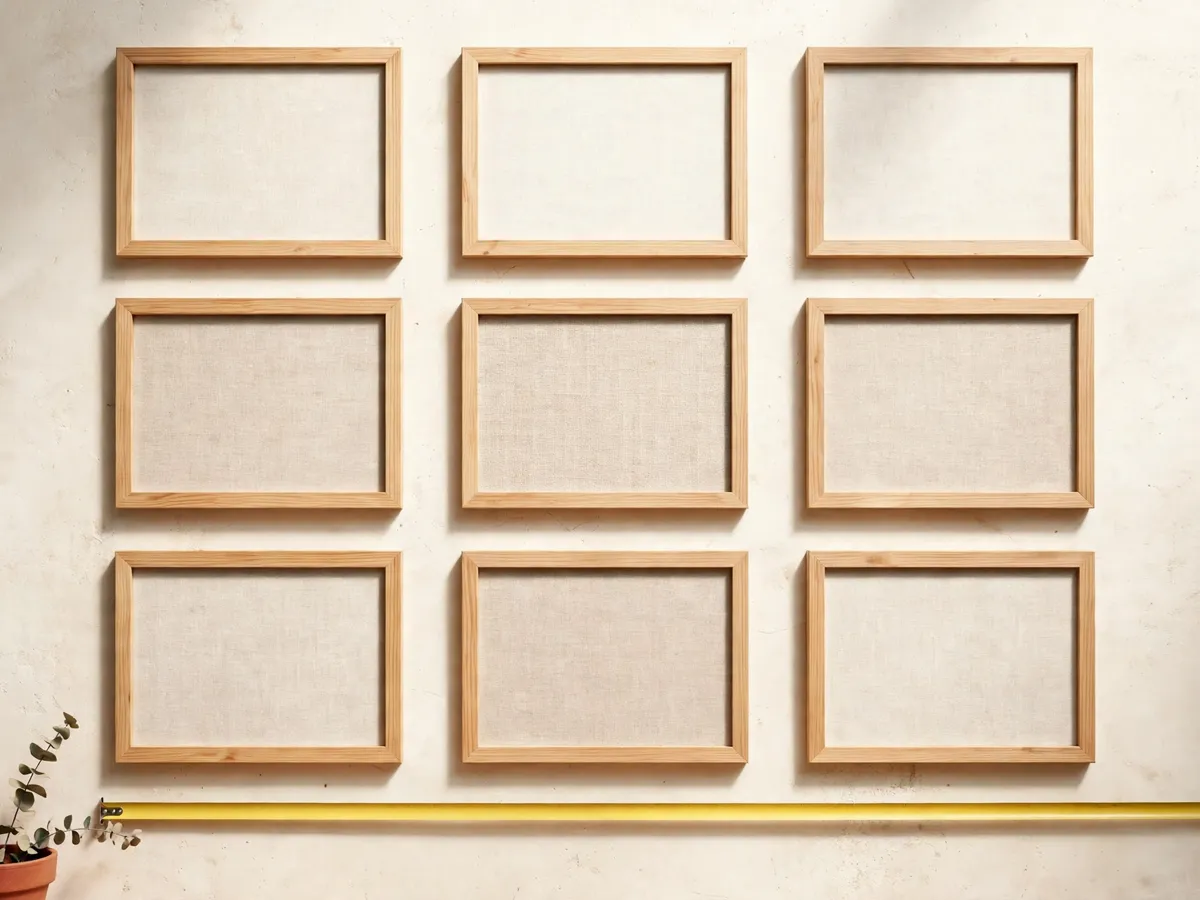
The grid wins on walls that are already even — between two windows, above a console, on the wall the sofa backs onto. Hang the block so its center sits where your eye lands when you stand; the exact center-line heights are in how high to hang pictures, and they apply to the grid's middle, never to its top frame.
The salon hang — the one big blank wall. One anchor frame 16 by 20 inches or larger, set at the center. Around it, mixed sizes — 8 by 10s, 11 by 14s — with gaps that vary between 1.5 and 3 inches, because the whole point of this pattern is that the inside is organic. The discipline lives on the boundary: the tops of the highest frames align, the bottoms of the lowest align, and the outermost frames on the left and right align, so the whole cloud sits inside an invisible rectangle with even edges. Free inside, disciplined on the border — that is the entire pattern, and it is the difference between a salon hang and a pile of frames that happened.
Seven to nine frames is the working range: under six, the arrangement reads as a grid with mistakes in it; past ten on a small wall, it reads as clutter. The salon is the pattern for the tall, wide, unbroken wall a small apartment always has and never knows what to do with. It fails on narrow walls, where the invisible rectangle has no width to live in. In a bedroom, the wall above the headboard usually wants one large piece or a matched pair instead of a full salon — the wall above the bed guide makes that call.
The ledge rail — the renter's pattern. Two wooden picture rails, 24 to 36 inches long, fixed with two screws each — four holes for the whole wall, against six or more for a hung grid of the same coverage. The frames do not hang; they stand on the rail and lean back against the wall. Set the two rails 20 to 24 inches apart vertically so a leaning 16-inch frame never touches the rail above it. Overlap is allowed and is the look: larger frames lean at the back, smaller ones stand in front, edges crossing an inch or two. Nothing is fixed, so the whole wall re-arranges in five minutes — which is the entire reason this pattern exists.
The stairwell diagonal — the wall that climbs. The frames follow the slope instead of fighting it. Mark a diagonal line that runs parallel to the handrail, about 6 inches out from it horizontally, so no frame ever has to share its line with the rail. Most stairs climb around 7 inches per step, so each frame center sits 6 to 7 inches above the one below it — one frame every one or two steps, with a 2 to 3 inch gap between neighboring frames measured along the diagonal. Five or seven frames gives the run a middle frame to pivot on. It is the only pattern of the four that genuinely needs a drill to be safe, and section 4 explains why.
Cost: $0 to choose. Time: 10 minutes with a tape measure and a look at the lease. Pick the pattern before buying a single frame — the pattern sets the count, and the count sets the budget.
2. The floor-first template trick
Every one of the four patterns is built on the floor before it touches the wall, and the tool that makes it work is a roll of kraft paper. Roll it out on the floor next to the wall you are filling. Arrange the frames on the paper exactly as you want them on the wall — grid, salon cloud, whatever the pattern calls for. Then trace each frame's footprint onto the paper with a pencil and cut the shapes out with scissors.
Now number the back of every frame and its matching paper shape with the same number, so pair 3 is always pair 3. Tape the paper shapes to the wall with painter's tape — the whole arrangement goes up as paper, weighs nothing, and leaves no marks. Stand back to the doorway and look. Slide pieces, swap two numbers, nudge a gap wider, until the arrangement reads right from where the room actually sees it. Only then does the first hole happen, exactly where a paper shape has already stood and passed the look-test.

The trick earns its keep differently in each pattern. On the grid, the paper proves the columns are level and the gaps even before any hole exists — with a level, mark the top row's line first, tape the top row of paper, then drop the rest of the paper squares below it. On the salon hang, tape the four edges of the invisible rectangle on the wall first, then fill the inside with paper shapes until the boundary is even — the one thing eyes cannot judge with real frames in hand. On the stairwell, the paper carries the diagonal up the wall frame by frame, and you learn whether the run clears the handrail before a ladder comes out.
This is the step that keeps the holes low. You make a hole only where paper has already stood, so the wrong-position hole — the one that gets patched and painted and still shows — mostly does not happen. It also protects the budget: frames get moved on paper for free, and every move after hanging costs either a patch or a stripped wall.
Cost: $8–$15 for a roll of kraft paper and painter's tape. Time: 30 to 45 minutes, and it is the half-hour that decides how the whole afternoon goes.
3. Count the frames with real math
“How many frames do I need?” has an answer you can compute, and it starts with breathing room: keep 9 to 12 inches of clear wall at each end of the arrangement, so the frames read as a deliberate block instead of a wall that ran out of room. Take the wall's width in inches, subtract twice that breathing allowance, and divide what is left by the frame width plus the gap. Round down. That is your column count.
A seven-foot wall with 8 by 10 frames. The wall is 84 inches. Breathing room at 12 inches a side leaves 60 inches. Each column eats a frame plus a gap — 8 plus 2 is 10 inches — and 60 divided by 10 is 6 columns. Six frames of 8 inches plus five gaps of 2 inches spans 58 inches, centered to leave 13 inches of air per side, a shade more than the minimum and all the better for it. Drop to 12-inch breathing room and the math still says 6; the formula gives the maximum, and one column fewer is always allowed when you want more air.
The six-foot wall from section 1, checked. 72 inches of wall, 12-inch frames, 2.5-inch gaps. Breathing room at the 9-inch minimum leaves 54 inches; each column eats 14.5, and 54 divided by 14.5 rounds down to 3 columns — the same three columns the grid pattern gave, now arrived at from the other direction. The final width is 41 inches, and the remaining wall goes to the sides.
Rows run on the same arithmetic vertically: two rows of 10-inch-tall frames at a 2-inch gap span 22 inches of wall, and the ceiling height and the furniture below set the ceiling on how many rows that is. Over a sofa, keep 8 to 10 inches between the sofa back and the bottom of the lowest frame, and keep the whole run a little narrower than the sofa itself, so the wall reads as the sofa's wall rather than the room's wall. Over a console or a bed, the same furniture-narrower rule holds with the piece that sits under it.
The salon hang bends the formula rather than obeying it — count in a working range of seven to nine frames and let the invisible rectangle set the footprint — but the ledge rail and the grid follow it exactly. Run the numbers before the store run, write the column count on the kraft paper, and buy to the number: this is the difference between a wall that lands finished in an afternoon and a wall that eats two weekends and a second frame order.
Cost: $0 — the arithmetic is free. Time: 15 minutes with a tape measure, and it is what keeps six frames from becoming nine.
4. The no-drill version of each pattern
A rented wall changes the pattern list, not the dream. Each of the four patterns has a version that respects a lease, and one of them should simply be skipped — here is which is which.
The grid goes entirely on strips. Adhesive picture strips hold the pattern when every frame is 11 by 17 inches or smaller and light — thin moulding, acrylic instead of glass, no stacked mats. Four strips per frame, one toward each corner, pressed square against the wall while the paper template is still up so the block stays even. The renter wall decor guide carries the weight ratings to check against your frames, and the rating on the box is the ceiling, not a suggestion.
The salon moves onto a ledge rail. A true salon wants an anchor of 16 by 20 inches or larger, and an anchor that size is past what strips should be asked to carry for years. The renter version gives up the exact organic geometry and keeps the layered look: two rails, two screws each, the anchor frame leaning large at the back center, the mixed smaller frames standing in front of it with their edges crossing. The invisible rectangle gets rougher — the overlap softens it — but the wall keeps its one big moment and its four holes.
The ledge rail is already the answer. It needs its two screws per rail, and that is the whole drilling bill. Every frame stays moveable, the arrangement re-shuffles with the seasons, and moving out means unscrewing four screws and filling four small holes.
The stairwell diagonal is the one to skip. On stairs you are working from a ladder, pressing strips square against the wall at an angle your wrist does not want to hold, and a strip that lets go over a staircase drops frames onto steps. The diagonal also cannot move to a rail the way the salon can, because a rail mounted on a slope is a shelf for whatever slides. If you cannot drill, take the grid or the ledge rail to the flat wall at the top or the bottom of the stairs and let the stairwell stay empty — a clean stairwell beats a patched one.
Cost: $6–$12 for a set of strips, $25–$60 per ledge rail. Time: 30 to 60 minutes. Strips carry light frames only — check the rating against the frame before it goes up.
What we would skip
- The boxed “gallery wall set” of identical pre-matted frames — one size kills the salon pattern before it starts, and a grid from a box is the same grid you could build from mismatched secondhand frames for a third of the price.
- Frames past the count the math gave. The formula in section 3 sets the maximum; the seventh frame on a six-column wall is the one that eats the breathing room the wall needs.
- Cable-and-rail hanging systems for a first wall — they are priced for offices and galleries, and a kraft paper template does the same planning job for the cost of a roll.
- Hanging the salon one frame at a time off a saved photo. The floor template is the whole trick; without it the invisible rectangle stays invisible to everyone but you.
- The stairwell diagonal on a lease that forbids drilling — see section 4. A clean stairwell photographs better than a patched one.
Cost: $0 to skip. Time: 2 minutes of reading that keeps the whole wall under $250.
The before-you-hang checklist
- Pattern matched to the wall — even grid, salon hang, ledge rail, or stairwell diagonal
- Wall width measured and the column count run through the section 3 math, breathing room kept at 9 to 12 inches a side
- Layout built on kraft paper, every frame numbered to match its paper shape
- Paper template taped to the wall and judged from the doorway before any hole exists
- Top row's line leveled for the grid; invisible rectangle taped for the salon; diagonal marked off the handrail for the stairs
- No-drill route chosen where the lease needs it — strips on frames 11 by 17 or smaller, the salon moved onto rails, the stairwell skipped
- Budget written before the store run: frames $30–$180, kraft paper and tape $8–$15, strips $6–$12, rails $25–$60 each
Cost: $0 to check. Time: 15 minutes before the first hole.
Common questions
Which layout pattern fits my wall?
A short, level wall takes the even grid; the one big blank wall takes the salon hang with its invisible rectangle; a wall you cannot drill takes the ledge rail; a wall that climbs with the stairs takes the diagonal — but only if drilling is allowed there.
How many frames fit on my wall?
Run the math: wall width in inches, minus 9 to 12 inches of breathing room at each end, divided by the frame width plus the gap, rounded down. A seven-foot wall with 8 by 10 frames at a 2-inch gap and 12-inch breathing room gives six columns spanning 58 inches.
Can I build a gallery wall without drilling?
Yes, for two of the patterns. The grid runs entirely on strips when every frame is 11 by 17 inches or smaller and light, and the salon moves onto a ledge rail whose only holes are the two screws per rail. The stairwell diagonal is the one to skip without a drill — strips over a staircase are not dependable.
Do I really need the kraft paper step?
It is the step that keeps the holes low. You trace each frame's footprint, number the frames and their paper shapes to match, tape the paper to the wall, and move pieces until the arrangement reads right from the doorway — so a hole only happens where paper has already stood and passed the look-test.
Save these on Pinterest
Pin the pattern that matches your wall — the grid's column math, the salon's invisible rectangle, the rail that needs four screws — so the next blank wall starts with a plan instead of a hammer. This guide lives in the Small Room Decor collection with the rest of the wall guides.