 Plant As Deco
DIY Home Projects
Upcycled Furniture: What to Rescue and How to Refinish It
By Plant As Deco · Updated 22 November 2026
Upcycled furniture is a rescue, not a repaint. A secondhand piece usually costs less than a new flat-pack box, but only some of them deserve the weekend. This guide teaches the assessment: what a rescued piece really costs, what to look for before you load it, the clean-assess-repair-paint method, and the walk-away list.
Weekend-ready: $35–$90 per piece in primer, paint, sandpaper and hardware, plus the find, one weekend. Test for lead before sanding anything from a pre-1978 home.
1. The rescue math
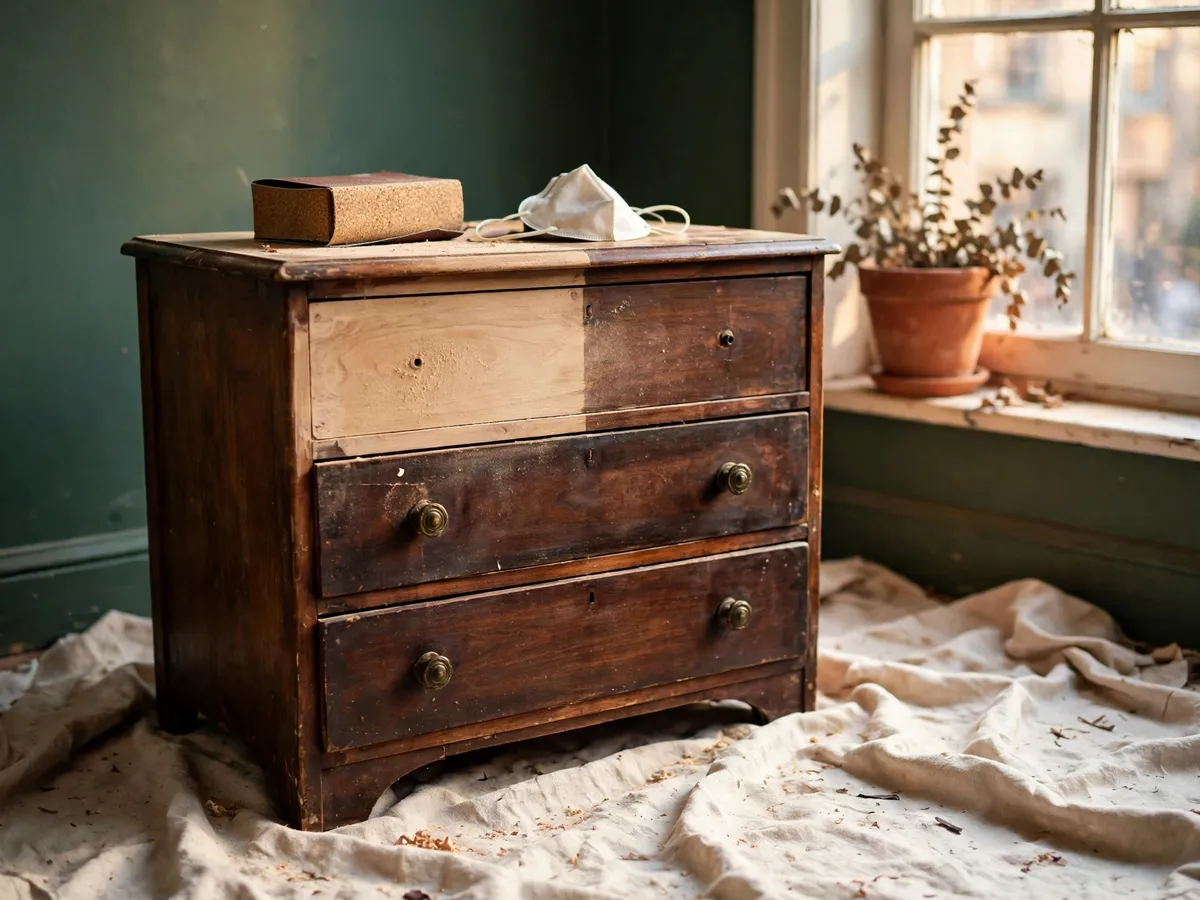
The find price is the smallest number on the receipt. A solid wood dresser at a yard sale might cost $25, the supplies run $35 to $90, and the third number is hours, the one people forget: six to eight working hours across a weekend, because glue wants a night to set and paint wants a night between coats.
A $25 dresser that eats $60 of supplies and seven hours is an $85 piece you made with your own hands, against a new flat-pack at $120 that is particle board and swells past saving if it sits in water once. The rescued piece is usually solid wood, takes screws again after a repair, and can be repainted a third time in five years. Building new from a plan can beat both routes, as the pallet furniture projects for beginners builds cost about the same in supplies and arrive with cut lists, so the hours go into making rather than repairing.
Cost: $0 to run the math. Time: 10 minutes at the curb. One caveat: hours are the hidden price, and a piece that needs structural repairs doubles them before the paint is even opened.
2. What to look for and what to walk past
The inspection takes five minutes and decides the whole project. Read four things in order: the joinery, the frame, the drawer boxes and the material.
- Solid wood joints. Pull a drawer and look at its front corners. Interlocking dovetail fingers signal a handmade or high-quality factory piece, and that drawer holds together for decades. Dowels and dado joints are good factory construction too. Glued blocks and staples are the bottom of the ladder.
- A sturdy frame. Push the top corner diagonally and feel for racking, the parallelogram wobble of a loose frame. A fraction of an inch is a clamp-and-glue afternoon. A frame that shifts at every joint is a full rebuild.
- Real veneer over solid wood. Flat, intact veneer sands lightly and takes paint beautifully. Run a fingernail along the edges: veneer lifting in bubbles has been wet, and swollen edges will not glue back flat.
- Weight. Lift one end. Solid wood feels like furniture; particle board feels like an empty box.
The walk-away list is shorter and matters more. Swelled particle board shows as bubbled edges and screw holes turned to mush, and it does not come back; paint covers the color, not the fuzz. A chair or table loose at every joint needs full disassembly, beyond a first rescue. Tiny round holes with fine powder are wood-boring beetle exit holes, and anything with fresh powder or live insects stays at the curb, away from every piece of wood you own. A split through a tabletop or a cracked leg under load is structural, not cosmetic. And a sagging upholstered seat is an upholstery project, not a paint project.
Cost: $0. Time: 5 minutes per piece. One caveat: open every drawer and look underneath, because the failure that ends the project hides on the underside, where nobody dusts.
3. Lead and old finishes first
Before sanding anything, ask how old it is. In US homes built before 1978, the paint on the walls may be lead paint, and furniture painted in that era may carry it too. Lead dust is harmful when breathed or swallowed, and sanding is exactly how paint becomes dust. A hardware-store lead test kit gives a first answer in minutes. A positive result means a certified-professional job or a walk-away, with no careful-amateur middle ground.
Old finishes carry their own hazards. Old varnish and solvent-based paint release strong-smelling volatiles while you sand, and the dust hangs in the air for hours. Sand outdoors when the weather allows; when it does not, work with the windows open, a fan moving air and an N95 mask on. Vintage varnish may hold lead too, so on a genuinely old piece, test the finish itself, not just the obvious paint. Clean up with a HEPA shop vacuum and a damp wipe-down, never a dry broom.
Cost: $10–$25 for the test kit. Time: 30 minutes. One caveat: test the oldest layer you can reach, an edge or chip where the paint layers show, because the newest coat is the least likely to carry the lead.
4. Cleaning and assessing
Cleaning comes before sanding, always, and it is the step people skip first. Grit and old polish get sanded into the grain, where they read as dark streaks through two coats of paint. Kitchen tables carry grease, bedroom pieces carry a film of furniture wax, and pieces from a smoking home carry a yellow haze that no primer likes.
The clean is plain work. Remove the hardware and pull the drawers. Wash every surface with warm water and a degreasing cleaner on a wrung-out cloth, working with the grain, then wipe again with clean water. Clean the drawer boxes and the underside too, and let the piece dry overnight, because damp wood takes primer badly.
Then read the finish, because the finish picks the method. Dab denatured alcohol on a hidden spot, inside a drawer or the back of a leg. If the finish softens and smears, it is shellac. If lacquer thinner softens it instead, it is lacquer. If neither budges it, it is varnish, polyurethane or paint. Worn shellac can be refreshed with a light alcohol pad, lacquer can be scuff-sanded and recoated, and varnish needs a de-gloss and a bonding primer. Guessing is how finishes peel three months later.
Cost: $6–$15 for cleaner and a cotton ball of solvent. Time: 30 to 45 minutes plus overnight drying. One caveat: never sand before cleaning, because grime sanded into the grain shows through paint for the life of the piece.
5. Repair essentials
Repairs come before finish, because paint never fixes a structural problem, it just paints it. Two repairs cover most rescues: re-gluing loose joints and filling cosmetic holes.
Gluing loose joints. Work the joint open gently, scrape the old glue off both faces, spread wood glue on both faces and clamp overnight. Dry-fit first, protect the show faces with scraps of wood under the clamp pads, and clamp to snug rather than crushing, because over-clamping starves the joint. One bar clamp handles a dresser; chairs want a strap clamp that pulls the legs in as a set.
Wood filler, honestly. Filler belongs in small cosmetic holes on a piece that will be painted: old hardware holes, nail holes, small corner chips. It does not restore structure, and filler in a joint that moves cracks out within a season. On a piece meant to stay stained, filler is a lie: it takes no grain and reads as a gray patch no paint hides.
When a part is missing rather than broken, a drawer bottom, a shelf, a trim strip, the repair is one board and a few straight cuts. The beginner woodworking plans guide walks reading a cut list and a material list, the exact skills this repair needs, and the beginner tool kit checklist names the tools that carry across every rescue, starting with the clamps.
Cost: $10–$40 for wood glue, a clamp and filler. Time: 30 to 60 minutes plus the overnight clamp. One caveat: pin a joint with nails instead of clamping it, and it re-loosens in the first dry winter.
6. Paint, stain, or oil
Three finish paths exist, and the piece picks. Paint is the main road, the honest choice for a piece with scars, a dark old finish or damaged veneer edges: it covers evenly what cannot be restored evenly.
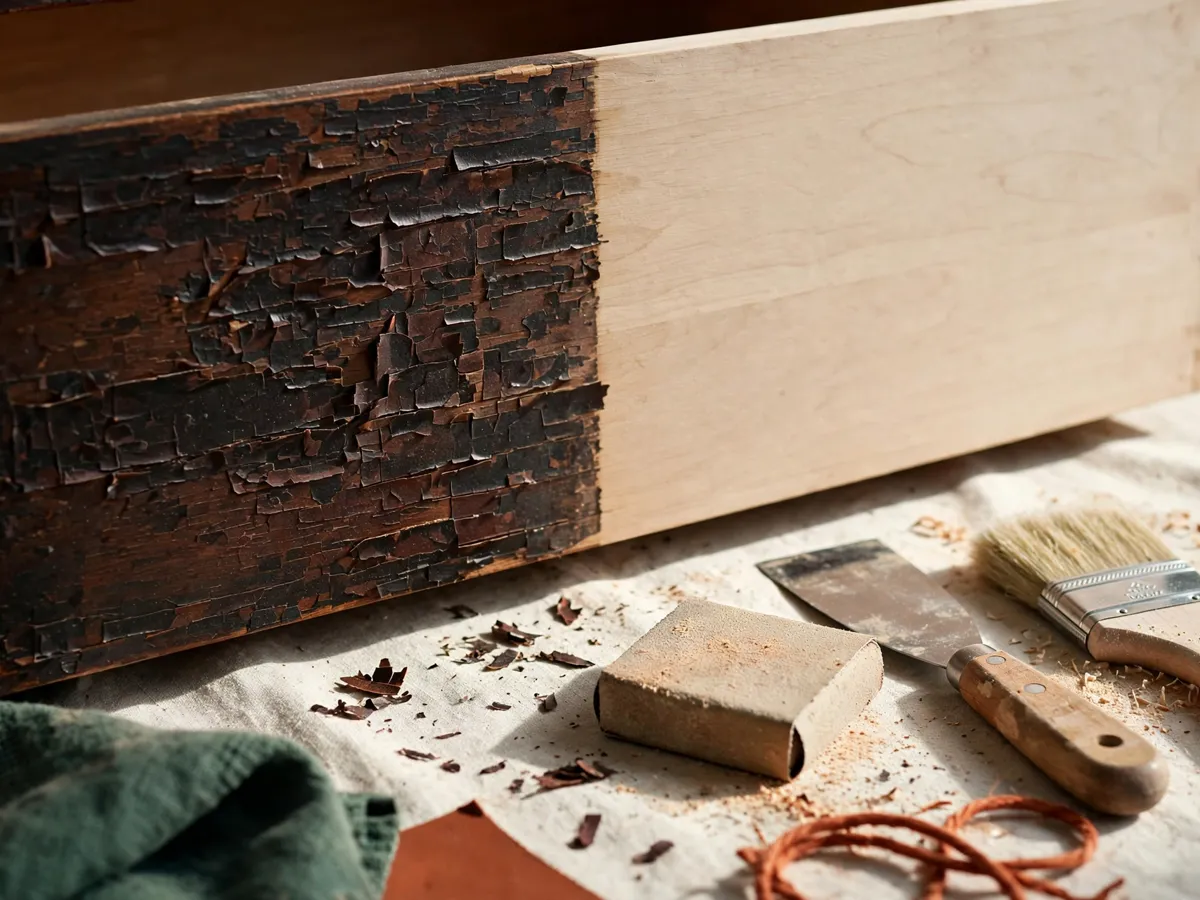
Paint. After the clean, de-gloss with a light pass of 150 to 220 grit sandpaper, or a liquid deglosser when sanding is not practical. Over old varnish or a glossy finish, lay one coat of bonding primer; it grips the gloss and blocks water rings from bleeding through. Then two thin coats of paint, laid off with the grain, with a light 320-grit sand between coats. Two thin coats always beat one thick coat.
Stain. Only for solid wood in good shape, because stain highlights every flaw and every filler patch, and it demands stripping to bare wood, the slow branch of the work. Good flat veneer can take stain, but sanding through a thin veneer is a one-way mistake, so light passes only.
Oil. For tired but sound solid wood, a penetrating oil in the tung and linseed family revives color and depth without stripping: wipe on, let it sit, wipe off. On daily-use surfaces, pair it with wax or a wiping varnish.
The chalk-paint shortcut is real: chalk-style paint adheres to a cleaned, de-glossed surface without heavy sanding or, on many pieces, primer, and that speed is why it fills the idea boards. The honest back half is the topcoat, because it needs wax or a water-based sealer to survive daily use, and the no-prep promise really means clean thoroughly first. On chipping or glossy varnish, a scuff-sand and bonding primer still outlast the shortcut.
Cost: $25–$60 per piece in primer and paint. Time: 2 to 3 hours of brushing plus a night between coats. One caveat: thick coats are where sags, slow cure and sticking doors live, so thin wins every time.
7. Hardware swaps
Hardware is the cheapest transformation in the project. New pulls and knobs change the whole read of a freshly painted dresser for $10 to $30, in half an hour. Measure before buying, because pulls are sold by the center-to-center spacing of their screw holes, commonly 3 inch (76 mm) and 3.75 inch (96 mm). Buying to the holes you already have means no drilling at all, and knobs need one hole, so they fit anything.
When the spacing does not match, fill the old holes first. Glue a wooden toothpick or a matchstick into each hole, trim it flush, skim filler over it, sand, then drill the new holes where you want them. Paint covers the patch completely; stain never does. The zero-filling alternative is a backplate, a small plate behind the new pull that covers the old footprints entirely. Solid brass and turned-wood originals clean up for free in a soak of warm soapy water, and a matched set of simple wooden or ceramic knobs is the honest unifier when they do not.
Cost: $10–$30. Time: 15 to 30 minutes. One caveat: fill and sand old holes before priming, not after painting, or the patch reads as a shadow through the finish.
8. The entryway dresser walkthrough
Here is how the method runs on the classic rescue: a solid wood dresser found at the curb for $25, told with the hours as the honest part.
- Assess, 20 minutes. Dovetail drawers, a frame that does not rack, flat veneer, every drawer sliding, with one loose drawer runner, one missing pull and a scratched but sound top. That is a green light.
- The lead question, 10 minutes. The paint looks old and the era is unknown, so the kit test runs on a chipped edge. Negative, so the sanding can go ahead. A positive answer ends the walkthrough here.
- Clean, 45 minutes. Hardware off, drawers out, degreasing wash on every surface including inside, a clean water wipe, then overnight to dry.
- Repair, 60 minutes plus the night. Glue and clamp the loose runner. Fill the one stripped hardware hole with a glued toothpick and filler, and let the clamp hold overnight.
- De-gloss and prime, 60 minutes plus overnight. A light 180-grit pass, a tack-cloth wipe, one coat of bonding primer over the old varnish, laid off with the grain, and another night of drying.
- Paint, two sessions of 45 minutes. Two thin coats with the full recoat window between them and a light 320-grit sand after the first.
- Hardware, 30 minutes. New pulls to the existing holes, and wax on the drawer runners so they glide.
- Cure, one week. Water-based paint hardens fully over days, so the drawers stay light until the week is up.
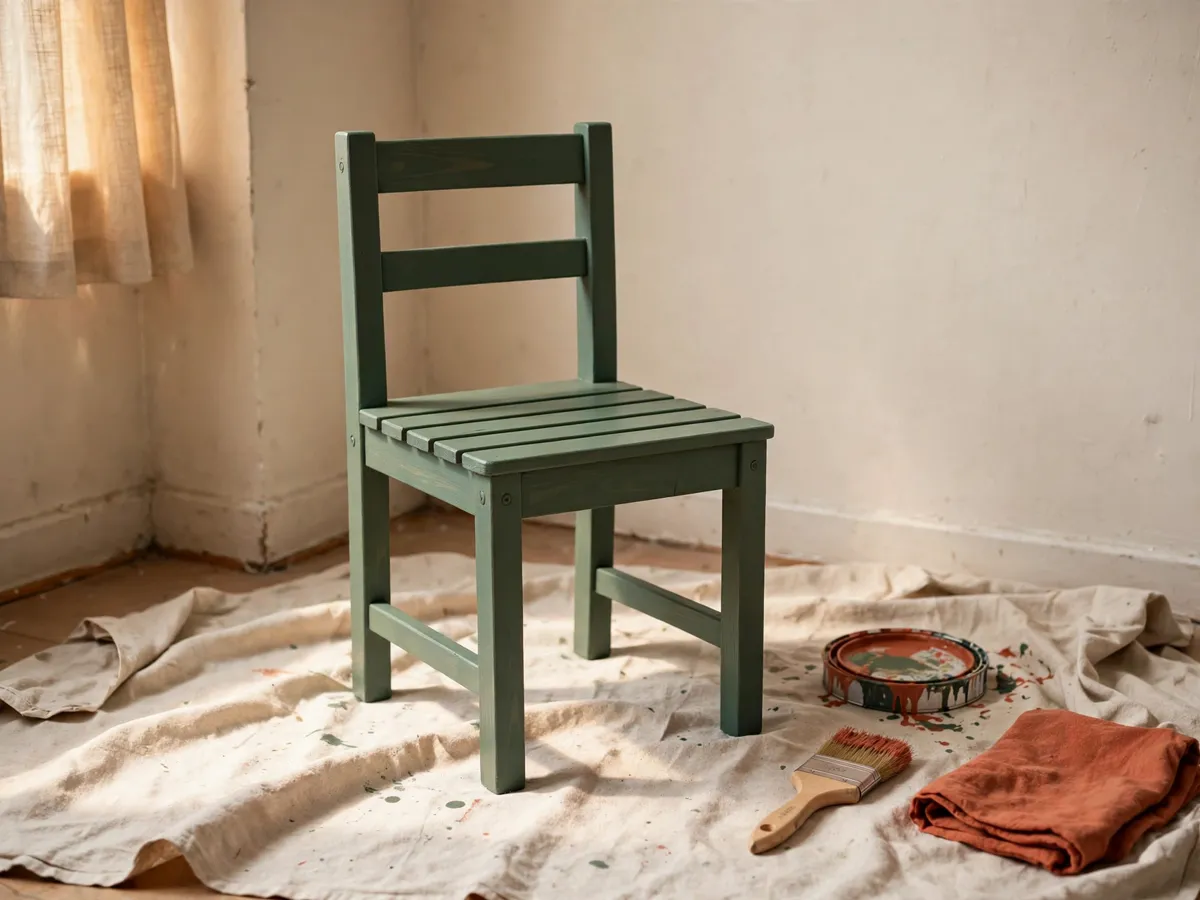
The totals: about seven hours across two days, $55 to $85 in supplies plus the $25 find, so $80 to $110 all in for a solid wood entryway dresser holding keys, mail and a basket of gloves. A new dresser of that size runs $150 to $300 in thinner material. The transformation involves cleaning, glue, primer and patience.
Cost: $55–$85 in supplies plus the find. Time: 7 hours across two days. One caveat: the cure week is part of the schedule, and loading heavy drawers on day three dents the paint.
9. Garden and outdoor rescues
The curb-side rescue does not stop at the back door, and the outdoors sorts the materials honestly and fast.
Metal is the best outdoor rescue. A steel or wrought iron chair takes one afternoon: wire-brush the loose rust, treat what remains with a rust converter, then exterior primer and exterior enamel. Check the welds and the feet, where standing water does its work. Rust that has pitted through a tube or eaten a weld is structural, and a wobble at a weld is a shop job, never a paint job.
Wood outdoors is mostly an indoor material.Teak and the dense tropical hardwoods survive the weather; painted pine and veneered pieces do not. The honest ceiling for a rescued wooden chair is a covered porch with an annual touch-up.
Rattan, honestly. Natural rattan and wicker weaken and split when they stay wet, so a rattan rescue belongs under cover, on a porch or indoors. Woven resin look-alikes survive the actual weather better than the real thing ever will. Cushions are the soft part of the job: new foam cut to size and outdoor-fabric covers finish a pair of rescued chairs into a balcony corner that gets used every evening.
Cost: $25–$70 per metal chair. Time: one afternoon. One caveat: exterior enamel needs its full labeled cure before the first rain, so check the forecast before the first coat.
10. The renter version
The renter question is about ownership, not tools. A piece you found, bought or were given is yours: paint it any color, in any room. Furniture that belongs to the landlord or came with the unit, the provided dresser, the built-in wardrobe, the kitchen cabinets, is not yours to refinish, and painting it without permission is a deposit conversation. The line is clean: your own freestanding pieces, yes; anything provided or attached, permission first.
A rescued dresser stands on its own feet, needs nothing drilled into the wall, and moves with you to the next apartment. That is the quiet renter case for upcycled furniture: the piece is an asset you own and carry with you.
Work on a balcony or outdoors with a drop cloth, because a dresser curing in a one-bedroom is a space problem. Choose water-based primer and paint, which keep the fumes down and clean up with soap and water.
Cost: $0 to read this section. Time: 10 minutes. One caveat: get permission for anything provided or attached in writing before the first coat, because a verbal yes does not survive a move-out walkthrough.
11. Common failure modes, and the fix for each
Most failed rescues fail in the same four places, and each fix is cheaper the day it happens.
- Paint peeling over wax. Cause: painting over a waxed surface, old furniture polish or a previous wax topcoat, so the paint bonds to the wax instead of the wood. Fix: wash with mineral spirits, light sand, bonding primer, then repaint.
- Filler showing through. Cause: bare filler drinks paint differently than wood, so patches read as dull spots. Fix: spot-prime every filler patch before the topcoats.
- Rushing between coats. Cause: recoating before the label window, which drags and wrinkles the first coat into the second. Fix: follow the recoat time on the can, keep the coats thin, and once a surface has wrinkled, sand it flat and start again.
- Sagging doors and sticking drawers. Cause: thick paint layers on door edges and drawer runners build up until the clearances jam. Fix: thin coats only, scrape the old paint out of the runner channels, and rub the runners with wax before rehanging.
One failure does not belong on the list because it is not a technique problem: sanding a piece that should have been tested for lead first. That is why the test in section 3 runs before the sandpaper comes out, and why a positive result moves the piece to a professional or back to the curb.
Cost: $0 to read this section. Time: 5 minutes on the first read. One caveat: every fix above is cheap while the failure is one coat deep and expensive once it has cured into the finish.
12. Cost and time, honestly
The real spread is wide because the repairs set it. Here is the picture by piece type, using the supply prices from the sections above.
| Piece | Supplies | Time |
|---|---|---|
| Small side table | $20–$45 | 2 to 3 hours, one afternoon |
| Dining or desk chair | $25–$55 | 3 to 4 hours plus the glue night |
| Dresser (section 8 walkthrough) | $35–$90 | 6 to 8 hours over two days |
| Metal garden chair | $25–$70 | One afternoon |
The find price sits on top of every row, and so do your hours. The table assumes glue-level repairs and a finish with no surprises; structural work, deep stripping or a veneer repair doubles the hours. The after photo costs a weekend, and the before photo decided whether it was worth one.
Cost: $20–$90 per piece in supplies, plus the find. Time: one afternoon to two days. One caveat: a piece that needs more than glue, filler and paint is a different project with a different budget, and the walk-away list is the cheaper answer.
13. Five questions this guide already answers
Is upcycled furniture worth it?
When the find plus supplies lands well under the new price and the piece passes the inspection, yes: solid wood takes repairs and repaints that particle board cannot, so the rescued piece outlasts the flat-pack. When it fails the walk-away list, the box is the honest buy. The full math is in section 1.
How do I know if furniture is solid wood or particle board?
Weight first: solid wood feels like furniture, particle board like an empty box. Then read the edges, where particle board shows a uniform tan core under a paper-thin layer. Dovetail corners on the drawers are the strong construction signal, as section 2 walks through.
Do I have to sand before painting old furniture?
Clean always, sand fully only sometimes. After a degreasing wash, a light de-gloss with 150 to 220 grit or a liquid deglosser, plus one coat of bonding primer, carries paint over old varnish well. Chalk-style paint skips the primer on many cleaned pieces but still wants a clean surface and a topcoat, as section 6 explains.
What furniture should you not try to rescue?
The walk-away list: particle board that has swelled, frames loose at every joint, active pest holes with fresh powder, big splits through panels, sagging upholstered seats, and any pre-1978 piece whose paint tests positive for lead. Section 2 carries the full list.
How do I test old furniture for lead paint?
With a hardware-store lead test kit, run on the oldest layer you can reach, an edge or a chip where the paint layers show. It answers in about thirty minutes, and a positive result means the piece goes to a certified professional or back to the curb. Section 3 carries the details.
Save these on Pinterest
Pin the inspection list and the failure modes, the two checklists that decide whether a rescue is worth its weekend. This guide and the rest of the DIY home projects collection sit alongside them, with tool lists and plan-led builds for the pieces you decide to make instead.