 Plant As Deco
DIY Projects
DIY Headboard Ideas: Plans for Every Skill Level
By Plant As Deco · Updated 16 November 2026
A headboard sets the bedroom, and it is the one piece you can plan around the frame you own. This page lays out three headboard plans by skill — a cover with no tools, an upholstered panel with a drill, and a storage build with a saw — each sized to queen, full and metal frames, with cut lists included.
Weekend-ready: $30–$120, one afternoon to one weekend. Wall-mounted panels hang on studs — renter-safe where the lease allows small touch-ups.
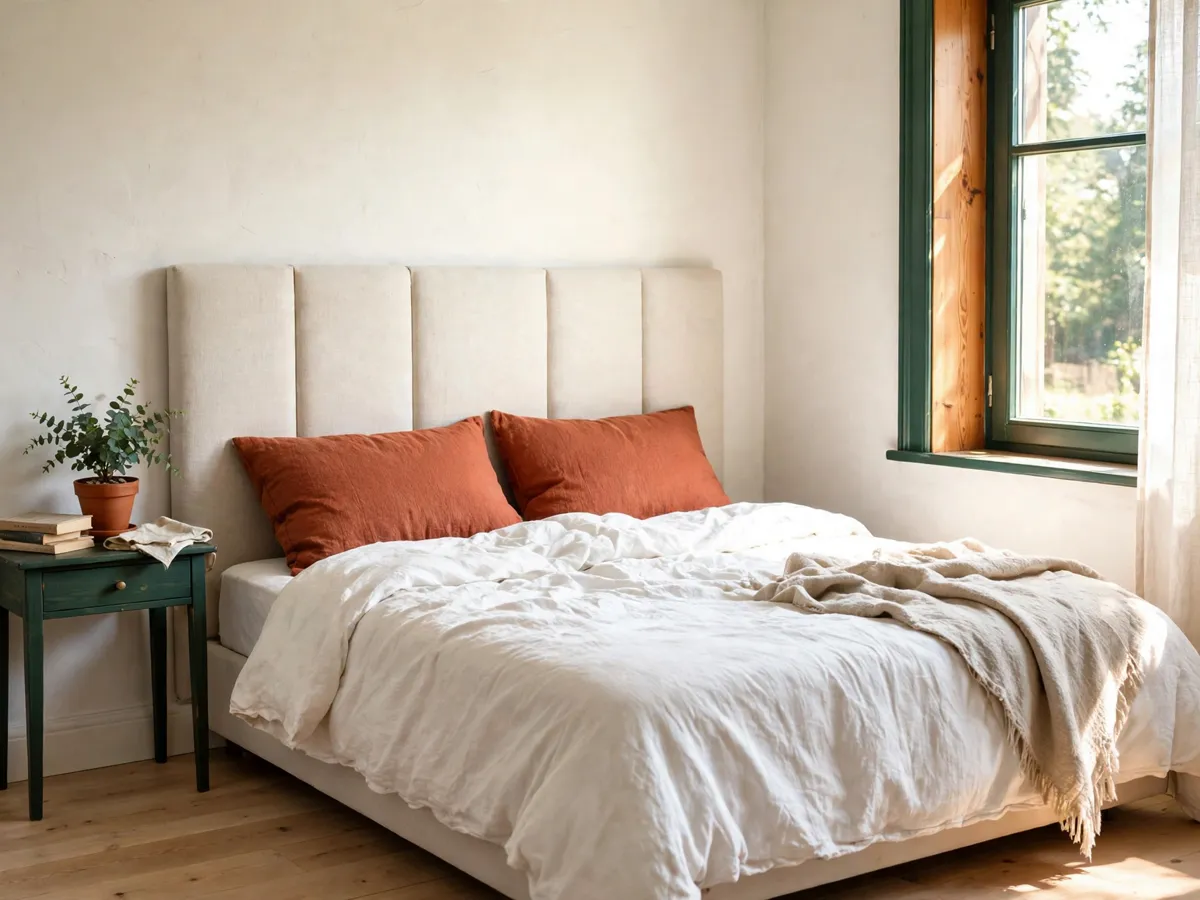
1. Measure your frame before you choose
Every plan on this page hangs off two numbers: how wide the bed is, and how the frame meets the wall. Carry a tape measure to the bedroom and write both down before choosing a direction, because the panel size decides which of the three builds fits and the frame type decides how it hangs.
Measure the mattress width first, then add one to two inches per side. A queen mattress runs 60 inches wide, so the panel lands at 62 to 64 inches — wide enough to read as a headboard, narrow enough to leave the nightstands usable. A full mattress runs 54 inches wide, so its panel lands at 56 to 58 inches. Wider than that eats wall the room does not have; narrower than the mattress reads as a mistake from the doorway.
Height is measured from the floor, not the mattress. The working band is 48 to 60 inches tall from the floor, which leaves 24 to 36 inches of panel showing above the pillows — enough to see over a stack of two sleeping pillows and a reading pillow, low enough that the panel does not crowd an eight-foot ceiling. Mark the top line on the wall with painter's tape and stand in the doorway before committing; the tape never lies and the eye adjusts in a day, so trust the tape.
A metal frame changes the hanging, not the size. Most metal frames have no headboard brackets worth trusting, so the panel goes on the wall instead of the frame: two mirror clips or one French cleat screwed into studs, with the panel kept under 20 pounds. Find the studs first with a knuckle knock or a fifteen-dollar finder — drywall alone holds paint, not panels. Set the bottom edge two to three inches above the mattress so no gap shows pillows wedged behind the bed.
With the numbers on paper, the choice makes itself. No tools and an existing headboard, or a bare wall you may not drill, points to the cover in section two. A drill and a store that cuts sheet goods points to the upholstered panel in section three. A saw and a bedroom that needs storage points to the shelf build in section four. The art that shares the wall with whatever you choose — what sits above a headboard and what stays off that wall — is walked through once in the wall decor above the bed guide.
Cost: $0 with a tape you own. Time: 15 minutes in the room. Measure the frame first — every cut list below hangs off these two numbers.
2. The no-tool cover
The cover is the plan for a headboard that already exists and a toolbox that does not. A tired wood or metal headboard, even a dated one with good bones, disappears under a wrapped layer of fabric held from behind — no drilling, no staples into the frame, nothing the lease can object to. The front reads as new upholstery; all the work hides at the back.
The fabric math comes before the fabric store. The width is twice the headboard width plus 8 inches: one full width for the front, one for the back wrap, and the 8 inches for side folds and hems. The length is the headboard height plus 12 inches for the top fold and the bottom tuck. For a 64-inch queen headboard that means about 136 inches of width — and since home fabric runs 44 to 54 inches wide off the bolt, a queen wrap joins two lengths with the seam pinned flat at the back where nobody sees it. Buy a small-scale print or a solid so the back seam never has to match.
The wrap order: drape the fabric centered over the top rail and smooth the front flat with your palms, working from the middle outward so wrinkles travel to the edges instead of camping in the center. Fold the sides in like wrapping a parcel, then pin the folds to the back with large safety pins or press fusible hem tape along the back folds with a household iron. Tuck the bottom behind the mattress. The envelope-style fold — one side over the other, pinned flat — is the same motion used on cushions, and the fold order is shown step by step in the no-sew pillow cover guide.
The honest limits: a cover changes the look, not the structure. A wobbly headboard stays wobbly under linen, so tighten its bolts first — a wrench, not a project. Plan the wash before the wrap: a pinned cover lifts off in minutes, so choose a machine-washable cotton or linen and skip anything labeled dry-clean-only. And keep the back accessible. Beds pushed hard against the wall make re-pinning a wrestling match, so leave two fingers of clearance behind the posts.
Cost: $30–$60 for fabric plus pins or hem tape. Time: 2 hours for a first wrap. The second one takes half that, once the folds are familiar.
3. The drill-only upholstered panel
The panel is the middle path: a real upholstered headboard in one afternoon, with a drill as the only power tool. The trick is that the only sawing happens at the store — most home centers cut sheet goods to size free or for a small fee — so the work at home is wrapping, stapling and hanging. Here is the plan for a queen; a full panel follows the same steps two inches narrower per side.
The cut list, queen size, all in inches:
- Plywood, half inch, 62 by 48 — the panel. Confirm the store cut before leaving the rack; a tape check at the cart beats a second trip.
- Foam, 1 inch, 60 by 46 — one inch short on every side so the fabric edges close over plywood, not over foam that fights the staple.
- Fabric, 66 by 52 — two inches of pull on every side to reach the back for stapling. Medium-weight linen or cotton duck; stretch velvet forgives a first-timer's corners.
- Two French cleats, 24 inches each — one screwed to the studs, its mate screwed to the panel back. Rated far above a sub-20-pound panel, which is the point.
- Fasteners — eight 1-1/4 inch wood screws for the cleats, plus a box of 3/8 inch staples for a manual staple gun.
The wrap order matters more than the tools. Lay the fabric face-down, center the foam on it, center the plywood on the foam. Staple the middle of one long side, pull snug — not guitar-string tight — and staple the middle of the opposite side. Repeat top and bottom middles, then work toward the corners, folding each corner like a hospital corner on a bedsheet and stapling the fold flat. Flip the panel and read the front in daylight before hanging; a pull or a pucker shows now, and one staple pulls out cleanly while the gun is still in your hand.
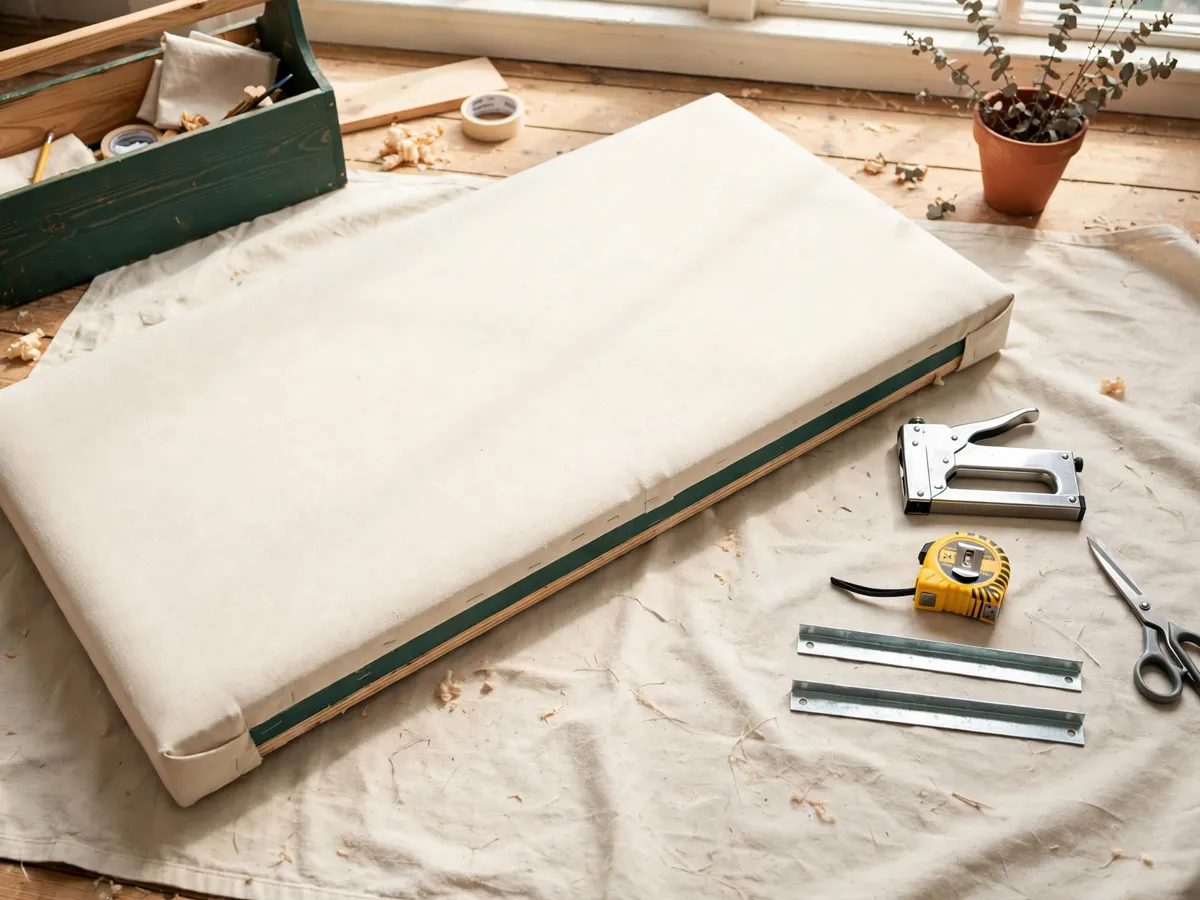
Hanging is a two-stud job. Level the wall cleat across two studs and drive the screws home; lift the panel so its back cleat drops onto the wall cleat and gravity does the holding. The bottom edge lands two to three inches above the mattress. For renters, the record is four small screw holes that spackle and a dab of touch-up paint erase at move-out. The tool logic behind this build — what to buy, what to borrow for one afternoon, what to skip entirely — is the same buy-borrow-split laid out in the beginner woodworking plans guide.
Cost: $60–$120 for plywood, foam, fabric, cleats and fasteners. Time: one afternoon including the store cut. Foam thicker than 2 inches is the classic overspend — the edges will not close.
4. The saw-and-storage build
The storage build is for the bedroom where the nightstands do not fit: a low, wide shelf that stands on the floor behind the bed and holds the books, glasses and small lamp the nightstand used to hold. It reads as a headboard from the doorway and works as a shelf from the pillow. Nothing hangs over the bed — the whole unit sits behind it, anchored to the wall so it cannot tip.
Depth is the dimension that decides comfort. Six to eight inches deep holds a paperback row and a small lamp base; deeper than 8 inches meets the back of the head when sitting up in bed, and shallower than 6 inches drops books. A 1x8 board measures 7-1/4 inches wide in real terms, which lands inside the band with nothing to trim — the reason this plan specs 1x8 stock throughout. Divide the 62-inch queen width into two or three cubbies with one or two dividers; cubbies around 20 to 24 inches wide fit books without stacking them sideways.
The cut list, queen width, all in inches — 1x8 boards, glued and screwed with 1-1/4 inch screws, two per joint:
- 2 sides, 1x8 by 20 — the unit stands 20 inches tall on the floor, tops out below the mattress line, and everything stays reachable over the pillow.
- Top, middle shelf and bottom, 3 boards of 1x8 by 60-1/2 — the width between the sides, since each side board is 3/4 inch thick.
- 1 divider, 1x8 by 18-1/2 — fits between top and bottom with the middle shelf passing through; skip it for two long cubbies instead of four.
- Back panel, thin plywood 62 by 20 — store-cut, nailed on square; it keeps paperbacks from vanishing behind the bed.
- 2 L-brackets with screws — anchor the top rail into studs so the unit cannot tip forward when a cubby is loaded.
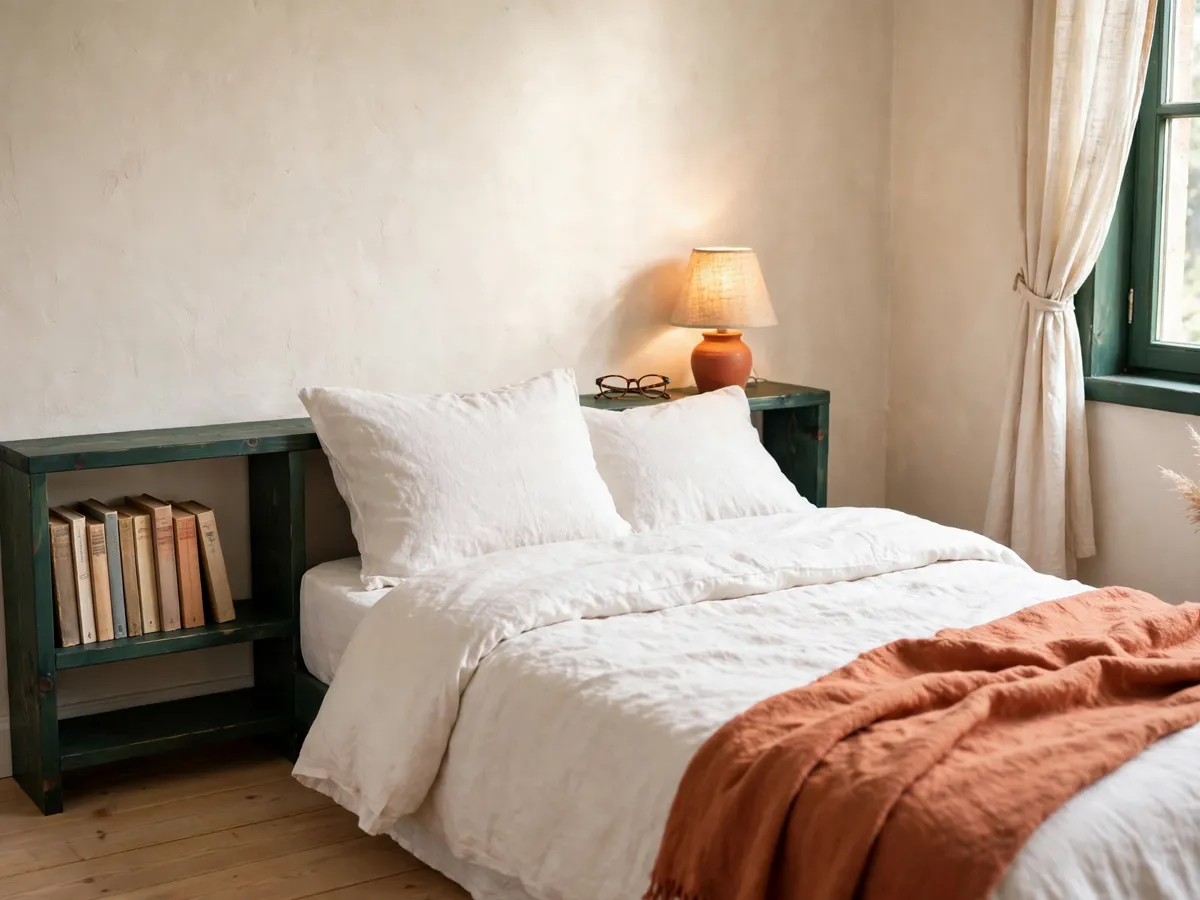
Load it like a shelf, not a bookcase: each cubby holds up to about 10 pounds — paperbacks, glasses, a small lamp — and the top surface takes nothing heavier than a reading lamp. Heavy objects never live above pillow height on this unit, and nothing mounts to the wall over the bed at all. That rule is the whole safety plan: the shelf stands behind the bed at shin-to-knee height relative to a sleeper, anchored back into studs, so a bump in the night moves nothing. In a small bedroom the shelf earns its floor twice — headboard by day, nightstand by night — which is why this build pairs well with the tight-layout thinking in the small bedroom ideas guide.
Cost: $80–$120 for 1x8 stock, plywood back, glue, screws and brackets. Time: one weekend including sanding and one finish coat. The anchor brackets are not optional — budget them in.
What we would skip
- A panel wider than the nightstand span — it eats the wall and traps the lamps behind wood.
- Foam thicker than 2 inches on the drill-only panel — the fabric edges will not close and the corners bunch.
- Bolting a panel to metal frame posts with mismatched hardware — wall-mount into studs instead and let the frame hold the mattress only.
- Any shelf mounted on the wall above the pillows — storage sits behind the bed at shelf height, never over it.
- Dry-clean-only fabric on a pinned cover — the cover that cannot go in the wash becomes the cover that never comes off.
Cost: $0 to skip. Time: two minutes of reading that saves the most expensive mistake on this page — a panel that does not fit the frame it was planned for.
The before-you-build checklist
- Mattress width taped and panel width set — queen 62–64 inches, full 56–58 inches
- Top line taped on the wall at 48–60 inches from the floor and checked from the doorway
- Path picked by tools on hand — cover, drill-only panel, or saw-and-storage
- Studs found where a cleat or anchor will land, before any fabric is bought
- Cut list written on one card with real sizes — foam an inch short, fabric two inches long per side
- Fabric chosen washable with a small-scale print or a solid
- Budget set inside $30–$120 and the weekend blocked — cover one afternoon, panel one afternoon, storage one weekend
Cost: $0 to check. Time: 15 minutes with this list before the store run.
Common questions
What size should a DIY headboard be for a queen bed?
Sixty-two to 64 inches wide — the 60-inch mattress plus one to two inches per side — and 48 to 60 inches tall from the floor, which leaves 24 to 36 inches showing above the pillows. A full bed takes the same plan at 56 to 58 inches wide.
Can I make a headboard without power tools?
Yes — wrap the headboard you already have. Drape washable fabric cut to twice the width plus 8 inches, fold the sides like a parcel and pin the folds flat at the back. Two hours, no drilling, nothing the lease can object to.
How do you hang a headboard on a metal bed frame?
Hang it on the wall instead of the frame. A panel under 20 pounds goes up on two mirror clips or one French cleat screwed into studs, with the bottom edge two to three inches above the mattress so no gap shows.
How deep should a storage headboard be?
Six to 8 inches — a 1x8 board lands at 7-1/4 inches and fits the band with no trimming. Keep each cubby near 10 pounds or under, anchor the unit back into studs, and mount nothing heavy above the pillows.
Save these on Pinterest
Pin the size table — queen 62 to 64, full 56 to 58 — plus the cut list for the path you picked, so the store run starts with a card instead of a scroll. All three plans and the checklists that go with them sit in the DIY Home Projects collection.