 Plant As Deco
DIY Projects
DIY Workbench Plans for Beginners: One Bench, Three Bases
By Plant As Deco · Updated 16 November 2026
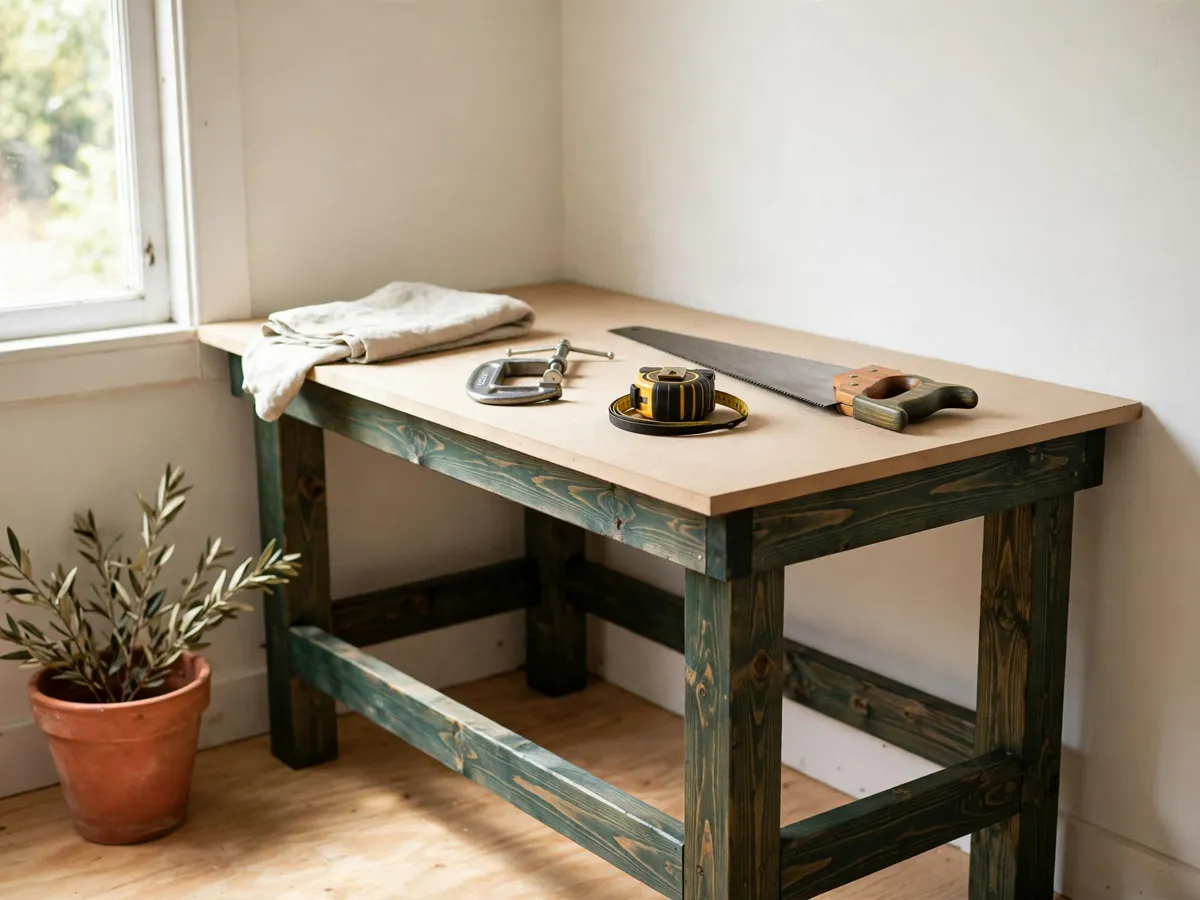
A workbench plan usually arrives as a photo of a finished bench and a tool list longer than the cut list. This page is the opposite: one bench — a 2 by 4 frame under a 48 by 24 MDF top — written as a plan, with three bases so it fits the space you actually have: fixed for the corner, rolling for the shared garage, folding for the wall.
Weekend-ready: $50–$90, one afternoon plus two hours. Drill and saw only, no fancy tools.
1. Why the first bench is 2 by 4 and MDF
Of every build a beginner could start with, a workbench is the one that makes sense first, because it asks for the least. The whole tool list is a drill and a saw — and the saw is optional, because the store can make the panel cuts for you. No router, no miter saw, no table saw, no machine at all. The bench is the one project where the beginner tool ladder and the project agree: the fewest tools build the thing that makes the next projects possible.
The wood matches the tool list. A 2 by 4 is cheap, straight enough, and forgiving of a first-time cut that wanders a little. A 3/4 inch MDF or plywood project panel comes from the big-box store already at 24 by 48 inches — the exact top this plan calls for, zero cuts needed. That is the whole reason this combination is the standard cheap route: the only board you have to cut is the 2 by 4, and a handsaw handles every one of those in an afternoon.
The bench is a tool for tools. Everything you build after it needs a surface to sit on and an edge to clamp to, and until the bench exists, that job falls to the kitchen table or the floor. This is why an easy DIY workbench plan is worth more than a prettier first project: the one-board crate plan is the gentler first cut, but the bench is the build that changes what every build after it feels like.
A simple workbench plan done cheap is not a smaller bench — it is this bench. The expensive parts of other plans are machines and hardwood, and both are absent here on purpose. What a complete plan should tell you before money changes hands — the board names, the cut order, the honest time — is covered from the reader's side in the beginner woodworking plans overview; this page is the plan itself.
Cost: $0 to plan. Time: 15 minutes of reading. The expensive beginner mistake is buying machines before a bench exists to justify them.
2. Size it before you cut it
The top is 48 by 24 inches, and every number in that spec is doing a job. The 24 inch depth matches the counters you already work at, so muscle memory and muscle height carry over — and it is the depth most common clamps are sized to reach across. It is also slim enough that the bench rolls or carries through a 30 inch doorway without a thought.
The 48 inch length is the one-person number. At 48 inches, the bench is long enough to hold a board and a saw at the same time, yet light and narrow enough for one person to rotate it alone in a small room. It also fits inside a 6 foot wall span with room left for a stool — which is why this plan does not go to 60 inches even though the wood would allow it.
Thickness is where cheap benches fail. A bare 3/4 inch MDF top will bow in the middle over time if it spans its whole width alone, so this plan never lets it: a 2 by 4 frame — the apron — runs under all four edges of the top, carrying the perimeter so the panel never spans unsupported. The border is the fix, and it is already in the cut list in section four; no extra parts to buy.
Working height lands between 34 and 36 inches with the legs cut at 34. That is the band most workbench plans and most standing work happen in — a common range, not a measurement of you. The honest check is standing at your kitchen counter and noting where your hands fall when you pretend to saw or drill; if that height differs, cut the legs longer or shorter by the same amount before anything else happens.
Cost: $0. Time: 20 minutes with a tape measure. Cut before measuring and the bench owns the room, not the other way around.
3. Pick your base: fixed, rolling, or folding
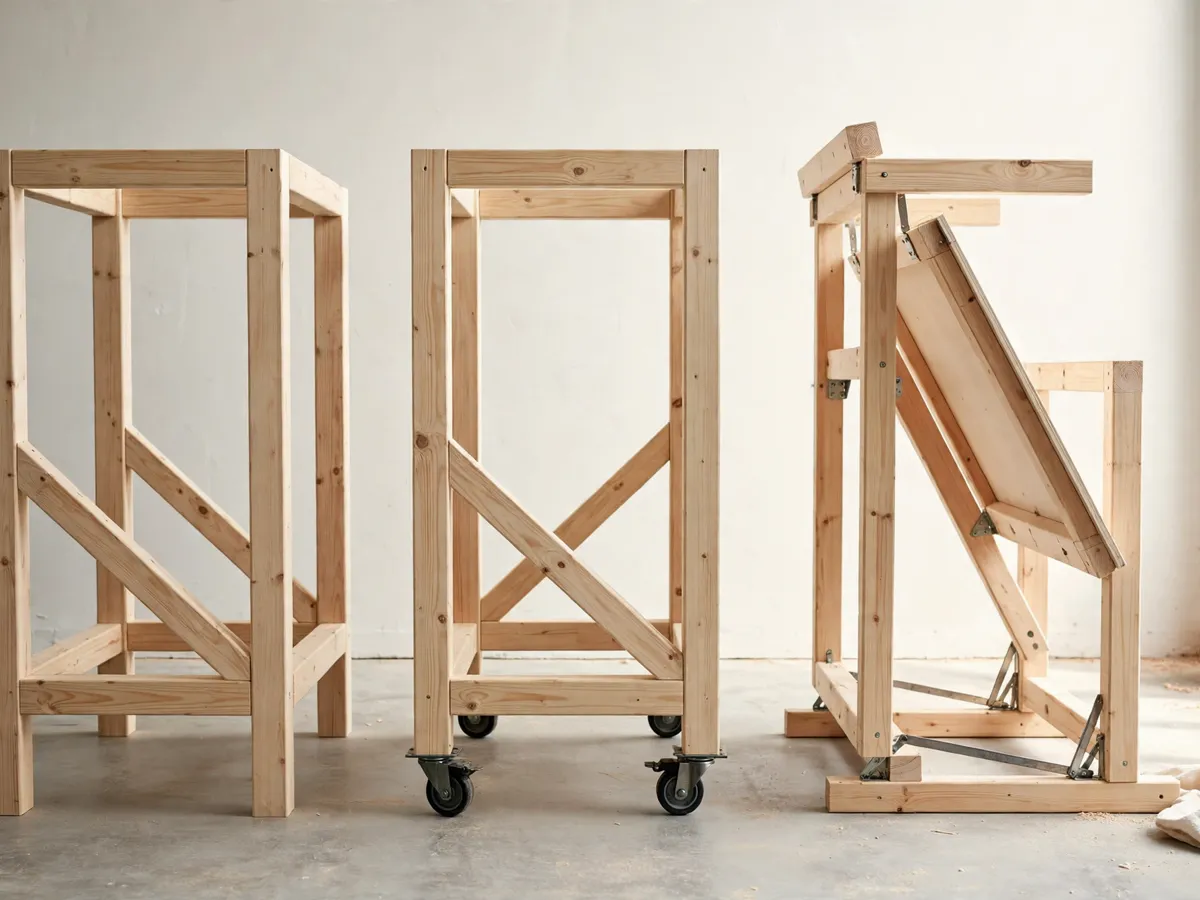
The top never changes. What changes under it is the base, and the base is decided by the room, not by preference — pick by where the bench lives when you are not using it. Three situations, three bases, one cut list each.
Fixed — the corner nobody walks through. Four 34 inch legs plus two diagonal corner braces: the cheapest and stiffest of the three bases, and it drills into nothing. The braces are the whole difference between a bench that racks sideways after a year and one that holds its corners; they are two 20 inch blocks, not joinery. Choose fixed when the bench gets a corner of a spare room, a basement, or a garage with room to spare, and choose it first when the budget is tight — every other base costs hardware this one does not need.
Rolling — the shared garage. Keep the top and its frame exactly as cut; shorten the four legs by about 3 inches and set the base on casters — four of them, the front two locking — so the finished height lands back in the same 34 to 36 inch band. The 24 inch side leads, so the bench rolls through a 30 inch doorway and tucks against the wall when the car needs the space. A lower plywood shelf, one more 48 by 24 panel on the lower frame, turns the rolling base into storage for bins underneath. This is the garage version of the plan, and it is the one to pick when the space doubles as parking.
Folding — the wall in a shared room. The top and its apron hinge to a 2 by 4 cleat mounted across two wall studs, and two legs on folding brackets swing down when the bench is open. Folded, the legs tuck flat into the frame and the whole bench sits less than 6 inches off the wall — a wall again until the next weekend. This is the plan for a laundry room, a multipurpose room, or any space that cannot give up floor permanently. One honest catch: the folding base drills into studs, so it is a landlord conversation where the fixed and rolling bases never touch the wall.
Cost: $0 to choose — casters or hinges only when the base calls for them. Time: 30 minutes with painter's tape on the floor. Decide before the store run, because the base is the shopping list.
4. The full cut list
Here is the whole plan for the fixed bench — what to buy, what to cut, what it costs, and how long it honestly takes. Sizes are finished inches, and 2 by 4 is the store name: the board you carry home measures 1-1/2 by 3-1/2.
| Part | Cut from | Size | Qty | Job |
|---|---|---|---|---|
| Legs | 2 by 4 | 34 in | 4 | Uprights; set the working height |
| Long rails | 2 by 4 | 45 in | 4 | Two apron rails under the top, two lower frame rails |
| Short rails | 2 by 4 | 21 in | 4 | Two apron ends, two lower frame ends |
| Corner braces | 2 by 4 | 20 in | 2 | Diagonals across two opposite bottom corners |
| Top | MDF or plywood, 3/4 in | 48 × 24 in | 1 | The work surface — buy it as a 24 by 48 project panel |
| Fasteners | — | 3 in screws ~40 · 2-1/2 in screws ~20 | — | Frame joints, then the top; plus one bottle of wood glue |
The shopping list behind that table: five 8-foot 2 by 4s, one 24 by 48 inch 3/4 inch project panel, a box of 3 inch screws, a box of 2-1/2 inch screws and wood glue. At honest big-box prices that runs $50 to $90 — roughly $25 to $40 in 2 by 4s, $15 to $30 for the panel, $10 to $20 for screws and glue. The screw counts are a shopping list, not a quota; buy the box.
The math checks out in both directions, which is the point of a plan. The long rails are 45 because the top is 48 minus two leg widths — 48 minus 3. The short rails are 21 because the depth is 24 minus 3. And five 8-foot boards hold 440 inches of cuts with about 40 inches left over — enough for one spare leg when a first cut goes wrong, which is exactly what a spare is for.
The screw map: the 3 inch screws join every 2 by 4 to every other 2 by 4 — legs to rails, the four rail corners, and the two braces — two screws per joint with glue, driven after a pilot hole. The 2-1/2 inch screws hold the top down through the apron, driven from above and countersunk so the heads sit flush with the MDF; space them roughly every 12 inches around the perimeter. Countersinking is the step that separates a bench you can slide work across from one that catches every board.
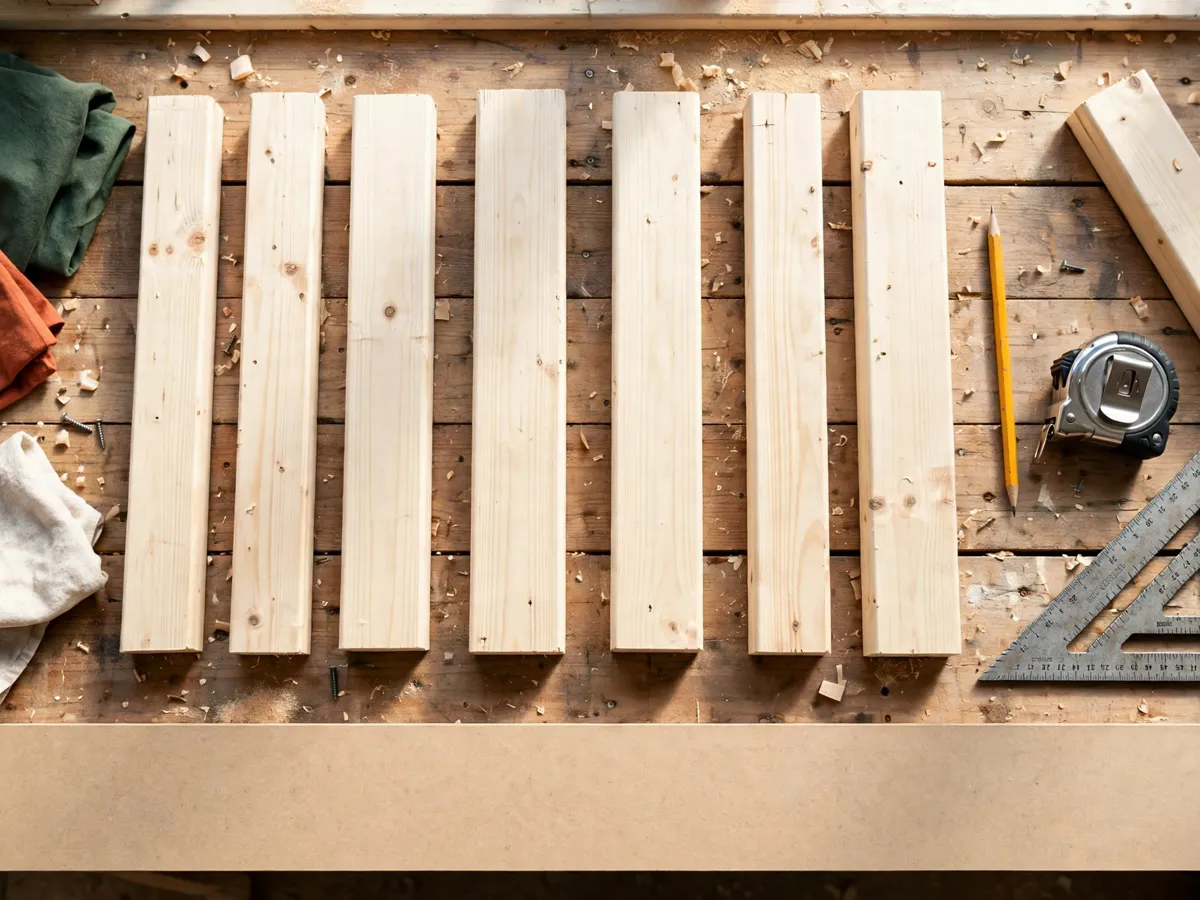
Build order, longest pieces first: build the apron frame flat on the floor — two long rails, two short rails, glued and screwed square. Attach the four legs to it, check the diagonals before the glue grabs, add the lower frame at about 8 inches off the floor, then the two braces across opposite bottom corners. The top goes on last, screwed down through the apron. Glue and square checks are why the honest schedule is one afternoon for the frame and two more hours the next day for the top and the final screws.
The other two bases change the list in clusters, never the top. Rolling: cut the four legs at 31 instead of 34, add four casters — front two locking — and one more 48 by 24 plywood panel for the lower shelf; budget $15 to $30 extra. Folding: drop the legs, rails and braces entirely, and buy one 48 inch 2 by 4 cleat, two 30 inch legs, a pair of hinges and two folding-leg brackets; the top and its apron arrive unchanged.
What comes after the bench is the part worth planning while the glue dries. Every project downstream gets easier with a surface to clamp to — the floating shelf cut list is a natural second build, and free scrap wood for small projects is covered in the pallet projects guide.
Cost: $50–$90, wood to screws. Time: one afternoon plus two hours the next day. The first build runs long — that is the order of work being learned, not the wood fighting back.
What we would skip
- Buying a workbench plan — the cut list above is the whole plan, and it fits on one card.
- A miter saw, router or table saw for this build — not one cut here needs one; the panel even comes pre-sized.
- A 2 by 4 plank top — edge-glued studs cup and leave gaps; one flat MDF panel costs less and stays flat with the apron under it.
- A built-in bench vice as a first version — a clamp and a scrap block hold most beginner work; the vice is a later upgrade once the bench has proven where it needs one.
- The rolling base "just in case" — casters and a shelf add $30 to $60; pick the base the room actually demands.
Cost: $0 to skip. Time: 2 minutes of reading that keeps the first bench a $50 bench instead of a $150 one.
The before-you-build checklist
- Base picked by the room — fixed corner, rolling shared garage, folding wall — and the spot taped on the floor
- Height checked at your own counter, legs adjusted from the 34 inch default before the first cut
- Shopping list confirmed: five 8-foot 2 by 4s, one 24 by 48 project panel, 3 inch and 2-1/2 inch screws, wood glue
- The panel picked up pre-cut to 24 by 48 — the top needs no saw at all, and the store can cut the 2 by 4s too
- Cut list copied to one card, longest pieces first, 45 and 21 checked against the 48 and 24
- Pilot holes planned for every screw and the countersink step written at the bottom of the card
- Diagonal check scheduled before the glue sets, not after
- Time doubled for a first build, then started anyway
Cost: $0 to check. Time: 15 minutes with this list before the store run.
Common questions
How tall should a beginner workbench be?
Between 34 and 36 inches, with the legs cut at 34 for this plan. That is the common range for standing work, not a measurement of you — check where your hands fall at your kitchen counter and adjust the leg length before cutting.
How much does this workbench cost to build?
$50 to $90 for the fixed bench, wood to screws. The rolling base adds $15 to $30 for casters plus a shelf panel, and the folding base trades wood for hinges and brackets.
Which base should I pick?
By the space, not preference. Fixed for a corner nobody walks through — cheapest and stiffest. Rolling for a shared garage where the bench moves for the car. Folding for a wall in a shared room, accepting that it drills into studs.
Do I need a table saw or miter saw to build it?
No. A drill and a handsaw cover every cut, and the top comes from the store already at 24 by 48 inches as a project panel. The store can also cut the 2 by 4s if the saw is the part you are missing.
Save these on Pinterest
Pin the cut list and the three-base decision — the card that makes the store run short and the build a weekend, not a month. This guide lives in the DIY projects collection with the rest of the plans.