 Plant As Deco
DIY Home Projects
Pallet Projects for Beginners: Start With the Free Pallet
By Plant As Deco · Updated 16 November 2026
A pallet looks like free wood, and it is — but only some of it belongs in your home. This page is for first-time builders who want one real build out of a pallet without the classic mistakes: read the treatment stamp before you haul it, strip the boards without splitting them, choose one of four easy builds, and gear up first — pallet nails are the hazard that gets everyone.
Weekend-ready: $0–$100, one weekend. Free wood, two tools, renter-safe — every build here comes apart for the move.
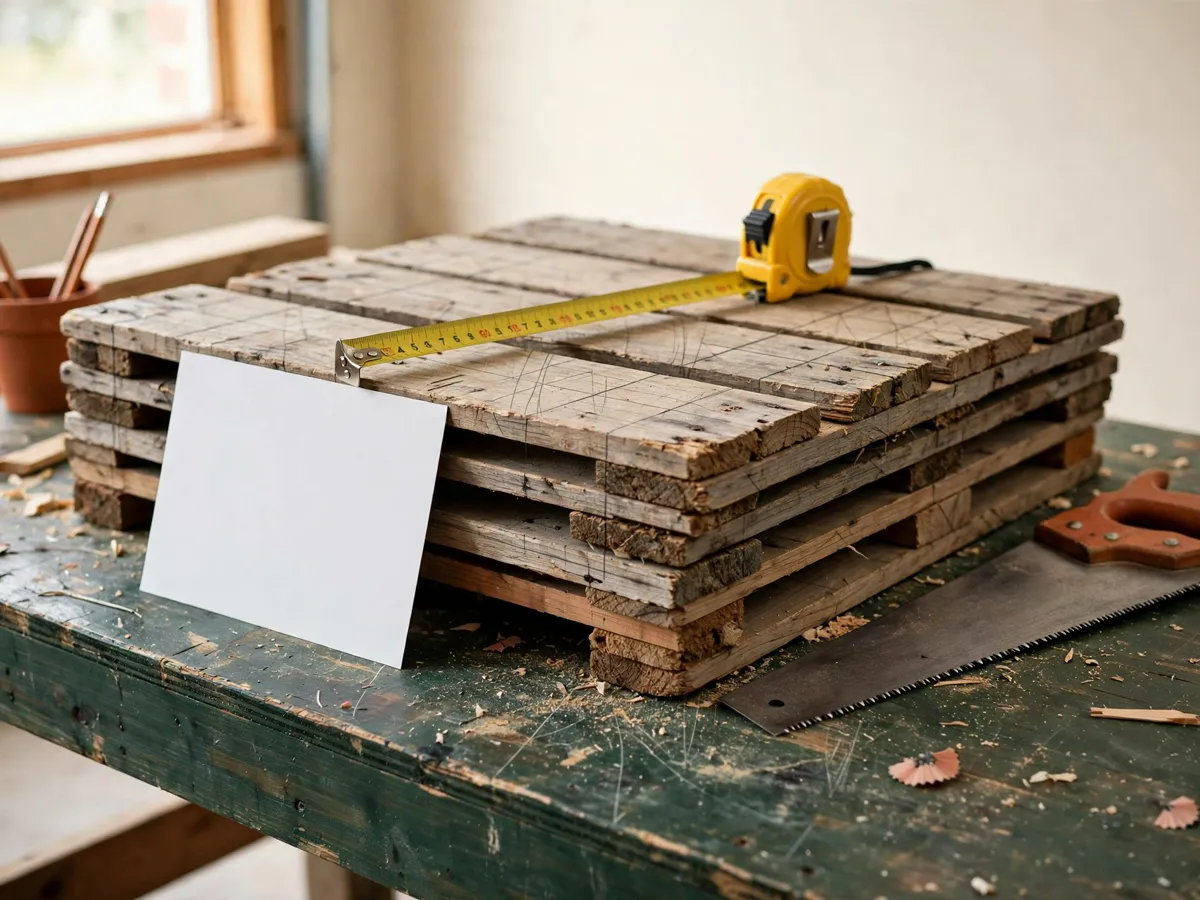
1. Read the stamp before you haul it
Every shipping pallet was treated for a reason, and the reason is stamped or branded into the side rail — a few letters that decide what that wood is allowed to touch in your home. Read the mark before the pallet goes in the car, because once it is on the back seat you will talk yourself into it.
HT means heat-treated — that is the one you want. The wood was kiln-baked to kill insects and their eggs, no chemical was soaked into the boards, and it is the common treatment in the US. Every build in this page assumes an HT pallet. MB means methyl bromide — leave that pallet where it sits. That one was chemically fumigated, and no coffee table is worth the argument. The third case is the plain pallet with no readable mark at all: if you cannot confirm where it came from or what it carried, treat it as an outdoor project only — a planter or a yard bench, never a child's toy, never anything that touches food. Unknown origin is not a flavor of safe.
While you are reading, look past the letters. Stains that smell like fuel, dark oil patches, or a lingering chemical odor disqualify the pallet whatever the stamp says — pallets carry freight, and freight leaks. What comes home is a clean, unstained HT pallet from a source you can name.
Where the good ones live: the back areas behind hardware stores, flooring and furniture shops, garden centers — anywhere heavy goods arrive on pallets and leave them behind. Ask before you take anything. A stack behind a store is not a giveaway pile until someone says it is, and the employee who says yes usually knows which pallets came in clean.
Cost: $0. Time: 10 minutes for the stamp, the smell and the stains. A pallet is only free once it is offered — ask first.
2. Break it down without splitting the wood
Pallet boards are held by spiral or ring-shank nails — fasteners designed never to work loose under a loaded truck. That is exactly why a beginner prying at the middle of a board splits two out of five. The fix is to attack the joint, not the board: slip the pry bar under the board right beside a nail, lever gently, and move to the next nail the moment the board lifts. Never ride one spot until the wood cracks.
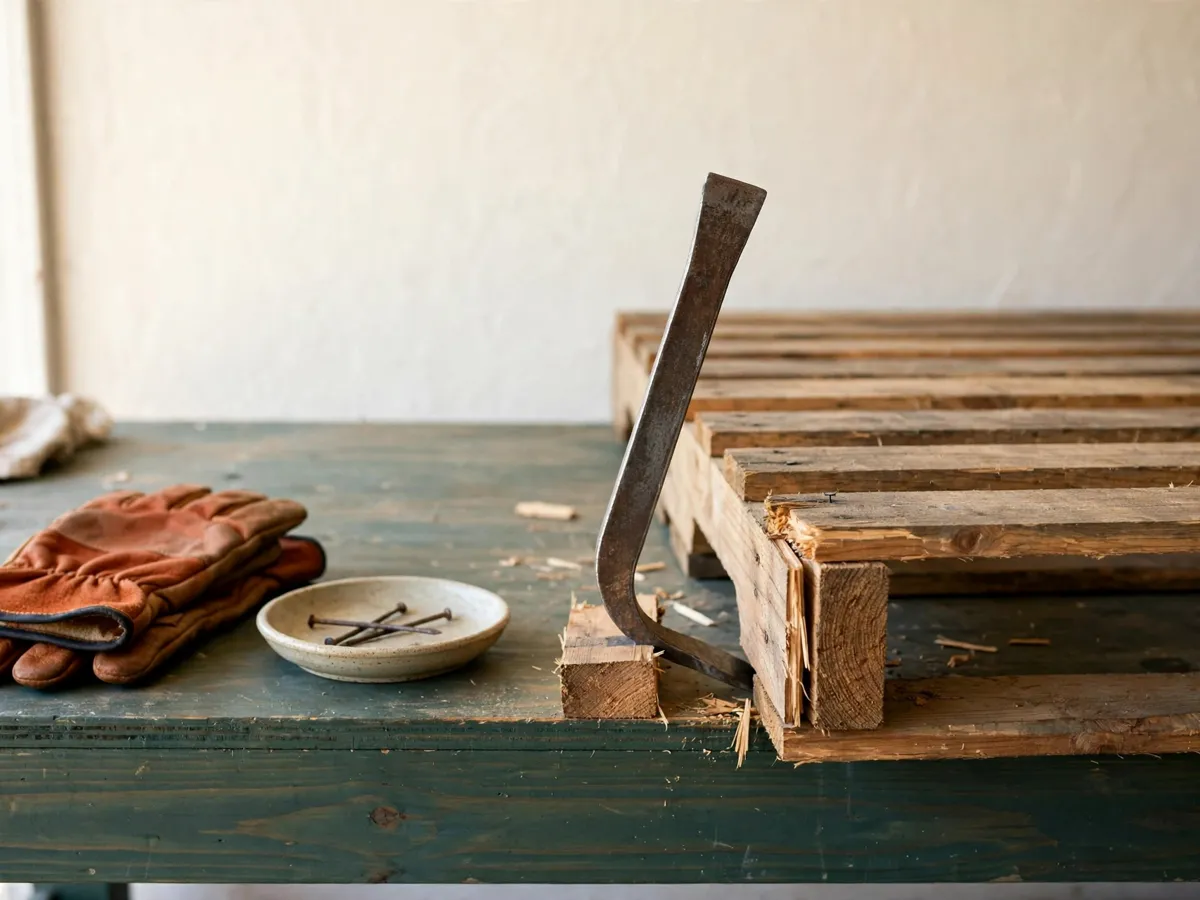
Two habits save the rest of the boards. First, cushion the lever: set a small scrap block under the pry bar's fulcrum, so the bar presses on scrap instead of digging into the board you are freeing. Second, know when a nail has won: some nails will not come out, and a nail that will not come out is a nail to cut flush or leave alone — never a reason to keep levering. Curved, springy boards get the reverse trick: flip the board crown-up and tap the nail back out from the convex face, where the wood is under compression and will not split. Driving a stuck nail onward into a fresh board is how a good board becomes firewood.
A deck wrecker or a reciprocating saw with a metal blade is the faster route if you can borrow one — the wrecker hooks a board and lifts it off its nails in one motion, and the saw simply cuts the nails between the deck boards and the stringers, leaving full-length boards behind. Either tool turns an afternoon of prying into about twenty minutes. Whichever route you take, the safety kit is not optional: thick gloves, safety glasses, and a dust mask once sanding starts. Old nails flex, snap and fly — pallet nails are the number one hazard in this whole hobby, and most of the injuries happen to people working unhurried and bare-handed.
Cost: $0–$25 for a pry bar, plus gloves and glasses you may already own. Time: 45–60 minutes for a first pallet, nails out and boards stacked. If the wood is cracking, you are riding one nail too long — move sooner.
3. Pick ONE of these four builds
A first pallet project is one build, not a mood board. Each of these four uses straight crosscuts only, screws instead of nails, and no joinery — small enough that one mistake means one extra cut, not a ruined weekend. Choose by where the finished piece will live.
Garden planter box
The easiest start, because a planter does not have to sit perfectly flat or look finished — it has to hold soil. One pallet yields a comfortable box around 24 by 12 inches.
- Sort the breakdown pile and set aside the five straightest boards — two for the long sides, two for the ends, one spare for floor slats and corner battens.
- Cut the two long sides to equal length first, around 24 inches, and stand them on edge.
- Mark the end boards against the standing sides, not against a number — pallet boards vary in thickness, so the ends are measured off the real boards.
- Screw a short batten inside each corner and drive the screws through the batten into both boards, two screws per joint.
- Add two floor slats with a gap between them for drainage, then line the box with landscape fabric before the soil goes in.
Entry bench
The build for an apartment entryway with nowhere to sit and pull boots on. Three full-width boards make the seat, two stacked frame pieces under each end carry the load, and the whole thing unscrews into a flat stack that fits behind a car seat when the lease ends. Screw every joint — pallet nails hold in a shipping pallet because the machine that drives them is not yours.
Shoe rack
Two horizontal shelves between a pair of end frames, sized to the pairs of shoes you actually own. Every cut is a crosscut, each shelf is a rectangle, and the spacing between shelves is one board width — so nothing needs measuring past the first mark. Sand the top faces properly: these boards meet socks and bare feet, and a rough pallet face is miserable to brush against at 6 a.m.
Vertical herb wall
Two or three horizontal boards on brackets, each board a shelf for small pots with a thin lip strip underneath so a bumped pot cannot slide off. It is the renter-friendliest build of the four when it stands on the corner the balcony garden guide picks for pots — and if the bracket must go on a wall the landlord owns, keep every screw in the wood and lean the frame instead.
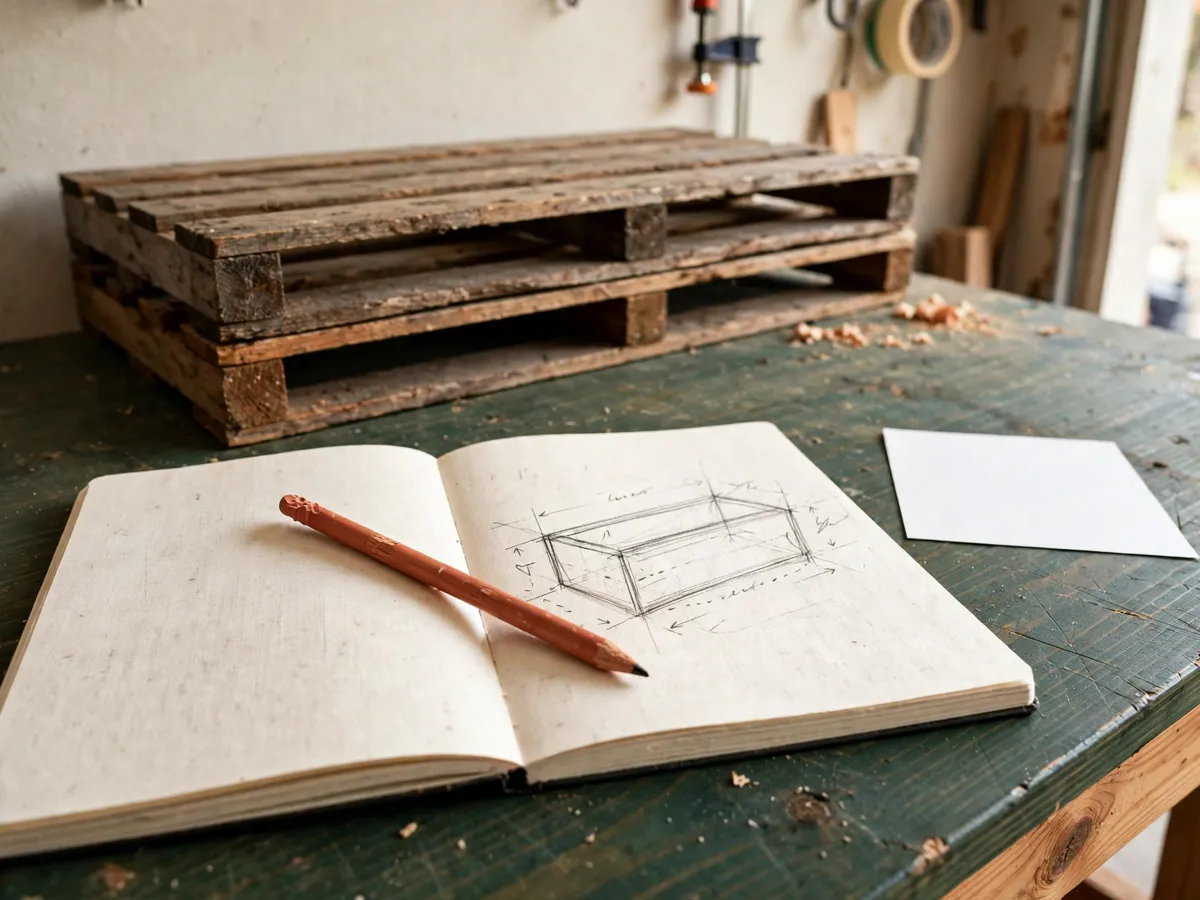
Whichever build you pick, write its cut list on a card before the saw moves: which boards, how many pieces, what each piece is for. That habit is what makes the one-board crate plan readable at the bench — and it is the single difference between a pile of free wood and a project.
Cost: $0–$25 in screws, fabric and stain — the wood is the free part. Time: one weekend afternoon per build. One build per pallet; two projects at once is how both end up half-cut in the garage.
4. The beginner tool list that covers all four
Four builds, one list, no workshop. You need a saw, a drill, and the small hardware that keeps the build honest — if you own or can borrow a circular saw or a hand saw plus a drill, every project above is open to you today. The longer ladder — what to buy first, what to borrow, what to skip — is in the beginner tool checklist.
Tools
- A circular saw or a hand saw — one of the two, whichever you own or can borrow; every cut in all four builds is a straight crosscut
- A drill and exterior screws — screws hold where pallet nails will not, and a drill is worth borrowing for a weekend
- A pry bar plus a scrap block to cushion the lever — the whole technique from section two
- A tape measure, a square and a pencil
- Thick gloves, safety glasses, a dust mask for sanding — the kit that is not optional on pallet wood
Materials
- One clean HT pallet — free, and offered to you
- Exterior screws, 1-1/4 and 2 inch — $5–$10
- Landscape fabric for the planter — a few dollars for enough to line it
- Exterior stain or paint if the piece lives outside — $10–$25
- Brackets only for the herb wall — $5–$10, and off the landlord's wall if you rent
Two honest notes on the wood itself. Pallet boards vary in thickness board to board, so every cut mark goes on the actual board it will be cut from — never measured on one board and transferred to another. And the cutting order matters the same way it does on new lumber: longest pieces first, every mark squared across the face, exactly the cut pattern the cut-list method teaches. The board is free; the habit is what you are actually practicing.
The last material rule is about weather. Untreated pallet wood has no water protection — it survived shipping outdoors, not furniture life — so raw boards left in the rain gray, cup and loosen their screws within a season or two. Anything that lives on a balcony or a patio gets an exterior stain or exterior paint, and the can has to say exterior, because an interior finish washes off in the first honest rain. Two thin coats on all faces and edges, the first fully dry before the second. The simple check: once the finish has cured, splash a little water on it — water that beads and rolls off is protected, water that soaks in and darkens the wood means another coat. If a piece stays unfinished, keep it indoors or under cover, and accept that outside it is a one-season object.
Cost: $20–$45 if you own nothing — saw and drill borrowed, hardware bought. Time: 30 minutes to stage the kit. Buy the screws and the finish in one trip; the second trip always costs a Saturday morning.
What we would skip
Skip the headboard and the dining table. Those builds need uniform thickness, straight edges and a finish worth showing indoors, and pallet boards deliver none of the three. Skip anything that touches food or a cutting surface — a serving board, a kitchen shelf for produce — because no matter how clean the pallet looks, you cannot know every cargo it carried. Skip any instructions that begin with pulling every nail with a hammer claw; that route splits more boards than it saves, and section two exists so you never have to try. And skip the long "easy pallet ideas" lists with no plans behind them — a photo of a finished result is not a step you can follow at a bench.
Cost: $0 to skip. Time: two minutes of reading that saves a weekend of split boards.
The before-you-build checklist
- Stamp read — HT on the rail, no MB, no missing mark
- No fuel stains, no chemical smell, no oil patches
- Pallet offered, not just found — asked first
- Gloves, safety glasses and dust mask staged before the first pry
- Pry bar plus a scrap cushion block for the lever
- One build chosen — planter, bench, rack or herb wall
- Cut list on a card, longest pieces first, every mark squared
- Exterior finish on the shopping list if the piece lives outdoors
- Time doubled in your head, then started anyway
Cost: $0 to check. Time: 10 minutes before the saw — the cheapest part of the build.
Questions beginners ask
How do I know if a pallet is safe to use?
Read the stamp on the side rail. HT means heat-treated — kiln-baked, no chemicals, the one to take. MB means methyl bromide, a chemical fumigation — leave it where it sits. A pallet with no readable mark, or one whose origin you cannot confirm, is outdoor-use only: never a child's toy, never anything that touches food. Stains that smell like fuel or a lingering chemical odor disqualify a pallet whatever the stamp says.
What is the hardest part of a pallet project?
Getting the boards off without splitting them. Pallets are nailed with ring-shank nails that grip hard, so levering one spot until the wood cracks is the classic beginner error. Pry gently right beside each nail, move as soon as the board lifts, cushion the bar on a scrap block, and tap stuck nails back from the convex face of a curved board. A deck wrecker or a reciprocating saw with a metal blade makes the whole job faster.
What should a beginner build from a pallet first?
One of four builds, and only one: a garden planter box, an entry bench, a shoe rack, or a vertical herb wall. Each uses straight crosscuts, screws instead of nails, and no joinery. The planter is the easiest because it does not have to sit flat or look finished; the bench is the most useful in a rental entryway. Pick by where the piece will live, not by what looks best in a photo.
Can pallet furniture stay outside?
Only with an exterior finish on it. Untreated pallet wood has no water protection, so raw boards left in the rain gray, cup and loosen within a season or two. Use a stain or paint whose can says exterior, two thin coats on all faces and edges, and run the water check once it has cured: beading water means protected, soaking-in water means another coat. An unfinished piece stays indoors or under cover.
Save these on Pinterest
Pin the stamp rule and the break-down method — HT in, MB out, ask first, gloves on — because those two habits are what turn a free pallet into lumber instead of splinters. This page belongs with the cut lists and tool checklists in the DIY Home Projects collection.