 Plant As Deco
DIY Home Projects
DIY Home Projects for Beginners: Start Here, No Workshop Needed
By Plant As Deco · Updated 19 November 2026
Most beginner DIY guides open with forty tools and a build that needs a garage. This page does the opposite. It starts with what makes a build safe in a rental, narrows the tools to five pieces that cover most apartment work, and sorts every build into three skill lanes so you know where to begin and what comes next.
Weekend-ready: $15–$60 per project, one afternoon or one weekend. Landlord-safe: every build here is removable or patchable.
1. What Makes a DIY Project Beginner-Safe
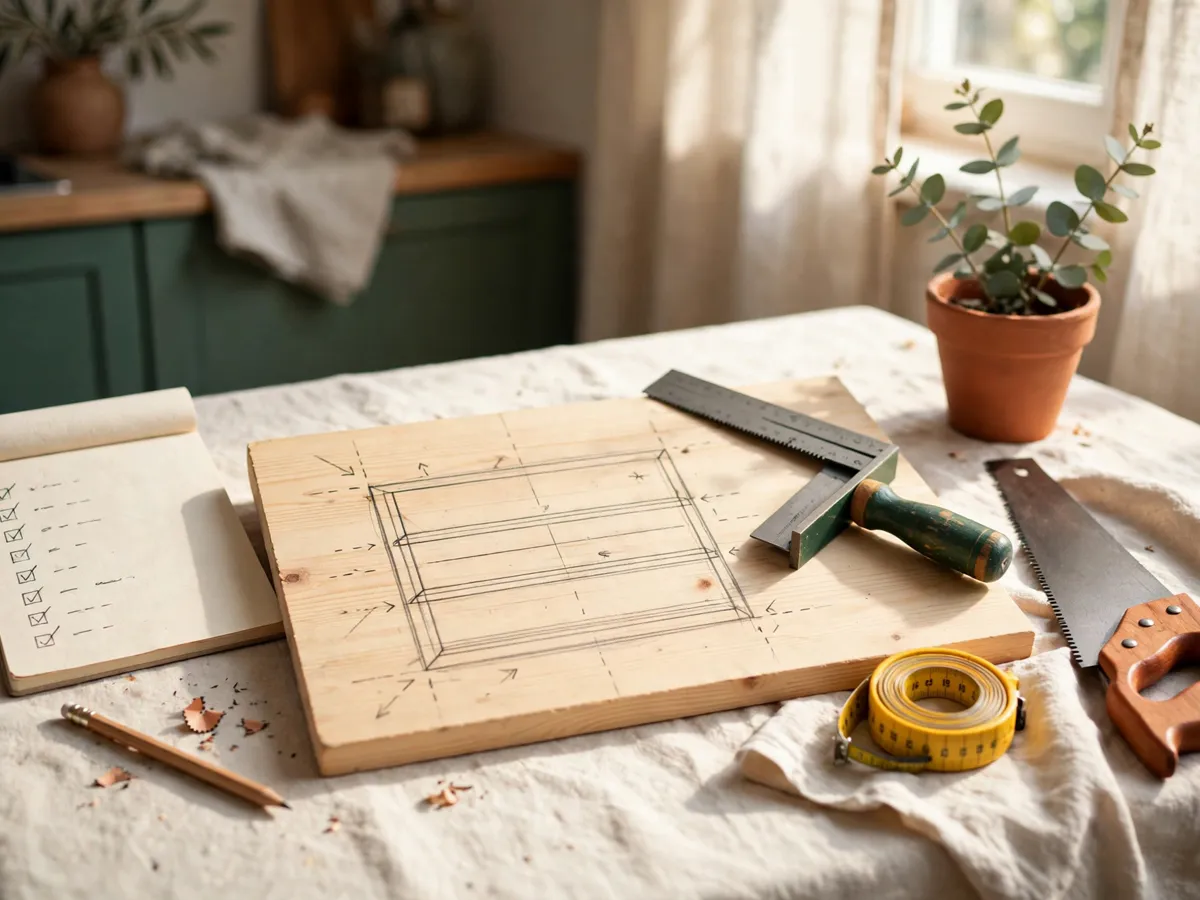
A beginner-safe build has four signs, and one missing sign is a build to wait on. The first is a short cut list: six cuts or fewer keeps the measuring manageable, and a mistake on cut three does not waste a whole board. The second is one joinery method — glue and nails, screws alone, or a simple bracket — so the assembly sequence stays linear.
The third sign is a recoverable mistake. If a miscut board means a five-dollar replacement, the build is forgiving. If a mistake means a ruined countertop or a hole in a load-bearing wall, that build belongs to someone with more hours behind a saw. The fourth is a finish that hides imperfections: paint covers a gap, stain evens a sanded edge. Beginners build things that work first and look good second.
The builds on this page pass all four tests. A no-sew pillow has zero cuts and one fold. A floating shelf has four cuts and four screws. A one-board crate has six cuts, glue, and nails. Each is a finished object at the end of an afternoon and teaches a skill the next lane builds on. The DIY project guides collect every build on this site by difficulty, so the lane you pick here has a clear next step.
2. The Five Tools That Do Most Projects
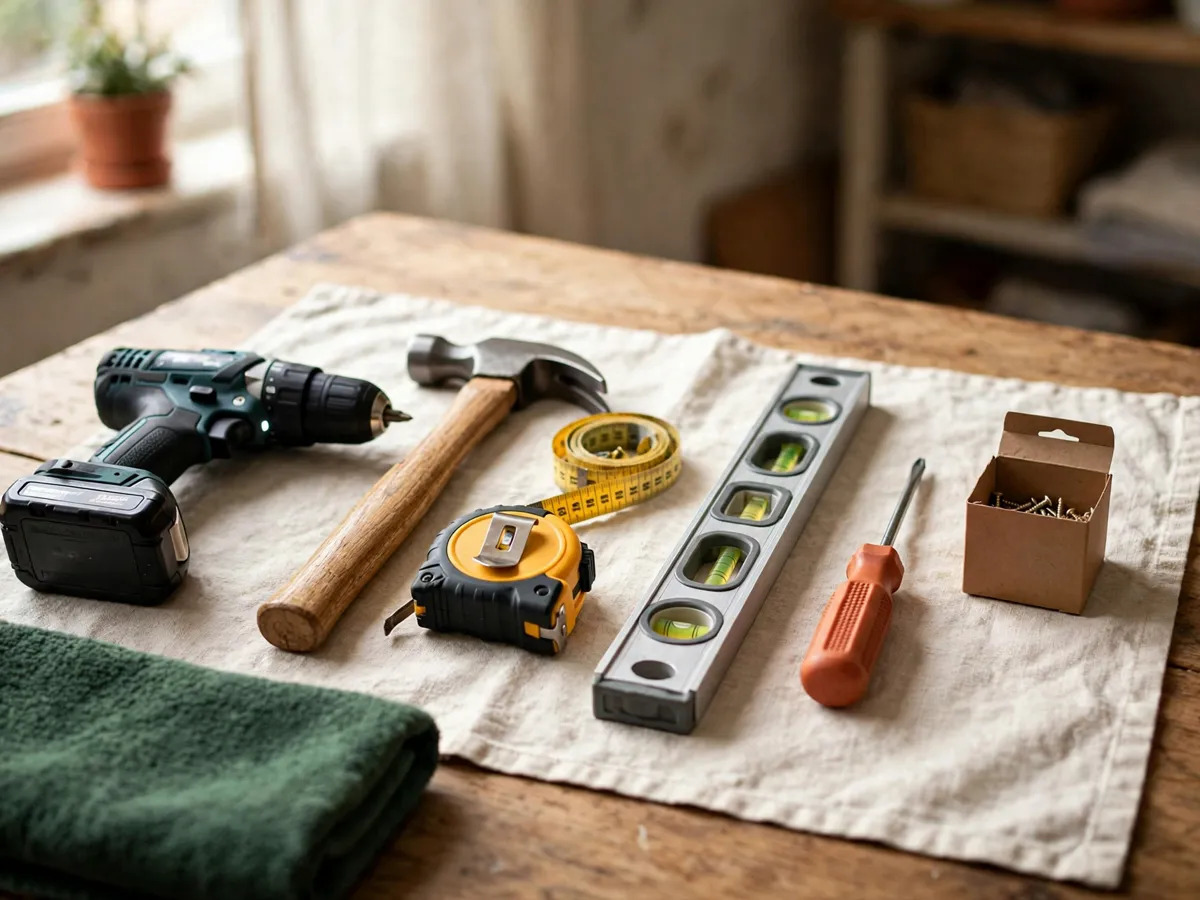
Five tools cover the great majority of apartment DIY, and a beginner who owns these five can build everything in the first two skill lanes without a hardware-store detour. The list is short because a short list gets used — a drawer of ten tools is a drawer, a drawer of forty is a pile.
- Tape measure, 19 or 25 feet. Every build starts with a measurement, and a lockable blade with a hooked end reads inside and outside dimensions. The first tool out of the drawer.
- Combination square. Marks 90 and 45 degrees, checks a cut after the saw, scribes a line along a board. The layout tool every cut depends on, and the one that catches a crooked mark before the saw does.
- Claw hammer, 16 oz. Drives a nail and pulls one. Sixteen ounces is the balance point — enough head to set a nail, light enough to swing one-handed for an afternoon.
- Cordless drill/driver, 12V or 18V. Drives screws and bores pilot holes. The only power tool the first two lanes need. One battery and a charger is enough; the second battery earns its place when a build outruns a charge.
- Utility knife with replaceable blades. Opens boxes, trims shims, scores a cut line. The cheapest tool in the kit and the one a beginner reaches for most.
Sandpaper in three grits — 80, 120, and 220 — rounds out the kit: the consumable every finish depends on, and a cork block turns three sheets into a finish-ready surface. The full beginner tool kit checklist walks through each piece, what to pay, and what to skip until a project names it.
Cost: $65–$120 for all five at mid-tier prices. Time: one store trip, 30 minutes of aisle reading.
3. Reading a Cut List Before You Start
A cut list is the single page that decides whether a build goes smoothly or goes back to the store. It lists every board the build needs, the length and width of each piece, how many, and the cutting order. A beginner who reads it before buying catches the mistake that wastes a board; a beginner who skips it catches the same mistake at the saw.
The third pass plans the cutting order so the longest pieces come off the board first and the offcuts become the short pieces. The store will cut lumber to length for a small fee or free, and for a beginner that service is worth more than it costs. Bring the list, hand it to the saw station, and leave with boards cut to the exact lengths. When a build does need a cut at home, the floating shelf cut list guide walks through the full measure-mark-cut sequence on a real board, including how to mark a cut line and how to support the offcut so the saw does not bind.
Cost: free at most lumber yards. Time: 10 minutes to read the list, 15 minutes at the saw station.
4. Picking Your First Project by Skill Level
The biggest beginner mistake is starting one lane above your comfort. A first DIY build that needs a saw, a drill, and a level on the same afternoon teaches frustration, not skill. The fix is three lanes — no-tool, drill-only, saw-and-drill — and starting in the lane that matches the tools you own and the confidence you have.
The no-tool lane is fabric and paint: a folded fabric pillow, a tote bag glued at the seams, a wall stripe painted with a sample can. These builds take an afternoon, cost under $20, and teach finishing and color without touching a saw. The drill-only lane is shelves and hooks: a floating shelf, a wall organizer, a row of coat hooks. These builds add a drill and a stud finder and teach wall work — finding framing, driving into it, and leveling a bracket. The saw-and-drill lane is boxes and benches: a one-board storage box, a simple bench, a small bedside table. These builds add a saw — the store cut service or a handsaw at home — and teach joinery, glue-up, and assembly.
Move up one lane at a time, and only when the current lane feels routine. A beginner who has built three no-tool projects is ready for a drill-only shelf. A beginner who has hung three shelves is ready for a storage box. The free woodworking plans for beginners page collects one build from each lane with a full cut list and material list, so the step up is a new project, not a guessing game.
5. The No-Tool Lane: Fabric and Paint
The no-tool lane is where every beginner starts, and the lane most renters stay in longest. These builds need nothing but fabric, paint, and a pair of scissors — no saw, no drill, and no permanent change to a wall. They teach the two skills every later lane depends on: measuring and finishing.
A no-sew pillow cover is the classic first build. Measure the insert, cut a rectangle of fabric four inches wider and twice the height, fold it around the insert envelope-style, and pin the open edge shut. It takes 20 minutes, costs $8–$15 in fabric, and teaches the fold-and-finish sequence every later fabric build reuses. The fabric crafts ideas page carries the full set, from pillows to a tied blanket.
Paint is the other half of the no-tool lane, and a sample can covers a surprising amount of a small apartment. A painted accent stripe behind a bed replaces a headboard for $12 and an afternoon; a painted storage box becomes a bedside table; a painted terracotta pot matches a windowsill herb garden to the room. The rental rule: use a color close to the wall so a patch with the original shade hides the accent at move-out, and photograph the wall before the first brush stroke.
Cost: $8–$20 per project. Time: one afternoon. Renter-safe: every project here is removable or paintable over.
6. The Drill-Only Lane: Shelves and Hooks
The drill-only lane adds one power tool and opens up the wall. Every project in this lane uses a drill, a stud finder, a level, and a tape measure — the four tools that turn a blank wall into storage. The lane teaches the skill that makes an apartment livable: hanging things that hold weight.
A floating shelf is the first drill-only build and the one that teaches the most. The sequence is the same every time: find the studs, mark the bracket height with the level, drill pilot holes, drive the screws, set the board. Four screws into wood hold a shelf that carries books; four screws into drywall hold one that carries nothing. The difference is the stud finder.
A wall organizer is the second build: one drilled panel, a set of hooks, and a wall of tidy supplies. The pegboard teaches spacing — the holes are pre-drilled, so the work is leveling the panel and anchoring the corners. A row of coat hooks is the third: a piece of pine, four hooks, four screws into studs. Each build in this lane adds one wall skill, and each is removable with a spackle tub and a putty knife.
Cost: $15–$45 per project. Time: one afternoon. Landlord-safe: every hole is patchable with a quarter-inch of spackle.
7. The Saw-and-Drill Lane: Crates and Benches
The saw-and-drill lane is where building begins. These builds combine cut lumber with drilled joinery, and they produce freestanding objects — a box, a bench, a bedside table — that do not depend on a wall. The lane adds a saw: either the store cut service or a handsaw at home for cuts under two feet.
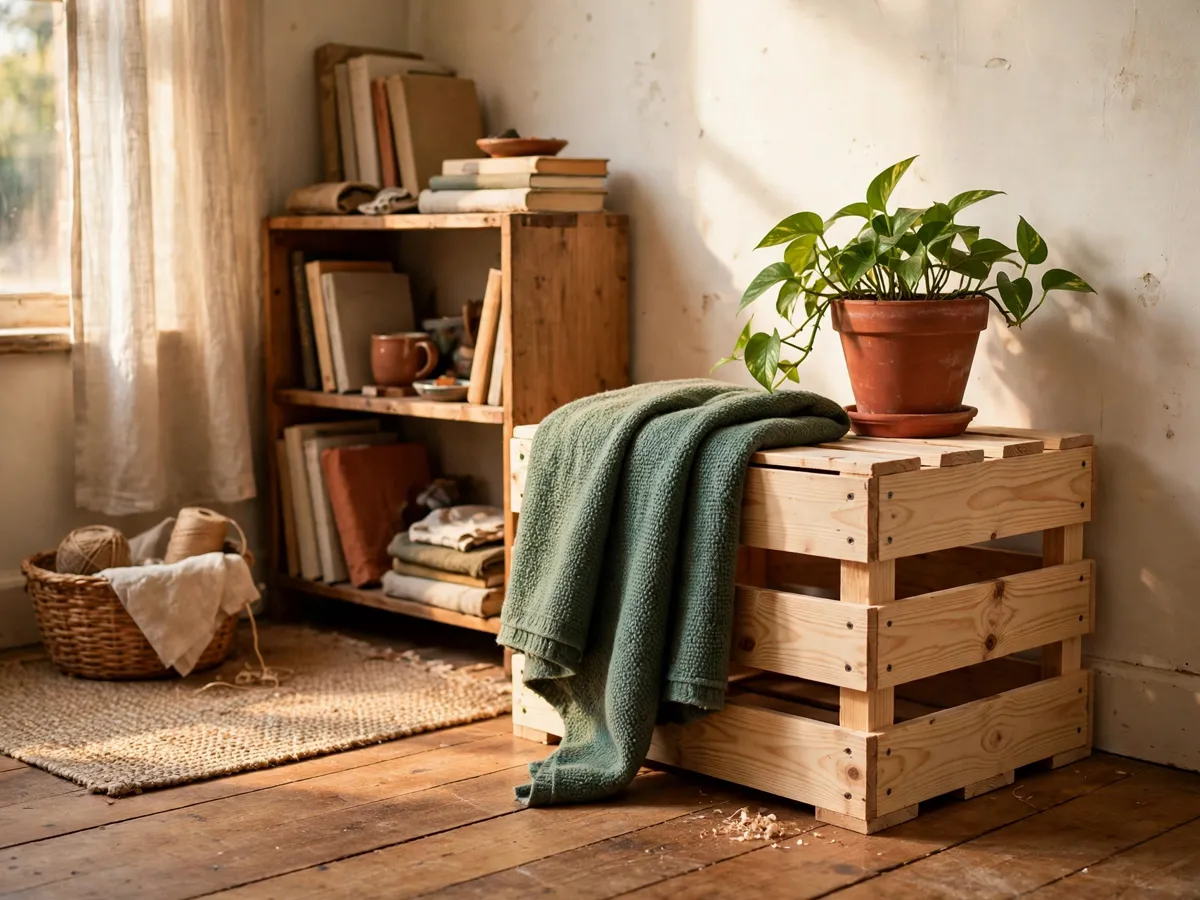
A one-board crate is the gateway build. One pine board, six cuts, glue and nails, and the hammer and square do the rest. It teaches the full sequence: read the cut list, mark each cut, cut to the line, sand the edges, assemble, and finish. It takes an afternoon, costs $10–$15 in lumber, and produces storage that sits on the floor and hides the clutter the shelf above it displays.
A simple entryway bench is the next step: four legs cut from a 2x4, a seat from a pine board, screws holding it together. The bench teaches structural assembly — the legs carry weight, so the screws go into end grain, and the pilot holes keep the pine from splitting. The third build is a small table with a shelf inside and four short legs. Each build here adds one joinery lesson, and the beginner woodworking plans page carries the full set with cut lists, material lists, and tool checklists for each.
Cost: $15–$60 per project in lumber and hardware. Time: one afternoon to one weekend. Removable: every build here is freestanding.
8. Budget and Material Planning
A beginner budget has two parts: the tool budget, spent once, and the material budget, spent per build. The tool budget for the five-tool kit runs $65–$120 at mid-tier prices, and it is a one-time cost — the same tape measure builds the first shelf and the fiftieth. The material budget is the one that surprises people, because lumber is cheaper than the hardware.
A one-board storage box costs $10–$15 in pine and $3 in nails and glue. A floating shelf costs $8–$20 in lumber and $5–$10 in brackets and screws. A sewn pillow costs $8–$15 in fabric. The pattern: the board is cheap, the hardware is cheap, and the finish is where the money goes if you let it. A sample can of paint is $12; a quart of stain is $15. One quart covers three or four small builds, so the per-build finish cost is under $5.
The budget rule that saves the most: buy lumber at the actual dimension, not the nominal. A 1x6 board is 3/4 inch thick and 5-1/2 inches wide — the nominal name is a lumberyard convention, and a cut list that assumes a full inch of thickness wastes a board. Check the actual dimensions at the store, and buy the number of boards the list names. The second rule: buy one extra board. A miscut is a five-dollar mistake, and a spare turns it into a ten-minute delay instead of a second store trip.
Cost: $15–$60 in materials per project, $65–$120 in tools once. Time: 20 minutes of list-reading before the store trip.
9. Safety Without a Workshop
A workshop has a bench, a vise, and a floor that handles sawdust. An apartment has a kitchen table, a towel, and a floor that does not. The safety rules are different — not lesser, just adapted to a space where the work surface is also the dinner surface.
The first rule is containment. Cut lumber on a folding table on a balcony or a hard floor with a drop cloth, never on a bed or carpet — sawdust embeds in the pile. A $5 canvas drop cloth is the one purchase that makes apartment DIY clean, and it folds into a closet between builds.
The second rule is eye and ear protection. Safety glasses are $3 — the one purchase beginners skip that they should not. A drill throws chips, and a chip in the eye ends a build. Foam earplugs run $5 for a pack of fifty.
The third rule is ventilation. The smell of paint, stain, and polyurethane is the solvent leaving the finish. Open a window, run a fan, and let the piece dry on a balcony or in a room you can close off. Water-based finishes smell less and dry faster — the right choice for an apartment. Save oil-based finishes for outdoor work.
Cost: $10 for glasses, earplugs, and a drop cloth. Time: two minutes to set up and ten to clean up.
10. Finishing: Paint, Stain, and Seal
The finish is what makes a first build look intentional instead of assembled. Bare pine is a box; the same box in a coat of white paint is a storage piece. The finish also protects the wood — paint seals the surface, stain colors the grain, and a topcoat of polyurethane seals the stain so a water ring does not reach the pine.
Paint is the easiest finish and the most forgiving. A coat of latex covers gaps, evens sanded edges, and dries to the touch in an hour. Two coats cover completely, and a small roller leaves a smoother surface than a brush. Sand the piece with 120-grit before the first coat, sand lightly with 220 between coats, and the paint goes on flat.
Stain is the finish that shows the grain, and it asks for more patience. Sand to 220-grit, wipe the dust off, apply the stain with a rag, and wipe the excess after two to five minutes — the longer it sits, the darker the color. Let it dry overnight, then seal with a coat of water-based polyurethane. The poly is the part that protects; the stain alone will water spot. Stain and poly are the finish for a bench or any build a water glass might land on.
Cost: $12–$18 per finish, covering three to four projects. Time: one afternoon to dry between coats.
11. What to Skip Until a Project Asks
The tools a beginner does not buy are as important as the ones they do. Every tool below earns its purchase only when a specific project demands it, and the project always announces itself before the purchase. A tool bought for a named project gets used; a tool bought for a vague someday gathers dust.
- Circular saw. Until a project needs a cut longer than two feet, the store cut service or a handsaw covers it. The first saw you own should be the one a project names, not the one the aisle advertises.
- Orbital sander. Until sanding by hand takes more than one evening. Three grits and a cork block finish a small build in an hour; a sander earns itself on a bookcase, and that is a second-year job.
- Impact driver. Until lag bolts and long structural screws show up. The drill already drives deck screws, and the impact is power the first year rarely needs.
- A second battery. One charged battery covers an apartment afternoon. The spare earns its place only when a project outruns a single charge.
- A clamp set beyond two. Two spring clamps hold the first glued joints; a full clamp wall is a workshop-scale purchase that waits for the workshop.
The honest test before any power purchase: name the build and the cut it needs. A named build justifies the tool; a named someday is not a build. The tools a beginner actually uses in year one fit in one drawer.
Cost: $0 to skip. Time: zero — that is the entire point.
12. First-Project Checklist
A first project should take one afternoon, use tools you already own, and produce something you actually need. Run the build through this checklist before the first cut:
- Tool check. Every tool the project names is in the kit — the five-tool list covers the first two lanes. If a project needs a tool you do not own, it belongs in a higher lane.
- Cut list read. You have read the cut list, counted the pieces, and checked the actual board dimensions against the nominal names. One extra board is in the cart.
- Surface set. A drop cloth is down, the work surface is hard and clean, and the floor underneath sweeps up. Safety glasses and earplugs are on the table.
- Finish chosen. Paint, stain, or bare — the finish is decided before the build starts, and the can is in the cart. A build with no finish plan is a build that sits bare for a week.
- Ventilation plan. If the finish smells, a window opens and a fan runs. The piece dries on a balcony or in a closeable room, not on the kitchen table.
- Cleanup ready. A trash bag, a broom, and a place for the tools to go back. A project that cleans up is a project you will start again.
Cost: $0 to run the checklist. Time: 10 minutes that save an afternoon of detours.
13. Common Questions
What is the easiest DIY project for a complete beginner?
A no-sew pillow: fabric folded envelope-style around the insert. It needs nothing but fabric, scissors, and 20 minutes — no saw, no drill. You measure, cut a rectangle, fold, and pin the edge. It teaches the two skills every later build depends on — measuring to a line and finishing a fold — and it costs under $15. For the wall, a painted accent stripe behind a bed is the same difficulty and the same budget.
Can I do DIY projects in a rental apartment?
Yes. The builds on this page are sorted by how permanent they are. The no-tool lane — fabric and paint — changes nothing structural and is fully removable. The drill-only lane — shelves and hooks — leaves quarter-inch holes that patch with spackle. The saw-and-drill lane — storage boxes and benches — is freestanding and leaves the walls alone. Photograph walls before you drill, keep a spackle tub with the kit, and every build here is landlord-safe.
How much does it cost to start doing DIY projects?
The five-tool starter kit runs $65–$120 at mid-tier prices, and it is a one-time purchase that covers the first two skill lanes. Materials per project run $8–$20 for the no-tool lane, $15–$45 for the drill-only lane, and $15–$60 for the saw-and-drill lane. The first project — a pillow cover or a painted stripe — costs under $20 and needs no tools at all, so you can start before you buy the kit.
Do I need a saw for beginner DIY projects?
Not for the first two lanes. The no-tool lane uses fabric and paint. The drill-only lane is shelves and hooks, and the lumber yard or hardware store will cut boards to your cut list for free or a few dollars. A saw enters the kit in the third lane — boxes and benches — and even there, the store cut service covers most builds. A handsaw at home is the right first saw for cuts under two feet; a circular saw waits until a build names it.
How do I finish a beginner wood project?
Paint is the easiest finish and the most forgiving — two coats of latex, sanded lightly between coats, and the piece looks done the day it dries. Stain shows the grain and asks for a topcoat: sand to 220-grit, apply the stain with a rag, wipe the excess, let it dry overnight, then seal with water-based polyurethane. The poly is what protects the wood from a water ring, so a stained piece without a topcoat will spot. Water-based finishes smell less and are the right choice for an apartment.
Save these on Pinterest
Pin the three-lane roadmap — no-tool, drill-only, saw-and-drill — so the next free afternoon has a project that matches the tools you already own. This guide and the rest of the DIY project guides live together there.