 Plant As Deco
DIY Home Projects
Free Woodworking Plans for Beginners: Five Builds with Cut Lists
By Plant As Deco · Updated 19 November 2026
Most free woodworking plans online are a photo and a paragraph, and the paragraph says "use 2x4s." A beginner needs more than that — a cut list that names every board, a material list that names every screw, and a tool checklist that says what to buy and what to skip. This page collects five free beginner plans, each with those three documents, so the first build does not stall at the lumber aisle.
Weekend-ready: $15–$60 per build, one afternoon to one weekend each. One board per build for the first three, a hardware store run for the last two.
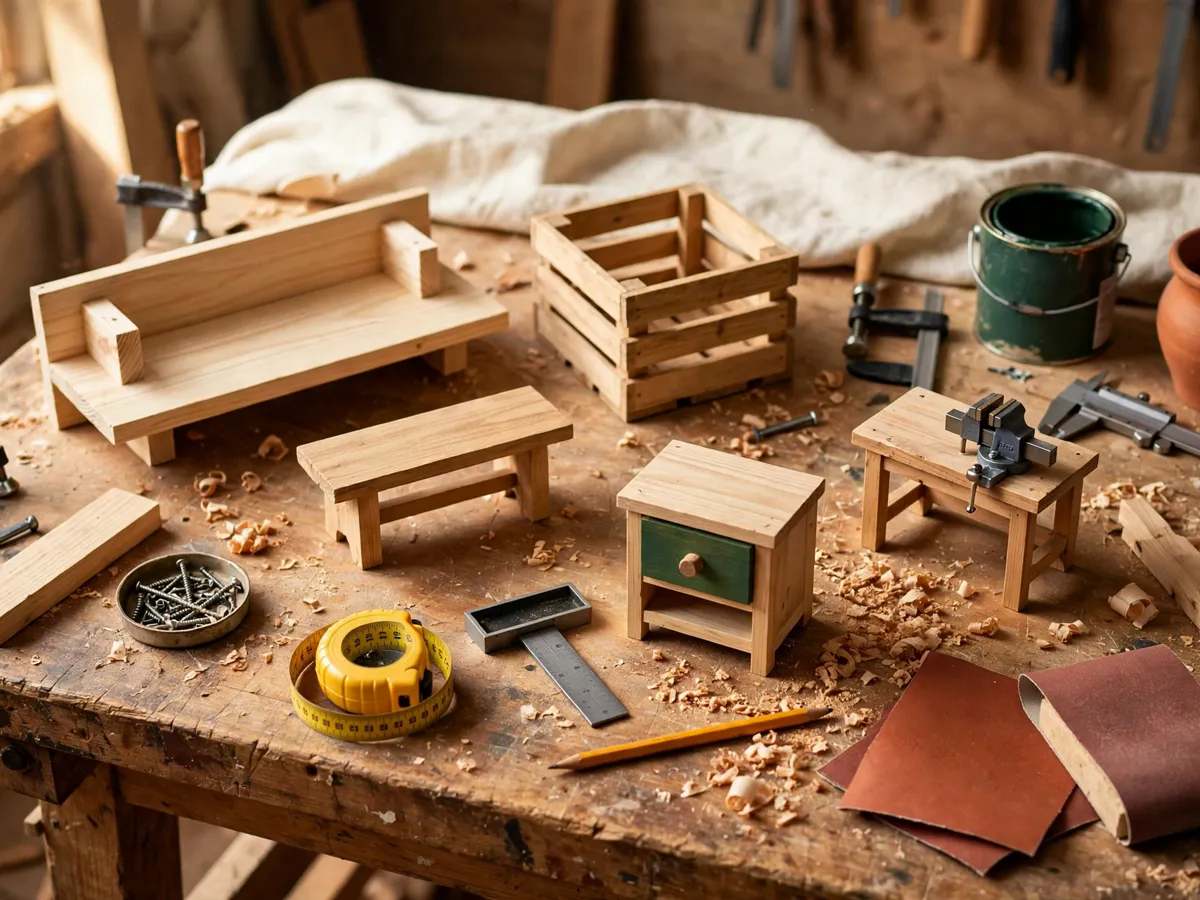
1. What makes a free plan worth following
A free plan is only as good as its cut list, and a cut list is only as good as its material list. Before following any free plan — the five here or any other — check it against four standards:
- Every board named. "One 1x6, eight feet long" tells the lumberyard what to cut. "Some boards" tells the builder nothing. A plan that skips board dimensions is a photo, not a plan.
- Every screw counted. A beginner who buys a box of 50 and needs 14 wastes $6; a beginner who buys 14 and finds the box empty at step three wastes the afternoon. The material list names the fastener count.
- Every tool listed. A plan that says "cut" without naming a saw leaves the beginner guessing whether a hand saw covers it or a circular saw is required. The tool checklist separates must-have from nice-to-have.
- The finish named. Sandpaper grit, sealant type and coat count are the difference between furniture that lasts and furniture that mildews. A plan that ends at "assemble" is half a plan.
The five plans here meet all four standards. Each one is a standalone build with its own cut list, and each one links to a full guide with step-by-step photos and assembly order. The plans share a common structure: the cut list comes first, the material list follows, and the tool checklist closes the plan. Read them in that order at the lumberyard — cut list for the board count, material list for the fasteners, tool checklist for what stays in the truck. Read the beginner woodworking plans guide first if the vocabulary is new — it explains how to read a cut list, how to choose lumber grade, and what a plan's "finished dimensions" line actually means.
Cost: $0 for the plans. Time: 10 minutes to read and choose one.
2. Plan one: the one-board floating shelf
The simplest free plan in this collection: one board, two brackets, four screws, and a shelf that holds 25 pounds on a wall. The floating shelf is the build that teaches a beginner how to find a stud, how to level a bracket, and why the board grain matters — all in 45 minutes.
- Cut list: one 1x8 pine board, 36 inches long (cut from an 8-foot board — the remaining 60 inches make a second shelf). Two 8-inch heavy-duty brackets.
- Material list: four 2-inch wood screws for the brackets to the board, four 3-inch screws for the brackets to the wall studs. Six screws total, two spare.
- Tool checklist: a drill or driver, a stud finder, a level, a tape measure, a pencil. A hand saw or a miter box for the single cut. Sandpaper at 120 grit.
- Finish: two coats of water-based polyurethane, sanded at 220 between coats. One day of cure before loading.
The full step-by-step build — bracket placement, wall anchors for the no-stud wall, and the trick to hiding the bracket screws — lives in the floating shelf cut list guide.
Cost: $12–$22 (board $8, brackets $4–$8, screws $2, finish $2–$4). Time: 45 minutes plus one day of finish cure.
Where this shelf works: a bathroom wall above a towel bar, a kitchen wall above the counter, a living room wall behind a sofa. The 36-inch length fits between two studs spaced 16 inches apart, and the 8-inch depth holds towels, jars or books without jutting into the walkway. A shelf wider than 36 inches needs a third bracket or the board sags under load — the material cost stays the same, the hardware list grows by one bracket and two screws.
3. Plan two: the one-board storage crate
A storage crate is the build that teaches box joints without requiring a router table. One board, six cuts, twelve screws, and a crate that holds blankets, magazines or firewood. The crate is also the first plan where a beginner learns why the end grain drinks finish faster than the face grain.
- Cut list: one 1x6 pine board, 6 feet long, cut into two 18-inch sides, two 12-inch ends, and one 18-by-12-inch bottom. Six pieces from one board.
- Material list: twelve 1.25-inch wood screws (four per side, two per end into the bottom). One box of 50 covers four crates with spares.
- Tool checklist: a drill or driver, a tape measure, a pencil, a hand saw or circular saw, a speed square for the square cuts. Sandpaper at 80 then 120 grit.
- Finish: one coat of penetrating oil inside and out — the end grain gets two coats because it absorbs twice as fast. No polyurethane; oil is enough for a crate.
The crate plan assembles in 20 minutes, and the full assembly sequence — including the trick to keeping the box square without clamps — is in the one-board crate plan guide.
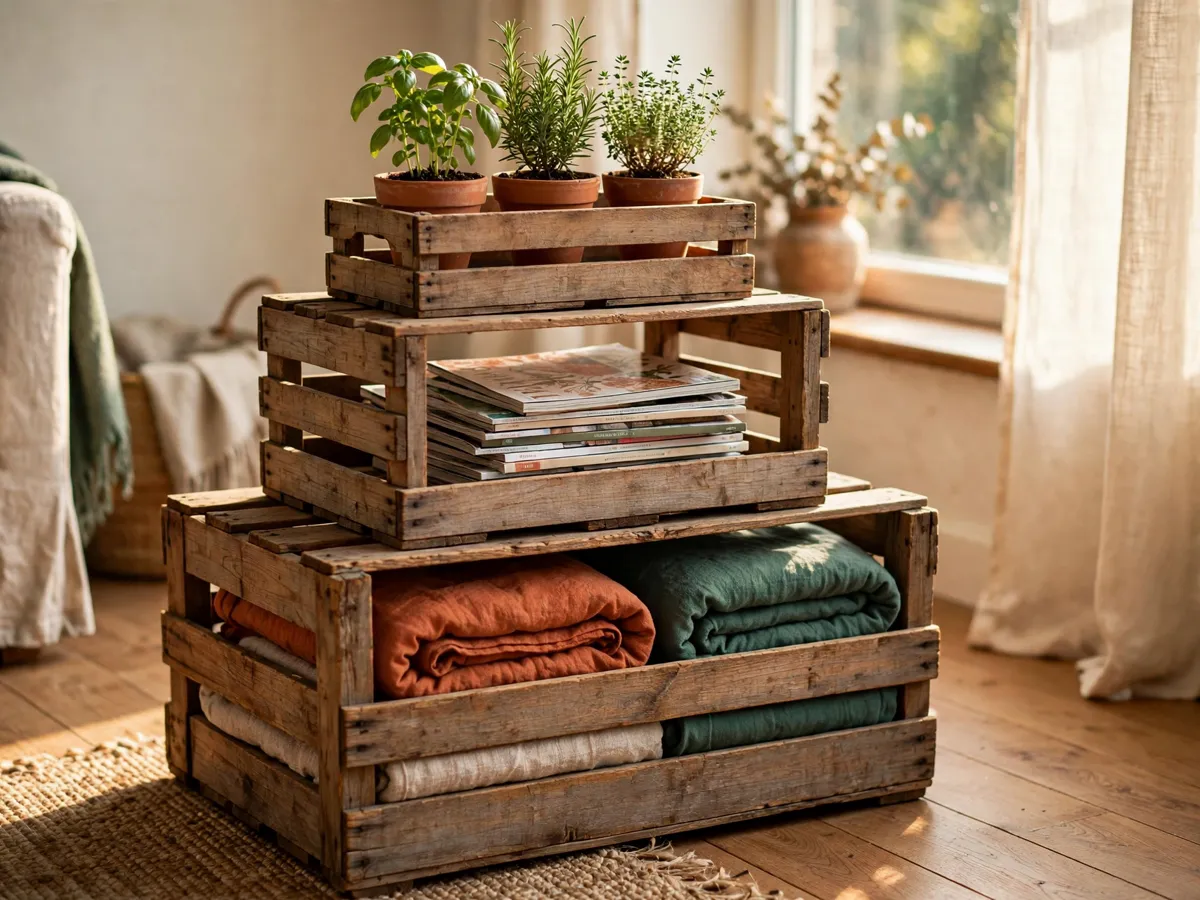
Cost: $8–$14 (board $6, screws $2, finish $2–$6). Time: 20 minutes of assembly plus one hour of finish.
A crate built at 18-by-12-by-8 inches holds a folded queen blanket. A crate built at 12-by-12-by-8 holds a stack of magazines. The same plan scales by changing two numbers on the cut list — the side length and the end length — and the bottom board adjusts to match. A beginner who builds three crates at three sizes has a storage system that stacks, and the only difference between each crate is the board length bought at the lumberyard. The crate is also the build where sanding matters most: the inside surfaces touch fabric and paper, and a rough inside snags a blanket every time it comes out.
4. Plan three: the entryway bench with shoe cubbies
The bench is the first plan in this collection that carries a person, so the cut list names structural screws and the material list includes a tube of construction adhesive. The bench seats two adults and stores four pairs of shoes below the lift-up seat — a build that takes a weekend and teaches a beginner how to read a furniture plan that spans more than one board.
- Cut list: two 2x4s at 36 inches (frame sides), two 2x4s at 14 inches (frame ends), one 1x12 at 36 inches (seat top), one 1x12 at 33 inches (shelf bottom), four 1x4s at 14 inches (cubby dividers). Nine pieces from three boards.
- Material list: twenty-four 3-inch structural deck screws (frame assembly), twelve 1.5-inch screws (seat and shelf to frame), two hinges (seat lid), one tube of construction adhesive (optional but recommended for the seat rail).
- Tool checklist: a drill or driver, a circular saw or hand saw, a speed square, a tape measure, a pencil, clamps (two bar clamps minimum). Sandpaper at 80, 120 and 220 grit.
- Finish: two coats of water-based polyurethane on all surfaces, three coats on the seat top. The seat gets more wear than the frame, and the finish reflects that.
The bench plan is the longest build in this collection — the full assembly sequence, the hinge installation, and the cubby divider spacing chart are in the entryway bench plans guide.
The cubby dividers are the detail that separates this bench from a box. Four dividers cut from a single 1x4 create three cubbies sized for shoe pairs — each cubby runs about 10 inches wide, which fits a men's size 12 sneaker toe-first or a women's boot pair side by side. The dividers screw into the shelf from below and into the seat rail from above, so they stay put when shoes push against them. Skip the dividers and the bench becomes an open bin — fine for blankets, chaos for shoes.
Cost: $35–$55 (lumber $20, screws and hinges $10, finish $5–$10, adhesive $5). Time: one weekend, two afternoons.
5. Plan four: the one-board nightstand
A nightstand is furniture that sits next to a bed for years, and this plan builds one from a single 1x12 board plus four legs. The nightstand teaches a beginner how to attach legs to a top without a mortise joint — a simplified approach that uses a leg block and a single screw per leg. The result holds a lamp, a book and a glass of water without wobbling.
- Cut list: one 1x12 board, 6 feet long, cut into one 16-inch top, one 14-inch shelf, and two 4-inch leg blocks. Four pre-turned furniture legs, 18 inches each, with a 5/16-inch hanger bolt thread.
- Material list: four 5/16-inch tee nuts (one per leg), four 1.25-inch screws (leg blocks to top), four 1-inch screws (shelf to leg blocks). Twelve fasteners plus the legs.
- Tool checklist: a drill or driver, a hand saw, a tape measure, a pencil, a speed square. Sandpaper at 120 and 220 grit. A wrench for the tee nuts.
- Finish: two coats of matte polyurethane, with extra attention to the top edge where a water glass sits. A cork mat under the lamp prevents ring marks over time.
The nightstand is the plan where finish matters most — the top surface sees heat from a lamp and moisture from a glass, and a thin finish fails within a year. The full build, including the tee-nut installation that keeps legs from wobbling, is in the nightstand plans guide.
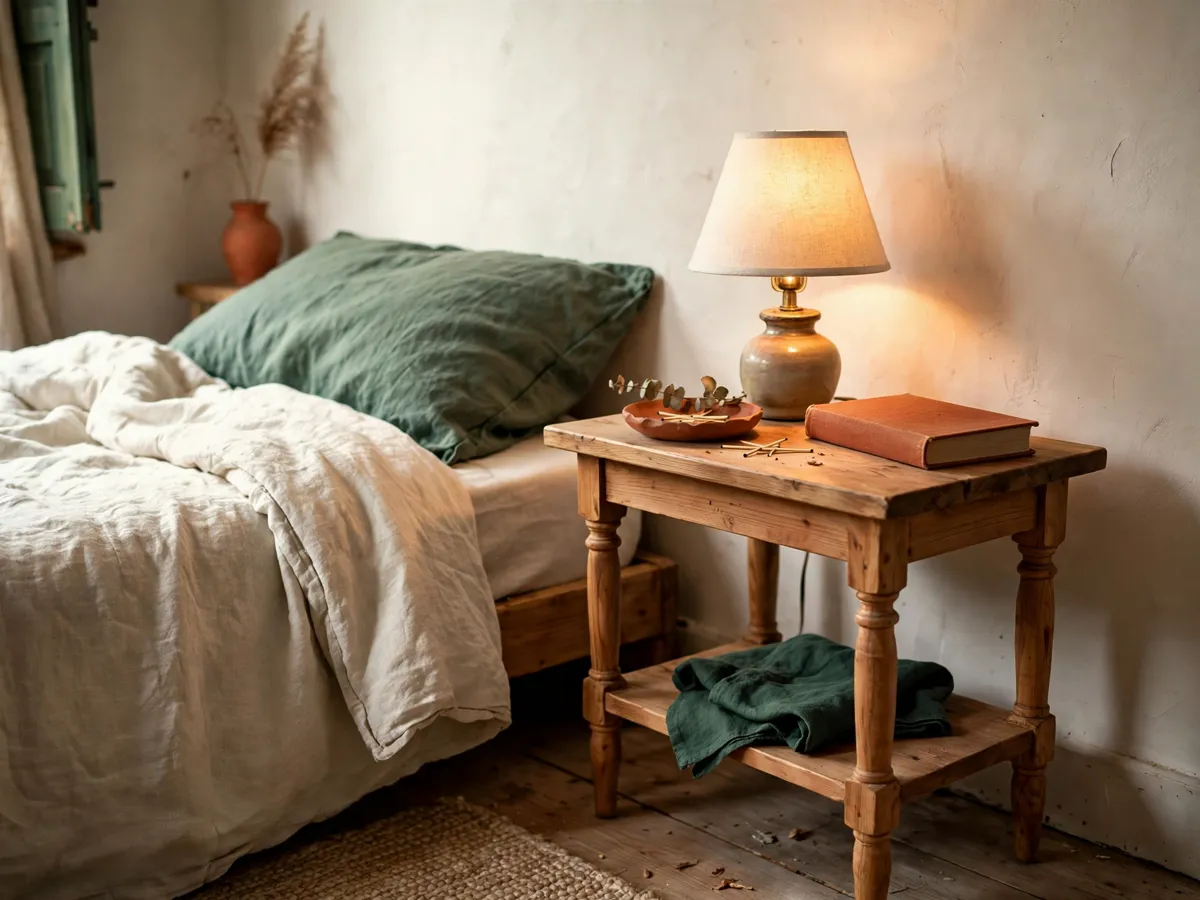
Cost: $25–$45 (board $8, legs $12–$20, hardware $5, finish $5). Time: one afternoon plus one day of finish cure.
The legs are the one component a beginner cannot cut from a board. Pre-turned furniture legs come in pine, maple or oak at 18 inches standard, with a 5/16-inch hanger bolt already threaded into the top. The tee nut sits inside the leg block, and the leg screws into the nut — no glue, no clamp, and the leg removes for moving by unscrewing it. A beginner who cannot find pre-turned legs substitutes 2x2 lumber cut to 18 inches and sanded round, which costs $4 instead of $12 but takes an extra hour of sanding to lose the sharp corners.
6. Free plans to skip
- Plans with no material list. A plan that names the boards but not the screws sends the builder to the hardware store twice. Skip it unless the build is one board and the fasteners are obvious.
- Plans that need a table saw on day one. A beginner without a table saw cannot rip a board to width. The plans on this page use dimensional lumber as-is — the 1x6 ships at 5.5 inches and stays at 5.5 inches.
- Plans with no finished dimensions. A plan that says "build a box" without naming the final size leaves the builder guessing whether it fits the space. Skip any plan without a finished-dimensions line.
- Plans that use pallet wood without a stamp guide. A plan that says "grab a pallet" without mentioning the HT stamp is a plan written by someone who has not thought about safety. Skip it and find one that does.
- Plans with no tool checklist. A plan that says "cut and assemble" without listing tools is a plan that stalls at step one. Every plan here names what to buy.
Cost: $0 to skip. Time: two minutes that save a wasted Saturday.
The flip side: a free plan with all four documents — cut list, material list, tool checklist and finish spec — is worth following even if the build is not your style. The structure teaches the process, and the process applies to every plan after it.
7. What it costs, honestly
Five plans, five bills, at big-box prices for a mid-size US market — treat these as the shape of the spend rather than a quote. The first plan carries most of the shared tool cost; the rest borrow the tools free:
- Floating shelf — $12 to $22. One board, two brackets, six screws, finish. The cheapest plan in the set and the fastest to build.
- Storage crate — $8 to $14. One board, twelve screws, oil finish. Cheaper than the shelf because brackets are the expensive part.
- Entryway bench — $35 to $55. Three boards, hinges, structural screws, adhesive, finish. The most expensive plan but still under $60.
- Nightstand — $25 to $45. One board, four furniture legs, tee nuts, finish. The legs are half the cost; the board is the other half.
- Shared tool kit — $40 to $90. A drill or driver ($35–$60), a hand saw ($12–$20), a speed square ($5), a tape measure ($5), sandpaper ($8), a level ($10–$15). Buy once, use across all five builds.
All five plans combined — lumber, hardware, finish, and the shared tool kit — run $120–$225 depending on the market. That is less than a single nightstand at a furniture store, and the tools stay after the furniture is built. A beginner who starts with the floating shelf and the crate spends under $40 on lumber and hardware for both, plus the shared tool kit. The bench and the nightstand are the builds that justify the tool kit purchase, because they are the builds that use the drill, the saw and the clamps in combination for the first time. The DIY project guides collection includes all five builds and more.
Realistic all-in for the first two plans and the tool kit: $60–$95. Time: one weekend.
The before-you-cut checklist
- Plan chosen — one of the five above, matched to the space it fills and the tools already owned.
- Cut list printed or written — every board named with length and quantity, and the boards bought match the list at the lumberyard.
- Material list checked — every screw counted and purchased with spares, because a stripped screw is not a trip to the store.
- Tool checklist confirmed — drill charged, saw sharp, level on hand, sandpaper in three grits.
- Finished dimensions verified — the plan's final size fits the wall, the floor or the bed it is built for, measured before the first cut.
- Finish chosen and purchased — polyurethane or oil, two cans if the plan calls for three coats, because running out mid-coat leaves a seam.
- Workbench or table cleared — a clean surface to cut, assemble and finish. The workbench plans guide builds the surface if one does not exist yet.
Cost: $0 to check. Time: 10 minutes before the lumberyard run.
Common questions
Are free woodworking plans actually free?
The five plans on this page are free — open on the page, with nothing behind an email gate and nothing to buy as a PDF. The lumber, hardware and tools are not free; the plans are. Every plan here includes a cut list, a material list and a tool checklist that a beginner can take to the lumberyard and follow step by step.
Which plan should a total beginner start with?
The floating shelf. One board, two brackets, six screws, 45 minutes. It teaches the two skills every later plan needs — finding a wall stud and driving a screw straight — without requiring a saw cut or a finish coat. Build the shelf, then move to the crate, then the bench.
Do I need a table saw for these plans?
No. Every plan on this page uses dimensional lumber at the width it ships from the mill. A 1x6 is 5.5 inches wide when bought and 5.5 inches wide when assembled. The only cuts are cross-cuts to length, and a hand saw or a circular saw handles all of them. A table saw is useful for ripping boards to custom widths later, but none of these five plans requires it.
How much lumber do I buy for all five plans?
Five boards total: one 1x8 at 8 feet (shelves), one 1x6 at 6 feet (crate), two 2x4s at 8 feet and one 1x12 at 6 feet (bench), one 1x12 at 6 feet (nightstand). Plus four furniture legs for the nightstand. The lumberyard will make the cross-cuts for free or for a small fee per cut if a hand saw is not on hand yet.
Can I build these in an apartment?
The first two — the shelf and the crate — yes, with a drill and a hand saw on a balcony or a cleared kitchen floor. The bench and the nightstand need a workbench or a cleared table, and the sawdust from a circular saw is best handled outdoors or in a covered space. The workbench plan itself builds the surface that makes the later plans easier, and it is the plan that turns a one-board shelf builder into someone with a workspace. Start with the shelf, build the crate, then build the workbench — the first three plans create the bench that the last two plans stand on.
Save these on Pinterest
Pin the before-you-cut checklist and the five-plan comparison — the two pages that save a trip back to the lumberyard for the one board that was cut wrong. This guide and the rest of the DIY project guides live together there.