 Plant As Deco
DIY Home Projects
DIY Entryway Bench Plans: A Lift-Seat Build With Shoe Cubbies
By Plant As Deco · Updated 18 November 2026
An entryway bench does two jobs with one footprint: a seat at the right height for pulling a boot on, and a closed box for the shoes that would otherwise live in the walking line. The build here is a storage bench, 42 inches wide and 16 inches deep, with the seat at 18 inches, three open cubbies for shoes underneath and a lid that lifts on a piano hinge. Every number comes off a wall measurement first and a cut list second, because a bench an inch too deep turns a hallway into an obstacle course.
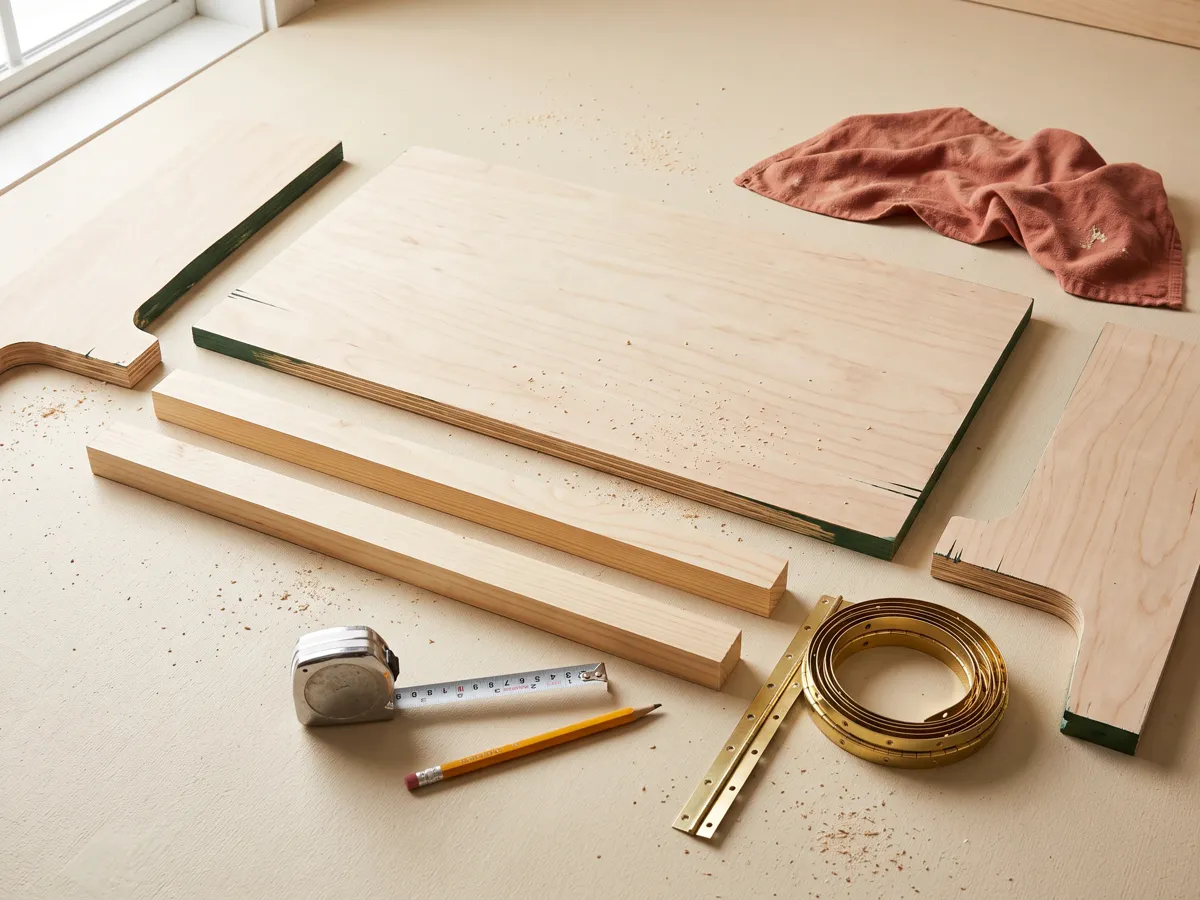
The build at a glance
This page is a plan, not a shopping list: one carcass of 3/4-inch plywood, two 1x4 rails, a 2x2 wall cleat, a lift seat on a hinge and a set of cubby dividers, cut from a half sheet and one board. The dimensions suit a 48-inch wall between a closet door and the front door, and the same cut list scales to a 30-inch bench by shortening the three horizontal parts. It asks for a drill, a saw and one weekend, and it ends with a piece you can sit on rather than a picture of one.
It suits a first or second furniture build: the joints are butt joints, the accuracy that matters is a square carcass and a level cleat, and the one place a beginner goes wrong is the wall measurement, which is why that comes first. On a wall under three feet, build the floating bench instead.
Weekend-ready: $70–$220, one weekend. The bare lift-seat bench lands near $90 in new stock; dividers and a cushion push the same frame toward $200.
Measure the wall before the lumber
Four measurements decide the build, all taken off the hallway with the same tape and each one checked at three points along the wall, because baseboards are rarely straight and old plaster bows by a half inch.
Seat height: 17 to 19 inches. That band comes from the human leg, not from style: below 17 inches an adult sits with knees higher than hips, and above 19 inches the feet swing. Eighteen inches is what this plan builds, from a 17 1/4-inch side panel plus the 3/4-inch lid. For a tall household, add an inch to the side panels and change nothing else.
Depth: 14 to 16 inches. Sixteen inches takes a boot box inside and still leaves a walkway in a 36-inch hall. Past 16 the front edge catches a hip on the way past, and under 14 a shoe no longer fits front-to-back, so the cubbies become shelves for gloves.
Width: the wall minus trim, minus 2 to 3 inches. Measure between the door casing and the nearest obstruction, then take off 2 to 3 inches so the bench slides in without chipping paint. A 48-inch gap builds the 42-inch bench here. A 36-inch gap builds a 30-inch bench: shorten the lid, shelf, both rails and the wall cleat by 12 inches and leave every height alone.
The door swing is the measurement people forget. A 30-inch door sweeps a 30-inch arc, and a bench inside that arc gets hit on the first grocery run. Stand in the doorway, open the door against the wall and mark where the handle lands; the bench goes past that mark or it goes elsewhere. Two checks finish the job: an outlet or switch inside the run needs 3 inches of clearance, and a radiator or floor vent inside the run rules the spot out for a closed box.
Baseboard height sets the back gap. The wall cleat screws above the baseboard, so a 5/8-inch baseboard pushes the bench 5/8 inch off the wall unless the side panels are notched. This plan notches nothing: the bench stands proud by the baseboard thickness, the lid overhangs the back by the same amount, and the hook rail above stays at 60 inches so a coat clears the seat.
Cost: $0. Time: 15 minutes with a tape and a pencil. Caveat: measure the wall twice and write the numbers down; a bench built to a guessed width is firewood.
Three builds, and what each one really costs you
Three bench builds cover almost every entryway, and they are not equally hard. They are ranked in reverse order of effort: floating smallest, freestanding in the middle, and the lift seat storage bench the flagship cut in full below. Each is described with the constraint that decides whether it works in your hallway.
Build A: the wall-cleat lift seat bench. The flagship, and the one with the most parts: a plywood carcass with side panels, a bottom shelf, a back rail and a front apron, hung on a 2x2 cleat screwed into two studs, with a hinged lid and three cubbies underneath. The real constraint is the wall: the lid shifts weight backward as it opens, so the bench has to be anchored to framing, meaning two studs inside the run. On metal studs, plaster over lath or concrete, the anchor changes and the build gets slower.
Build B: the freestanding bench with a shoe shelf. Two side panels, a seat panel and one shelf near the floor, joined the same way, standing on its own feet. It goes up in a day and needs no wall, which makes it the rental answer. The real constraint is tipping: it walks or tips when someone drops onto the front edge, so it wants an anti-tip strap into one stud. It also wastes the volume between the shelf and the seat, which the cubbies recover.
Build C: the floating bench for a very small entry. One cleat into two studs and one board on top, with shoes living on the floor underneath. It is an afternoon and the cheapest of the three, and the real constraint is board thickness: a 3/4-inch plywood seat on a cleat flexes under an adult, so the seat board has to be a 2x10 or 2x12 (an actual 1 1/2 inches) or two layers of 3/4-inch plywood glued together.
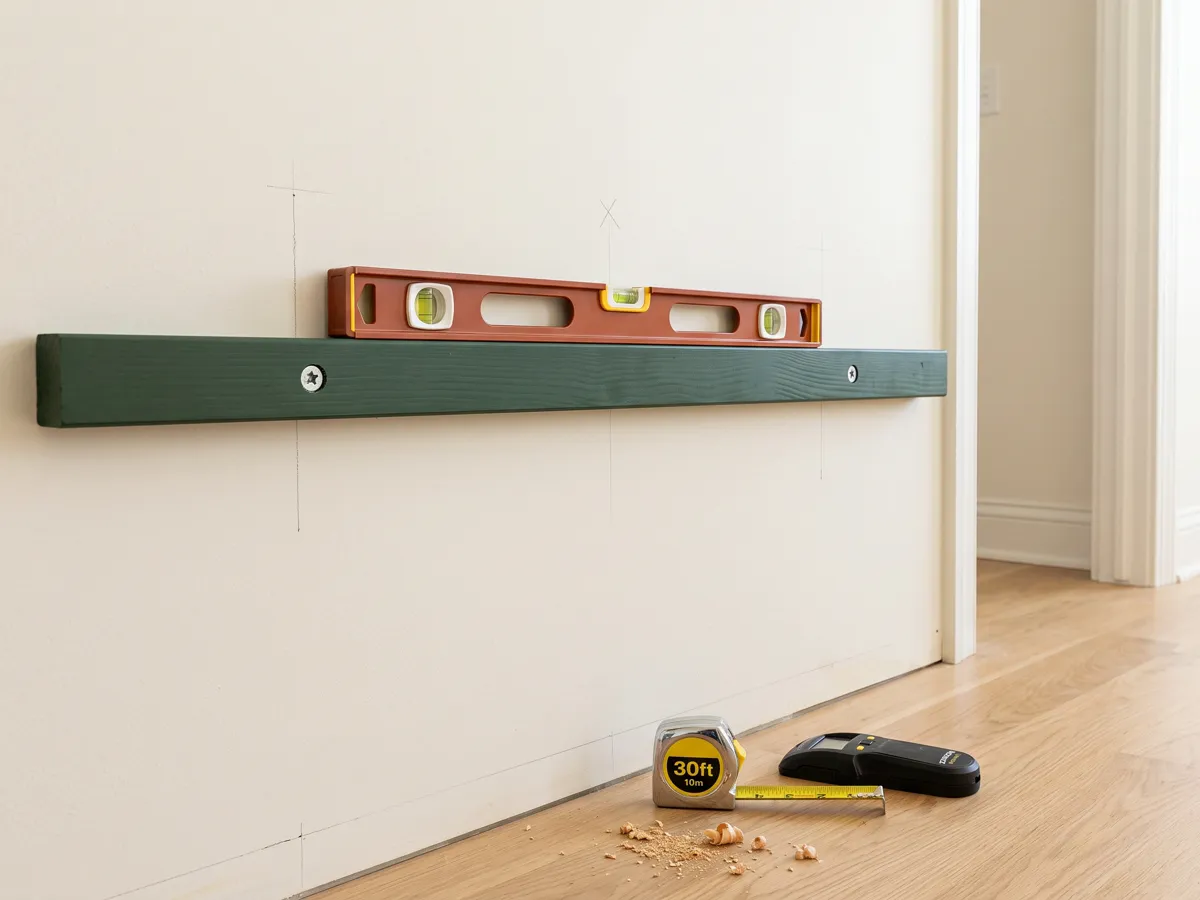
Cost: A $70–$220, B $60–$140, C $30–$60. Time: A one weekend, B one day, C one afternoon. Caveat: all three depend on the wall measurement above, not on the drawing.
The cut list for the lift-seat bench
This is the whole cut list for build A, sized for a 42-inch bench on a 48-inch wall. Two assumptions matter: lumber is sold by nominal size, so a 1x4 measures 3/4 inch by 3 1/2 inches and a 2x2 measures 1 1/2 inches square; and 3/4-inch plywood is really 23/32 inch. Every size below is a finished size, so cut to the tape, not to the label.
| Part | Material | Finished size | Qty |
|---|---|---|---|
| Seat lid | 3/4 in plywood | 42 x 16 in | 1 |
| Side panels | 3/4 in plywood | 16 x 17 1/4 in | 2 |
| Bottom shelf | 3/4 in plywood | 40 1/2 x 15 in | 1 |
| Cubby dividers | 3/4 in plywood | 15 x 13 in | 2 |
| Back rail | 1x4 | 40 1/2 x 3 1/2 in | 1 |
| Front apron | 1x4 | 40 1/2 x 3 1/2 in | 1 |
| Shelf cleats | 2x2 | 15 in long | 2 |
| Wall cleat | 2x2 | 42 in long | 1 |
| Lid cushion | 1 1/2 to 2 in foam | 41 x 15 in | 1 |
The plywood adds up to 2,100 square inches. A 4x4 project panel carries about 2,300, so it covers this list only if you lay the parts out with a pencil before the saw starts: the 42-inch lid sets the width, and the shelf and both sides nest under it. A full 4x8 sheet costs more and leaves offcut for a cushion base. The 1x4 and the 2x2 come off one 8-foot board each.
Every horizontal part shrinks with the bench. Build a 30-inch version and the lid becomes 30 inches, the shelf 28 1/2, both rails 28 1/2 and the wall cleat 30. The side panels, the dividers and all heights stay as listed, which is the reason to cut the sides first and the horizontals last.
Cost: plywood $28–$65, 1x4 board $6–$9, 2x2 board $4–$6. Time: 45 minutes at the saw once the layout is pencilled. Caveat: this cut list assumes the 48-inch wall above. Measure your wall first, write the real number on the list, then mark a board.
Tools, and the two joints that decide the build
The tool list is short: a drill or impact driver, a saw that cuts a straight line (a circular saw with a clamped straightedge, or a hand saw and patience), a speed square, a 24-inch level, a tape, two clamps, a countersink bit, a 1/8-inch pilot bit and a sanding block. Add a stud finder and a magnet, because the wall cleat must land in wood.
Two joints carry the whole bench. The first is a butt joint between a panel and a rail, and it has two honest versions. Pocket screws (a jig runs $35–$45) drill an angled hole so the screw drives from inside the joint, which hides every head and holds the parts while the glue sets. Countersunk screws plus glue cost almost nothing: pilot hole, countersink, a 1 1/4-inch screw, and the head sits below the surface for filler. The strength in both comes from the glue line, not the screw; the screw is the clamp you leave in place. On a painted bench the countersunk version is the better trade, because the heads disappear inside the cubbies.
The second joint is the cleat into studs. Two studs minimum across the run, found with a finder and confirmed with a magnet on the drywall screws. Drive 2 1/2-inch or 3-inch screws through the cleat into each stud, and level the cleat before the second screw seats, because a cleat out of level makes every later measurement argue with it. Where the studs do not fall where the bench needs them, shift the bench, shorten it, or screw a backer board across two studs and hang the cleat on that. Toggle bolts carry a bench nobody sits on; they do not carry a seat.
The lid needs a hinge that spreads load. A 36-inch piano hinge screwed along the back rail and the lid underside keeps the seam straight across the width and stops the lid racking when it opens one-handed. Two 4-inch strap hinges are cheaper and they work on a lid this size, but each carries half the lid on two screw holes, and the seam between them gaps after a season of sitting. Either way the hinge surface-mounts under the lid, so the lid rides about 1/8 inch high at the back unless the back rail is planed down by the hinge thickness first.
Cost: $0 if the drill and saw are already home; a pocket-hole jig is $35–$45, a piano hinge $10–$16, a pair of strap hinges $6–$10. Time: an hour to gather and set up. Caveat: a drywall screw in a cleat is the failure this section exists to prevent.
The cubby grid, the cushion, and a lid that sits flush
The carcass goes together square or it never gets square later. Screw the bottom shelf to its 2x2 cleats, stand the side panels on the shelf, and check the diagonals before the glue sets: corner to corner both ways should match within 1/8 inch. Then the back rail and the front apron close the top of the box, and the cubby dividers drop in behind the apron.
Two dividers make three bays. The interior is 40 1/2 inches wide, so three bays land at 13 inches each once the dividers take their thickness. Space them evenly from the inside faces, screw up through the bottom shelf into each divider end, and screw through the back rail into the divider's back edge. The dividers stop a half inch below the lid on purpose: they brace the box, and the lid still opens over them so a boot bag drops into any bay from above.
The clear opening is 10 inches, and that number is honest. Sneakers, loafers, sandals, ankle boots and most chelsea boots fit under the apron with room to spare. A tall riding boot does not: it needs a bay with the divider left out, laid on its side, or the floor at the end of the bench.
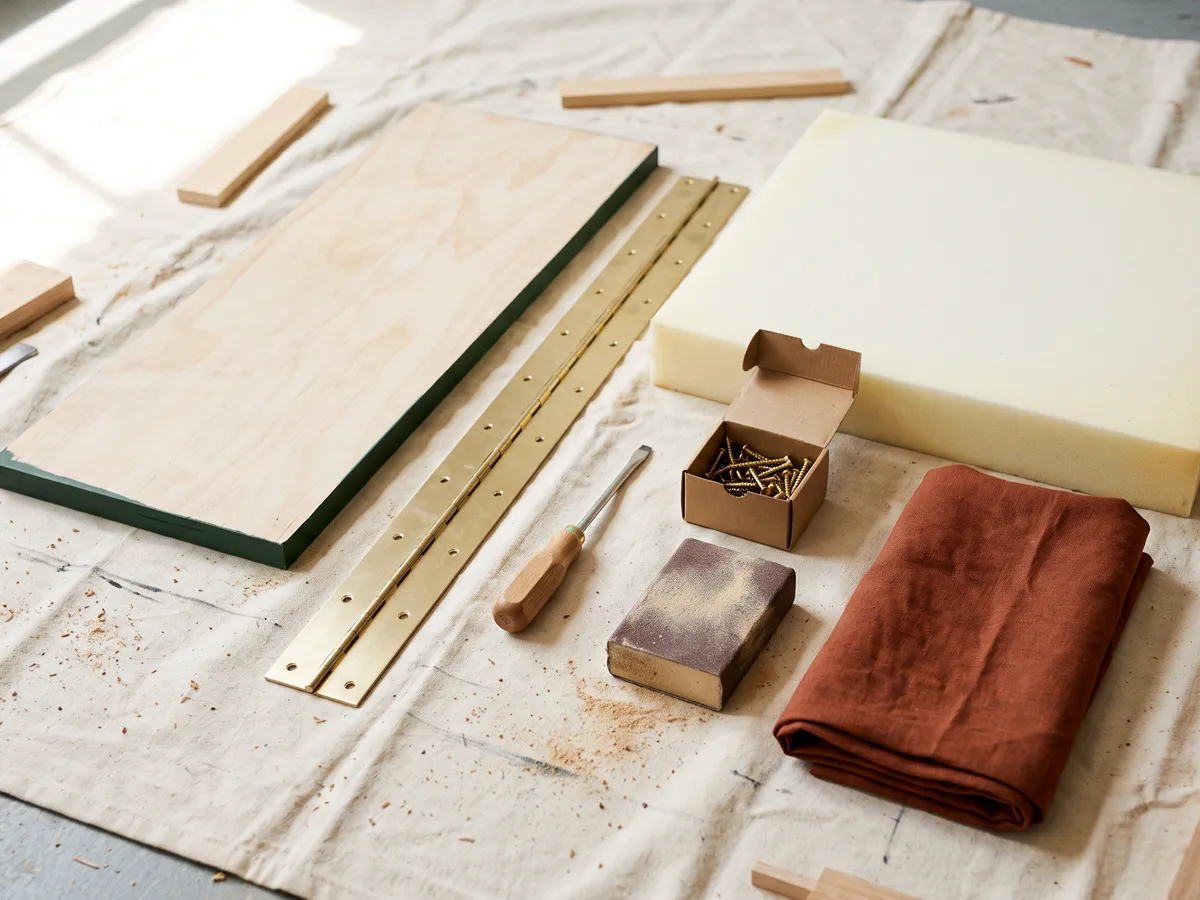
The cushion is a 1 1/2 to 2-inch foam pad. Cut it 41 by 15 inches, a half inch smaller than the lid on every side, so the cover does not bind against the wall when the lid lifts. Two ways to cover it: glue the foam to a 1/2-inch plywood base cut to the full lid size, pull the fabric round the edges and staple it underneath, which gives a cushion that lifts off as one piece; or sew an envelope-back cover, which washes better in a house with wet boots. The no-sew pillow cover method is the envelope back at cushion scale, and it needs no machine.
A flush lid is a hinge problem, not a sanding problem. The lid sits on the side panels with its front and back edges flush to the carcass, so it needs no side clearance. Screw one hinge leaf to the back rail, the other to the lid underside, close it and sight along the front edge. If the lid sits high at the back, plane the rail down by the hinge thickness or shim the apron up. Two rubber bumpers on the apron stop the lid rattling when someone sits hard.
Cost: foam and fabric $25–$45, cushion base $6, bumpers $4. Time: an hour for the grid, an hour for the cushion. Caveat: cut the foam with a bread knife and a straightedge, because scissors chew the edge and the cover shows every chew mark.
Finish for a boot room, and what the bench carries
A bench by the door takes road salt, wet wool and the corner of a boot bag, so the finish is chosen for cleaning rather than for grain. Paint wins that argument: a water-based satin enamel or a porch and floor paint goes over a primer, dries in 2 to 4 hours, and takes a second coat the same afternoon. Stain and three coats of water-based polyurethane show the grain and take longer, with 2 hours between coats and a light 220-grit sand between the first two. Oil-based products want overnight between coats.
Paint the inside of the cubbies and the underside of the lid before assembly. Nobody sees those faces, and they are exactly the faces that collect damp from wet shoes. A mid-tone or a dark color hides scuffs better than white, and satin wipes clean where flat paint holds a mark.
What it carries, honestly. A 3/4-inch plywood lid spanning 42 inches, sitting on two side panels with a back rail and a front apron under it, carries two adults seated at once. That is the load the build is designed for and the load to stop at. It is a seat, not a step stool: standing on the lid, or stacking a 40-pound bag of soil on it, puts a point load where the lid has nothing under it. No manufacturer rating applies to a bench built at home, so the honest answer is the structure: two screws in each stud, a cleat under the back edge, and a lid that does not flex when pressed in the middle.
Boots are the easy load. Four pairs in one bay run about 15 pounds across a shelf carried by two 2x2 cleats. The part to watch is the front edge of the lid, where someone sits down half on and half off; that is why the apron runs the full interior width.
Cost: paint and primer $15–$25, or stain and polyurethane $20–$30. Time: two coats on a Saturday, cured overnight. Caveat: a bench painted and loaded the same day takes the print of every boot.
What the three builds cost
The ranges below are early-2026 US big-box prices for new stock, rounded to the dollar, and they assume a drill and a saw are already in the house. Each tier is named: the basic bench is the frame with strap hinges, the full bench adds the cubby dividers and a cushion, and the floating bench is a cleat and a board.
| Tier | Lumber and sheet goods | Hardware and extras | Total |
|---|---|---|---|
| Basic lift-seat bench | plywood $28–$65, 1x4 $6–$9, 2x2 $4–$6 | strap hinges $6–$10, screws and glue $13, paint $15–$25 | $70–$120 |
| With cubbies and a cushion | the same sheet and boards, no extra stock | piano hinge $10–$16, foam and fabric $25–$45, cushion base $6 | $120–$220 |
| Floating bench | 2x10 or 2x12 board $18–$35 | 2x2 cleat $6, screws $8, finish $10–$15 | $30–$60 |
Tools, if you own none. This line belongs in the budget rather than after it: a drill or driver runs $60–$120, a circular saw $50–$120, a 24-inch level $15–$30, two clamps $20–$40, a speed square $10–$15, and a stud finder with a magnet $15–$30. That is $170–$355 once, and every later build on the DIY Home Projects collection reuses all of it.
Cost: as tabled, tools excluded. Time: a weekend for the full bench. Caveat: lumber moves with the season, so treat the ranges as a budget line rather than a quote.
What we skip on this build
- Built-in electrical. A charging drawer or an outlet inside the bench means running cable inside furniture, which is an electrician and a permit rather than a weekend.
- Boxing a radiator. A box over a radiator traps the heat it is supposed to spread, and a bench against one blocks it or bakes the wood behind it. Move the bench past the radiator instead.
- Load claims past seated adults. Two people sitting is the design load; the bench is not a step, a ladder or a shelf for heavy boxes.
- Drawer slides and tilt-out racks on a first build. Each mechanism adds a second set of dimensions to get right, and the cubby does the job with no moving parts.
- A reclaimed-wood version here. That build, the stamps to read first and the teardown that keeps boards whole are covered in pallet projects for beginners.
- The ten-minute framing. The cut list is an afternoon of cutting and assembly, and the finish needs a second day to cure. A bench sat on in the same hour keeps the print of the first sitter.
Cost: $0 to skip. Time: the ten minutes of deciding that keeps a weekend honest.
The two-day plan, hour by hour
- Saturday morning. Measure the wall and mark the two studs. Pencil the parts onto the sheet, cut the sides first and the horizontals last, sand everything to 120 grit, then drill pilot and countersunk holes while every panel still lies flat.
- Saturday afternoon. Glue and screw the carcass, check both diagonals, fit the dividers, hang the wall cleat level on its studs, and dry-fit the lid and hinge.
- Saturday evening. Prime the whole bench, inside the cubbies included, and leave it flat on a drop cloth.
- Sunday morning. First finish coat, then the second after the can's dry time. Cut and cover the cushion while the paint flashes off.
- Sunday afternoon. Screw the bench to the cleat, hang the lid, set the bumpers, and check the front edge against the door casing. Load shoes, not the toolbox: the finish wants a full day before anything heavy sits on it.
Cost: $0 to follow. Time: two days with drying in between, and the drying is the part that cannot be hurried.
Questions this bench raises
How wide should an entryway bench be?
Thirty inches is the narrowest bench that seats one adult comfortably, and 42 inches seats two without shoulder contact. Size it to the wall rather than to a number: measure between the door casing and the next obstruction, then take off 2 to 3 inches. On a 36-inch wall that lands at 30 inches, and every horizontal part of the cut list shortens by 12 inches while the heights stay put.
Can a floating bench hold boots?
Boots live on the floor under it, and the board is a seat rather than a shelf. That means a board thick enough not to flex: a 2x10 or 2x12 at an actual 1 1/2 inches, or two layers of 3/4-inch plywood glued face to face. A single 3/4-inch board on a cleat sags the first time an adult sits down, and it stays sagged.
Pocket screws or nails for a bench?
Neither nails nor drywall screws: a bench takes pocket screws or countersunk wood screws with glue. Nails hold by friction along the shank and pull out under a seat that flexes every time someone sits. Glue does the holding here, the screw is the clamp that keeps the joint closed until it cures, and the countersunk version costs a fraction of a pocket-hole jig.
Do I need to hit studs?
For the wall cleat, yes: two studs minimum, with 2 1/2 or 3-inch screws through the cleat into the framing. The cleat carries the back edge of the bench and the load shifts backward every time the lid opens, which is the direction a drywall anchor is weakest.
Can I build it in an apartment?
Yes, with two changes. Have the store cut the sheet goods to the cut list, or cut on a balcony, because a circular saw indoors throws sawdust into everything. Then pick the build that suits the lease: the freestanding version touches no wall, and the lift seat version leaves two screw holes in two studs, which patch in an afternoon.
Save this bench plan on Pinterest
Pin the cut list first: the 18-inch seat height, the 16-inch depth and the 10-inch cubby opening are the three numbers that decide whether a bench works in a hallway. For the styling and the buying side of the same corner, the small entryway ideas guide covers the tray, the shoe line and the hook rail. The joint conventions, from countersunk screws to reading a cut list, are in the beginner woodworking plans guide, and a smaller box built the same way is in the one-board crate plan. Wall mounting with no cleat at all is covered in the floating shelf cut list.