 Plant As Deco
DIY Home Projects
DIY Raised Garden Bed Plans: Cut Lists and Corner Posts
By Plant As Deco · Updated 20 November 2026
A raised garden bed is a box of lumber that holds damp soil for years, so the frame decides whether the bed is still square in its third season or pulling apart in its first. This page owns the build only: board depth, the wood choice, two real cut lists, the corner posts, the hardware, squaring the rectangle before the first screw, and stacking a second course. Sizing the bed to your yard lives on the raised bed ideas page, the fill lives on the soil guide, and the panel version is covered on the metal raised bed page. Read this one when the question is lumber, joints and a cut list that adds up.
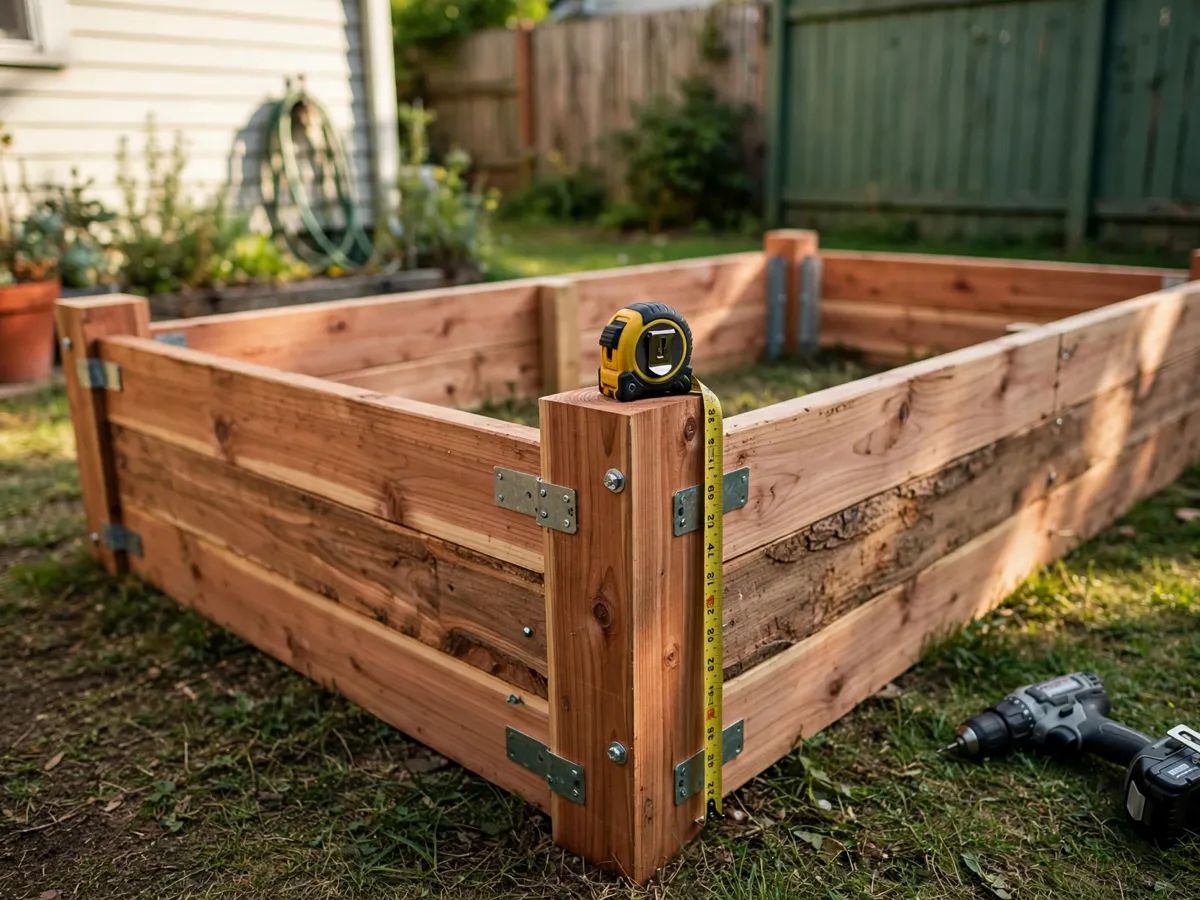
Weekend-ready: $35–$180 per bed, one weekend. One saw, one drill, no workshop.
What a raised bed frame has to survive
A raised bed does a job few pieces of outdoor furniture do: it holds damp soil against gravity, in the weather, for years. The frame faces three forces at once: the constant outward push of saturated soil in spring, the freeze-and-thaw cycle that lifts one corner an inch by the second winter, and decay, which starts where the board touches damp ground and eats the end grain at every cut.
The outward push shapes every other decision. A bed one foot tall and eight feet long holds roughly twenty cubic feet of damp soil, and each side wall carries that mass sideways as well as down. Two boards screwed to each other at the corner, with nothing behind them, form a hinge rather than a joint: the screw holds the boards together, but nothing holds them square. A corner post changes that, because it gives each board end grain to screw into and a vertical member that resists the push the board alone cannot.
Decay is the slower enemy. Any wood in contact with soil rots from the ground line up, and the part that fails first is the cut end, where the fibers drink moisture. Cedar resists that longest because its heartwood carries natural compounds that slow rot; untreated pine is cheaper and shorter-lived; pressure-treated lumber resists it longest of the three. The honest ranges are five to eight years for untreated pine in soil contact and ten to fifteen for cedar. No number here is a promise, only what the wood tends to do.
Pick the size before the lumber
The size decides the lumber before the wood does, because lumber comes in set lengths and the cut list has to land on them. Two lengths drive almost every bed here: an eight-foot board and a four-foot board, both light enough to carry home in a sedan and cut with one saw. A bed four feet wide by eight feet long uses them almost whole, which is why the 4x8 is the flagship plan below; the two-foot-wide version uses half the boards and fits a narrow side yard.
Width is a reach question, not a lumber question. You tend a raised bed from the side, never standing in it, so the width has to be short enough that your arm reaches the center from either edge. Four feet is the practical maximum; wider and the middle becomes a strip you cannot reach without stepping in and compacting the fill. The full sizing and placement decision lives on the raised bed garden ideas page; this one repeats only the number the lumber cares about: four feet wide, eight feet long, one course of 2x6 tall.
Height is a fill question the frame answers with board depth. A single 2x6 side wall stands about five and a half inches, enough where the earth beneath is already good. A 2x10 or 2x12 stands eleven inches or more, enough to be the whole growing depth over hard or compacted ground. Stacking two courses of 2x6 reaches a foot and a half, the height where you tend the bed standing. What goes inside is on the raised bed soil guide; the frame only needs to know how tall to stand.
Board depth: 2x6 vs 2x10 vs 2x12
Board depth is the first lumber decision, and it sets both the height of the bed and the cost of the boards. Dimensional lumber is sold by nominal size, so a 2x6 measures one and a half inches thick by five and a half wide, a 2x10 by nine and a quarter, and a 2x12 by eleven and a quarter. The thickness is identical across all three; only the width of the side wall changes, and the side wall is the height of the bed above ground.
2x6 is the default. One course stands about five and a half inches tall, enough where the ground beneath is already loose and the frame is a tidy edge rather than the whole root zone. It is the cheapest board per linear foot, light enough to carry eight feet of it single-handed, and stiff enough to span an eight-foot side without bowing when the soil pushes back. Every cut list below is built from 2x6, so a beginner buys one board size and stops thinking about depth.
2x10 and 2x12 are the deeper options. A single course of 2x10 stands nine and a quarter inches; a 2x12 stands eleven and a quarter. Both give real growing depth over compacted ground or a paved surface where you cannot dig down. The trade is price and handling: a 2x12 costs roughly twice a 2x6, and eight feet of it is heavy enough that one person struggles to hold it level while driving the first screw. Pick 2x10 for one tall course; leave 2x12 for a bed that must reach depth in a single run.
2x4 is the corner post, never a side wall. It is too shallow to hold soil on its face, but it is the right size for the posts behind the corners: cheap, straight, and thick enough to take three screws per board without splitting. Every plan here uses 2x4 posts and 2x6 walls.
The wood choice: cedar, pine and fir
Three woods cover almost every bed built at home: cedar, untreated pine or fir, and pressure-treated pine. Each has a real lifespan in soil contact, a real cost, and one trade you make with eyes open. The wrong move is buying one without knowing which trade you picked.
Cedar lasts longest untreated. Its heartwood carries natural compounds that slow rot, so a cedar frame expects roughly ten to fifteen years before the ground-line boards need replacing. It is the priciest of the three per board and softer than pine, so the corner screws bite easily but the top board dents under a knee. Choose cedar when the budget carries it and the bed is meant to stay put for a decade.
Untreated pine and fir are the budget choice. Both are the cheapest dimensional lumber at any yard and both build a square, functional bed. Expect five to eight years in soil contact, with the lowest boards failing first and the cut ends following. Fir is slightly denser and holds a screw better; pine is cheaper and easier to find. Either suits a first bed, a bed you may move, or a build where swapping a side board in six years is an acceptable cost.
Pressure-treated lasts longest, with one question. Treated pine resists rot and insects better than any untreated wood, so expect fifteen to twenty years. The question some gardeners ask is what moves from the treatment into the fill over that span. Current treatments are rated for garden use, and this page does not forbid them; it says plainly that treated lumber outlives the alternatives and carries that question, and leaves the call to you. Skip reclaimed pallet lumber: thin, irregular boards stamped with nothing that tells you what they carried.
Cut list for a 4x8 bed
This is the cut list for a bed four feet wide by eight feet long: one course of 2x6 with 2x4 corner posts. Every figure is a finished size measured off the tape, not off the stamp on the board, because nominal and actual sizes are different numbers. The bed stands five and a half inches above ground once it is on level dirt.
| Part | Material | Finished length | Qty |
|---|---|---|---|
| Long side walls | 2x6 cedar or pine | 8 ft | 2 |
| Short side walls | 2x6 cedar or pine | 45 in | 2 |
| Corner posts | 2x4 cedar or pine | 12 in | 4 |
| Corner brackets (optional) | steel angle | 2 in | 4 |
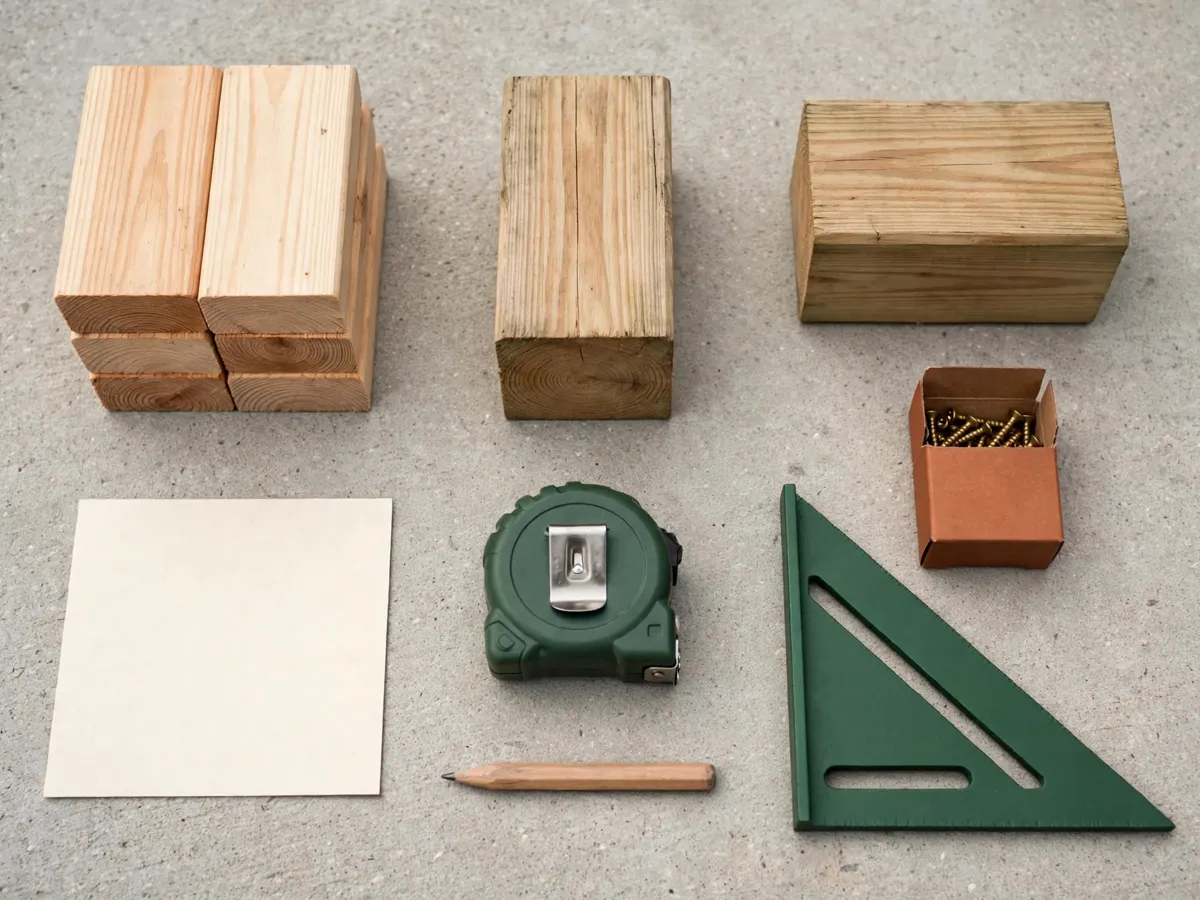
The arithmetic is why a cut list exists. The two long walls run the full eight feet. The short walls fit between them, so each is the bed width minus the thickness of the two boards it sits between: forty-eight inches less three, which is forty-five. Cut the short walls to forty-five and the outside of the box lands exactly on the four-by-eight you marked on the ground. The posts are twelve inches, taller than the five-and-a-half-inch wall, so each sits flush at the bottom and rises six and a half inches above the top for a later second course.
Buying it as stock: three eight-foot 2x6 boards (one per long wall, one for both short walls with offcut left) and one eight-foot 2x4 for the four posts. Measure each board against the list before you cut, because a warped eight-footer gets shorted by the yard and you will not notice until the corner will not close. Hardware is a box of three-inch exterior screws, twenty-four of them: three per board into each of its two posts.
Cost: $35–$60 in pine, $70–$120 in cedar. Time: one afternoon — an hour of measuring and cutting, an hour of driving screws.
Cut list for a 2x8 bed
A two-foot by eight-foot bed is the narrow version, for a side yard or a strip of ground too tight for four feet of width. Same logic as the 4x8, one different number. Because the bed is two feet wide you reach the center from one side only.
| Long side walls | 2x6 cedar or pine | 8 ft | 2 |
| Short side walls | 2x6 cedar or pine | 21 in | 2 |
| Corner posts | 2x4 cedar or pine | 12 in | 4 |
The short walls are twenty-one inches: twenty-four less the three inches the two long walls take up between them. Both come off a single eight-foot 2x6 with a long offcut left for a brace, so the whole bed takes two 2x6 boards and one 2x4. That makes it the cheapest frame on this page and the right first build for a beginner who wants to learn the joinery on a small footprint.
The posts stay at twelve inches, because post height follows the board depth and the plan for a second course, not the footprint. A 2x8 uses the same screws, brackets and squaring steps as the 4x8. Only the short-wall number changes, which is exactly why the cut list gets written and measured before the saw touches anything.
Cost: $25–$45. Time: one afternoon. If you are testing whether raised-bed gardening fits the yard, build this one first.
Corner posts and the hardware
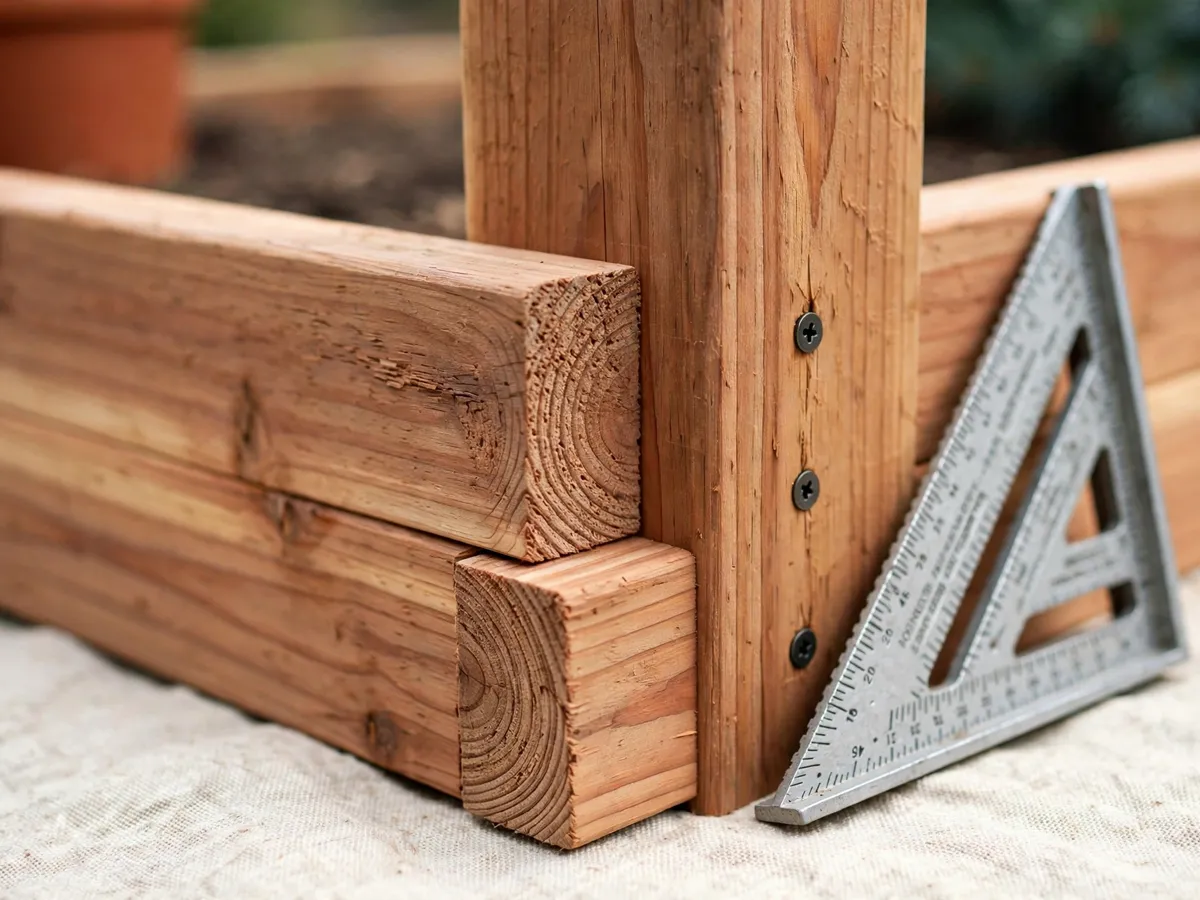
The corner post is what separates a bed that stays square from one that sags into a parallelogram by midsummer: a short length of 2x4 stood on end inside the corner, with both side boards screwed to its face. Inside, not outside. The fill presses an inside post tighter, the outside corner reads as a clean joint, and the end grain stays out of the weather that starts rot. An outside post catches the hose, catches a boot, and fails first.
Screws, and only screws. Three-inch exterior screws, coated for outdoor use, three per board into each post: twenty-four per bed. They bite into cedar and pine without a pilot hole away from the ends, and they back out when a wall needs replacing. Drill a pilot only within three inches of end grain, or the board splits and the corner gaps. Interior screws rust to dust in two seasons and drywall screws snap under a full bed, so the hardware is the cheapest line in the budget that decides whether the corners hold.
Brackets earn their cost on a tall bed. A two-inch steel angle at each corner, screwed to the post and the inside face of the wall, holds the right angle even if a screw loosens; four are worth it once you stack a second course. A fabric liner stapled inside covers the seam between courses so the fill cannot wash out of it, and it keeps dirt off the lowest inch of wood. The fill itself is on the raised bed soil guide.
Square and level before you screw
A raised bed is a rectangle, and a rectangle is square only when its two diagonals match. The order is fixed: level the ground, square the frame, then drive screws. Reverse it and the first screw pins a shape every later screw locks in, and no bracing afterwards fixes a box a quarter-inch out of square at the far corner.
Level the ground first. Rake the footprint flat, then lay one eight-foot board across it with a level on top, checking both directions. The ground need not be perfect, only hold the frame within a quarter inch across the footprint, because the frame follows whatever it stands on. Shave the high spot rather than packing the low one with loose dirt, which settles and leaves the bed leaning by June.
Then measure the diagonals. Lay the four walls and four posts on the leveled ground in the rectangle, without a single screw. Hook a tape corner to opposite corner, read the first diagonal, then swing to the other pair. Match them within a quarter inch and the frame is square; if they differ, slide the long walls parallel until the numbers converge. For a 4x8 the diagonal is roughly nine feet five inches, and both must read the same number. This one measurement is the difference between a bed that looks like a box and one that looks like it was kicked.
Screw in the right sequence. Pin one corner with a single screw, then the opposite corner, so the frame is held at two points while you re-check the diagonals. Adjust once more, then drive the remaining screws, three per board per post, staggered in height so no two sit in a line. Hold the speed square flat against the corner as each screw seats, and set the level across the top board before the next wall goes on. A DIY frame built this way takes about an hour longer than one built by feel, and it is the hour that keeps the bed square into its third season.
Stacking a second course
A second course of 2x6 doubles the height, turns a shallow lid into real growing depth, and stays cheap because it reuses the same board and the same joinery. The posts are the reason the first course was built with six and a half inches of 2x4 standing above the top board: the new course screws into those same posts.
The cut list repeats. Two long walls at eight feet, two short walls at forty-five inches for a 4x8 or twenty-one for a 2x8, off two more eight-foot boards. Set the new course flush with the outside face of the first, clamp one end, run a level along the top edge, then drill and screw three per board per post, staggered in height so no screw sits directly above another.
The seam is where a tall bed leaks. If a board cups, flip it so the curve faces inward and pull the joint tight before the screws seat. A strip of fabric liner stapled over the seam on the inside keeps the fill from washing out of it, and it is the one place a liner earns its cost on the frame itself.
Three courses on an eight-foot span is where a top tie earns its place: a 2x4 screwed across both long walls below the fill line holds them parallel. Two courses do not need it, and adding one early is wasted lumber.
What usually goes wrong
Five mistakes wreck a bed in its first season, and four of them happen before the fill goes in. None is a woodworking problem; all are measuring and sequencing problems, which is why they catch the careful beginner who got every board right.
The frame is not square. The diagonals were never measured, one screw pinned a parallelogram, and the rest locked it in. Fix: both diagonals, matched within a quarter inch, before any screw seats.
The ground is not level. The footprint was raked roughly instead of checked with a board and a level, and the frame followed the slope. A bed out by half an inch across eight feet racks the first time it is full. Fix: shave the high spot rather than packing the low one with loose dirt that settles by June.
The short walls carry the outside number.Forty-eight inches cut instead of forty-five, or twenty-four instead of twenty-one, and the box is three inches wider than the mark on the ground. Fix: the cut list holds inside lengths only.
The posts are cut flush. A second course then has nothing to bite into, and a taller bed means rebuilding four corners. Fix: cut the posts long the first time; a spare post costs a few inches of lumber and saves the frame.
The screws came from the wrong bin. Interior screws rust and thin drywall screws snap, so the corners work loose in the second year. Fix: three-inch exterior screws, one box per bed.
What it costs and how long it takes
The cost is the lumber plus a box of screws. The figures below are what a lumber aisle charges for new stock, roughed to the dollar, and they assume the drill and saw are already in the shed. Lumber moves with the season and the region, so read every range as a budget line rather than a quote.
| Build | Lumber | Hardware | Total |
|---|---|---|---|
| 4x8, one course, pine | three 2x6, one 2x4 | screws $6, brackets $8 | $35–$60 |
| 4x8, one course, cedar | three 2x6, one 2x4 | screws $6, brackets $8 | $70–$120 |
| 4x8, two courses, cedar | five 2x6, one 2x4 | screws, brackets, liner | $120–$180 |
| 2x8, one course, pine | two 2x6, one 2x4 | screws $6 | $25–$45 |
Owning nothing yet. A drill or driver runs $60–$120, a hand saw $30–$80, a speed square $10, a four-foot level $15–$30 and a tape $10 — a one-time outlay of roughly $125–$290 that every later build in the DIY Home Projects library reuses. A beginner who owns none of it still builds this frame for the lumber cost alone by borrowing for an afternoon.
Time is one afternoon per course. An hour measuring and cutting, an hour leveling the ground and squaring the frame, an hour drilling and driving screws. A second course adds an hour. The fill is a separate job with its own page, and the bed settles the first time it is wet, so leave a day before you plant.
Common questions
How deep should the frame be?
One course of 2x6 over ground you have already loosened. Two courses, or a single 2x10, where you cannot dig down at all. Depth is a question about the fill underneath, not the wood; the frame only has to stand tall enough to hold it.
Cedar or untreated pine?
Cedar if the bed stays put for a decade and the budget carries roughly double the lumber cost. Untreated pine or fir if this is a first bed, a test of the yard, or a frame you may move. Expect ten to fifteen years from cedar and five to eight from pine in soil contact; the numbers are ranges, not promises.
Can I cut this without a power saw?
Yes. Every cut here is a straight crosscut through a 2x6 or a 2x4, and a sharp hand saw makes one in under a minute. Hold a speed square against the board as a guide, cut to the waste side of the pencil line, and measure twice before the first cut.
How many screws per corner?
Six: three through each wall into the same post, staggered in height. Twenty-four for a four-corner bed, so a box of a hundred covers four beds with spares for the ones that go missing in the grass.
Is treated lumber acceptable here?
It is the longest-lived option, at fifteen to twenty years in soil contact, and this page does not rule it out. It carries one question about what moves out of the treatment into the fill over those years. Weigh it, then pick cedar, pine or treated with the trade named rather than guessed.
Save these bed plans on Pinterest
Pin the cut list first: a 4x8 takes three 2x6 boards and one 2x4, the short walls at forty-five inches, the posts at twelve so a second course has something to bite into. The joint conventions behind every screw here are in the free woodworking plans for beginners, and the one-sheet builds that use the same lumber live on the beginner woodworking plans page.