 Plant As Deco
DIY Home Projects
Outdoor Pallet Projects: Builds That Survive the Weather
By Plant As Deco · Updated 17 November 2026
A pallet picked off the curb looks like a free garden bench, a potting table, a firewood rack — and it is, until the first season of rain turns the bottom board black, the screws rust streaks down the grain, and the whole thing sags into the dirt. The beginner pallet projects guide covers reading the stamp, breaking the pallet down, and four indoor builds. This page covers what that one does not: why outdoor pallet wood fails, the fastener spec that stops it, keeping the first inch off the ground, and three builds a backyard actually keeps — a potting and BBQ station table, a privacy screen panel, and a firewood rack — each with a real cut list from one pallet.
Weekend-ready: $13–$50, one weekend. Free wood, galvanized screws, renter-safe — every build here unscrews for the move.
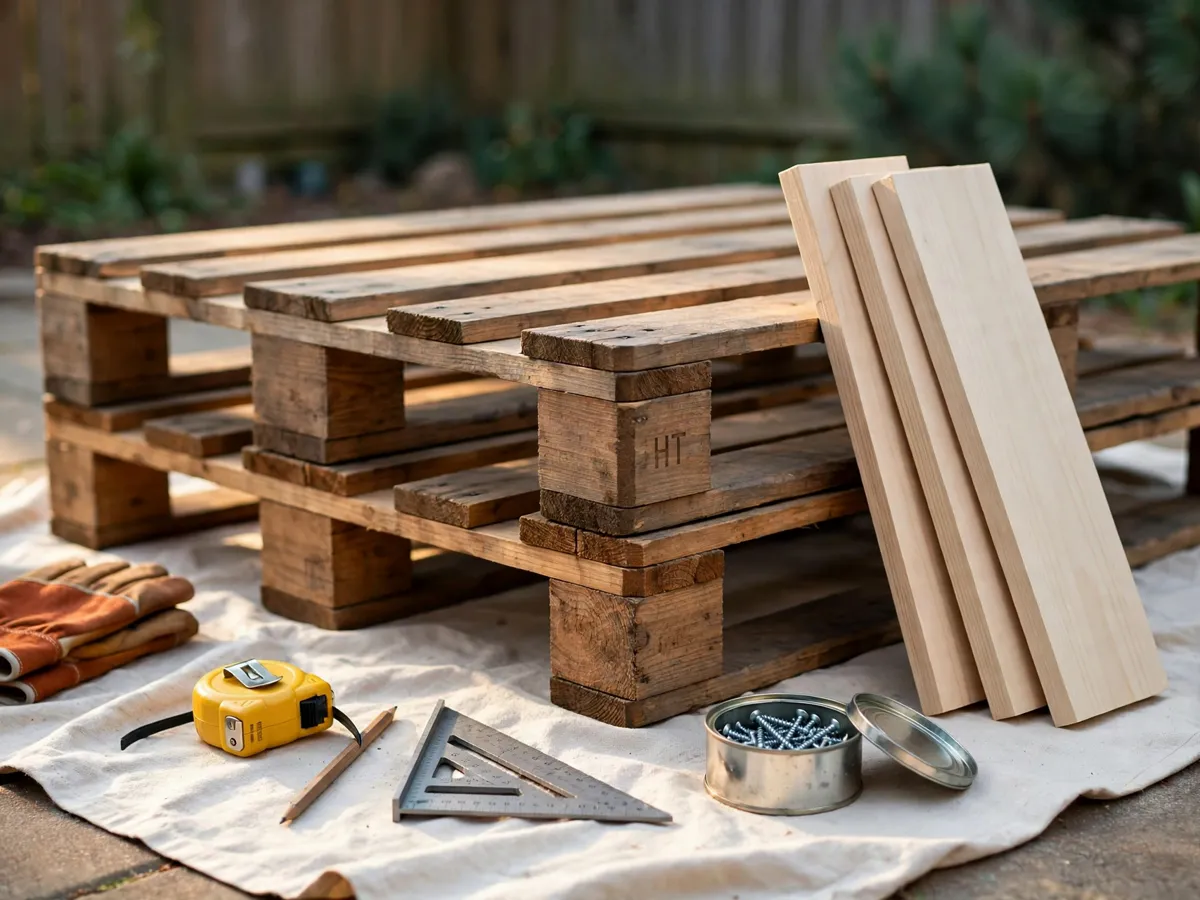
1. Outdoor pallet wood fails three ways
Pallet wood survived shipping outdoors because it was stacked under a tarp or inside a truck, not because the wood resists weather. Once you stand it up in a backyard as furniture, the same boards meet three things they never met on the road — and each one has a fix.
Ground wicking. Wood touching soil pulls moisture up through the end grain the way a paper towel pulls water off a counter. The bottom board rots first, from the inside out, and by the time you see black on the surface the inside is already soft. The fix is elevation: keep the first inch of every leg and bottom rail off the ground, on a block, a paver, or a scrap of plastic lumber. Section three covers the standoff in detail.
UV gray-and-split. Sun breaks down the surface lignin that holds wood fibers together, so the face goes gray, then checks, then the boards cup and pull their screws loose. The fix is an exterior finish — a penetrating outdoor oil or a solid-color exterior stain — applied to every face and every cut end before the piece goes out. Two thin coats, the first fully dry before the second. Once cured, splash water on it: beads mean protected, a dark soaking patch means another coat.
Rust bleed from the wrong screw. Drywall screws and bright interior screws turn orange within weeks outside, and the rust runs down the board in streaks that no stain hides. Worse, the screw thins as it rusts until the joint fails under load. The fix is galvanized or coated deck screws — section two names the exact spec.
Which pallets to take home in the first place is the stamp guide's job: HT means heat-treated and safe, MB means chemically fumigated and off-limits, and an unmarked pallet stays outdoor-only. Read the stamp before you haul it, because nothing on this page rescues a pallet that carried something it should not have.
Cost: $0 to read. Time: 10 minutes for the stamp, the smell and the stains. Caveat: a clean HT pallet from a source you can name is the only starting point.
2. Use the fasteners rain cannot eat
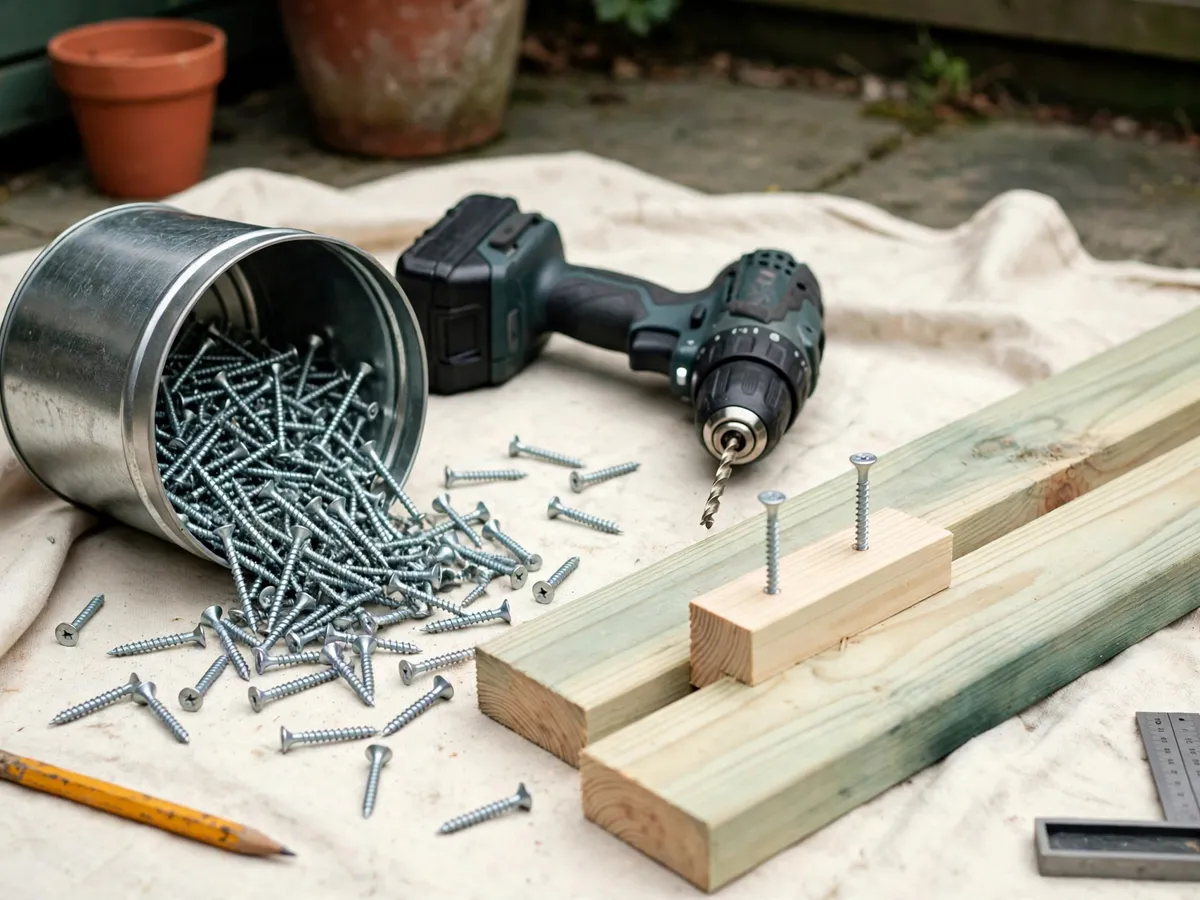
The fastener is the joint that fails first outdoors. Pallet boards are dry and dense — they were kiln-baked under a load — and a screw driven into dry stock without a pilot hole splits the end grain, which opens a crack that rain widens every freeze. Three habits keep the joint alive.
- Galvanized or coated deck screws, 2 inch and 3 inch. The box must say exterior, galvanized, or deck. A drywall screw has no business outside — its thin shank rusts through in a season and its bugle head pulls through pallet stock the first time someone leans on the table. Deck screws have a thicker shank, a square or star drive that does not cam out, and a coating that holds against rain.
- Pilot holes in every end-grain joint. A 1/8 inch bit through the first board, then a smaller pilot into the end grain of the receiving board, stops the split that turns a two-screw joint into a one-screw joint. Pallet stock is harder than the pine at the home center because it was compressed under freight, and it splits along the grain faster than new lumber.
- Two screws per joint, not one. A single screw pivots. Two screws a couple of inches apart lock the joint against the racking that wind and uneven ground apply to anything standing outside.
The one joint that fails in weather even with the right screws is the butt joint — two boards meeting end to end with nothing but screws holding them. Inside, a butt joint with three screws holds a shelf. Outside, the boards swell and shrink with every rain cycle, and the screws loosen a quarter turn at a time until the joint wobbles. The fix is a cleat: a short scrap of board screwed across the inside of the joint, tying both boards to a third piece. Every build in section four uses a cleat where two boards meet end to end.
For the wider picture on what a plan should tell you before you buy a single screw, the beginner woodworking plans guide covers reading lumber dimensions, splitting a tool list, and what a cut list owes you.
Cost: $6–$10 for a box of galvanized deck screws. Time: 5 minutes to pre-drill a joint. Caveat: the pilot bit is the one thing that separates a joint that holds from one that splits.
3. Keep the first inch off the ground
Elevation is the single decision that doubles the life of an outdoor pallet build. A leg that sits on soil wicks water for as long as the soil is damp — which in most yards is most of the year — and the bottom two inches rot while the top of the same board is still sound. Lift that leg one inch onto a block and the wicking stops entirely, because air, not soil, is under the end grain.
Three materials work as feet, and one does not.
- Concrete paver blocks — the 8 by 16 inch pavers from the home center, broken in half or used whole under each leg. They do not absorb water, they do not rot, and they cost about a dollar each. Set them level on packed ground before the leg sits on them.
- Scrap plastic lumber or composite decking offcuts — if a neighbor replaced a deck, a 4 inch square of composite trim screwed to the bottom of each leg lasts longer than the pallet itself. Plastic does not wick.
- Hardwood feet from a thick pallet stringer — the 2-by-4 stringers from the pallet itself, cut into 2 inch blocks and screwed under each leg, lift the build off the soil. They will eventually wick, but replacing a foot block every two seasons is cheaper than replacing a leg.
The one material that does not work is a brick. Clay brick absorbs water, holds it against the wood, and rots the leg faster than soil would. Use a paver, not a brick.
For a build that sits flat — a firewood rack laid on its side — the standoff is a pallet-on-pallet trick: set the rack on top of a second pallet or a pair of 2-by-4 rails laid on the ground, so the firewood rack never touches soil. The rails take the rot so the rack does not have to, and replacing a sacrificial rail every few years is a ten-minute job.
Cost: $0–$8 for four paver blocks. Time: 10 minutes to set level. Caveat: a level block matters more than a pretty one — a leg on a tilted block wobbles and loosens its screws.
4. Three outdoor builds, board by board
Each build starts with one clean HT pallet. One pallet gives you roughly eleven deck boards and three stringers to work with — the counts below are honest, and where one pallet comes up short, the page says so and names the cheap fix. Cut lists use the actual board, not a number, because pallet boards vary in thickness and width. Every cut is a straight crosscut.
Build 1: Potting and BBQ station table
A work surface at counter height — about 34 inches — wide enough for a tray of seedlings on one end and a small grill on the other. One pallet gives you the top, a lower shelf, and three of the four legs. The fourth leg is a furring strip from the home center for about three dollars.
| Part | From | Qty | Notes |
|---|---|---|---|
| Legs | Stringers, cut to 34 in | 3 + 1 furring strip | The fourth leg is a 2x2 furring strip, about $3. |
| Top boards | Deck boards, trimmed to 24 in | 5–6 | Screw across the legs, gap 1/4 in between for drainage. |
| Lower shelf | Deck boards, trimmed to 22 in | 2–3 | Screw to cleats attached 10 in up the legs. |
| Cleats | Scrap from stringer ends | 4 | 2 in blocks screwed inside the legs to carry the shelf. |
- Break the pallet down and sort the pile: set aside the three straightest stringers and the six straightest deck boards.
- Cut the three stringers to 34 inches. Cut the furring strip to match. Stand all four legs up and check that the tops are level — a pallet stringer that was bowed will show it now.
- Screw two pairs of legs together at the top with a cleat across the inside: a 4 inch scrap of stringer, two screws per leg. This makes two A-frame ends.
- Lay five deck boards across the two frames, trimmed to 24 inches, with a 1/4 inch gap between each. Pre-drill and drive two 2 inch galvanized screws per board per leg.
- Attach four cleat blocks inside the legs, 10 inches up from the bottom, and lay two shelf boards across them.
- Set the table on four paver blocks and check level. Sand the top to 120 grit — this surface holds pots and food trays, not bare feet, but splinters ruin the first use.
Where it fails: the top sags under a heavy pot or a full grill placed at the center. The fix is a fifth stringer run under the front edge as a rail, or simply keep the heavy load over a leg, not in the middle of the span.
Cost: $20–$50. Time: about 3 hours. Caveat: the fourth leg is the one honest extra — one pallet gives you three stringers, not four.
Build 2: Privacy screen panel
A standing slatted panel for a balcony corner or the edge of a patio — full pallet height, about 40 inches wide and 48 tall, with every other deck board removed so light and air pass through. It leans against a fence or stands on two ground stakes.
| Part | From | Qty | Notes |
|---|---|---|---|
| Frame | Pallet, kept whole | 1 | Stand the pallet on its short edge, stringers vertical. |
| Slats | Every other deck board | Keep 4–5, remove 4–5 | Pry alternating boards for a slatted look. Save the removed boards. |
| Ground stakes | 2x2 furring strips, 18 in | 2 | Driven 8 in into the ground, screwed to the bottom stringer. |
| Feet blocks | Scrap stringer, 2 in | 2 | Under the bottom stringer if the screen leans rather than stakes. |
- Lay the pallet flat. Pry out every other deck board — lever beside each nail, move as soon as the board lifts, and cushion the bar on a scrap block so the kept boards do not split.
- Stand the pallet on its short edge so the stringers run vertical. The three stringers are now the uprights, and the remaining deck boards are the horizontal slats.
- For a staked screen: drive two 18 inch furring-strip stakes into the ground, 8 inches deep, behind the outer stringers. Screw the stringers to the stakes with 3 inch galvanized screws.
- For a leaning screen: screw two feet blocks under the bottom stringer and lean the panel against a fence at about 10 degrees from vertical — enough to stay put in wind, not enough to look like it is falling.
- Sand the slat faces to 120 grit. Apply exterior stain or oil to every face and every cut end.
Where it fails: wind catches the flat panel like a sail and tips it. A staked screen holds in a gust; a leaning one does not. If the balcony gets wind, stake it — do not lean it.
Cost: $20–$47. Time: about 90 minutes. Caveat: the removed boards are not waste — they become shelf cleats or firewood rack slats.
Build 3: Firewood rack
The simplest build on the page, and the one a backyard uses the hardest. The pallet stands on its side so the stringers are horizontal rails and the deck boards are vertical slats — split logs stack on the rails, and the slats keep them from rolling forward. A second pallet or a pair of 2-by-4 rails underneath keeps the whole thing off the soil.
| Part | From | Qty | Notes |
|---|---|---|---|
| Rack body | Pallet, kept whole | 1 | Stand on its side: stringers horizontal, deck boards vertical. |
| Feet blocks | Scrap stringer, 2 in | 4 | Screwed under the two bottom stringer ends. |
| Ground rails | Second pallet or two 2x4s | 1 or 2 | The rack sits on top — the rails take the ground rot. |
- Break the pallet down only if the deck boards are loose or the stringers are cracked. If the pallet is solid, leave it whole.
- Cut four 2 inch feet blocks from a scrap stringer. Screw one under each corner of the bottom stringer with two 3 inch galvanized screws.
- Stand the pallet on its side on top of the ground rails — a second pallet laid flat, or two 2-by-4s spaced under the feet blocks.
- Check that the rack does not rock. If it does, shim the low foot with a scrap of shingle or a plastic wedge, not wood — wood shims rot.
- If the deck board spacing is wider than your smallest split log, screw one removed board across the front at the mid-rail to close the gap.
Where it fails: small logs and kindling fall through the gaps between deck boards. The fix is a scrap board screwed across the front opening — the same removed board from the privacy screen build, if you built both.
Cost: $13–$39. Time: about 45 minutes. Caveat: the ground rail is the part that rots — check it every season, not the rack.
5. If it grows food, line it right
The beginner guide builds the planter box — the assembly, the corner battens, the drainage slats. This section covers what goes against the wood when you grow herbs or vegetables in it, because pallet wood is not food-grade and the gap between a clean HT pallet and a safe home for edibles is the liner.
Two lining materials, and the choice is drainage first, not convenience.
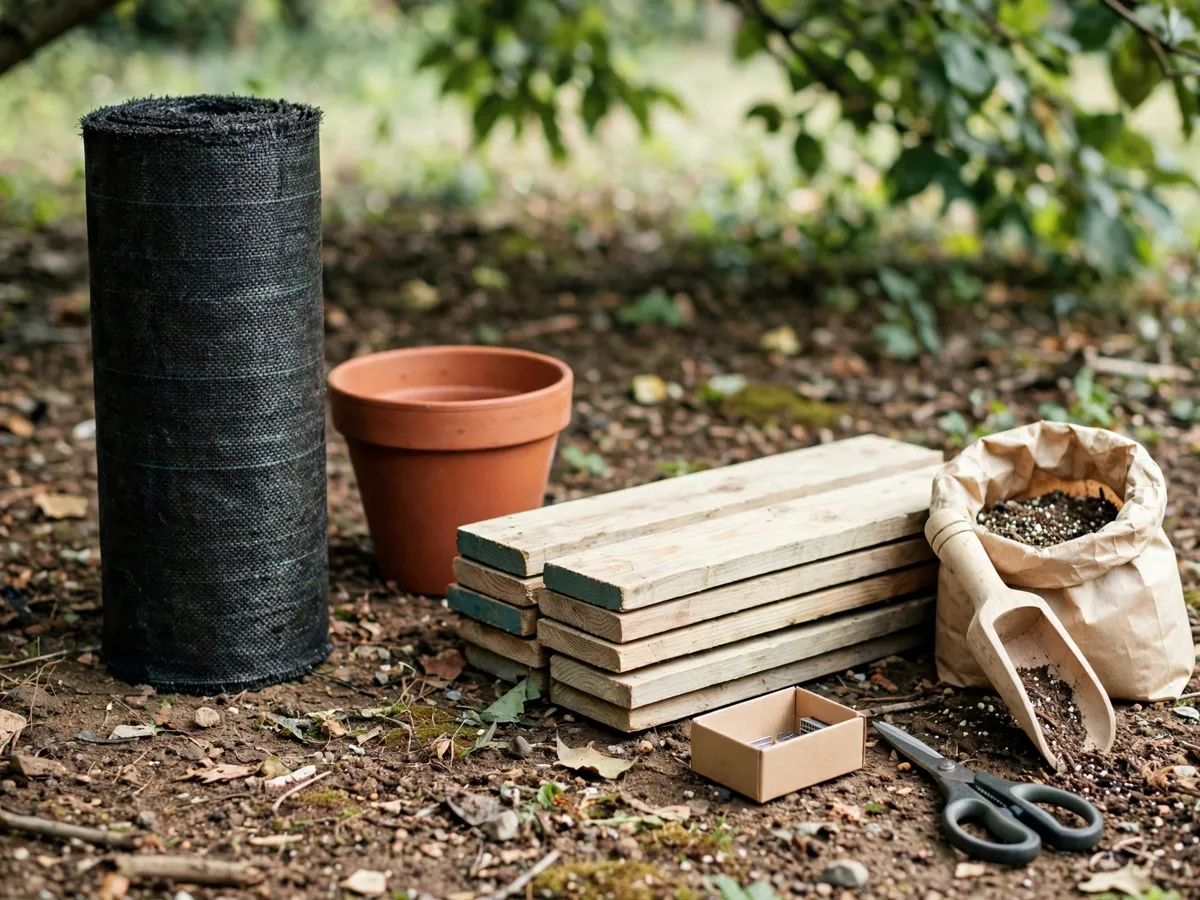
- Landscape fabric — the one to use. A porous woven fabric that lets water drain out the bottom and lets the soil breathe against the wood. It keeps the soil off the pallet boards without trapping moisture, which is what causes the wood to rot from the inside. Line the planter so the fabric covers the inside faces and the floor, overlapping the top edge by an inch, and staple it in place. Water drains through the fabric and out the gap between the floor slats.
- Plastic liner — only if you punch holes. A plastic sheet traps water against the wood and rots the box in a single growing season. If plastic is all you have, punch a dozen holes in the bottom and the lower sides with a nail, and line only the sides, not the floor — let the floor slats breathe. Even then, expect the boards under the plastic to soften faster than the rest.
Which pallets are safe to grow food in? Only HT pallets you can trace to a clean source — the stamp and stain guide covers the HT, MB, and unmarked rules in full. An unmarked pallet is outdoor-only, and outdoor-only does not mean food-safe. If the pallet carried anything you would not put in a kitchen, do not grow herbs in it — build the firewood rack instead.
For the soil that goes inside the lined planter, the raised bed soil guide covers what a small planter actually needs — the mix ratio, the drainage layer, and why garden soil alone compacts in a box.
Cost: $4–$8 for a roll of landscape fabric. Time: 15 minutes to line a planter. Caveat: no liner saves a planter built from an unmarked pallet — start with the stamp.
6. The thirty-minute season check
Outdoor pallet builds are not set-and-forget. Once a season — spring before the growing starts, or fall before the first freeze — spend thirty minutes on four checks that catch the slow failures before they become a collapsed table.
- Re-tighten every screw. Wood swells in the rain and shrinks in the dry, and each cycle backs a screw out a quarter turn. Walk the build with a driver bit and snug every screw — do not crank, just close the gap between the head and the board. A screw that will not tighten has stripped its hole; move it half an inch and pre-drill a fresh pilot.
- Look for wicking at the bottom board. Turn the build or crouch under it and inspect the lowest board or leg. Black staining, softness when pressed with a thumb, or wood that feels spongy means the bottom is wicking. Replace the board if it is soft — a leg that fails under load is the one failure that drops the whole build.
- Re-oil or re-stain. Splash water on the finish. Where it beads, the coat holds. Where it soaks in and darkens the wood, add a coat of exterior oil or stain to that spot — no need to strip the whole piece, just the bare patches. Cut ends absorb the most water, so check them first.
- Retire the board when it fails. A board with more than two deep checks, a leg that is soft at the bottom third, or a slat that has cupped enough to pull its screws out is done. Pull the screws, cut a replacement from the next pallet, and screw it back in. One board, not the whole build.
The tools for the season check live wherever you store them off-season — if that is a garage cabinet or a balcony box, keep the driver bit, the spare screws, and the stain can together so the check actually happens.
Cost: $0–$10 for a touch-up coat of stain. Time: 30 minutes per build. Caveat: the season check is cheaper than rebuilding the whole thing after the second winter.
What we would skip
- A pallet sofa for the patio. The cushions mildew, the back slats crack under body weight, and the whole thing is too heavy to move for the season check. A bench is one pallet; a sofa is a project that eats three.
- Staining only the top face. The bottom and the ends take the most water. A top-only stain makes the piece look done for a week, then the bottom rots.
- Drywall screws because they are in the junk drawer. They rust, they snap, and their heads pull through pallet stock. Spend six dollars on deck screws.
- A pallet directly on grass for “just one summer.” One summer is enough to rot the bottom stringer. Set it on paver blocks.
- Growing food in an unmarked pallet. The liner keeps soil off the wood, but it does not undo whatever the pallet carried. Use HT only for edibles.
Cost: $0 to skip. Time: two minutes of reading that saves a season of rotted wood.
What the three builds cost, side by side
These are honest US ranges. The low end assumes a free pallet, borrowed tools, and screws left over from another project. The high end assumes you buy the pallet, the screws, the stain, and the feet.
| Build | Pallet | Fasteners | Stain + feet | Total |
|---|---|---|---|---|
| Potting station table | $0–$15 | $6–$10 | $14–$25 | $20–$50 |
| Privacy screen panel | $0–$15 | $6–$9 | $14–$23 | $20–$47 |
| Firewood rack | $0–$15 | $5–$8 | $8–$16 | $13–$39 |
One thing blows this budget, and it is not the wood. A can of exterior stain runs $10–$15 and covers all three builds if you are careful — but a second can for a second coat, or a different color for each build, doubles the finish cost. Buy one can, one color, and stain everything the same weekend so the first coat is dry before the second.
Cost: $13–$50 for one build. Time: one weekend for any one of the three. Caveat: the totals assume one build, not all three.
Before you haul the pallet: copy this
- Stamp read — HT on the rail, no MB, no missing mark
- No fuel stains, no chemical smell, no oil patches
- Pallet offered, not just found — asked first
- Galvanized deck screws, 2 inch and 3 inch, in the box
- Pilot bit, 1/8 inch, on the drill
- Exterior stain or outdoor oil — the can says exterior
- Four paver blocks or scrap feet for every leg
- Landscape fabric on the list if the planter grows food
- One build chosen — station table, screen, or rack
- Cut list on a card, longest pieces first, every mark squared
Cost: $0 to check. Time: 10 minutes before the haul. Caveat: the checklist is faster than a second trip to the home center.
Questions before you build
Can I use any pallet for outdoor projects?
Only a pallet you can trace. HT means heat-treated and is the one to take. MB means methyl bromide, a chemical fumigation — leave it. An unmarked pallet is outdoor-only: a planter or a yard bench, never anything that touches food. Stains that smell like fuel or a lingering chemical odor disqualify a pallet whatever the stamp says. The stamp guide covers the full rule.
Why does the bottom board rot first?
Ground wicking. Wood touching soil pulls moisture up through the end grain, and the bottom board rots from the inside out. Lifting the leg one inch onto a paver block or a scrap of plastic lumber stops the wicking, because air under the end grain does not feed water into the wood the way damp soil does.
What screws should I use for outdoor pallet builds?
Galvanized or coated deck screws, 2 inch and 3 inch. The box must say exterior or deck. Drywall screws rust through in a season, their thin shanks pull through pallet stock, and their heads cam out. Pre-drill every end-grain joint with a 1/8 inch pilot bit so the dry, dense pallet stock does not split.
Do I need to stain outdoor pallet wood?
Yes, if it stays outside. UV breaks down the surface and the boards gray, check, and cup. Apply an exterior stain or outdoor oil to every face and every cut end — two thin coats, the first dry before the second. Once cured, splash water on it: beads mean protected, a dark soaking patch means another coat. An unfinished piece is a one-season object outside.
Can I grow vegetables in a pallet planter?
Only in an HT pallet you can trace to a clean source, and only with a liner. Line the planter with landscape fabric — not solid plastic — so water drains and the soil breathes against the wood. An unmarked pallet is outdoor-only, not food-safe. If you cannot confirm what the pallet carried, build the firewood rack instead.
Save these on Pinterest
Pin the three failure modes and the elevation rule — those are the two things worth finding again at the pallet pile. More plan-led builds, with cut lists and honest costs, sit in the DIY Home Projects collection.