 Plant As Deco
DIY Home Projects
Thrift Flip Clothes: Fit-First Garment Flips Under $10
By Plant As Deco · Updated 17 November 2026
A thrift-store clothing rack is the cheapest fabric store in town: every hanger holds two to eight dollars of pre-cut, pre-sewn material, and most of it is better sewn than anything you could buy by the yard. The flip fails for one reason — the garment was chosen because it was cheap, when the price was never the hard part. The hard part is the fit, the fabric and the seams, and all three get judged in the store, in about four minutes, before anything comes home. This page covers that judgment, the no-sew and hand-sew fixes that carry most garments, and the per-garment flips: the button-up, the tee, jeans and the zip hoodie, plus the cropped and wrap shapes plain tops turn into.
One boundary before the first rack: this page is about clothes. The thrifted jars, trays, picture frames and furniture that make up the other half of the hobby live in the thrift flip home decor guide, and the two barely overlap — a dresser gets refinished there, while what hangs in it gets flipped here.
Weekend-ready: $2–$8 per garment, plus about $15 in supplies that last for every flip after the first. One afternoon per garment. A sewing machine is optional — every fix on this page works with scissors, an iron and a needle.
1. Pick the garment in the store, not the plan
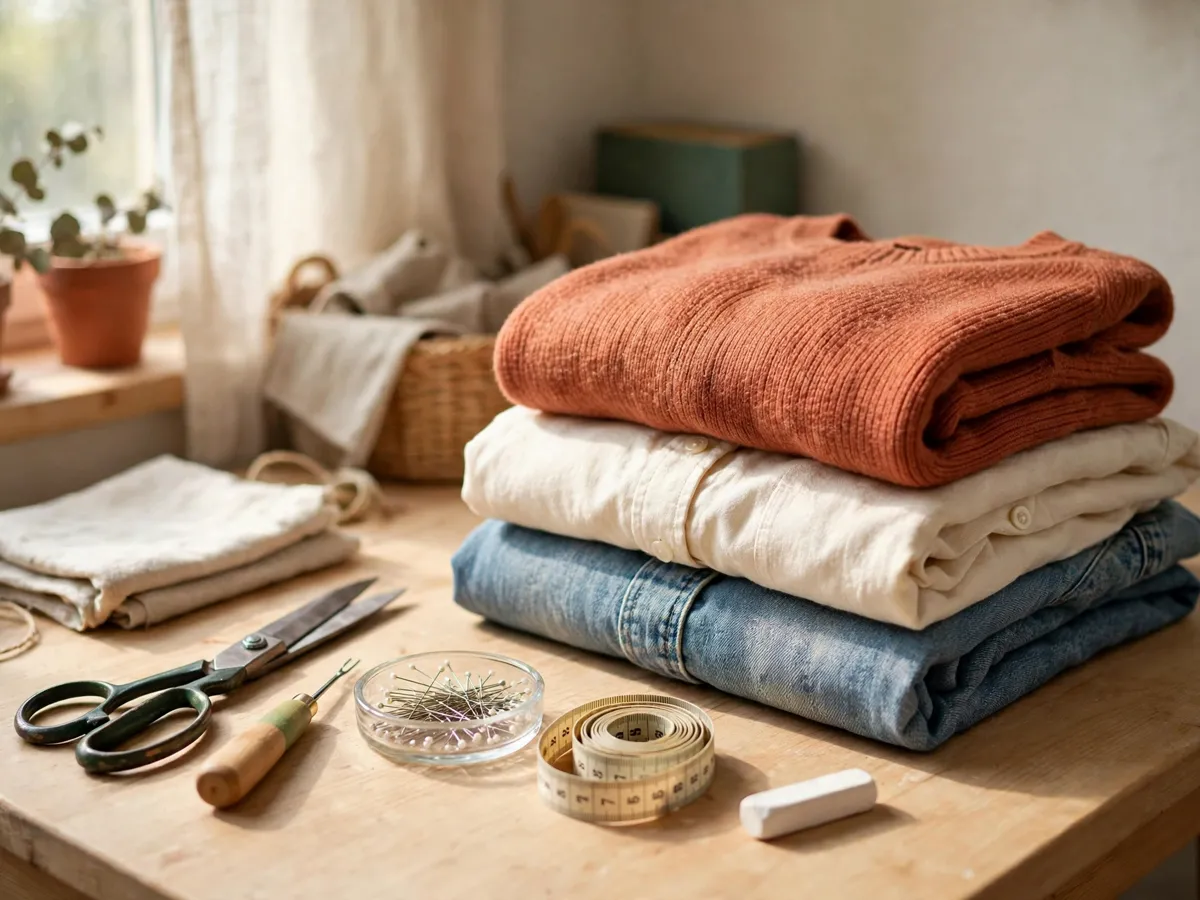
Every flip on this page starts with four minutes of judging in the aisle, and the judgment runs in one order: fit first, fabric second, seams third, price last. Reversing that order is how a $3 shirt becomes a $3 lesson.
Fit: the shoulders decide. Put the garment on over what you are wearing, or hold it against your body at the shoulder seam. The shoulder seam should sit at the edge of your shoulder bone. Everything else on a garment can be changed cheaply — a body can be taken in, a hem can be raised, a sleeve can be shortened — but a wrong shoulder sits in a seam you would have to unpick and rebuild, which is a whole garment rebuild, not a flip. Shoulders right, everything else is negotiable. Too long, too wide, too boxy: all of that is the project.
Fabric: read the tag before you love the print. The content tag tells you how the fabric will behave under scissors. Cotton and cotton blends press crisply, take a hem cleanly, and fray in a controlled way — the easiest fabrics to alter. Wool and wool blends are forgiving and hold a shape well. Jersey and other knits do not fray, which makes a raw-cut edge a legitimate finish rather than a shortcut. The slippery family — satin, silk, lightweight rayon — slides while you cut, refuses to hold a crease, and punishes a first attempt; leave the whole family for a later project.
Seams: turn it inside out. This is the thirty seconds most shoppers skip, and it is where the real quality check lives. Look for straight, even seam lines with no puckering. Look at the hem: a deep hem of an inch or more is free fabric you can let down later, and a narrow, cleanly finished hem is a clean line to work above. Zip the zipper twice. Count the buttons. Check the collar for a shape it has already lost, and the underarms and hem for stains and pilling that will not wash out. Stretch-out cuffs, a wavy hem and a bagged-out knee are the signs that the garment was worn out before it was donated.
Price: the last check, not the first. Most thrift-store tops land between $2 and $8, jeans between $5 and $8, and hoodies between $4 and $8. At those prices the rule is simple: if the shoulders fit, the fabric behaves and the seams are straight, buy it even if you have no plan yet — but buy one garment with a plan before you buy five garments with vibes. The first flip should finish in an afternoon, and a queue of ten uncut shirts is how the afternoon disappears.
Cost: $2–$8 per garment. Time: four minutes of checking per piece, in the store. Caveat: the shoulder seam is the one measurement that cannot be fixed cheaply, so it is the one that decides.
2. Wash first, cut second
Every garment gets washed and fully dried before any scissors come near it, and the reason is practical rather than polite. Cotton shrinks — often a noticeable amount on its first hot wash — and a hem set before that wash will sit crooked after it. Dyes can shift. Fabric that has been folded on a hanger for months holds creases that become crooked chalk lines if you mark before you press. The garment you fit and cut is the garment it stays, so the wash comes first and the fitting happens after.
The routine takes one laundry cycle. Read the care tag and wash at the warmest temperature the tag allows — cotton and cotton blends take a warm or hot wash, wool takes a cold one. Dry the garment fully rather than hanging it damp, for the same reason: the point is to get any shrinking over with before your marks exist. Then press the garment flat with an iron before you measure or mark anything, because a crease under a chalk line is a crooked hem waiting to happen. Check the garment once more after the wash — occasionally a stain that hid in the store shows itself clean, and occasionally a weak seam picks that moment to fail, which is far better news in a laundry basket than mid-project.
Cost: one laundry load you were running anyway. Time: one cycle plus an evening of drying. Caveat: a garment whose care tag says dry-clean only is a garment to leave on the rack — the upkeep outruns the flip.
3. No-sew fixes: hem tape, crop-and-fray, tucks and knots
Three routes change a garment with no needle at all, and between them they handle most of what a first flip needs. The tools are an iron, a pair of scissors, tailor's chalk and straight pins — about $5 in chalk and pins if the sewing drawer is empty.
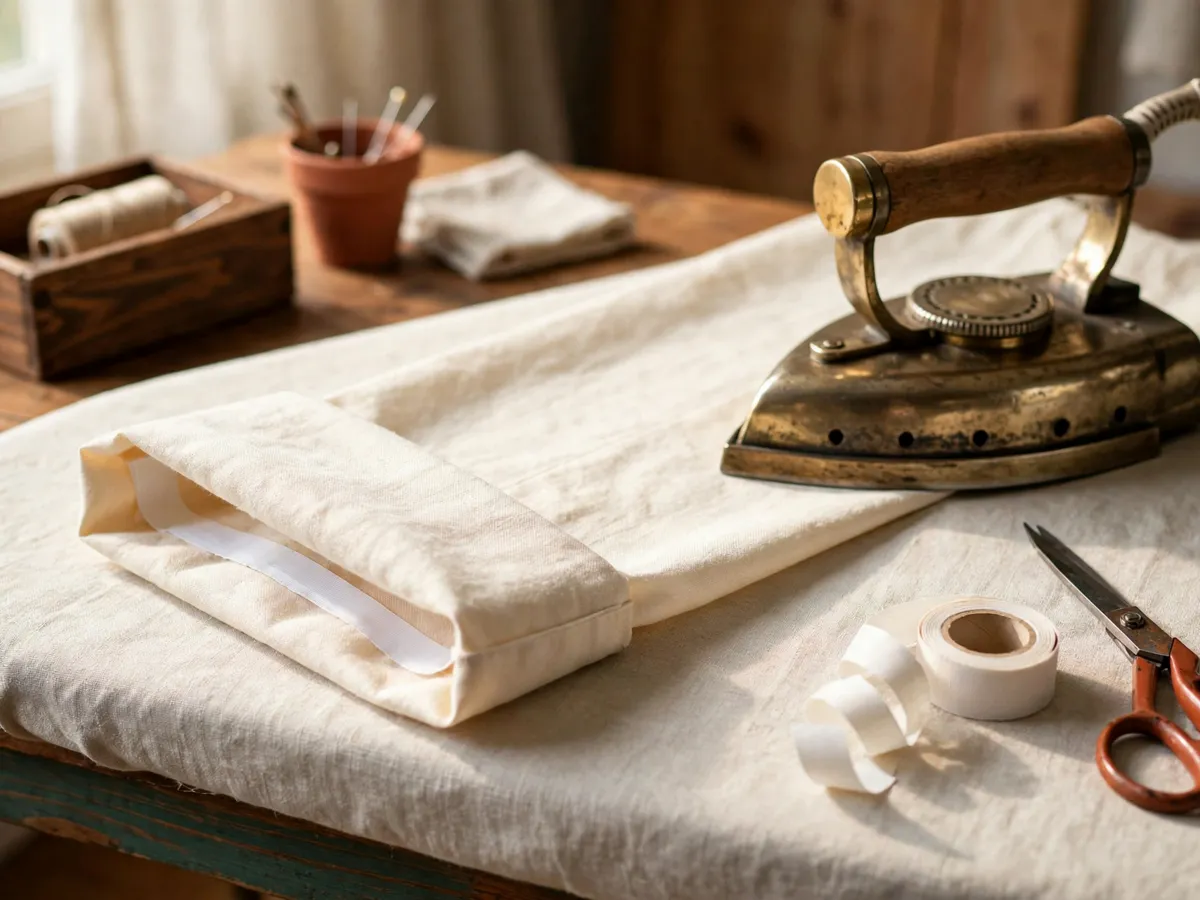
Hem tape, the iron-on route. Hem tape is a thin web of glue that melts between two layers of fabric and bonds them — a roll costs about $4 and lasts through many garments. It works best on woven fabrics: cotton shirts, linen blends, pajama pants, curtain-weight cottons. To shorten a hem with it, put the garment on, mark the new length with chalk, and add an inch and a half for the fold. Press that fold up with an iron so it holds a crease, tuck a strip of hem tape inside the fold, and press each section firmly for about ten seconds — the tape package names the exact time and heat for its own glue, so read it once. Work your way around the hem, let it cool, and the hem is done. The same method shortens sleeves, curtain panels and table runners, which is why the roll earns its place on the shelf.
Crop-and-fray, the scissors route. Jersey — the knit most T-shirts are made from — does not fray, which means a cut edge is a finished edge. Put the shirt on, mark the length with chalk while a friend checks the line is level, or fold the shirt in half after marking one side to mirror the line across. Cut once, slowly, below your mark by nothing — the mark is the hem. The cut edge curls up on itself within a wash or two and reads as a finished raw hem, which is the look most cropped tees in stores are charging for. Cotton wovens behave differently: they will fray a row or two of threads and then settle, so a raw edge is still fine on an old shirt, but hem tape is the tidier choice when the garment is a keeper.
Tucks and knots, the zero-cut route. Before any scissors touch a garment, wear it the way the flip will: the front tuck — a loose fold of the shirt hem tucked at the waistband — changes the whole proportion of an oversized tee. A knot tied at the waist turns a boxy tee into a cropped one for an evening. A button-up worn open over a tank, sleeves pushed up, is already half a styling job. These cost nothing and undo in seconds, which makes them the cheapest way to test whether a garment deserves a permanent version of the same move. If the front tuck earns its keep for a month, the crop is worth cutting.
The same no-sew logic runs the no-sew pillow cover on this site — a fold and a finish instead of a seam — so a first garment flip and a first fabric project can share a toolbox.
Cost: $4 for hem tape, $5 for chalk and pins, once. Time: 20–30 minutes for a taped hem, 5 minutes for a crop. Caveat: measure twice on a crop — the fabric you cut off is not going back on.
4. Hand-sew fixes: hems, tapers and taking a tee in
A needle adds two things the iron cannot do: a seam that survives the washing machine, and the ability to take a garment in rather than just shorten it. The kit is small — hand-sewing needles around $2, all-purpose thread around $3, a seam ripper around $4 — and the skills come from the same progression the fabric crafts guide lays out for beginners: one stitch at a time, on fabric that forgives. Every fix below stands on its own, so there is no need to work through that ladder first.
A hand-sewn hem. Press the new fold exactly as the hem-tape method describes, then sew it with a slip stitch: knot the thread, pick up a single thread of the garment just inside the fold, slide the needle inside the folded hem for a quarter inch, and come out to repeat. The stitches hide inside the fold and the finished hem reads as machine-made from a foot away. A slip-stitched hem survives washing and stretching, which is why it is worth the twenty minutes over the tape on a garment you wear weekly.
Taking in a shirt, the template method. Turn the garment inside out and find a shirt you already own that fits the way you want this one to fit. Lay the well-fitting shirt on top of the inside-out one, match the shoulder seams, and trace around its side seams with chalk, from the armpit to the hem. Pin along the chalk lines, try the garment on carefully — pins point outward through the fabric, away from your body — and adjust the line before any sewing. Sew a straight seam just inside the chalk line, from armpit to hem, on both sides. Try it on right-side out. If the fit is right, trim the excess fabric to a half inch from the seam so it does not bunch. The same method takes in a tee at the waist, narrows a boxy dress, or slim a billowy button-up — it is one technique with many victims.
When the seam is wrong, unpick it. The seam ripper is the honest tool of the whole hobby: slide it under a few stitches, cut, and pull the thread out in a ribbon. Taking out a bad seam takes five minutes and saves the garment; sewing over a bad seam ruins it. Any time a line comes out crooked, rip it and go again — thread is the cheapest material on the table.
Cost: $9 for needles, thread and a seam ripper, once. Time: 20 minutes for a slip-stitched hem, 45–60 minutes for a first take-in. Caveat: sew the seam before cutting anything — a seam can be picked out, a cut cannot.
5. The button-up and the tee: five flips from two shapes
Two garments fill most of a thrift-store rack — the men's button-up at $3–$6 and the plain tee at $2–$5 — and between them they cover every technique on this page. Each flip below stands alone with its own steps.
Button-up to cropped shirt. The button placket is the spine of the garment, and the flip keeps it intact. Button the shirt, lay it flat, and mark a straight line across at your chosen length — usually just below the waistband for a crop that tucks cleanly. Cut along the line through both layers, hem tape the new raw edge, and the shirt is a cropped button-up that layers over a tank. Because the placket runs the full length, the hem sits straight without any fitting at all.
Button-up to vest. Turn the shirt inside out and cut both sleeves off along the armhole seam line, a quarter inch outside the seam so the armhole keeps a clean edge. Press the armhole edge under a quarter inch and secure it with hem tape or a quick running stitch. The vest layers over everything and took fifteen minutes.
Oversized button-up, kept oversized. The intentional route: leave the body alone, roll or crop the sleeves, and let the shirt do its one job as a light layer. Not every oversized garment is a project — some are already the finished piece, and recognizing that is also a thrift skill.
Plain tee to tank. Lay the tee flat and cut both sleeves off just inside the armhole seams, then cut the collar band off a quarter inch below the seam for a wider, softer neckline. The armholes can be left raw on jersey — they curl and settle like any other cut edge — or trimmed with a fold and a running stitch if the wearer prefers a tidier line. Ten minutes, and a $3 tee becomes the summer tank that fits better than the $20 one.
Plain tee, taken in. The template method from the last section, applied: a boxy XL tee taken in at the sides becomes the fitted tee that thrift racks never seem to stock in the right size. This is also the flip to practice sewing on, because a tee costs $3 and the worst case is a pajama shirt.
Cost: $2–$6 per garment. Time: 10–15 minutes for the tank, 20–30 for the cropped shirt, about an hour for a first take-in. Caveat: practice the first cut on the tee, not the shirt you love.
6. Jeans and the zip hoodie: the two heavy flips
Denim and fleece are the fabrics that make a thrift flip feel like real tailoring, and both forgive a beginner in ways that silk never will. Jeans run $5–$8 and hoodies $4–$8 at most thrift stores, which makes them the cheapest possible fabric for learning on.
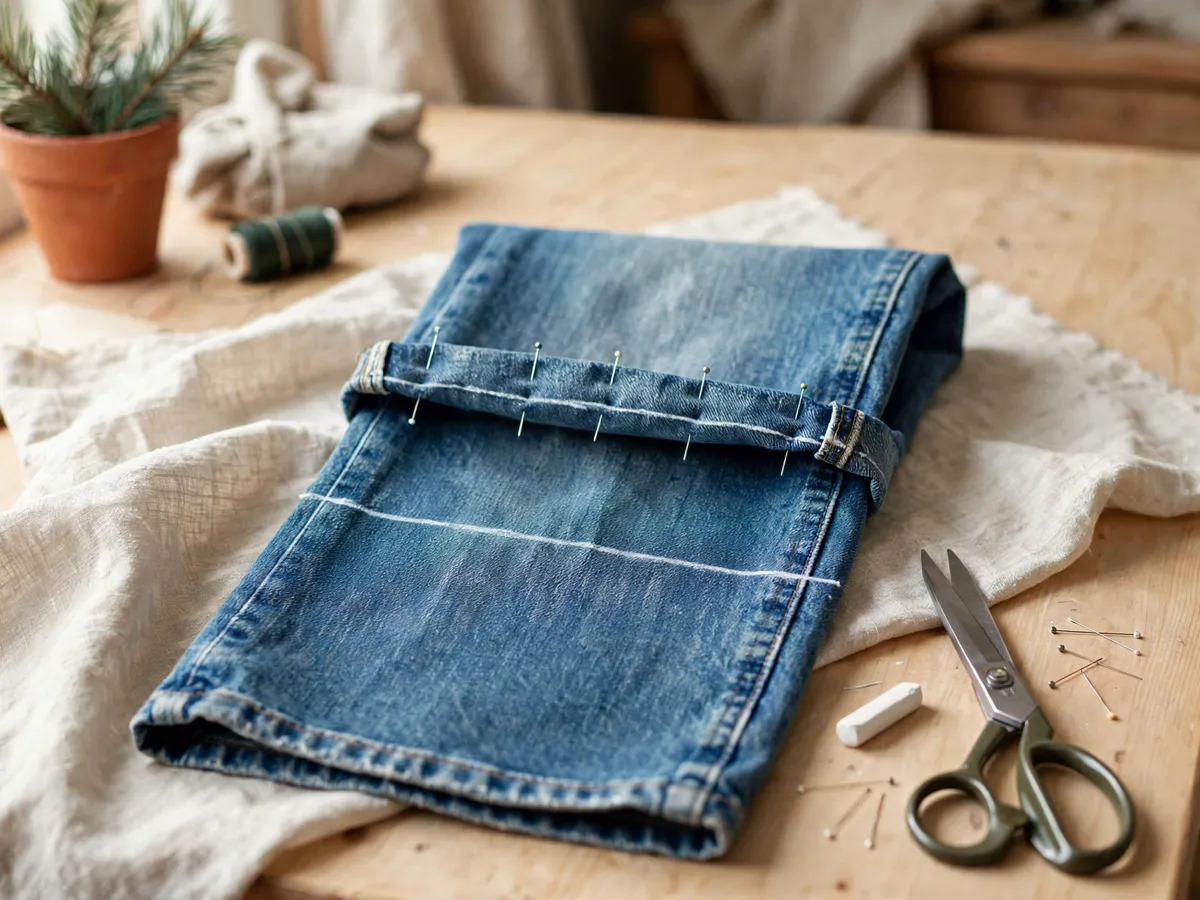
Shortening jeans, keeping the original hem. The original hem on jeans is worth keeping — it has the factory fade and the right weight, and a new hand-sewn hem on denim can look homemade in a way the rest of the garment never hides. The work-around: put the jeans on and fold the leg up to the exact length you want, marking the fold line with chalk. Take them off, and sew a line of tight stitching just above the original hem — a sturdy backstitch by hand, or a machine straight stitch if one is on hand. Then fold the excess up inside the leg, above your new stitching, and trim the extra fabric behind the fold so it does not bunch at the knee. The original hem sits at the ankle where it belongs, and the alteration hides inside the leg.
Tapering a jean leg. Baggy knees are the reason most thrifted jeans get left on the rack, and the fix is the template method again: turn the jeans inside out, lay a pair whose leg shape you like on top, match the inseams, and trace the new seam line with chalk from the knee to the hem. Pin, try them on inside out, sew along the line, then try them on right-side out before trimming anything. Denim is thick, so sew slowly and go over the seam twice by hand for strength — the crotch corner is where the stress lands, so stop the new seam an inch below it rather than restitching through the original heavy seam.
The zip hoodie to cropped hoodie. Fleece and sweatshirt fleece do not fray, which makes the hoodie the most forgiving crop on this page. Put it on, mark the length with chalk — waist height for the classic crop, just below for a boxier cut — and check that the mark sits below the zipper's bottom stop and any pocket stitching. Cut straight across through both layers. The raw edge is a legitimate finish on fleece; for a tidier line, fold the edge up half an inch and secure it with a line of hand-stitching or a strip of hem tape pressed gently, since fleece prefers a lower iron. Shorten the sleeves the same way if the cuffs sit past the wrist.
Cost: $4–$8 per garment. Time: about an hour for the jeans hem, 30 minutes for the hoodie crop. Caveat: denim eats cheap needles — use a fresh one and sew slowly.
7. Plain tops into the shapes everyone is searching for
A shelf of plain $3 tops is a shelf of raw material for the fitted, cropped and wrapped shapes that dominate the resale racks at ten times the price. Four shapes cover most of the demand, and every one of them uses a technique already covered above.
The baby tee. A boxy tee taken in at the sides with the template method, sleeves trimmed to a short cap, hem cropped to sit at the waistband. Do the three in that order — sides, sleeves, hem — and try the shirt on after each one, because each change shifts where the next line should sit. The result is the fitted little tee that thrift racks almost never carry in small sizes, from a $3 XL that nobody wanted.
The wrap top. Start with an oversized button-up or a wide tee. Cut straight up the center front from the hem to the point where you want the wrap to cross — ribcage height is the usual stop. Cut two ties from the strip you removed, or from the hem allowance, and stitch one to each cut edge at the waist level. The top wraps across the body and ties at the side or back. On a woven shirt, hem tape the two cut edges first so they hold a pressed line; on a tee, the raw edges curl and behave.
The square-neck tank. Lay a tank flat, mark a straight horizontal line across the chest between the strap seams, and cut along it in one slow pass. The neckline reads as a square neck immediately, and on jersey the edge curls into a soft finished line. Cut conservatively — a first pass that lands an inch lower than intended cannot be undone, and the difference between a square neck and a too-low neckline is about one finger's width of chalk.
The off-shoulder top. Cut the entire collar band off a wide-neck tee, straight across, just below the seam. The wide, soft neckline sits off one shoulder or both, and the raw edge settles into the same rolled finish as every other cut on this page. This is the five-minute version of the whole category, and a good first flip for a nervous beginner because there is almost no way to get it wrong.
Cost: $2–$6 per top. Time: 5 minutes for the off-shoulder, about an hour for a first baby tee. Caveat: cut necklines shallow — chalk again and cut more is always available; the reverse is not.
What the flips cost, side by side
These are honest US thrift-store ranges. The first flip carries the supplies — about $15 all in for hem tape, chalk, pins, needles, thread and a seam ripper — and every flip after that costs the garment alone. The table assumes supplies are already on the shelf after the first project.
| Flip | Garment | Supplies used | First-time total | After supplies |
|---|---|---|---|---|
| Crop-and-fray tee | $2–$5 | Chalk, pins — $5 | $7–$10 | $2–$5 |
| Hem-tape hem | $2–$8 | Hem tape $4, chalk and pins $5 | $11–$17 | $2–$8 |
| Take in a tee | $2–$5 | Needle, thread, chalk, pins — $9 | $11–$14 | $2–$5 |
| Button-up crop or vest | $3–$6 | Hem tape $4, seam ripper $4 | $11–$14 | $3–$6 |
| Jeans hem, original hem kept | $5–$8 | Needle, thread, chalk, pins — $9 | $14–$17 | $5–$8 |
| Hoodie crop | $4–$8 | Chalk, pins — $5 | $9–$13 | $4–$8 |
The pattern in the table is the whole argument for the hobby: after one $15 supply run, every flip costs the price of lunch, and the expensive mistakes are the ones made in the store, on garments the shoulders were never going to forgive.
Cost: $15 in supplies, once, then $2–$8 per flip. Time: one afternoon per garment. Caveat: the totals assume one garment per flip, not a haul.
What we would skip
- Sequined, beaded and heavily embellished pieces. Every alteration has to work around the embellishment, and the embellishment is usually why the garment was donated.
- Silk, satin and slippery rayon, for now. They slide while cutting, refuse creases and punish beginners. They will still be on the rack next season, at the same price.
- Garments with worn-out collars, cuffs or knees. A flip fixes fit and length; it does not un-wear the parts that were worn out.
- Cutting the neckline deep on the first pass. Necklines are the one cut with no forgiveness. Shallow first, chalk again, cut more if needed.
- The ten-shirt haul before the first finished flip. One garment, finished and worn, teaches more than a closet of good intentions.
- Dry-clean-only tags. The upkeep on a $6 blouse outruns the blouse. Leave it for someone with the budget for the cleaning.
Cost: $0 to skip. Time: the four minutes of checking that keeps each of these on the rack.
Weekend checklist: copy this before you start
- Shoulder seams checked on the body, in the store
- Fabric content read on the tag before buying
- Seams, hem, zipper and buttons checked inside out
- Garment washed, fully dried and pressed flat
- Chalk, pins and scissors on the table before marking
- Length marked on the body, checked in a mirror
- Seams sewn before any fabric is cut away
- One garment finished and worn before the next one starts
Cost: $0 to check. Time: two minutes at the table, and it saves the cut that cannot be undone.
Questions thrift-flippers ask
What clothes are the best thrift flips for a beginner?
Cotton T-shirts and old button-ups. They cost $2–$6, the fabric behaves under scissors and an iron, and a mistake costs one lunch instead of a weekend. A boxy tee and a men's button-up cover every technique on this page — cropping, hemming, taking in — which makes them the practice pair before jeans or anything tailored.
Can I hem pants without sewing?
Yes, with iron-on hem tape. Mark the new length, press the fold, tuck the tape inside the fold and press each section for about ten seconds. It holds through normal washing on cotton and poly-blend fabrics. For jeans, hem tape works but a stitched line above the original hem wears better, because denim is heavy and puts more strain on a glued bond than a trouser ever will.
How much should I cut off when I crop a tee?
Put the shirt on and mark the length while wearing it — most crops land between the natural waist and two inches below it. Mark, then cut on the mark with nothing added, because jersey curls upward after washing and eats about a quarter inch on its own. When in doubt, cut long: a second trim takes two minutes, and the first cut is the one that cannot come back.
Do I need a sewing machine for garment flips?
No. Hem tape, a pair of scissors and a needle with thread cover every technique on this page, and a hand-sewn seam is stronger than it looks. A machine earns its place later, when you are sewing every week and the time savings matter — the tote bag sewing guide is the natural first machine project when that day comes, not a garment you love.
How should I wash secondhand clothes before changing them?
Read the care tag and wash at the warmest temperature it allows, then dry the garment fully before you measure or mark anything. Cotton shrinks on its first hot wash, so the fit you check after the wash is the fit that lasts. Press the garment flat before marking, since a crease under a chalk line becomes a crooked hem. Skip anything tagged dry-clean only — the upkeep outruns a $6 find.
Save these on Pinterest
Pin the shoulder-seam rule — it is the four-minute check that keeps every later hour from being wasted on a garment that was never going to fit. The fabric-by-the-yard version of this hobby, with the beginner skill ladder, lives in the fabric crafts guide, and the thrifted furniture half of the weekend is in the home decor thrift flip guide. Once the flipped pieces pile up, the small closet organization guide and the small bedroom dresser ideas are where they live. More weekend builds sit in the DIY Home Projects collection.