 Plant As Deco
DIY Home Projects
Floating Shelf Placement Ideas: Where to Put One in Every Room
By Plant As Deco · Updated 17 November 2026
A floating shelf fails for two reasons: the bracket misses the stud, or the shelf sits in a spot the room never agreed to. The first problem belongs to the build, and the floating shelf cut list covers it — stud finding, bracket types, board sizing and honest load limits. This page covers the second problem: where the shelf goes. Every room has a clearance rule, a depth that fits what lives on the shelf, and a list of things that should not sit there. Get the placement right and the build stays simple; get it wrong and the shelf comes down within a season, not because the bracket failed but because the door kept hitting it.
The page walks through nine rooms and spots, one at a time. Each location gets the same four answers: the clearance rule, the depth that fits, what to keep off the shelf, and where to read more about that wall. Before the room-by-room walkthrough, two sections cover the rules every location shares — the depth you choose based on what the shelf holds, and the three clearances you measure before drilling a single hole.
Weekend-ready: $12–$30 for a pine board, $6–$8 for a bracket set, one afternoon of measuring and marking. The build page carries the full tool list and cut list.
1. Depth by what lives on the shelf
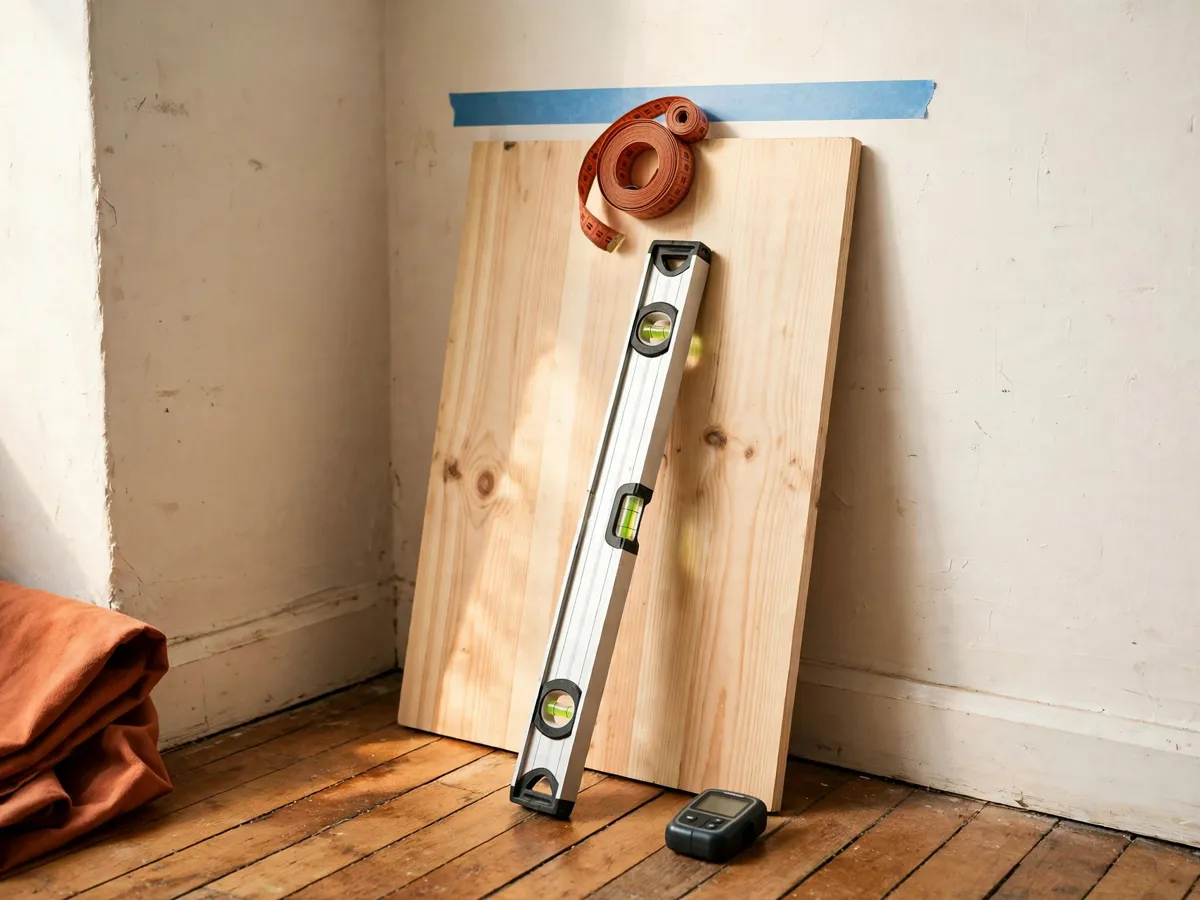
Depth is the first decision, and it comes before height or location. A shelf that is too shallow for what you put on it is a shelf things fall off; a shelf that is too deep for its spot eats the walkway or blocks a door. Four depth bands cover almost every floating shelf in a home, and the band you pick should match the heaviest single object the shelf will carry — not the average item, the one that decides whether the board stays on the wall.
| Board depth | What fits | Best rooms |
|---|---|---|
| 6 inches | Small frames, a clock, collectibles, spice jars, a single rolled towel | Above a bed, over a toilet, entryway drop zone, display shelf |
| 8 inches | Paperbacks, a small plant in a 4-inch pot, a soundbar, folded hand towels | Above a couch, beside the bed, over a counter, plant shelf |
| 10 inches | Hardcover books, a medium plant, a cable box, a row of mugs | Under a TV, over a counter, corner shelf, reading nook |
| 12 inches | Laundry detergent bins, dryer balls, folded towel stacks, storage baskets | Over a washer and dryer, utility corner, garage wall |
The build page treats 8 to 10 inches as the sweet spot for a beginner shelf, because that depth carries a paperback row and a small plant without fighting the bracket. Shrink to 6 inches when the shelf is display-only — a frame, a figure, a clock. Step up to 12 inches only when the shelf replaces a storage surface, and remember that a deeper board is a longer lever on the bracket. The cut list guide covers the board-to-bracket relationship and the honest numbers on what each depth holds.
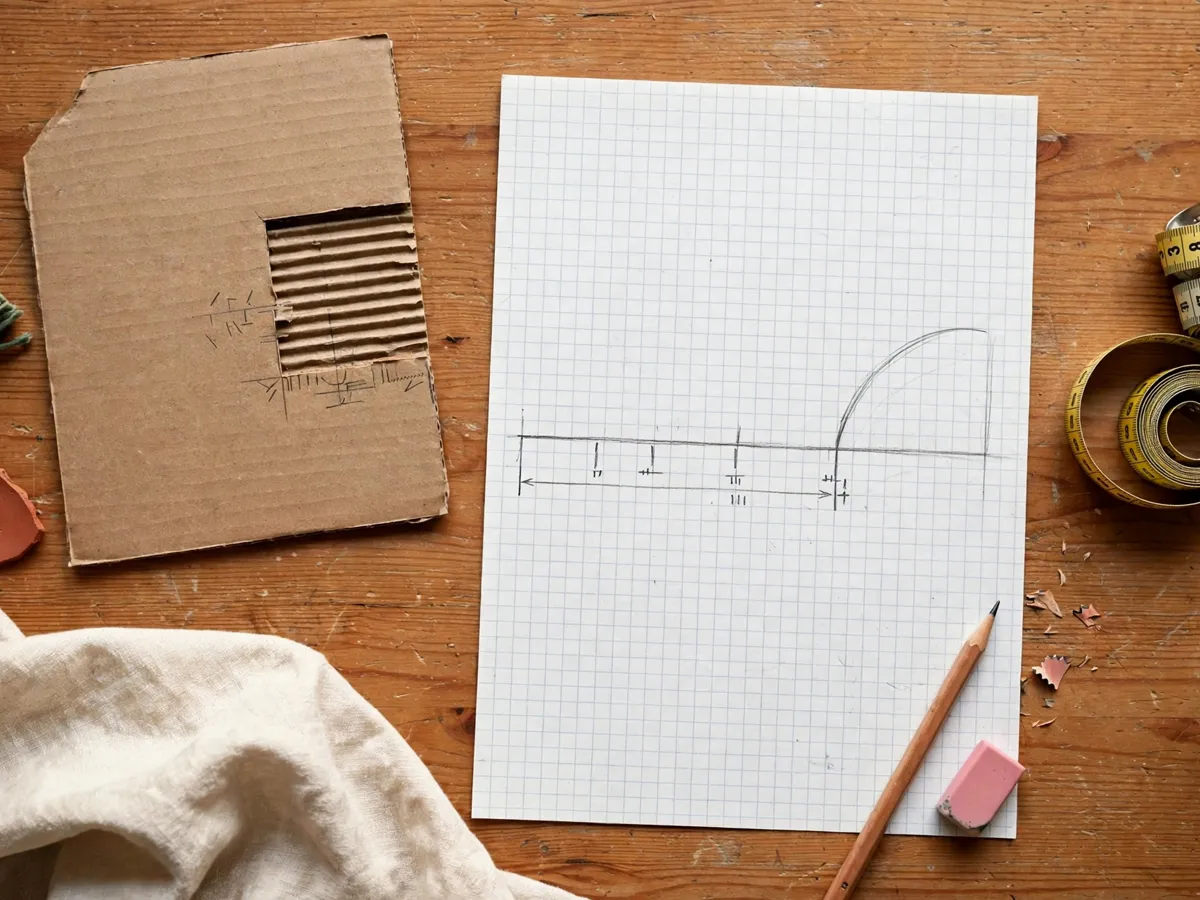
Cost: $12–$30 for a pine board at any of these depths. Time: the depth decision takes ten minutes with a tape measure and the objects you plan to display.
2. Three clearances every location shares
Before the walkthrough, three clearance rules apply to every shelf in every room. Measure these once and the room-by-room decisions below become simple.
Door swing. Open the door in the room fully and hold a tape measure at the handle end. The door sweeps an arc, and any shelf inside that arc gets struck every time the door opens. Measure the distance from the hinge to the handle — that is the swing radius. Keep the shelf outside that radius, or move it to the hinge side of the wall, where the arc narrows and the door never reaches. A shelf on the latch side at handle height is the most common placement mistake in a small room.
Head height. A shelf at forehead height in a walkway is a hazard, and a shelf at shoulder height beside a bed or couch catches an arm every time someone stands. In a walkway, keep the bottom edge of the shelf at least 72 inches off the floor — above most adults’ heads. Beside a bed or couch, keep the shelf 6 to 8 inches above the back of the furniture so it works as a surface rather than a corner at eye level. For a display shelf you look at while seated, 48 inches off the floor puts the objects at a comfortable viewing height.
Cabinet and window arcs. Upper cabinet doors, crank-out windows and shower doors all swing into the wall a shelf might share. Open every door and window on that wall to its full reach and measure the arc. A shelf that overlaps a cabinet door blocks both the door and the shelf. Pull the shelf outside every arc, or shorten it so it sits between two openings.
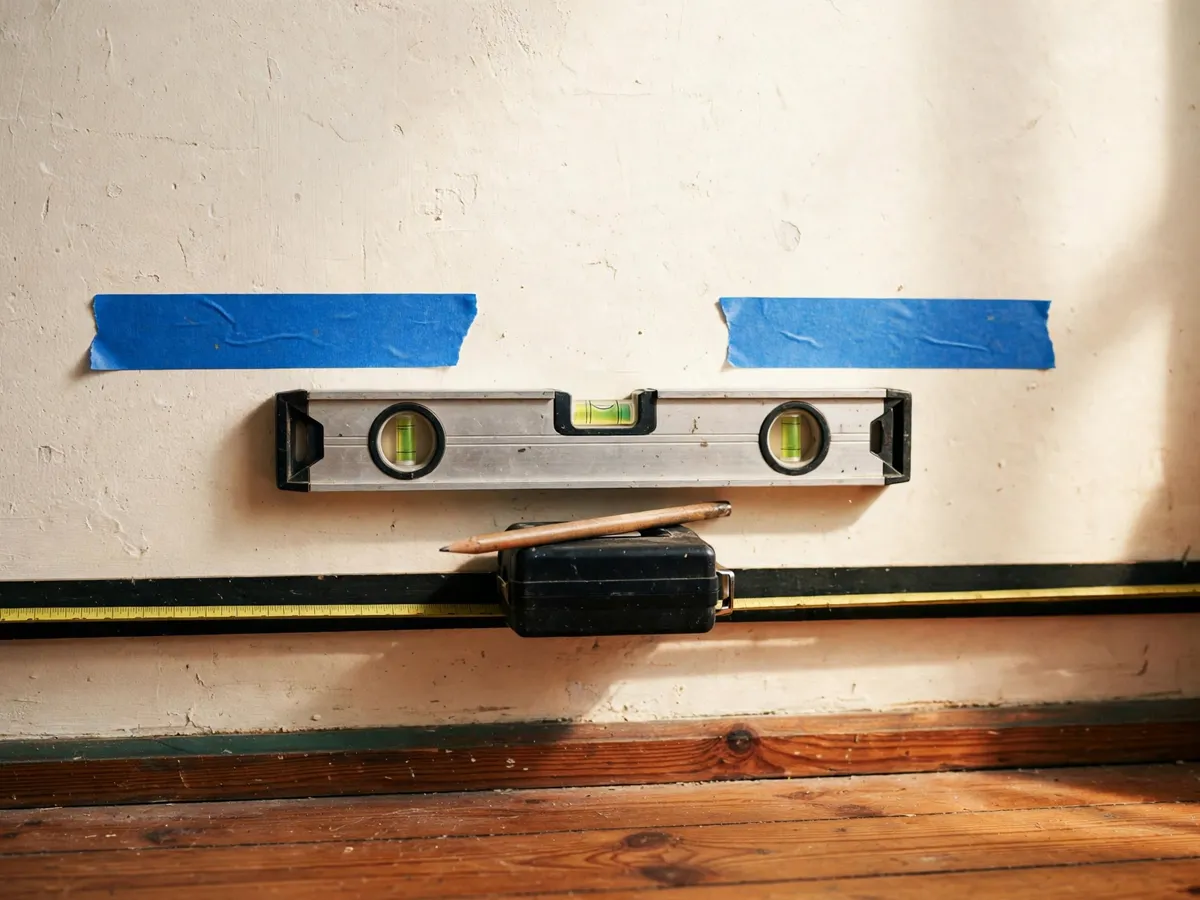
Cost: $3–$6 for a 24-inch level, $2 for a stud-finder phone app if you do not own a dedicated finder. Time: about 20 minutes to measure all three clearances for one wall.
3. Living room: under the TV, above the couch, over the fireplace
The living room wall carries three of the most-searched shelf spots, and each one answers to a different clearance rule.
Under the TV. A shelf 4 to 6 inches below the bottom edge of a wall-mounted television holds a soundbar, a cable box or a small speaker, and keeps the cables off the floor. Use a 10-inch depth for a cable box or soundbar — shallower and the unit overhangs the front edge. Mount the shelf so the bracket lands in the same studs the TV mount uses, because a TV wall usually has framing you can trust. Keep the shelf 4 to 6 inches clear of the TV bottom so the two read as separate objects, not a stack. Never put a television on a floating shelf — the build page covers why, and the TV wall ideas guide covers the full living-room screen layout.
Above the couch. The couch back is the natural shelf line, and the clearance rule is head height. Keep the bottom edge of the shelf 6 to 8 inches above the couch back — high enough that a seated adult clears it when they lean back, low enough that the shelf reads as part of the seating wall. Use a 6- or 8-inch depth for frames, a small plant and a paperback stack. Keep heavy items toward the wall, not the front edge: the build page covers what the bracket can carry, and a couch shelf is the spot where a heavy front-edge item gets bumped by a standing shoulder.
Over the fireplace. A shelf above a fireplace mantel depends entirely on heat. If the fireplace burns wood, keep the shelf at least 18 inches above the mantel surface and skip it if the mantel itself gets warm during use — heat rises along the wall and warps a pine board over a season. For an electric or gas insert that stays cool to the touch, a shelf 6 to 8 inches above the mantel works for lightweight display — a frame, a small figure, a dried arrangement. Use a 6-inch depth so the shelf does not extend past the mantel’s front edge. The fireplace ideas guide covers the full mantel and hearth layout, including the mantel-alternative shelf for a room with no fireplace at all.
Cost: $15–$30 per board, $6–$8 per bracket set. Time: 30 minutes of measuring per spot, plus the build time the cut list page covers.
4. Bedroom: above the bed, beside the bed, the vanity wall
A bedroom shelf does one of three jobs: it decorates the wall above the headboard, it replaces a nightstand in a room with no floor space, or it holds daily items at a vanity corner. Each one has a clearance rule the others do not share.
Above the bed. The wall above the headboard is the bedroom’s prime display surface, and a shelf here follows one rule: keep it 8 to 12 inches above the top of the headboard, and use a 6-inch depth. The depth matters because a deeper shelf above a sleeping surface extends further into the room than the headboard, and a pillow propped against it can push items off the back edge. Keep the shelf to lightweight items — a framed print leaning against the wall, a small dried arrangement, a reading light if the bracket is rated for it. Skip glass objects and anything that vibrates loose from a closing door. The wall decor above the bed guide covers the full headboard wall, including what stays on the wall at night and what comes down.
Beside the bed. A floating shelf at mattress height replaces a nightstand in a room where the floor is full. Set the shelf top level with the mattress surface — usually 24 to 28 inches off the floor — and use an 8-inch depth for a book, a phone and a glass of water. The clearance rule is the night path: the shelf should not extend past the bedside wall into the walkway to the door. A shelf that sticks out 10 inches in a room with an 18-inch night path catches a shin in the dark. Keep the lamp toward the wall, not the edge.
The vanity wall. A shelf at about 60 inches off the floor — standing eye height for most adults — holds daily items at a vanity or dresser corner. Use a 6- or 8-inch depth for jars, a small tray and a mirror if the mirror does not hang above it. Keep the shelf clear of the mirror’s width so the two do not compete for the same wall.
Cost: $12–$22 per board, $6–$8 per bracket set. Time: 20 minutes of measuring per spot. Caveat: a shelf above a bed holds lightweight display items, not books or electronics.
5. Kitchen: above the stove and over the counter
The kitchen has two shelf walls, and they could not be more different. One sits in a heat and grease zone, and the other sits above a work surface.
Above or behind the stove. The wall directly above a cooktop is the worst shelf spot in the kitchen. Heat rises along the wall, grease settles on every surface within about 24 inches of the burners, and a pine board absorbs both. If the range hood extends 18 inches or more past the wall, the area above the hood is clear — a shelf 6 to 8 inches above the hood housing can hold decorative items, not food. Use a 6-inch depth and keep spices, oils and anything that absorbs scent off the shelf entirely. A shelf behind the stove — on the side wall perpendicular to the cooktop — works only if it sits outside the burner heat cone, which means at least 18 inches to the side of the nearest burner. The kitchen storage guide covers where spices and oils actually belong in a small kitchen.
Over the counter. A shelf 18 to 20 inches above the counter gives clearance for a coffee maker, a stand mixer or a kettle below. Use an 8- or 10-inch depth for dishes, mugs or jars — the deeper board suits a row of mugs with handles, the shallower one suits a stack of saucers. The clearance rule is the cabinet arc: if an upper cabinet door opens into the shelf wall, measure the door swing and keep the shelf outside it. A shelf that blocks a cabinet door makes both useless.
Cost: $12–$22 per board, $6–$8 per bracket set. Time: 15 minutes of measuring. Caveat: nothing above a stove holds food — heat and grease ruin it within a week.
6. Bathroom: over the toilet and the vanity splash zone
A bathroom shelf lives in steam and splash, and the two walls that matter — above the toilet and beside the vanity — have different rules for both.
Over the toilet. The space between the tank lid and the ceiling is the most common bathroom shelf spot in a small apartment, because the wall is wide and the toilet sits below it without a door. Keep the shelf 16 to 20 inches above the tank lid — high enough to clear a lifted lid and a hand reaching for the flush handle. Use a 6- or 8-inch depth for folded towels, toilet paper rolls and a small plant. Skip the shelf if the toilet has a tankless flush panel that extends up the wall, because the panel housing is wider than a standard tank and leaves no flat wall for a bracket. The bathroom wall decor guide covers the full above-toilet wall, including which hangers survive steam and what the splash zone ruins.
The vanity splash zone. A shelf within 12 inches of the sink rim sits in the splash zone — water lands on it every time the tap runs or a hand shakes dry. Move the shelf to the wall opposite the sink, or raise it at least 18 inches above the rim so splash cannot reach it. Use a 6-inch depth for jars, a soap dispenser and a small cup. The area below the sink is a separate storage job entirely, and the under-sink storage guide covers the pipe-first plan for that cabinet.
Cost: $12–$22 per board, $6–$8 per bracket set. Time: 15 minutes of measuring. Caveat: steam curls a pine board that is not sealed on every face — the build page covers the finishing order.
7. Laundry room: over the washer and dryer
The wall above a washer and dryer is the most useful utility shelf spot in a home, and the most demanding one for a bracket. The machines vibrate during a spin cycle, and a shelf that shares the same wall transfers that vibration to everything on it — detergent bottles walk toward the edge, and a loose cap rattles off within three loads. The bracket needs to sit in studs, not drywall anchors, because the vibration works anchors loose over months.
Use a 12-inch depth for detergent bins, dryer balls and a folded towel stack — the shelf replaces the counter a laundry room usually lacks. Mount it at least 12 inches above the machine tops so a hand can reach the machine controls without hitting the shelf. If the machines are front-loaders, measure the door swing: a front-loader door opens to about 45 degrees and the top of the open door can reach 48 inches off the floor. Keep the shelf above that line, or move it to the side wall.
The laundry room organization guide covers the full utility-room plan, including the 12-inch shelf as one of its storage moves and the sort station that sits below it.
Cost: $20–$30 for a 12-inch board, $4–$8 for brackets (visible L-brackets suit a utility wall). Time: 20 minutes of measuring, plus the build time the cut list page covers.
8. Entryway: the drop-zone shelf and the coat rack rail
An entryway shelf does two jobs: it catches keys, mail and a phone on the way in, and it sits above a coat hook rail for hats and small bags. Both share one clearance rule — the front door swing.
The drop-zone shelf. Set the shelf at 48 to 54 inches off the floor — counter height, where a hand naturally drops a phone or a key ring without reaching up or bending down. Use a 6- or 8-inch depth for a small tray, a mail stack and a charging cable. The door swing is the critical clearance: the front door swings inward in most apartments, and a shelf on the latch side at handle height sits inside the door arc. Move the shelf to the hinge side, or keep it high enough that the door passes below it.
The coat rack shelf. A shelf above a coat hook rail holds hats, beanies and small bags that do not fit on a hook. Set the shelf 6 inches above the hook rail — usually around 72 inches off the floor — and use an 8-inch depth so a hat sits flat without overhanging. The hook rail and shelf should share the same stud pair, because a loaded coat hook rail pulls on the wall the same way a loaded shelf does. The entryway ideas guide covers the full three-foot drop-zone corner, including the hook line and shoe tray that pair with the shelf.
Cost: $12–$22 per board, $6–$8 per bracket set. Time: 15 minutes of measuring per spot. Caveat: keep the shelf outside the front door swing — a shelf the door hits every time comes down within a month.
9. Plant shelf, corner shelf and display collectibles
Three spots do not fit a single room: a shelf for plants, a corner shelf for dead wall, and a display shelf for collectibles. Each one answers to light and depth more than to clearance.
Shelf for plants. A plant shelf belongs where the window light already falls, because a shelf in a dark corner grows leggy plants that lean toward the window within a week. Use an 8- or 10-inch depth for a 6-inch nursery pot, and keep the shelf at least 12 inches below the window sill so the plants get light without blocking the view. A pot full of wet soil is one of the heaviest things a floating shelf carries — the build page covers what a shelf holds, and a plant shelf should sit on a rail bracket in two studs, not a single rod. The indoor plants decor guide covers which plants suit a bright shelf and which ones do not.
Wood corner shelf. A corner shelf uses the dead wall where two walls meet — usually in a reading nook, an entryway or beside a desk. Measure the depth from the corner outward: a 10- or 12-inch board gives enough surface for a small plant, a stack of books or a lamp. The clearance rule is the walkway: a corner that narrows a hall is a bad spot, because the shelf extends into the path at hip height. Keep corner shelves in corners that no one walks through, and pair one with the reading nook guide for a corner that reads finished in one afternoon.
Display collectibles. A shelf for small figures, collectibles or a row of miniature books works best at seated eye height — about 48 inches off the floor — so the collection reads as a display rather than storage. Use a 6-inch depth for standard collectible figures, which keeps the front edge close to the wall and reduces the chance of a bump. Keep the shelf away from a door swing, a cabinet arc or any wall that vibrates from a closing door. For a wall that already carries framed art, the gallery wall guide covers how to split the wall so the shelf and the frames do not share the same stud bay.
Cost: $15–$25 per board, $6–$8 per bracket set. Time: 20 minutes of measuring per spot. Caveat: a wet plant pot is heavy — check the load limits on the build page before choosing the bracket.
What we would skip
- Above a wood-burning stove with no hood. The heat rises along the wall and warps the board. A shelf here lasts one winter before it cups.
- Inside a door swing at handle height. The door hits the shelf every time it opens, and the repeated impact works the bracket loose. Move to the hinge side or raise it above head height.
- Within 12 inches of the sink rim. Splash lands on the shelf every time the tap runs. Move it to the opposite wall or raise it past 18 inches.
- Above a bed with glass or heavy items. A shelf above a sleeping surface holds lightweight display items only. Glass objects and books belong on a nightstand, not overhead.
- On drywall anchors above a washer and dryer. The vibration works anchors loose. Use studs or pick a different wall.
- A deep shelf in a narrow hall. A 12-inch board in a hallway that is 30 inches wide eats a third of the walkway. Shallow display depth only.
Cost: $0 to skip. Time: the ten minutes of measuring that keeps each of these off the wall.
Cost and depth at a glance
These are honest US hardware-store ranges for one shelf — one pine board, one bracket set, and the basic measuring tools if the toolbox is empty. The first shelf carries the tools; every shelf after that costs the board and brackets alone. The build page carries the full material list and the sanding and finishing costs.
| Location | Depth | Bracket type | Board + brackets |
|---|---|---|---|
| Under the TV | 10 in | Rail — spreads load across two studs | $20–$38 |
| Above the couch | 6–8 in | Rod — clean look, lighter load | $18–$30 |
| Above the bed | 6 in | Rod — lightweight display only | $18–$28 |
| Over the toilet | 6–8 in | Rod or rail | $18–$30 |
| Over the counter | 8–10 in | Rail | $18–$38 |
| Over washer and dryer | 12 in | Rail or visible L — utility | $24–$38 |
| Entryway drop zone | 6–8 in | Rod | $18–$30 |
| Plant shelf | 8–10 in | Rail — heavier load, two studs | $21–$38 |
Tools if the box is empty: a 24-inch level at $3–$6, a stud-finder phone app at $2, drywall anchors at $4 (for the spots where no stud lands). Board prices assume pine from a hardware-store rack, cut to length in the aisle.
Weekend checklist: copy this before you drill
- Depth chosen for the heaviest single item the shelf will carry
- Door swing measured — shelf sits outside the full arc
- Head height checked — at least 72 inches in a walkway, 6 to 8 inches above a couch or bed back
- Cabinet and window arcs measured — shelf clears every door that opens into the wall
- Stud pair confirmed for the bracket (see the build page)
- Splash, steam and heat zones marked — shelf moved outside each one
- Depth and height written on a piece of tape on the wall before drilling
- One wall, one job — no loaded shelf sharing a stud bay with a loaded gallery wall
Cost: $0 to check. Time: ten minutes at the wall, and it saves the hole that goes in the wrong place.
Questions about where to put a floating shelf
How far above a couch should a floating shelf be?
Six to eight inches above the couch back. That gap clears a seated adult who leans back, keeps the shelf low enough to read as part of the seating wall, and leaves room for a frame to lean against the wall behind the shelf. A shelf at head height above a couch catches a standing shoulder every time someone walks behind the furniture.
Can I put a floating shelf above the stove?
Only above the range hood, and only for display. The wall directly above a cooktop sits in a heat and grease zone that warps a pine board and coats everything within reach. If the hood extends 18 inches or more, a shelf 6 to 8 inches above the hood housing can hold decorative items. Keep spices, oils and anything food-safe well away from that wall.
How high should a floating shelf be above a toilet?
Sixteen to twenty inches above the tank lid. That clears a lifted lid and a hand reaching for the flush handle, and leaves enough room for folded towels or toilet paper rolls without crowding the tank. Skip the shelf if the toilet has a tankless flush panel that extends up the wall, because the housing leaves no flat surface for a bracket.
What depth should a floating shelf be for plants?
Eight to ten inches for a standard 6-inch nursery pot. The depth gives the pot a stable base with an inch or two of clearance behind for drainage saucers. A wet pot full of soil is one of the heaviest things a shelf carries, so use a rail bracket in two studs rather than a single rod, and check the load limits on the build page before choosing the bracket.
Can I put a TV on a floating shelf?
No. A floating shelf is a board on a bracket, and a television is the one object this guide tells you to keep off every shelf on the list. Mount the TV to the wall or set it on a stand, and use the shelf below it for a soundbar or cable box. The build page covers the honest reasons why a shelf bracket is not a TV mount.
Save this on Pinterest
Pin the depth table and the clearance rules — those are the two numbers you check before every shelf, in every room. The beginner plans guide is the next step for anyone who wants to build the board themselves.