 Plant As Deco
Organization & Storage
Garage Cabinet Ideas That Fit a Two-Car Budget
By Plant As Deco · Updated 16 November 2026
A garage stores more per square foot than any room in the house, and it goes wrong one way: things placed where they fit instead of where they are used. This page plans a one or two car garage — the golden band for daily things, three build directions by what you own, and a plywood cabinet cut list you can price this weekend.
Weekend-ready: $80–$400, one weekend. Keep the car path clear and start with one cabinet.
1. Sort by how often you touch it
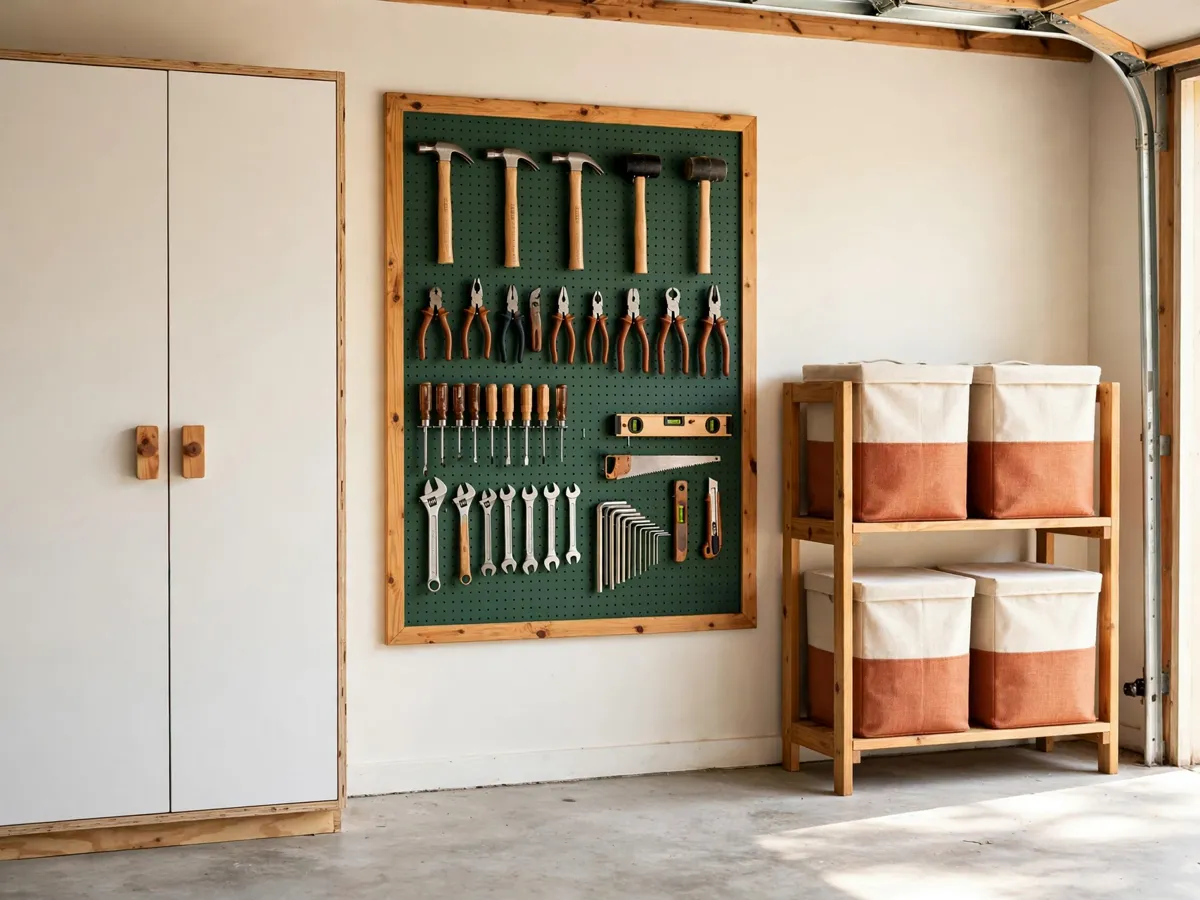
Before any cabinet is planned, the garage sorts itself on one question: how often do your hands reach for this? Not how much it cost, not how pretty it is — frequency of use is the only input that decides where a thing lives. Pull everything off the floor and group it into four bands on a tarp: touch it every week or more, a few times a month, two to four times a year, and never.
The golden band rule comes straight from that sort. Everything you use often lives between 18 and 60 inches from the floor — the shoulder-hip-hand zone you can reach without stretching, bending or climbing. Below 18 inches goes the heavy stuff: bins, and chemicals inside lidded boxes, where lifting is a two-hand down motion, not a shoulder press. Above 60 to 72 inches goes the seasonal layer — holiday bins, camping gear, the things you take down two to four times a year.
Two numbers end the argument. Anything stored above 78 inches, or anything that needs a step stool every single time you want it, is in the wrong place — that shelf is where things go to be forgotten, and it is the first one that drops something on a head. And the overhead band belongs to things you can lift down with both hands while balanced; if it needs a ladder and three moves, it is not stored, it is parked.
The sort decides the system, not the other way around. A pile of small, dusty, weekly-used things points at a closed cabinet. A wall of hand tools you grab mid-project points at an open rail system. A stack of identical seasonal bins points at a tote rack. Whatever does not fit one of those three — or fits the never pile — leaves the garage. The room-by-room sorting method underneath this pass is walked through in the declutter checklist guide.
Cost: $0 with a tarp and tape you own. Time: 2 hours for an honest one-car sort. Do this before buying anything — the sort decides the plan, not the sale.
2. Three systems, pick two
Every garage storage idea is one of three systems, and the honest answer for a small garage is one main system plus one helper — never all three. Doing all three eats the wall a one-car garage does not have and the weekend you do not have either. Pick the main system by the biggest pile from your sort.
System A — the closed cabinet for small, dusty, weekly things: hardware, paint cans, garden supplies, car care bottles, the box of cords. Plywood 3/4 inch, doors that close, 24 inch depth. Closing the door is the whole point — garage dust is constant, and a cabinet keeps the weekly shelf from needing a wipe before every use.
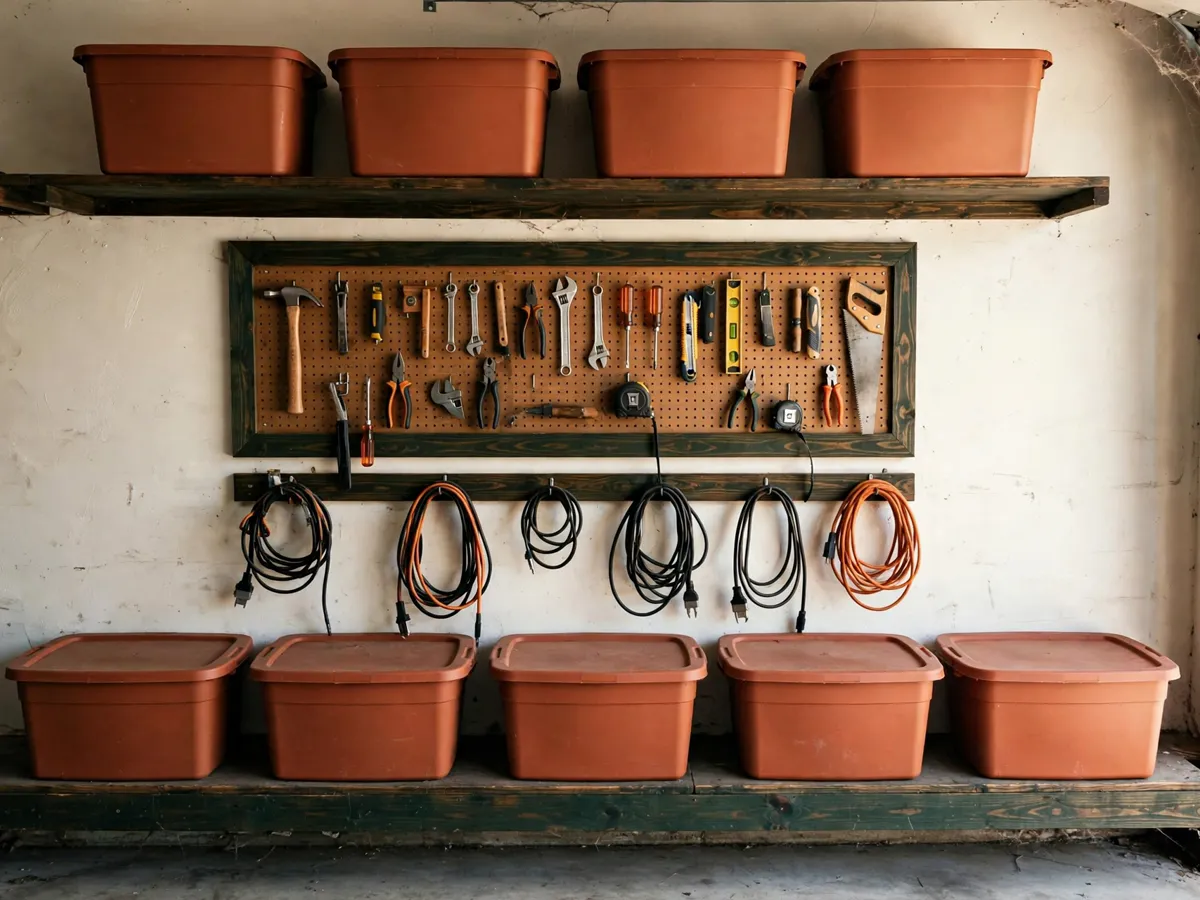
System B — the open wall for hand tools you grab mid-task: drills, hammers, tape measures, saws, extension cords. Pegboard 1/4 inch over furring strips, plus a rail with hooks. Open, because you are holding a project in one hand and reaching with the other — a door between you and the drill defeats the purpose. The spec that makes it hold: 1 by 2 furring strips run vertically into the studs, one strip every 16 to 24 inches, the pegboard screwed to the strips so air moves behind it and the hooks seat clean. A standard pegboard hole grid is one inch — buy hooks in the same grid so nothing wobbles loose, and keep the heaviest tools on the lower half of the panel where the strips take the load best. Hang the board inside the golden band, tools outlined with a marker so a missing one shows at a glance.
System C — the tote rack for seasonal storage in identical totes: holiday decor, camping gear, winter or summer gear, keepsakes. A 2-by upright frame, each slot sized to the tote you standardize on — 12-quart or 18-quart, one size, no mixing. Two uprights of 2 by 4, one horizontal 2 by 4 every 14 to 18 inches as the slot base, and the whole frame anchored to two wall studs at the top so a loaded rack cannot walk or tip. The rack lives above 60 inches where the golden band ends and the seasonal layer begins — which in most garages means a short rack on the wall over the closed cabinet, not a floor-to-ceiling tower that eats the band the weekly things need.
The pairing rule: your main system takes the best wall and the helper takes the corner the car door swings past. A shop-heavy garage goes A main plus B helper. A seasonal-storage garage goes C main plus A helper. A tools-first garage goes B main plus A helper — C can wait a year, because totes also stack fine in a corner while you decide. What none of these systems is: a workbench, a wall of shelves above the car hood, or the loft this page only recommends as a bracket-rated add-on. The band layout that ties the three systems to one wall is shown in section three.
Cost: $0 to choose. Time: 30 minutes with your sort piles on paper. The expensive mistake here is choosing all three — pick two and the garage still has wall left.
3. The plywood cabinet plan
Here is the plan for the closed cabinet — a written plan, not a build report: what to buy, what to cut, what it costs and how long it takes an honest beginner. One cabinet is 24 inches wide, 24 inches deep, 72 inches tall, sized so two flank a garage door wall and the golden band sits between its middle shelves. The 24 inch depth is deliberate — it swallows a standard bin row front to back without wasting depth behind it.
Materials list, all in inches:
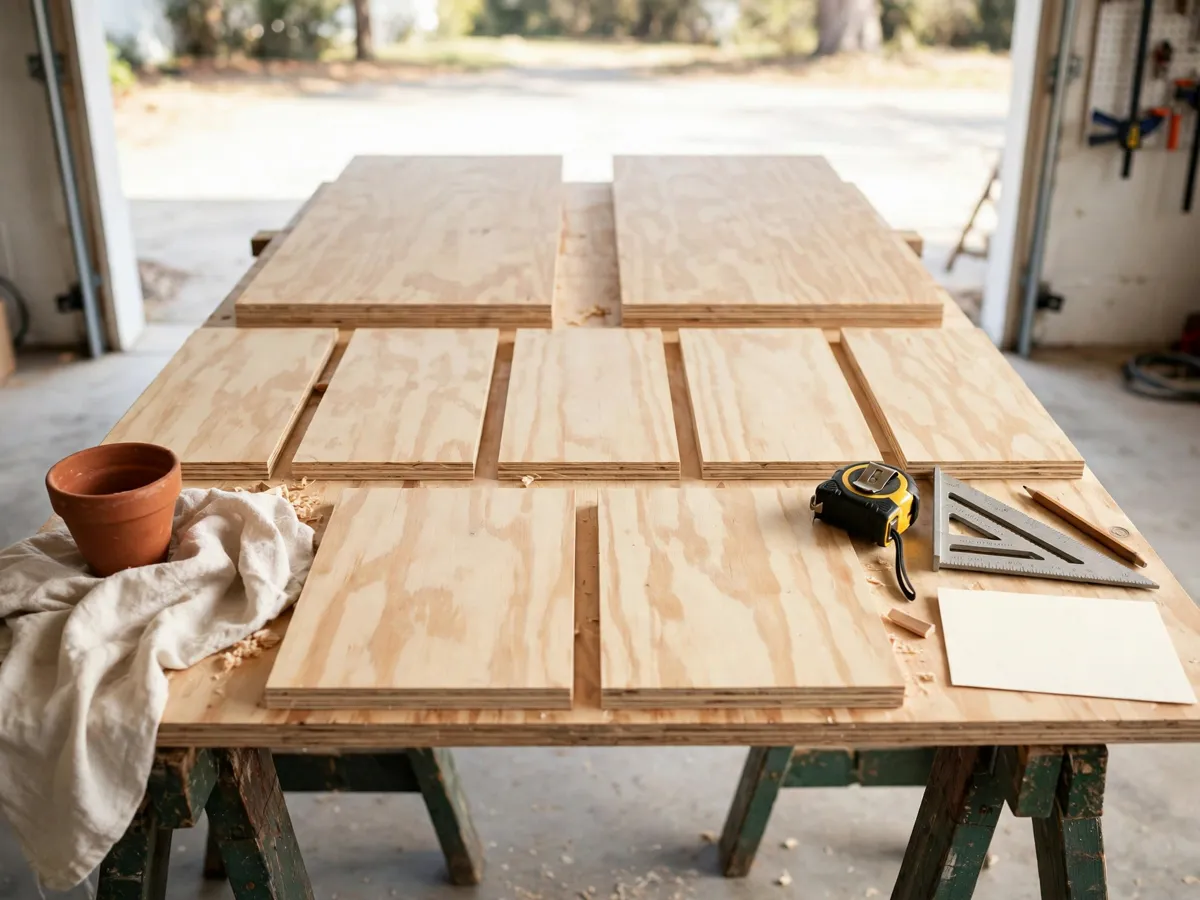
- 2 sides, 3/4 inch plywood, 24 by 72 — the uprights, grain running tall.
- Top, bottom and one fixed shelf, 3 pieces of 24 by 22-1/2 — the box depth in width terms; 24 inch stock minus two 3/4 inch sides.
- 2 adjustable shelves, 24 by 22-1/2 — set on shelf pins, moved to match the bin sizes below.
- Back, 1/4 inch plywood, 24 by 72 — the square that keeps the box from racking.
- 2 doors, 3/4 inch plywood, 23-1/2 by 35-3/4 — half-lap or overlay hinges, plus knobs. Doors keep dust off and give the garage its finished look.
- Fasteners and hanging — 1-1/4 inch screws, wood glue, two strap hinges per door, two knobs, one can of primer plus one of paint. Budget them: they are a quarter of the bill.
A 4 by 8 sheet of 3/4 inch plywood yields sides plus shelves plus doors for one cabinet — two cabinets take two sheets plus one quarter-inch sheet for both backs. At big-box prices that runs $120 to $200 per cabinet, screws to paint. One weekend, honest pace, builds and hangs two: Saturday cutting and boxing, Sunday doors, paint and stand-up. Fastening is screws and glue, and when the box is square, the back goes on with the quarter-inch panel and the racking problem is gone for good.
Where the shelves land inside follows the golden band from section one: the bottom shelf at 6 to 8 inches for heavy bins and boxed chemicals, the fixed shelf around 18 inches where the band starts, then 12 to 14 inch gaps up to 60 inches, then one top gap for the seasonal layer. The 12-quart bin is roughly 13 inches square, the 16-quart about 14 inches, and the 18-quart roughly 18 by 12 — so a 24 inch deep, 22-1/2 inch wide opening takes a bin plus breathing room, and shelf pins let you re-set the gaps when the bin row changes. Reading a cut list against real board sizes — and trusting a store sheet cut — is the same skill walked through in the beginner woodworking plans guide.
Cost: $120–$200 per cabinet, all-in. Time: one weekend for two cabinets. Plywood under 1/2 inch for the box is the classic underspend — the shelves will bow under a bin row.
4. Keep the car path clear
A two-car garage has two 9 by 18 foot car footprints and a walk lane between them; a one-car has one footprint and maybe three feet beside it. Map those on the floor with painter's tape before any cabinet is placed, because storage that eats the car footprint means the car lives outside — the most expensive storage swap in the house. Cabinets go against the walls, depth running parallel, never encroaching the taped lane.
Overhead is where small garages find their extra shelf, with rules. The loft or shelf over the car hood only goes on real ceiling joists — 2-by wood, not just drywall — and the mounting follows the bracket manufacturer's published load rating and joist spacing, never a homemade bracket guess. Keep the loft panel light, store only the light seasonal layer on it, and leave the garage door track, the opener rail and its spring clear; the door needs its travel path every day. Anything on the loft is a two-hand lift from a step stool, which is exactly why only the two-to-four-times-a-year things live up there. The same logic governs wall shelves over the car — rated brackets into wood, and the honest load limits that come with them are walked through in the floating shelf cut list guide.
Chemicals have one home: the lowest shelf, under 18 inches, inside a lidded box, away from the hot water heater and any appliance with a flame or motor. Not overhead — a can that falls from 60 inches is the accident this rule exists to prevent. And nothing goes on a shelf that crosses the band the driver looks through while backing out: the car path includes the sight line, not just the floor. These are practical caution rules from a planner, not a scientific study — treat them as the conservative default.
The walk lane earns one more job: it is where the laundry or workshop corner lives in garages that share duties with the house. Keeping a shared corner working without it swallowing the lane is the same zone-splitting problem solved in the laundry corner organization guide.
Cost: $0 and a roll of painter's tape. Time: 30 minutes to tape the footprints and lane. Skip the tape and the first cabinet placement will eat the door swing — measure first.
What we would skip
- All three systems in one small garage — pick a main and a helper; the third eats wall, weekend and budget the car footprint cannot spare.
- A wall of shelves above the car hood as the first project — that is the loft, it is bracket-rated or it does not happen, and it stores only the light seasonal layer.
- Mixed tote sizes on the rack — one size, 12-quart or 18-quart, makes every slot a grab-and-slide instead of a reshuffle.
- Chemicals above shoulder height or beside the water heater — low shelf, lidded box, always.
- Building the second cabinet before the first is loaded — one cabinet live tells you the shelf gaps that actually work before the pattern is repeated.
Cost: $0 to skip. Time: two minutes of reading that saves the most expensive mistake in a small garage — a system that eats the car footprint and pushes the car outside.
The before-you-build checklist
- Sort done — four piles: weekly, monthly, two-to-four times a year, never
- Golden band mapped — 18 to 60 inches for weekly things, below 18 for heavy and boxed chemicals, above 60 to 72 for seasonal
- Main system picked by the biggest pile, plus one helper — not all three
- Car footprints and walk lane taped on the floor, sight line kept clear
- Ceiling joists confirmed as real 2-by wood before any loft bracket, load rating read
- Cut list on one card — 2 sides 24 by 72, 5 shelves 24 by 22-1/2, back 24 by 72, 2 doors 23-1/2 by 35-3/4
- Budget set inside $80–$400 and the weekend blocked — one cabinet Saturday, second cabinet Sunday
Cost: $0 to check. Time: 15 minutes with this list before the store run.
Common questions
How deep should garage storage cabinets be?
Twenty-four inches. It matches a standard bin row front to back, keeps the car path clear beside it, and leaves no dead depth behind the front row. The cut list above is written for a 24 by 24 by 72 cabinet.
Where should things go in a garage?
By frequency, inside the golden band. Weekly things between 18 and 60 inches from the floor, heavy bins and boxed chemicals below 18 inches, and seasonal totes above 60 to 72 inches. Anything above 78 inches or needing a step stool every time is in the wrong place.
Can I hang storage from the garage ceiling?
Only from real 2-by ceiling joists, using brackets at the manufacturer's published load rating and spacing — never homemade brackets. Keep the panel light, store only the light seasonal layer, and leave the door track, opener rail and spring clear.
How much does a DIY garage cabinet cost?
$120 to $200 per cabinet, plywood to paint, at honest big-box prices. Two cabinets take one weekend at beginner pace. The full directions on this page run $80 to $400 depending on which system you pick.
Save these on Pinterest
Pin the golden band diagram — 18 to 60 for daily, below 18 for heavy, above 60 for seasonal — plus the cabinet cut list, so the store run starts with a card instead of a scroll. This guide and the rest of the organization and storage collection live together there.