 Plant As Deco
Gardening & Planting Tips
Indoor Plant Food: What to Feed Houseplants and When
By Plant As Deco · Updated 20 November 2026
Somewhere in the second month after a plant comes home, growth slows and the leaves lose the brightness they had in the store. The plant has used up the nutrient reserve in its potting mix, and it is waiting for you to notice. Feeding is the quiet half of houseplant care - water and light get the attention, but the bottle on the shelf decides whether that slow-down turns into a stall. This guide covers what plant food actually is, how to read the three numbers on the label, which form to buy, how much to use, and the seasonal rhythm that feeds a plant without burning its roots. Watering and light live in the general houseplant care routine - this page stays on the bottle, the numbers and the calendar.
Weekend-ready: $8–$25 for a year of supplies, minutes per feeding. Apartment-safe: one bottle, a measuring cup and a shelf of plants - the whole system fits in one cupboard.
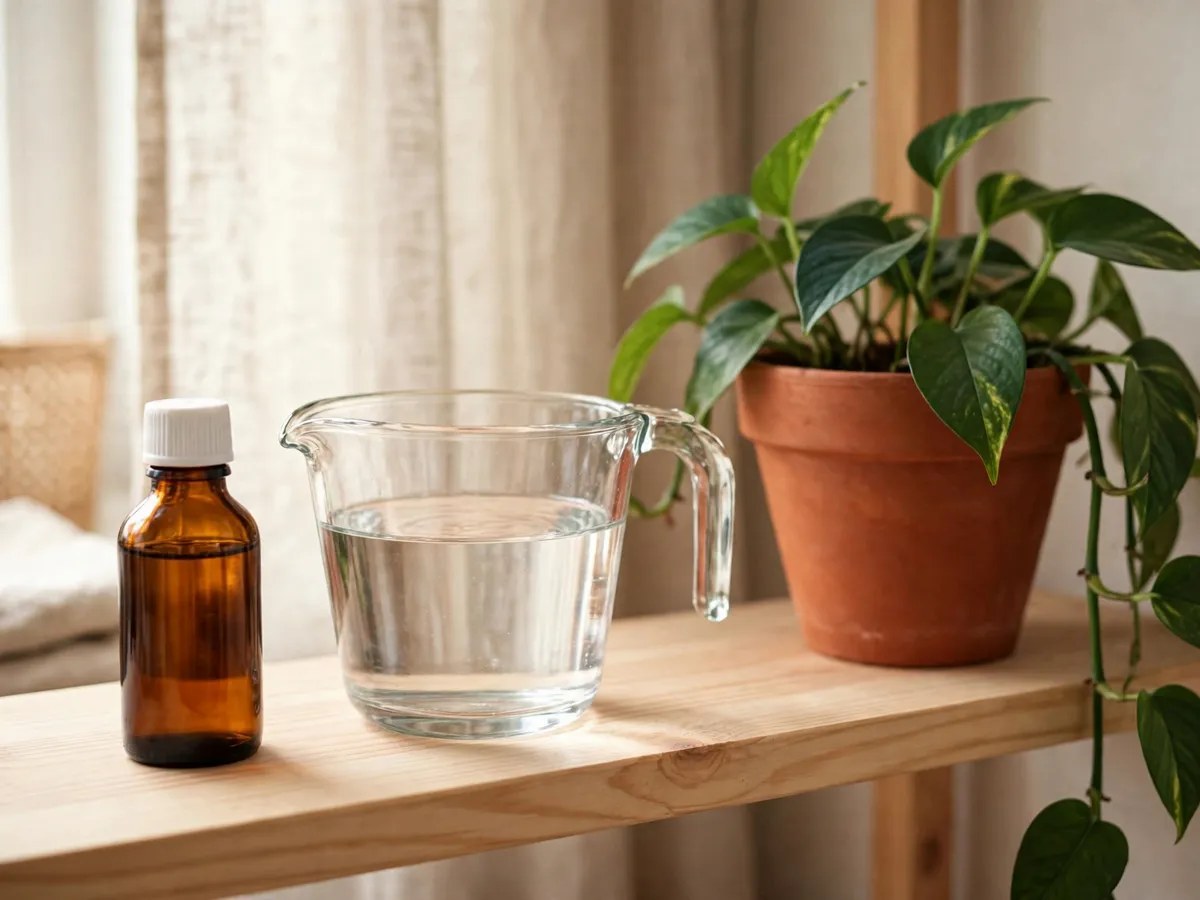
1. What plant food actually is
Plant food is the store name for mineral nutrients - mostly nitrogen, phosphorus and potassium, plus smaller amounts of calcium, magnesium and a few trace elements. The plant makes its real food from light; the bottle supplies the minerals that process needs. Both halves matter, and neither covers for the other: a plant in dim light cannot use the nutrients you pour on, and a plant short of nitrogen cannot build new leaves however bright the window. Beginners often assume feeding is complicated. It is one small pour, on a schedule, during half the year.
Every bag of fresh potting mix carries a small nutrient reserve, which is why a newly potted plant needs nothing from you for its first two or three months. Past that point, each watering rinses a little more of the reserve out through the drainage hole. Feeding tops the reserve back up. That is the entire job: keep a steady, small supply of minerals moving through the pot while the plant is actively growing, and let the rest of the routine stay untouched.
The two words on the label mean the same thing. Fertilizer and plant food are used interchangeably, and the contents are the same dissolved minerals. Organic versions come from living or mined sources - seaweed, worm castings, aged manure - and release slowly as soil life breaks them down. Synthetic versions are refined salts the roots can take up within days. Both feed plants; the differences that matter are concentration, speed and price, and those are covered in the sections below.
One limitation to accept before buying anything, because it saves beginners a whole season of frustration. Plant food multiplies what light, water and drainage already allow; it does not replace any of them. A plant in a dark corner will not look better from feeding, and a plant sitting in a waterlogged pot declines on schedule however carefully it was fed. Set the pot right first, then start the schedule.
2. Read the three numbers on the bottle
Turn any bottle around and you will find three numbers in a row - 10-10-10, 20-20-20, 3-1-2. That is the NPK analysis: nitrogen, phosphorus and potassium, always in that order, always listed by weight. The plain-language version is worth memorizing. The first number pushes leaves and stems. The second supports roots and flowers. The third is the all-rounder - potassium governs how well a plant holds water, handles temperature swings and carries itself through everyday stress.
A balanced formula, where the three numbers match, suits almost every houseplant in a home collection. Formulas with a larger first number push foliage; bloom-focused blends raise the middle number. Ignore the specialty shelf until a specific need shows up in your own pots - most apartment plants want the same balanced bottle from spring to autumn, and the label rate is written for exactly that average case.
The numbers also tell you the strength. A 20-20-20 used at its label dose delivers twice the nutrients of a 10-10-10 used the same way, which is why the printed dose - more than the numbers themselves - decides what actually reaches the roots. Fine print usually adds calcium, magnesium and iron. Treat the printed dose as a ceiling, never a target: labels assume a potted plant in active growth in bright light, and apartment conditions are usually milder than that.
3. Liquid, spikes or granular - which to buy
The shelf offers three forms, and each trades convenience against control. You only need one of them.
- Liquid concentrate. You mix a small amount into water at every use, following the label. This is the form with the most control - you choose the dose each time, you can dilute to half strength, and the plant takes the feed up within days. A balanced houseplant liquid such as Miracle-Gro's indoor formula or a store brand like Houseplant Magic costs $8–$15 and lasts a modest collection a full year.
- Spikes. Pre-measured sticks you push into the soil, where they release a little at a time for weeks. Spikes are the low-effort option - nothing to mix - but the release is concentrated where the spike sits, which is awkward in small pots, and you cannot adjust a dose already in the ground. A pack runs $5–$9.
- Granular slow-release. Granules worked into the top inch of mix, each watering dissolving a little more over months. Osmocote is the long-running example. Steady and forgiving of a forgotten month, but blunt: the dose keeps releasing in a heatwave or a dim January alike. A tub runs $10–$15 and lasts seasons.
For a first bottle, choose one balanced liquid fertilizer. It covers trailers, foliage plants and palms alike, it lets you halve the strength on sensitive species, and it stops the moment you decide to stop - which matters more than any marketing on the front. The cost of trying it and deciding against it is one bottle on a shelf; the cost of guessing wrong with spikes first is a pack dissolving in pots you did not choose it for. Add slow-release granules later only if your watering days arrive irregularly and a bottle keeps going unused.
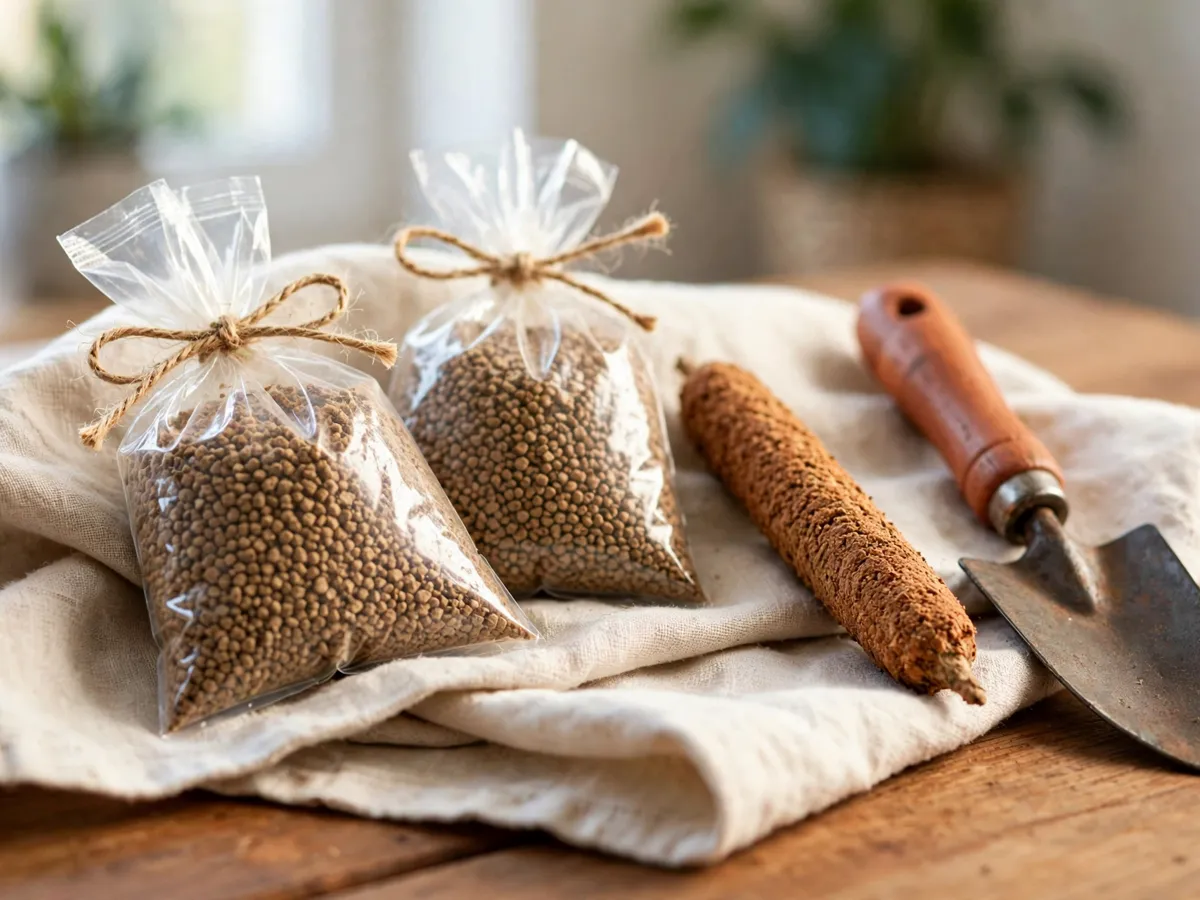
Cost: one balanced bottle, $8–$15, and it is the only purchase most collections need for the year.
4. How much and how often to feed
The label dose is written for average potted plants in active growth, and it is safer to read it as a ceiling than a target. The reliable default for houseplants is half the printed strength, on the label's own schedule. When in doubt, halve it again - a mildly underfed plant coasts for weeks, while an overfed one shows damage within days, so the gentle side of the range is where beginners should live.
Feed damp soil, always. Water the pot first if the mix has dried, then pour the diluted fertilizer around the surface as you would plain water, stopping when it drains from the hole. Concentrated salts hitting a dry rootball are what burn leaf tips, and damp mix spreads the dose evenly instead of pooling it against the roots. Most labels say every one to two weeks; half strength on every second or third watering lands in the same total across a month, with milder spikes of concentration in between.
Two timing rules do most of the work. Fresh mix resets the clock - a newly bought or newly repotted plant carries starter nutrients for two to three months, so begin feeding after that window, not on day one. And once or twice through the growing season, run clear water through the pot to flush the salts that every fertilizer leaves behind. The repotting a houseplant one size up guide covers the other reset: when a plant needs fresh mix rather than more food.
5. The yearly feeding rhythm, by season
Feeding follows growth, and growth follows light. A plant putting out new leaves is spending nutrients; a plant sitting still through a dark winter is not, and fertilizer poured on a resting plant only piles salts in the soil. The rhythm below fits most homes in a temperate US climate - adjust by what your plants do, more than by the calendar.
- Spring. Resume feeding when you see new growth - a leaf unfurling, a vine extending - rather than on a date. Start at half strength and hold there; the plant will take more as the days lengthen.
- Summer. The longest light months carry the steadiest feeding. Keep the diluted schedule running and add a clear-water flush midsummer to wash out accumulated salts.
- Autumn. Taper from September and stop entirely by late October as light drops. Stretching the interval over four to six weeks lands most pots at zero by the time growth stalls.
- Winter. Pause for most homes. The exception is a plant still visibly growing - under a grow light, or in a bright south window - which can take quarter strength once a month. The low light indoor plants guide lists the species that coast through dim rooms on almost nothing until spring.
One warning worth repeating: do not feed a plant that is shedding leaves, freshly moved, or freshly repotted. Food cannot solve a light or water problem, and unused salts only add a second problem to the first.
6. The natural and household options
Organic feeding works indoors, with honest expectations attached. Worm castings are the gentlest starting point - a handful worked into the surface feeds slowly and smells of nothing in a sealed bag. Liquid seaweed and kelp products dilute into water like any concentrate, though some carry a low ocean note that fades within an hour. Fish emulsion works well in gardens but is a hard sell in a studio apartment. Finished compost from a countertop bin can top a pot in spring, and Espoma's organic indoor blend is a widely stocked granular option built around the same slow idea.
What the natural route buys you is safety from overdose - the analysis numbers are low, the release is gradual, and a heavy hand rarely does damage. What it does not buy is speed: organic feeds act over weeks and depend on soil life being active, so a visible shortage mid-season is better answered with a diluted synthetic at half strength, then a return to whichever routine you prefer.
Kitchen scraps have a place too, though a different one from the bottle. The apartment composting guide covers the bin that turns peels and grounds into something closer to real soil - finished material for spring top-ups, rather than a substitute for measured feeding.
7. Coffee grounds, eggshells and banana peels
Kitchen remedies come up in every houseplant conversation, and they share one honest trait: the nutrient inside is real, but a potted plant gets it slowly, sparingly and unpredictably. Here is what each one actually does in a pot.
- Coffee grounds. They carry a modest amount of nitrogen, released only as microbes break them down - a process that is slow in a cool pot. Sprinkled dry on the surface they mat into a layer that sheds water, grows mold and invites fungus gnats. The better destination is the bin, where they break down properly and come back to the plant as finished material.
- Eggshells. Calcium carbonate, which dissolves far too slowly to feed a houseplant on any household timescale - crushed shells sit in a pot for years before giving up much calcium. Harmless as a topping, useless as a fertilizer.
- Banana peel. The potassium in a banana peel stays locked inside the peel. Laid on the soil it mostly feeds mold and fungus gnats while it rots, delivering little to the roots in any useful window. Chop it into the bin instead of the pot.
Epsom salt deserves its own sentence: it supplies magnesium, and it is only worth adding when a genuine magnesium shortage shows up - yellowing between the veins on older leaves, while newer leaves stay green. That pattern is rare in fed houseplants, so the default is to skip it. A measured fertilizer at half strength does more for a potted plant than any kitchen remedy, and none of these scraps replaces it.
8. Signs you are overfeeding or underfeeding
Leaves report on feeding from both directions. Read the pattern - several leaves changing together, over weeks - rather than any single leaf, because one yellowed leaf on a healthy plant is ordinary shedding.
Overfeeding usually looks like this:
- A white crust on the soil surface or saucer. Dissolved salts drying out where water evaporates - the clearest marker that more is going in than the plant is taking up.
- Brown, dry tips and edges on many leaves at once. The classic fertilizer burn, caused by salt concentration pulling moisture back out of the leaf tissue.
- Wilting while the soil is still damp. Roots surrounded by concentrated salts struggle to take up water even from a wet pot.
- Rapid yellowing of the lower leaves after a heavy feed. The dose outran the plant, and the oldest foliage pays first.
What to change: stop feeding for three or four weeks, then flush the pot - pour clean water through slowly, several times the pot's volume, letting it drain fully each time. Resume at half strength once the plant settles. Underfeeding looks different: new leaves smaller and paler than old ones, growth stalled for months, older leaves yellowing evenly while soil moisture stays steady, and no new leaves at all through spring and summer in a spot with decent light. What to change there: restart diluted feeding during the growing season and give it six steady weeks before judging the result.
Overfeeding is the more common of the two mistakes in a home, because beginners reason that more food means more growth. It does not. A plant absorbs nutrients through its roots at a rate the mix can support, and anything above that rate stays behind as salt. When a schedule feels uncertain, the safe error is the smaller dose, spaced further apart.
Both sets of signs overlap with watering and light trouble - yellowing comes from waterlogged soil as often as from hunger, and pale small leaves often mean dim light. Check moisture and light first; the general care routine covers both, and changing one input at a time keeps the answer readable.
9. Matching food to plant type
One balanced bottle carries a whole apartment, but a few groups reward a small adjustment. The labels on each product list the groups they suit - match the plant to the label, and dilute further whenever a species is known to be touchy.
- Foliage plants - pothos, philodendron, ficus, dracaena and most trailers: balanced liquid at half strength, every second or third watering in the growing season.
- Calatheas, ferns and marantas: sensitive to salt burn at full strength. Quarter to half strength, less often, with a generous flush midsummer.
- Succulents and cactus: light feeders. A few diluted feeds spread across the whole growing season is plenty, and nothing at all during their winter rest.
- Orchids: dedicated orchid feeds exist with their own weak weekly rhythm on the label. Follow that label, diluted further for apartment conditions, and only while the plant is growing.
- Windowsill herbs: the same balanced liquid at half strength, rinsed leaves before harvest, and a label check that the product is suited to plants you eat.
When in doubt, the same three words cover ninety percent of a home collection: balanced, half strength, growing season. Specialty bottles earn their shelf space only after a specific plant asks for one.
10. What a year of supplies costs
The budget is small, which is part of what makes feeding easy to overthink. A balanced liquid concentrate runs $8–$15 and, at a few millilitres per pot per month, lasts a dozen plants a full year. Spikes land at $5–$9 a pack. A tub of slow-release granules costs $10–$15 and outlasts two or three seasons. A bag of worm castings, the one organic worth keeping on hand, is $10–$18 and covers two springs of top-ups. Against that budget, the extras people buy first - specialty bottles, bloom boosters, a per-species additive for every plant on the shelf - rarely earn their place in an apartment.
For a typical apartment collection, year one lands at $8–$25: one bottle around $10 and, if you like the slow layer of insurance, one bag of castings around $12. Per feeding the cost is cents - a single capful of concentrate divides across an entire shelf. The honest advice is to buy less than the shelf suggests: one balanced bottle genuinely covers the collection, and everything else is an upgrade to make later, from the answers your own plants give you.
11. The simple feeding plan
Everything above compresses into seven steps that fit on a sticky note inside the cupboard door.
- Buy one balanced liquid fertilizer whose label lists houseplants. Ignore the specialty shelf for now.
- Halve the printed dose before every use - the measuring cap that comes with the bottle makes this a ten-second job.
- Feed on damp soil only, every second or third watering, from first spring growth until early autumn.
- Glance at leaf tips monthly. Brown tips mean flush the pot and pause; small pale new leaves mean keep the steady schedule running.
- Flush every pot once in midsummer with clean water to wash out accumulated salts.
- Stop feeding by late October and leave the bottles shut until the first new leaf of spring.
- Repot with fresh mix every year or two - the reset that does more for a plant than any bottle, and the one that restarts the nutrient clock for free.
Follow that plan and the whole year of feeding costs less attention than it costs money. It becomes what it should have been all along: a small, boring habit on the same shelf as the watering can. The seasonal adjustments, the species guides and the rest of the gardening tips collection build from here.
Common questions
What do the three numbers on a fertilizer label mean?
They are the NPK analysis - nitrogen, phosphorus and potassium by weight, in that order. The first pushes leafy growth, the second supports roots and flowers, the third overall hardiness. A balanced formula where all three match suits most houseplants, and the printed dose matters more than the numbers: halve it for a safe default.
Is plant food different from fertilizer?
The words describe the same product - dissolved mineral nutrients in a bottle, tub or stick. Plant food is the friendlier store name; fertilizer is the technical one. Ignore the wording and read the three numbers, the dose and the list of plants the label says it suits.
Can I use outdoor fertilizer on houseplants?
If the label lists houseplants or potted plants among its uses, yes - dilute to half strength or weaker, because indoor pots hold every drop you pour, unlike a bed that drains away. Skip products made only for lawns or beds; their formulas and their dose rates assume conditions a houseplant will never meet.
How do I deal with the white crust on my soil?
That crust is accumulated salt from fertilizer and tap water. Flush the pot with slow, clean water - several times its volume, draining fully each pass - then pause feeding for a few weeks and resume at half strength. Scrape off the worst of the crust first if it is thick, and repeat the flush once or twice a year from then on.
Should I feed a plant I just brought home?
Wait. Nursery and bagged potting mixes carry a starter nutrient charge that lasts two to three months, so a new arrival has food already. Begin your diluted schedule once that window passes or after its first repot - whichever comes later - and let the plant settle into your light before adding anything else.
Can I make plant food from kitchen scraps?
You can make something, but it is a minor contributor rather than a feeding routine. Grounds, eggshells and peels release their nutrients slowly and unevenly in a pot, and beginners who rely on them alone usually see slower growth, not faster. Compost them properly for spring top-ups, and let a measured fertilizer do the week-to-week work.
Save these on Pinterest
Pin the three-numbers decoder and the seasonal rhythm - the two parts of this guide you will come back to every year. This page and the rest of the gardening tips collection live together there.