 Plant As Deco
DIY Home Projects
DIY Bookshelf Plans: A 5-Shelf Pine Build for Beginners
By Plant As Deco · Updated 22 November 2026
A homemade bookcase fails in an apartment for one of two reasons. It is too deep for the wall it was meant for, or its sides went in at an angle and the case leans by the time the first row of books lands. This plan fixes both by starting with the books and the baseboard instead of a drawing: a five shelf pine bookcase, 30 inches wide and 72 tall, with the cut list arithmetic shown board by board, one marking number that squares every row, and wall options for a lease that forbids holes.
Weekend-ready: $93–$176 in pine, fasteners, back panel and finish, one weekend split across two days. Renter-safe, no structural work.
That range assumes a drill and one saw are already in the house. The two things most first builders add are a speed square and a pair of clamps, and both are priced in the tool list below rather than buried in the total.
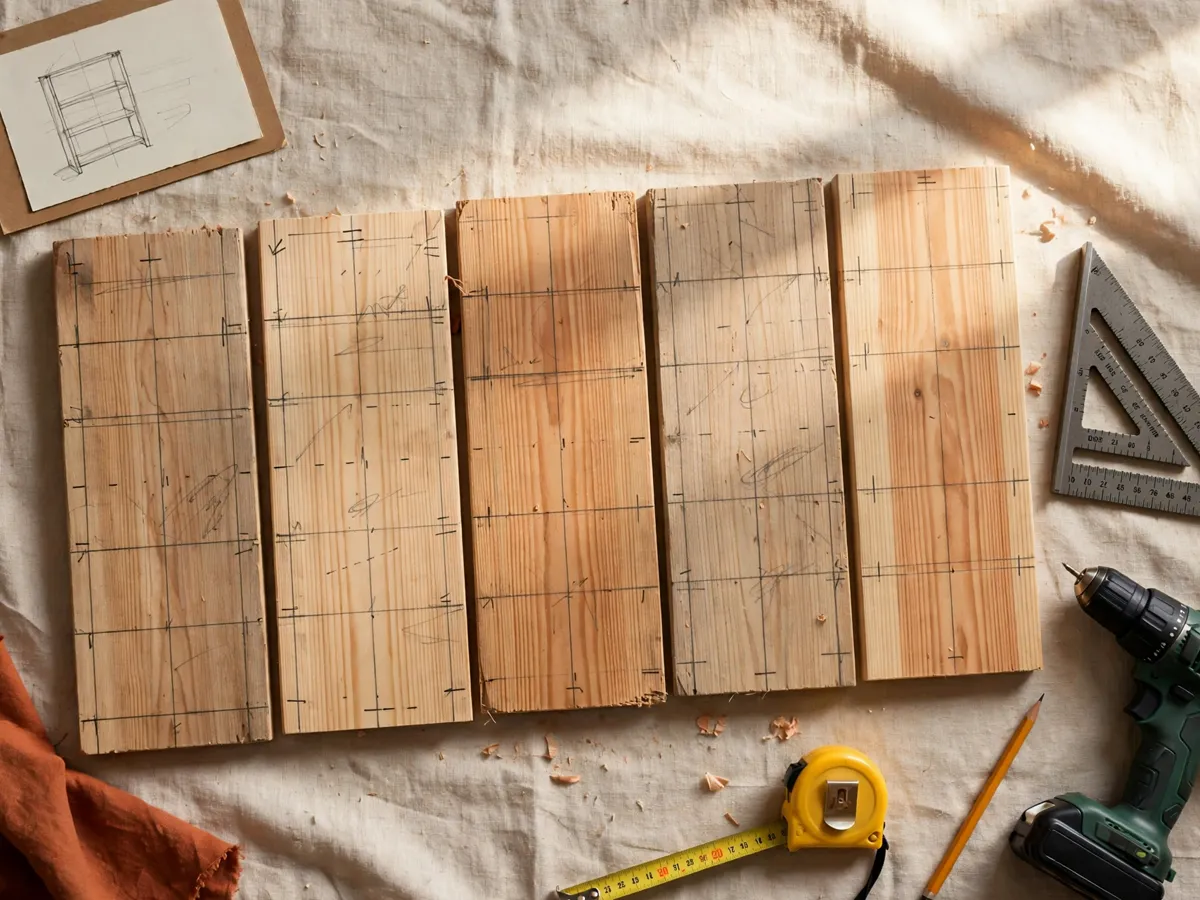
1. Size it from the books, not the wall
Three measurements decide the case, and none is taken on the wall. The first is the deepest book you own, because shelf depth is that number plus about an inch and nothing else. Measure a hardcover lying flat, cover to spine, and a large paperback. Most US books land between 6 and 9 inches, which is why a 1x12 pine board, 11-1/4 inches actual, is the standard beginner depth.
The second is the tallest item, because row height follows it. A paperback runs 7 to 8 inches, a hardcover 9 to 10, a binder 12 or more. This plan uses 13-1/2 inches of clear opening, deliberately taller than a book needs, because the headroom lets one row hold a stacked pair and removes the most common regret: a case that fits every book except the one you were given.
The third is the baseboard, the one beginners forget. A case pushed flat against the wall stands proud of the baseboard it just cleared. Either scribe the back edges of the sides around it, or set the case three quarters of an inch off the wall, which the back panel covers visually and the anti tip strap in section 7 needs anyway.
Width is capped rather than chosen. Three quarters of an inch of pine spans to about 30 inches between sides; past that, a full row of hardcovers pushes the middle of a shelf down over a season. This plan is 30 inches outside, 28-1/2 between the sides, and the wider variation in section 10 carries a face frame for that reason. If the terms here are new, the how to read a plan guide explains why plan widths stop where they stop.
Cost: $0. Time: 15 minutes with a tape and the books on the floor. One caveat: measure the book you own, not the book in the photo on the plan you found online.
2. The tool list: what you own and what you buy
The build needs a drill, a saw that cuts straight, a square that marks straight, and something to hold two boards together while the glue sets. Everything else is convenience. Here is the honest split, with the buy line priced so the total is not a surprise at the register.
| Tool | What it does here | Buy cost |
|---|---|---|
| Cordless drill and driver | Every pilot hole and every screw | $0 owned, $60–$120 new |
| Tape measure, 25 ft | Books, wall, diagonals | $0 owned, $8–$15 |
| Speed square, 12 in | Scribing shelf lines, checking diagonals | $12–$25 |
| Fine-tooth crosscut saw or circular saw | The eight crosscuts, all square | $0 owned, or the yard cuts them |
| 1/8 in pilot bit | Stops pine splitting at every end | $3–$8 |
| Two 12 in bar clamps | Holds a joint while glue sets | $12–$28 |
| Level, 24 in | Plumb check before anchoring | $0 owned, $10–$20 |
| Stud finder | Finds the two studs for the strap | $15–$30, optional |
The two lines a first builder usually buys are the speed square and the clamps, and both are worth it: a square is the only tool in the list that checks your work rather than doing it. If the tool list is the thing standing between you and the first build, the five tool starter kit covers what to buy once and what to skip for a year.
Before the lumber leaves the yard
- Sight down the face of every board. A twisted 1x12 pulls a shelf line with it, and no clamp fixes that.
- Measure the board across the end grain, not the label. A 1x12 can arrive at 11-1/4 or 11-1/2, and the case depth follows the real number.
- Hand the yard the cut list in section 3, ask for the two 72 inch sides first, and check every piece at the counter.
- Ask for the hardboard back cut to 28-1/2 by 70-1/2, because a 4 by 8 sheet does not fit a hatchback and the cut piece does.
- Buy one spare 8 foot board if the yard is cheap. It is the cheapest insurance in the whole list.
Cost: $0. Time: 10 minutes at the yard, 5 at the counter. One caveat: a store cut that came out a quarter inch short is only discoverable while the board is still on the counter.
Cost: $0 if the drill and a saw are home, $24–$53 for the square and two clamps. Time: 20 minutes to lay everything on the drop cloth. One caveat: borrow the circular saw before buying it, because eight square crosscuts is a hand saw job for most people.
3. The material and cut list, with the math shown
The shopping list is boring on purpose: pine 1x12, a box of screws, glue, sandpaper, a thin hardboard back and finish. Pine is cheap and forgiving, which is what a first case wants. Every part below is sized for the 30 by 72 by 11-1/4 inch case from section 1.
| Part | Finished size | Qty | Cut from |
|---|---|---|---|
| Side panels | 72 x 11-1/4 x 3/4 in | 2 | 8 ft 1x12 |
| Bottom and top | 28-1/2 x 11-1/4 x 3/4 in | 2 | 8 ft 1x12 |
| Fixed shelves | 28-1/2 x 11-1/4 x 3/4 in | 4 | 8 ft 1x12 |
| Back panel | 70-1/2 x 28-1/2 x 1/8 in | 1 | 4x8 hardboard |
| Shelf spacer block | 13-1/2 x 11-1/4 x 3/4 in | 1 | offcut from above |
Where the numbers come from, one part at a time. The case is 30 inches wide outside, and the six horizontal boards fit between the sides, so each is 30 minus two side thicknesses: 30 - 2 x 3/4 = 28-1/2. The sides carry the full 72 inch height because the top and bottom are inset, which is why no board on this list is longer than the stock it comes from.
The row height is the arithmetic that matters most. Inside the case there is 72 minus the bottom board minus the top board, 72 - 3/4 - 3/4 = 70-1/2. The four fixed shelves eat 4 x 3/4 = 3 of that, leaving 67-1/2 to divide across five openings: 67-1/2 / 5 = 13-1/2. So every clear row is 13-1/2 inches, and the marking pitch, one opening plus one board, is 13-1/2 + 3/4 = 14-1/4.
That single 14-1/4 number is the whole layout. Measured up from the bottom edge of a side panel, the underside of each shelf lands at 14-1/4, 28-1/2, 42-3/4 and 57, and the underside of the top board lands at 71-1/4, which is 72 minus its own thickness. If those five marks are right, the case is right, and the check is one subtraction rather than five measurements.
The board count, and this is the arithmetic that decides whether the weekend holds. Two sides at 72 inches is 144. Six horizontals at 28-1/2 is 171. That is 315 inches of cut length, and the saw eats about 1/8 inch across the nine crosscuts, another 1-1/8, so 316-1/8 against the 96 inches an 8 foot board offers: 316-1/8 / 96 = 3.3 boards. The answer is still four, and the reason is layout rather than length. A board that gives up a 72 inch side has 24 inches left, too short for a 28-1/2 shelf, so the two sides waste 48 inches between them and the six horizontals need two clean boards at three cuts each. At $9 to $16 a board, lumber is $36 to $64.
Add the fasteners, counted rather than guessed. Each of the eleven joints, bottom, top and four shelves against two sides, takes two screws, so 24 screws of 1-1/4 inch, and a 100 count box at $8 to $14 covers it twice over. Glue goes on all eleven joints: one 8 ounce bottle, $4 to $6. The back panel takes about thirty fasteners at 6 inch spacing, from the same box. Sandpaper at 120, 180 and 220 grit is $6 to $10, and the 1/8 inch hardboard back uses under a third of a 4 by 8 panel at $22 to $38.
Cost: $70–$132 for boards, screws, glue, back panel and paper. Time: 90 minutes of marking and cutting, or 20 if the yard cuts the list. One caveat: buy the hardboard before the lumber, because a yard that will cut a sheet will not always cut a board for free.
4. The build, step by step
The case is a rectangle of four boards, sides plus top and bottom, with four shelves fixed between them and a thin skin on the back. The order below keeps a first build square: assemble the outer rectangle, mark the interior once, set each shelf against one marking pitch, then lock the whole thing with the back.
- Cut or collect all eight boards from the table in section 3 and label them on their back faces: sides S1 and S2, bottom B, top T, shelves H1 to H4. Cut the 13-1/2 inch spacer block from an offcut, because it is the height of one opening.
- Mark the face side of every board with a pencil X on the back, and the face edge with a line along one narrow edge. A case built from mixed faces shows it on the front.
- Lay S1 and S2 flat, inner faces up, and scribe the four shelf lines across both at 14-1/4, 28-1/2, 42-3/4 and 57 inches from the bottom edge. Use the square against the marked face edge, so the two sides carry identical lines.
- Set the bottom board B between the two sides on its mark, with its top edge at 3/4 inch. Clamp both ends, and check the sides are parallel by measuring between them at top and bottom.
- Glue and screw the two bottom joints: a bead along the 3/4 inch edge, two 1-1/4 inch screws per end, each piloted first with the 1/8 inch bit and driven about 1 inch in from the back edge so the head sits where the back panel covers it.
- Set H1 on the 14-1/4 line and drop the spacer block into the opening beside it: if the block fits without forcing, the shelf is on the line.
- Check that opening squarely before gluing, by measuring both diagonals from the bottom board's front corner to H1's rear corner and back again. The readings must match. If they do not, shift the shelf a sixteenth, because this is the last moment a correction costs nothing.
- Glue and screw H1 the same way, then repeat the set, check and fix for H2 on 28-1/2, H3 on 42-3/4 and H4 on 57. Work one shelf at a time, because a loose shelf slides a quarter inch every time the case is moved.
- Fit the top board T last, on the 71-1/4 line, and check the whole case by measuring corner to corner across the front face, both ways. Matched readings mean a rectangle. A difference over 1/8 inch is corrected by pulling the long diagonal with a clamp before the top joints are glued.
- Leave the case clamped an hour, then wipe the squeeze out with a damp rag before it dries. Dried glue takes no stain and shows as a pale halo around every joint.
- Set the back panel, 28-1/2 by 70-1/2, centered on the rear face and fastened about every 6 inches around its perimeter and across each shelf it crosses. This is the step that makes the square permanent.
- Fill the screw heads with pine putty, let it dry, and sand the whole case to 180 grit before the finish in section 6. Sand the shelf fronts and the top edge last, since a hand touches them every day.
Two habits in that list do most of the work, and both are free. The first is scribing the shelf lines on both sides while they lie flat on the floor, because two loose boards can be marked identically and two standing boards cannot. The second is the diagonal check at every joint, which takes ten seconds and catches a mistake nothing else in the build will.
Cost: $0 beyond the material list. Time: 3 to 4 hours of assembly, with one hour glue pause that is on the clock but is not work. One caveat: build on a hard floor, because a case assembled on carpet cannot be checked for square and will not stay square either.
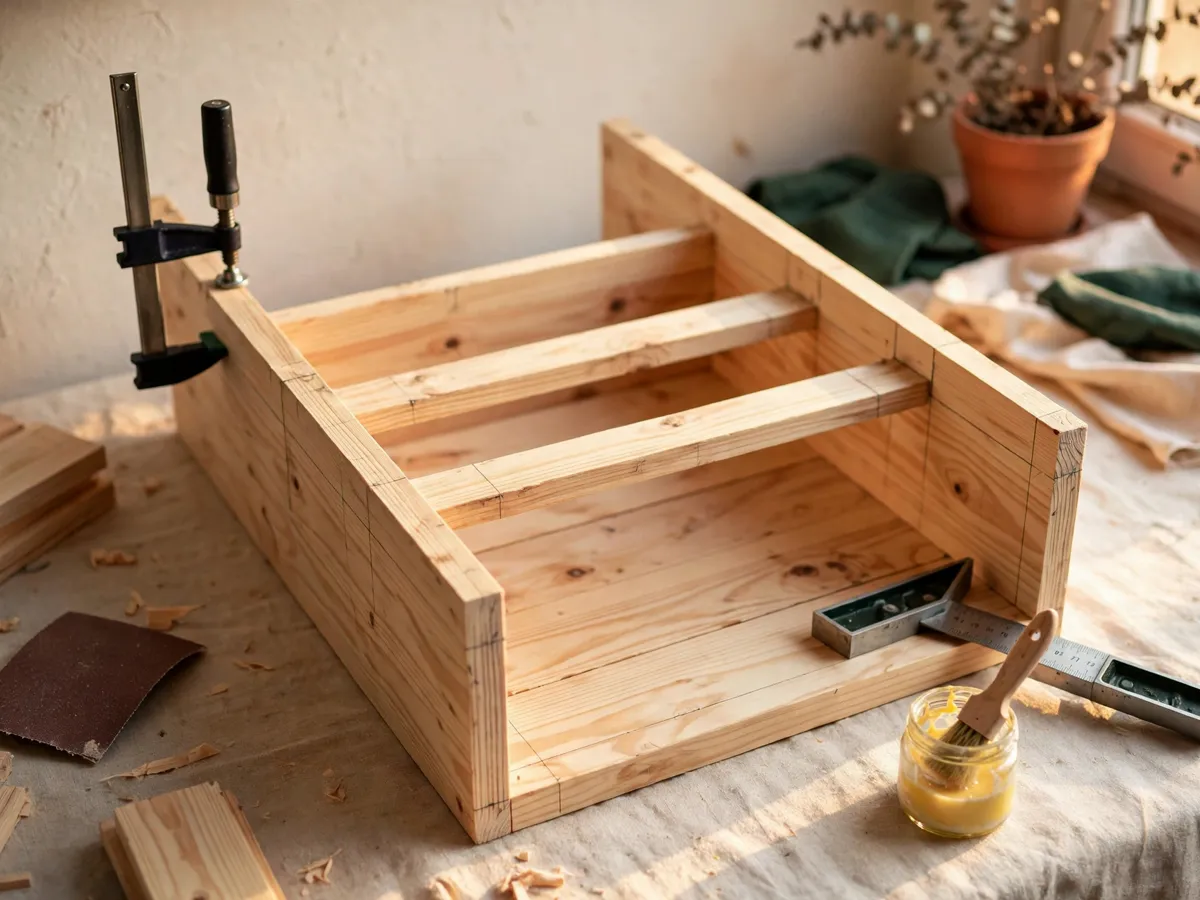
5. Joinery: screws through the side, pockets, dowels or a dado
Four ways to hold a shelf to a side, and the right one depends on what is already in the house rather than on which joint is prettiest. The base plan uses the first, because it needs no jig and no special blade. Read the third column as the trade, not as a ranking.
| Joint | What it takes | The trade |
|---|---|---|
| Screw through the side, plus glue | Drill, 1/8 in pilot bit, 1-1/4 in screws | Two heads per joint show at the back; putty hides them |
| Pocket screws from the inner face | A pocket hole jig, $25–$45, and 1-1/4 in pocket screws | No visible head, but the angled hole cuts into the shelf's face edge |
| Dowel, a rod glued into both boards | A doweling jig or a marked block, 1/4 in dowels, $8–$14 | Invisible from the front, but eleven joints of aligned holes is a skill |
| Dado, a groove ploughed into the side | Table saw or router, and the shelf thickness measured exactly | Strongest and cleanest, and the least forgiving of a 1/32 error |
The honest note on the base joint: a screw driven into shelf end grain is not the strength. The glue is the strength, and the screw holds the joint clamped while the glue cures and stops the shelf twisting off its line. That is why the pilot hole is not optional and why the sequence in section 4 is glue, clamp, screw, never screw first.
The back panel is the other half of the joinery, and it is why this plan does not skip it. A rectangle of butt-jointed boards can rack, meaning it pushes into a parallelogram when you shove it across a floor. A thin skin fastened across the whole rear face cannot, and the case stops being a wobble and becomes furniture. If you want a case with no back at all, the floating shelf build is a different answer to the same wall, with its own bracket limits and every hole in the wall.
Cost: $0 for the base joint, $25–$45 for a pocket hole jig, $8–$14 for a dowel kit. Time: no different from the assembly in section 4, plus 20 minutes to cut a dado stack. One caveat: pick one joint for the whole case, because mixed joinery makes the shelf lines drift by the third row.
6. Finishing: sand first, seal once
Pine shows every scratch, every knot and every piece of squeeze out, and it shows them more clearly under a film finish than under paint. The sanding sequence is therefore the finish, not the preparation for it. Work 120 grit to remove saw marks, then 180 to erase the 120 scratches, then 220 only if the plan is a clear oil. Stop at 180 for stain or paint, because 220 closes the pores and the coating sits on top instead of into the surface.
Sand with the grain, always, and finish the front edges before the flats. A pine edge sanded across the grain takes a rounded shine that reads as worn rather than made, and it is the first thing a guest touches. Then raise the grain before the coating, the step almost every first builder misses: wipe the sanded case with a damp cloth, let it dry an hour, and sand once more at 180. Water lifts the fibres sanding flattened, and if they are not cut off now they stand up on the finished surface the first humid week.
For a clear route, a wiping varnish or hardwax oil in two thin coats, with a full overnight cure between them and a light 220 pass after the first. For a painted route, an acrylic primer and two coats of water based enamel, sanded at 220 between coats. Either way, seal the raw back edges of the shelves and the inside faces of the sides first: those surfaces drink, and one coat there keeps the case from cupping across a winter of radiators.
Cost: $12–$30 for primer and enamel, or $14–$32 for a wiping varnish or hardwax oil with brushes. Time: 60 to 90 minutes of sanding, 30 to 45 minutes per coat, 24 hours of drying across the weekend. One caveat: do not load books into a case that still smells of the finish, because paper takes the odor and holds it for months.
7. Anchoring it to the wall, in a rental
A 72 inch case loaded with books carries roughly 120 to 180 pounds, most of it high up, and a full row on the top shelf is enough to start a tip the bottom board cannot stop. Anchoring is not an upgrade on this build. It is part of the plan.
The strong version is two screws into studs. Find the two studs behind the case and drive a 2-1/2 inch screw through the top board's back edge into each. If the studs miss the case, a metal anti tip strap, the same hardware a school library uses, runs from the back of the top board to a stud or to two toggles and disappears behind the furniture.
The rental version depends on the lease. Most US leases allow small patched holes, and a strap with two 3/16 inch holes patches with a dab of spackle at move out; check the clause before assuming either way. Where no hole is acceptable, the honest options are three, and none of them is an adhesive strip.
- Wedge a filler strip between the case back and the wall, a 1x2 cut to length and friction held. The wall becomes the restraint.
- Load the bottom two rows heaviest and the top row with paperbacks only. Weight low is the cheapest anti tip device there is.
- Bolt the case to the floor through the bottom board instead. One hole in a floor reads differently to a landlord than two in a wall.
Plumb before you anchor, and check the wall rather than the case. A strap on a wall that leans a half inch over six feet pulls the case out of square over the first season, and the shelf lines show it as a step at the front edge. Level the loaded case, mark the high corner, and shim it with a folded card before the strap goes tight.
Cost: $0 for the load order, $5–$14 for a strap and its screws, $12–$25 for a stud finder, $6–$12 for two toggles if the lease allows them. Time: 20 to 30 minutes. One caveat: a strap that is slack is decoration, so take up the slack with the case empty, not after it is loaded.
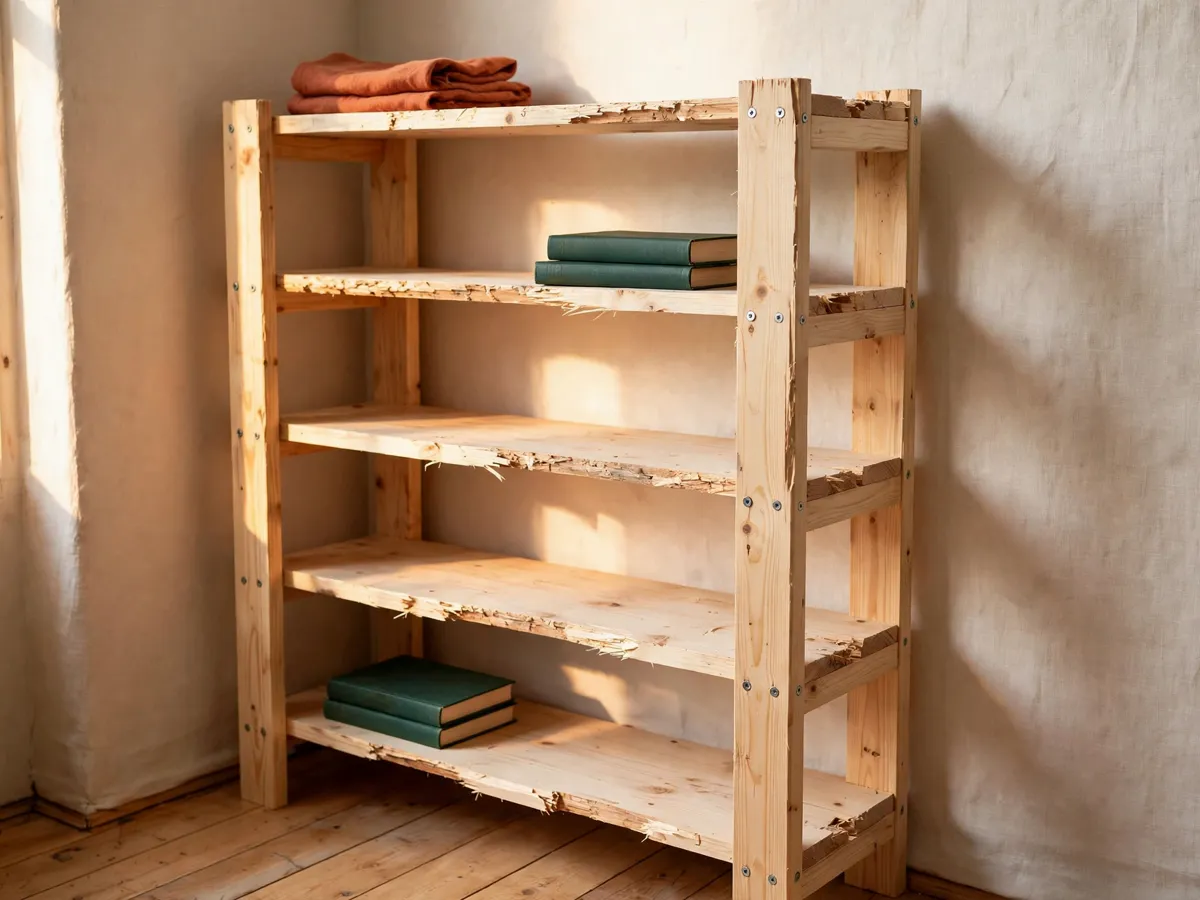
8. What to skip, and the five ways this build fails
The failure modes, in the order they show up
- Shelf lines that do not match between the sides. The first shelf sits level on one side and tilted on the other, and the tilt only shows once books fill the row. The fix is section 4 step 3: scribe both sides while they lie flat, off one marking pitch.
- Drift. A 1/8 inch error repeated across four shelves becomes a 1/2 inch error at the top, and the case closes crooked. The fix is one datum, the bottom edge of the side panel, and one spacer block cut to the 13-1/2 inch opening.
- Split pine near an end. A 1-1/4 inch screw in 3/4 inch stock splits the board more often than not without a pilot hole, and the split runs the length of the shelf. The fix is the 1/8 inch bit before every screw, no exceptions.
- A case that racks, because the back panel went on after the books or not at all. The rectangle becomes a parallelogram and the shelves tilt. The fix is the back panel before the case is moved for the first time.
- A visible front edge, because the 1x12s came from different boards at 11-1/4 and 11-1/2. The fix is cutting all six horizontals from the same two boards.
What to skip, because a first case is already long enough. Skip the dados, since a glued butt joint and a back panel carry this load. Skip the face frame on a 30 inch case, since the frame is a stiffener for a wider span. Skip the drawers, since a drawer opening is a square hole measured to a sixteenth and it doubles the build. Skip crown and base moulding, and skip oak: a 30 inch case carries books on glue and pine, and the hardwood line triples the lumber budget for no structural gain.
And do not leave the back panel to the last hour. It is the step a first timer pushes past the finish, because the case already looks done, and by then the shelves are loaded, so the panel that was going to hold the square arrives too late to matter. Fasten it before the case stands up, and the case looks built rather than attempted.
Cost: skipping the list above removes $40–$120 from the build. Time: none saved on the day, one to three hours saved on the plan. One caveat: every failure mode here is cheap to avoid during assembly and expensive to avoid afterwards.
9. Paint, stain, or leave the pine alone
Pine is the hardest wood to stain and the easiest to paint. The grain is uneven, with soft early wood and dense late wood bands, so a penetrating stain soaks in at different depths across the same board and comes up blotchy, and knots can bleed through a latex coat within a season.
The painted route is the forgiving one. A bonding primer, then two coats of water based enamel in satin or eggshell, covers the grain entirely and hides every patch and screw head. It is the right answer for a case against a colored wall, and the only route where a knotty builder grade board looks as good as a clear one.
The stained route needs one extra product and one extra hour: a pre stain wood conditioner, dried, then a gel stain wiped on and off, gives a far more even colour than a liquid stain on raw pine, because the gel sits on the surface rather than soaking into the soft bands. Two clear topcoats follow. The clear route, a single hardwax oil or wiping varnish, shows the grain and the knots, and is right when the boards were bought for their figure rather than their price. For a hallway or a child's desk, paint, because a painted coat takes a touch up from a $4 sample pot.
Whichever route, the interior faces get a coat. Raw pine inside a case absorbs room moisture across the seasons and the sides move unevenly, which is the slow version of the cupping that pulls shelf lines out of alignment. The back edges of the sides and the underside of every shelf are thirty minutes of work and the reason the case is still square in two years.
Cost: $12–$30 painted, $18–$40 stained with conditioner and gel, $14–$32 clear. Time: 30 to 45 minutes per coat plus 24 hours of drying. One caveat: test the route on the offcut from section 3 before the front faces get coated.
10. Four variations, by skill and by space
The core plan grows and shrinks, and most questions in the free plans index come back to whether a beginner should start at 72 inches at all. The marking pitch and the shelf span are the logic in every variation; what changes is the number of rows, the way they are held, and the width the case is allowed to reach.
The one board crate shelf, for a first build. Cut a single open box from one 8 foot 1x10 and set it on a desk or a windowsill: nine cuts, four joints, one afternoon, and it teaches the two habits this plan runs on, matched diagonals and a pilot hole before every screw. The full list is the one board crate plan, and it is the version to build if the words speed square are new.
The three shelf case, for a short wall or a room with a child. Keep the 30 inch width and drop the height to 46-1/2 inches: two sides, bottom, top and two fixed shelves, pitch unchanged at 14-1/4, marks at 14-1/4 and 28-1/2, top underside at 45-3/4, which is 46-1/2 minus the board. Three boards instead of four, about two hours less, and it stays under a window sill. It still gets a strap.
The adjustable version, for a household whose books change size. Drill four columns of pin holes instead of gluing the shelves, two per side, front and back, at 2 inch spacing from 3-1/4 to 68 inches, about 40 minutes with a clamp and a stop block. The shelves rest on 16 pins, $8 to $14, and row heights become a choice rather than a commitment. The case then relies on the back panel for its square, so the panel is not optional here.
The 36 inch face frame version, for a long wall and a heavy collection. Widen the case to 36 inches outside, which puts the shelf span at 34-1/2, and add a face frame: 1x2 pine around the front opening with two vertical stiles dividing the span in half. The frame is the stiffener and it hides every screw head. Two more 8 foot 1x2s, $18 to $32, about two hours more, and the marking pitch carries over unchanged. A 36 inch case with no frame and no division is the one variation in this list the plan does not recommend.
The leaning ladder shelf is the one variation that changes the geometry: five boards of increasing width, hinged to a wall at a 6 degree lean, with felt pads on the back legs. It is a smaller cut list, but it is unstable on a hard floor until it leans on something, and in a rental that something is usually the wall. Treat it as a display piece for paperbacks, and anchor it the same way as section 7.
Cost: $22–$48 for the crate, $70–$132 for the three shelf case, $78–$146 for the pinned version, $90–$164 for the 36 inch frame build. Time: one afternoon, 3 hours, 5 hours and 6 hours respectively. One caveat: the pitch and the span rule every variation, because the board thickness and the book do not change with the height.
11. The honest cost and time sheet
The headline number, $93 to $176, is lumber plus fasteners plus the back panel plus finish. It assumes a drill and one saw are already in the house and that the case is built from pine rather than hardwood. Here is where the range comes from, line by line.
| Line | Low | High | What moves it |
|---|---|---|---|
| Four 8 ft 1x12 pine boards | $36 | $64 | Grade, yard, and whether a fifth spare goes in |
| 100 ct box 1-1/4 in screws | $8 | $14 | Plain vs ring shank, interior vs coated |
| Yellow glue, 8 oz | $4 | $6 | Brand only |
| 1/8 in hardboard back, 4x8 panel | $22 | $38 | Whether the yard cuts the sheet for you |
| Sandpaper, 120, 180 and 220 grit | $6 | $10 | Sheets vs a sanding sponge, what the house has |
| Finish, painted to clear oil | $12 | $32 | Route chosen in section 9 |
| Anti tip strap and wall hardware | $5 | $14 | Strap vs toggles vs a filler strip |
Those seven lines add to $93 at the low end and $176 at the high. Add the two tools most first builders buy, a speed square at $12 to $25 and two bar clamps at $12 to $28, and the build is $117 to $229 all in. The yard cut fee, where it applies, is $1 to $3 a cut across the eight crosscuts.
Time, in the same honest shape. Marking and cutting is 90 minutes, or 20 if the yard cuts the list. Assembly is 3 to 4 hours with one glue pause. The back panel is 30 minutes. Sanding is 60 to 90 minutes, finishing is 30 to 45 minutes of work across 24 hours of drying, and anchoring is 20 to 30 minutes. Total active time about 6 to 7-1/2 hours, and total elapsed time across a weekend about 30 hours because of the cure.
The comparison that makes the range sensible: a flat pack bookcase of the same size retails well above this at most US chains, and it arrives with cam locks into particleboard and a back panel that gives back little. The build is not dramatically cheaper than the shelf it replaces. It is square, it is solid pine, and it can be moved twice without losing a shelf.
Cost: $93–$176 all in, $117–$229 with the square and the clamps. Time: 6 to 7-1/2 hours active, one weekend elapsed. One caveat: the spare board is the cheapest insurance in the list, and skipping it to save $12 is how one ruined side panel buys a second trip to the yard.
12. Five questions that come up on every build
Can I build this without a table saw?
Yes, and the plan is written that way. Every cut in section 3 is a square crosscut across a 1x12, which a fine tooth hand saw or a circular saw against a clamped straightedge does well. The easier route is the lumber desk: hand over the cut list, ask for the two 72 inch sides first, and check each piece at the counter.
How deep should the shelves be?
Deepest book plus about an inch, which for most US books lands near 10 to 11 inches, and that is why the plan uses a 1x12 at 11-1/4 inches actual. Measure the deepest hardcover and the largest paperback before the lumber, because a case an inch too shallow shows every spine forward of the shelf edge.
Does a 5 shelf bookcase need anchoring to the wall?
Yes, at 72 inches tall. Most of the load sits high, and a full top row is enough to start a tip the bottom board cannot stop. The strong version is two screws into studs behind the top board; the rental version is a strap, a filler strip, or a load order that keeps the heavy books in the bottom two rows.
Will 3/4 inch pine shelves sag under books?
Not at this span. The opening is 28-1/2 inches between the sides, which is why the case is 30 inches wide rather than 36, and a 3/4 inch board at that span carries a normal row of paperbacks and hardcovers. Past 30 inches, add the face frame with vertical stiles from section 10, or a 1x2 cleat under the shelf's back edge.
Paint or stain for a first bookcase?
Paint, unless the boards were bought for their figure. Pine stains blotchy because its grain is uneven, and the even version needs a conditioner, a gel stain and an extra afternoon. A bonding primer and two coats of water based enamel cover the grain, hide every screw head and knot, and take a touch up from a sample pot later.
Save these on Pinterest
Pin the cut list, the 14-1/4 marking pitch, or the rental anchoring options and come back to them on a free weekend. If you want a wider set of DIY projects to plan around this one, the full index links to bench plans, workbench plans and kitchen builds that share the same tool list.