 Plant As Deco
DIY Home Projects
DIY Curtain Rod: Dowel Plan with Finials and Center Support
By Plant As Deco · Updated 22 November 2026
A curtain rod built from a wooden dowel and two brackets is a small build with four jobs: hold the curtain weight, span the window without sagging, clear the trim, and look deliberate. This plan sizes the rod to the window, picks the dowel diameter by curtain weight, adds a center support when the span passes 48 inches, and finishes with finials. Pipe and conduit versions sit in the variations section as alternatives.
Weekend-ready: $20–$55, one afternoon. Renter-safe bracket options included.
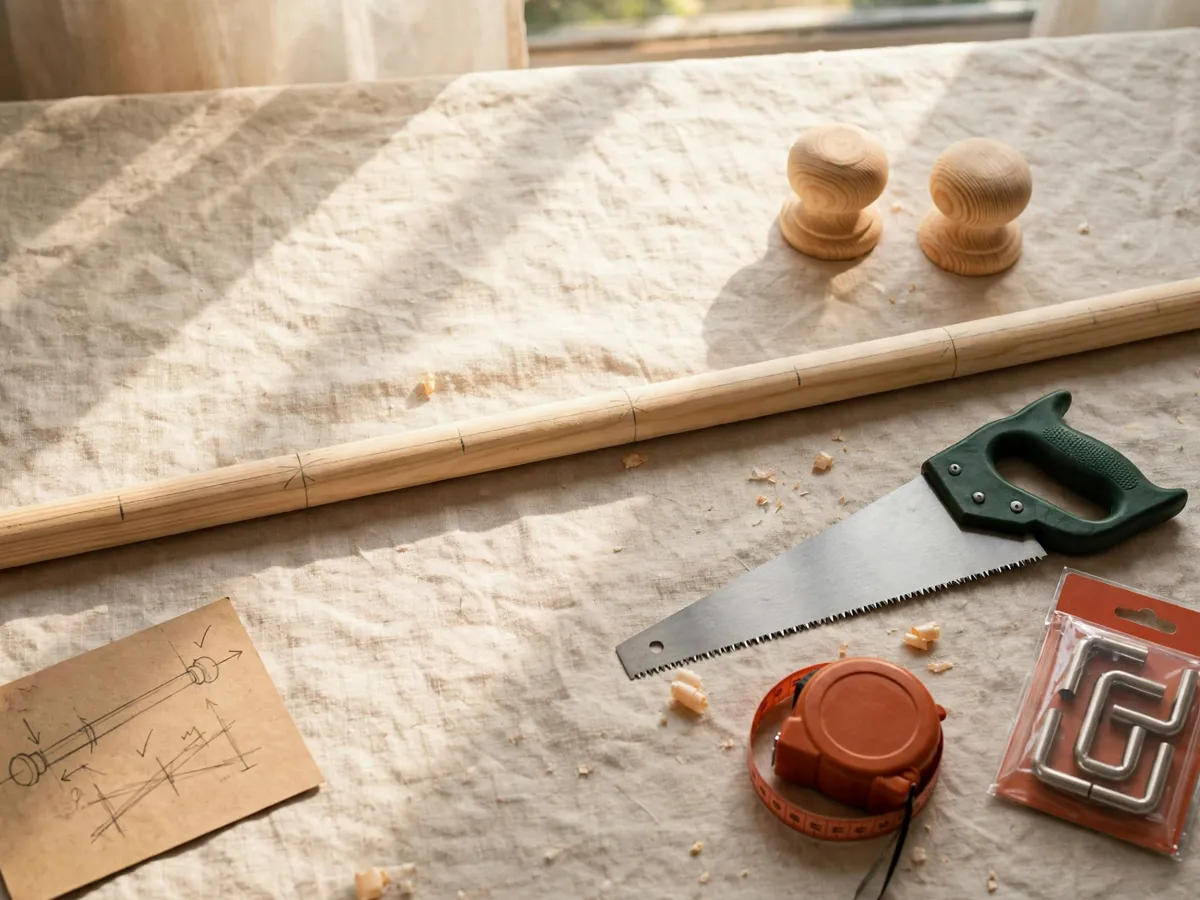
1. What a curtain rod has to do
A curtain rod is a beam, not a decorative stick, carrying a load that changes every time someone moves the curtain. Four jobs decide whether it works.
Hold the weight first: cotton panels run 2 to 3 pounds, blackout curtains on a wide window reach 8 to 12. Span second: a 1-1/4 inch dowel sags under its own weight past about 48 inches, which is why the center support exists (section 8). Clear the trim third: trim projects 1/2 to 3/4 inch, so the bracket needs enough projection that the fabric hangs in front of it. Look deliberate fourth: a sanded dowel with a matched finish and a finial on each end reads as a planned choice rather than a closet pole.
Cost: $0. Time: 10 minutes to read this section. One caveat: a rod that fails weight or span fails visibly, but one that fails trim clearance fails only when someone closes the curtain.
2. Size it to your window, not the catalog
Three measurements set the whole rod: window width, trim depth, and curtain weight.
Width: measure from outside edge to outside edge of the trim. A bedroom window runs about 36 inches, a living room window 48 to 60, a sliding door 60 to 72. Add overhang of 4 to 6 inches each side so the open curtain stacks on the wall instead of blocking the glass. Rod length = window width + 2 x overhang. A 36 inch window at 5 inches needs a 46 inch rod (36 + 2 x 5 = 46), a 60 inch window needs a 70 inch rod (60 + 2 x 5 = 70).
Trim depth: hold a tape perpendicular to the wall and read to the front edge of the trim. Most trim projects 1/2 to 3/4 inch; a deep sill nose reaches 1-1/2 to 2. The bracket projection must clear the trim by at least 1/2 inch, so 2-1/2 inch projection covers standard trim and 3-1/2 covers a deep sill. It is the one dimension that cannot be adjusted once the bracket is on the wall.
Weight: weigh the panels or read the package. Lightweight cotton or sheers run 2 to 4 pounds, mid-weight linen 4 to 7, lined or blackout 7 to 12. That number sets the dowel diameter next.
Cost: $0. Time: 15 minutes with a tape and a scale. One caveat: measure the trim depth, not the window depth, because the bracket sits on the wall beside the trim.
3. The dowel decision: diameter and where to cut it
- 1-1/8 inch dowel. Holds 2 to 4 pounds on a span up to 48 inches. The choice for sheers or light cotton on a bedroom window, and the cheapest. Past 48 inches it sags under its own weight, so even a light curtain forces a center support or a thicker dowel.
- 1-1/4 inch dowel. Holds 4 to 8 pounds on a span up to 48 inches without a center support, and longer with one. The default for most homes: mid-weight linen on a living room window without sagging, and most catalog brackets are sized for it.
- 1-1/2 inch dowel. Holds 8 to 12 pounds or more on a span up to 48 inches, and longer with a center support. The choice for blackout panels, wide windows, or a sliding door. Brackets must be sized for 1-1/2 inch and are less common on the shelf.
Hardwood dowels in these diameters sell in 36, 48, and 72 inch lengths plus 6 and 8 foot stock. Buy longer than the rod length and cut to the section 2 number with a hacksaw or miter saw, then sand the cut end. The bracket inner diameter has to match: brackets with a set screw tolerate a slight mismatch, fixed rings do not. A 1-1/8 dowel in a 1-1/4 bracket rattles, and a 1-1/2 dowel does not fit at all, so check the stated size on the package before leaving the store.
Cost: $5–$22 for the dowel. Time: 20 minutes at the store and 10 to cut. One caveat: a dowel slightly too long is fixable with a saw, but a dowel too short is firewood.
4. Tools you own versus tools you will buy
- Tape measure, sharp pencil, and a level 24 inches or longer. A rod 1/4 inch off level reads wrong from across the room.
- Hacksaw with a 24 tooth blade ($8 to $14) or a miter saw if one is already in the garage. It cuts a hardwood dowel in about 30 seconds.
- Cordless drill with a 1/8 inch bit. The pilot hole stops the bracket screw from splitting drywall or wood, and it is the step that separates a rod that holds from one that pulls out in a month.
- Stud finder ($12 to $25) if mounting into a stud. Two screws into one stud hold far more than any anchor.
- Sandpaper, 120 and 180 grit, and a rag plus finish if staining or painting (section 6).
What this build does not need: a router, a pocket-hole jig, a brad nailer, or a workbench. For which tools earn their shelf first, the beginner woodworking plans guide sorts a realistic first kit from one that assumes a full shop.
Cost: $0 if the drill and saw are home, $8–$25 for a hacksaw or a stud finder. Time: 10 minutes to gather. One caveat: check any borrowed level against a known flat edge first, because a dropped level lies.
5. Material and cut list, with the math shown
The worked example is a 48 inch window with 5 inch overhang each side, carrying mid-weight linen panels (about 6 pounds). It lands on a 1-1/4 inch dowel at 58 inches, and the math scales to any window.
| Part | Spec | Qty | Notes |
|---|---|---|---|
| Wooden dowel | 1-1/4 in dia, cut to 58 in | 1 | Buy a 72 in length, cut to size |
| Brackets | 1-1/4 in inner dia, 2-1/2 in projection | 2 | Add 1 center support if span > 48 in |
| Finials or end caps | Fits 1-1/4 in dowel | 2 | Ball, cap, or return style |
| Mounting screws | 1-1/4 in, #8 pan head | 4 to 6 | 2 per bracket into stud or anchor |
| Wall anchors (if no stud) | Toggle or self-drilling, 30 lb+ rated | 4 to 6 | One per screw in drywall |
| Sandpaper | 120 and 180 grit | 2 sheets | For the cut ends |
The math. Rod length: 48 + 2 x 5 = 58 inches, so buy 72 and cut 14 off. Diameter: 6 pounds of panels sits squarely in the 1-1/4 range from section 3. Bracket count: the span between end brackets equals the window width (58 - 2 x 5 = 48), and a center support joins when the span passes 48 inches, so the count becomes 2 + 1 = 3. A 96 inch span needs 3 brackets, a 144 inch span needs 4. Screws run 2 per bracket: 4 for two brackets, 6 with a support. Anchors only matter when a bracket misses the stud; a toggle rated 30 pounds or more per anchor in half inch drywall holds this load.
Totals: a 72 inch hardwood dowel runs $7 to $14, brackets $6 to $14 a pair, ball finials $5 to $12, screws and anchors $4 to $10, sandpaper $4 to $6. A center support adds $4 to $8 when needed, and finish adds $0 to $18 on top.
Cost: $20–$45 without finish, $20–$55 with. Time: 30 minutes to shop and 15 to cut. One caveat: buy the brackets and the dowel on the same trip, because the inner diameter has to match and returns are the errand this build does not need.
6. Cutting and finishing the dowel
Mark the rod length on the dowel and wrap masking tape around the line: the tape gives the saw a clean edge and stops splintering. Cut on the edge of a table, the offcut side supported so it does not snap. Sand both cut ends with 120 then 180 grit, about two minutes per end, and knock factory marks off the full dowel with a light 180 pass. Wipe the dust off before finishing.
Three honest finishes. Raw birch or maple with clean grain costs nothing. Stain ($9 to $18) gives a walnut or espresso tone with a pre-stain conditioner first. Paint ($6 to $12 sample quart) matches the wall or reads as an accent. Let the finish dry fully before mounting, because a tacky dowel marks the brackets.
Cost: $0 raw, $6–$18 stained or painted. Time: 15 minutes of work plus 2 to 8 hours drying. One caveat: stain a scrap of the same dowel first, because hardwood takes color differently from the pine sample boards show.
7. Mounting the brackets
Height: mount the brackets 4 to 6 inches above the top of the trim. Higher than 6 inches looks floaty; lower than 4 crowds the trim, and the higher rod makes the window read taller. Mark both sides with a pencil and level. Horizontal: the bracket center sits at the overhang distance from the trim edge (5 inches at a 5 inch overhang), and the distance between the two marks must equal the window width, not the rod length. Level across one more time before drilling.
Studs first. Most US homes have studs every 16 inches, and at least one bracket usually lands near one. Drill a 1/8 inch pilot hole and drive a 1-1/4 inch number 8 screw into the wood; two screws into a stud hold 50 pounds or more in shear. When no stud is there, a toggle bolt rated 30 pounds or more per anchor in half inch drywall holds a mid-weight curtain, and self-drilling anchors rated 50 pounds hold heavier loads.
No-drill options for renters. A tension rod inside the window casing holds about 5 pounds on a 48 inch span with no tools and no holes, though it sits inside the frame instead of above it and slips under anything heavier. Adhesive hooks hold about 3 to 5 pounds per hook on smooth paint, not on texture, and neither route holds a blackout curtain. For what a rental wall carries at bigger loads, the floating shelf cut list guide covers the same anchor ratings.
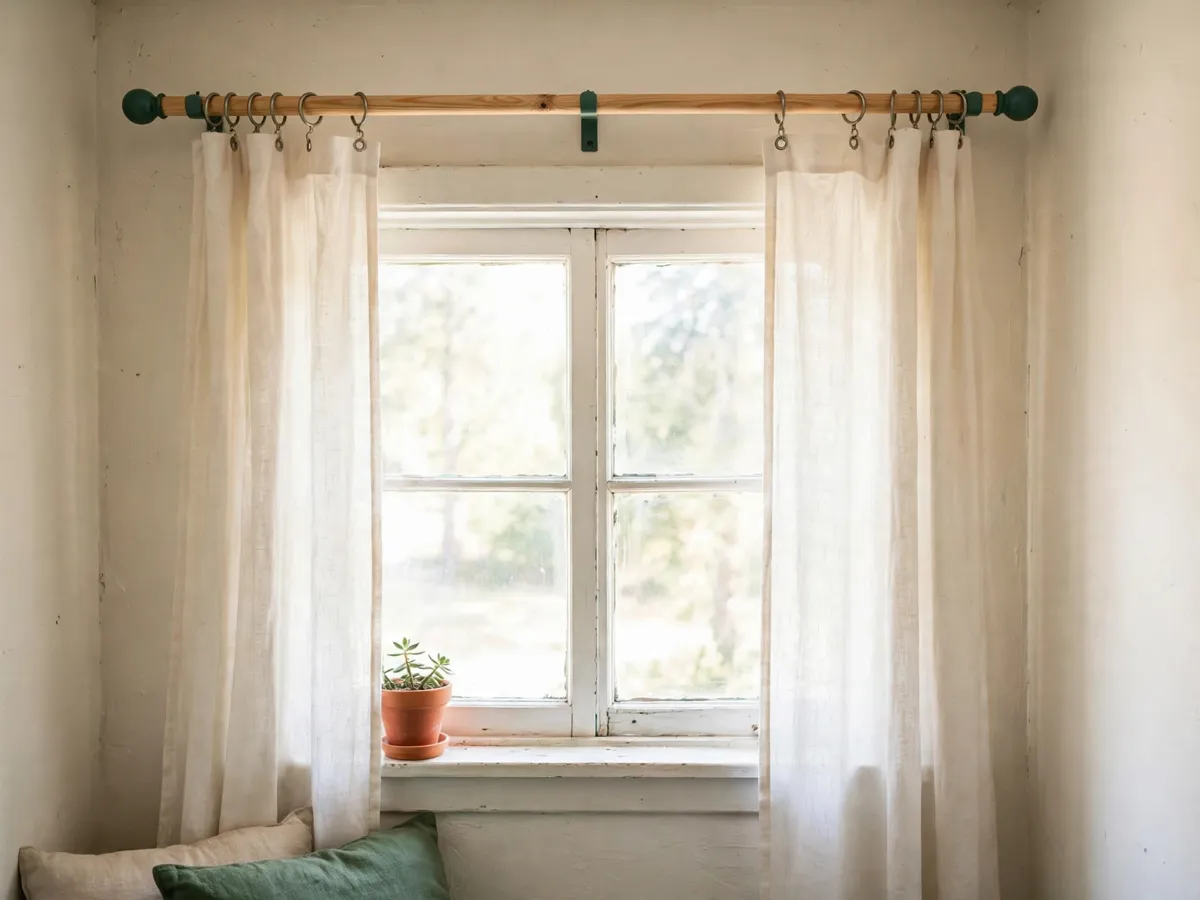
Cost: $0 into a stud, $4–$10 for anchors. Time: 20 to 40 minutes for two brackets. One caveat: check the level after every screw, not just before the first one.
8. The center support
The rule: when the span between the end brackets exceeds 48 inches, add a center support. The span equals the window width, so a 36 or 48 inch window holds with two brackets and a 60 inch window sags within a week under a mid-weight curtain. The support goes at the exact midpoint, 30 inches from each end bracket on a 60 inch window, because an off-center support leaves the longer side sagging.
Install it like the end brackets: mark the midpoint at the same height, level across, drill a pilot hole, and mount into a stud or anchor. Most center supports are U-shaped cradles the dowel rests in, so the rod lifts out for curtain changes. The bracket sits above the window on the wall, and on a deep header the screw holds as well as in a stud. Keep it off the trim, which is not structural.
Cost: $4–$8 for the bracket. Time: 15 minutes to mount. One caveat: measure to the midpoint from each end bracket rather than eyeballing it.
9. Finials and end caps
A finial caps each end of the dowel and stops the curtain sliding off. Ball finials screw onto a threaded end and are the most common; cap finials push on and read modern; a return bracket curves back to the wall and blocks light leak around the curtain edge. Prices: ball or cap pairs $4 to $12, a return pair $8 to $16. The budget route is a wooden drawer knob ($2 for two) screwed into the dowel end after a 1/4 inch pilot hole.
Attach finials after cutting and finishing but before the rod goes up. Seat each one flush and tighten the set screw. Do not glue them: a finial has to come off to thread the curtain on.
Cost: $4–$16 for a pair. Time: 5 minutes to attach. One caveat: test the finial on the actual dowel in the store, because a finial labeled 1-1/4 inch sometimes fits a 1-3/8 dowel.
10. Hanging the curtains
- Rod pocket. A sewn channel slides over the dowel. Simplest header, no rings, but sliding is stiff and the rod comes down to change panels.
- Grommets. Metal rings in the header slide smoothly and fold evenly, the choice for daily use. A 1-1/4 inch dowel needs grommets with a 1-1/2 inch inner diameter.
- Rings with clips. The curtain lifts off without taking the rod down. A set of 12 to 14 rings runs $8 to $20, and a 50 inch panel needs about 10 to 12 of them.
Curtain width should be 1.5 to 2 times the rod length: a 58 inch rod needs 87 to 116 inches of fabric, which two standard 50 inch panels cover. Lifting the loaded rod is a two-person job past 48 inches; a 58 inch dowel weighs about 2 pounds and the curtain adds 4 to 8, so the solo lift is 6 to 10 pounds at arm length.
Cost: $0 for rod pocket, $8–$20 for rings. Time: 15 minutes with two people, 30 alone. One caveat: a curtain too narrow for the rod will not close, and ring spacing does not fix that.
11. Variations by skill and look
The alternatives change the material, not the math: window sizing, bracket count, and the 48 inch center support rule stay the same.
Black iron pipe (industrial look). A 1/2 or 3/4 inch pipe threads into two floor flanges mounted with lag screws into studs. A 1/2 inch pipe at 60 inches holds 15 pounds without a center support. Pipe $12 to $25, flanges $8 to $16 a pair, and the 5 pound assembly is a two-person lift. Wipe the factory oil off before handling. The wine rack build uses the same pipe and flange route.
Electrical conduit (budget metal). Half inch EMT is thin-wall galvanized steel at $4 to $8 for 10 feet, cut with a hacksaw in under a minute. Set-screw clamps replace the brackets, and a 60 inch length holds 6 to 8 pounds. Add a clamp past 48 inches. The coating peels off and bare steel takes spray paint.
PVC (no-tool budget). A 1 inch or 1-1/4 inch PVC pipe cuts with a utility knife at $3 to $7 per 10 feet. The honest limit is 3 to 5 pounds on a 48 inch span, because PVC flexes beyond that: sheers on a bedroom window, not blackout panels. It takes spray paint but not stain.
Closet rod (heavier dowel). A 1-5/16 or 1-3/8 inch closet rod is denser and rated for hanging clothes: 10 to 15 pounds on a 48 inch span without sagging. It runs $10 to $20 for 48 to 72 inches with wider brackets, the pick for a heavy lined curtain where a 1-1/2 inch dowel is not available. The tool list it shares with bookshelf plans and a one-board crate barely changes.
Cost: $3–$25 depending on the variant. Time: same as the primary plan. One caveat: the bracket count and center support rule do not change, because the span is set by the window.
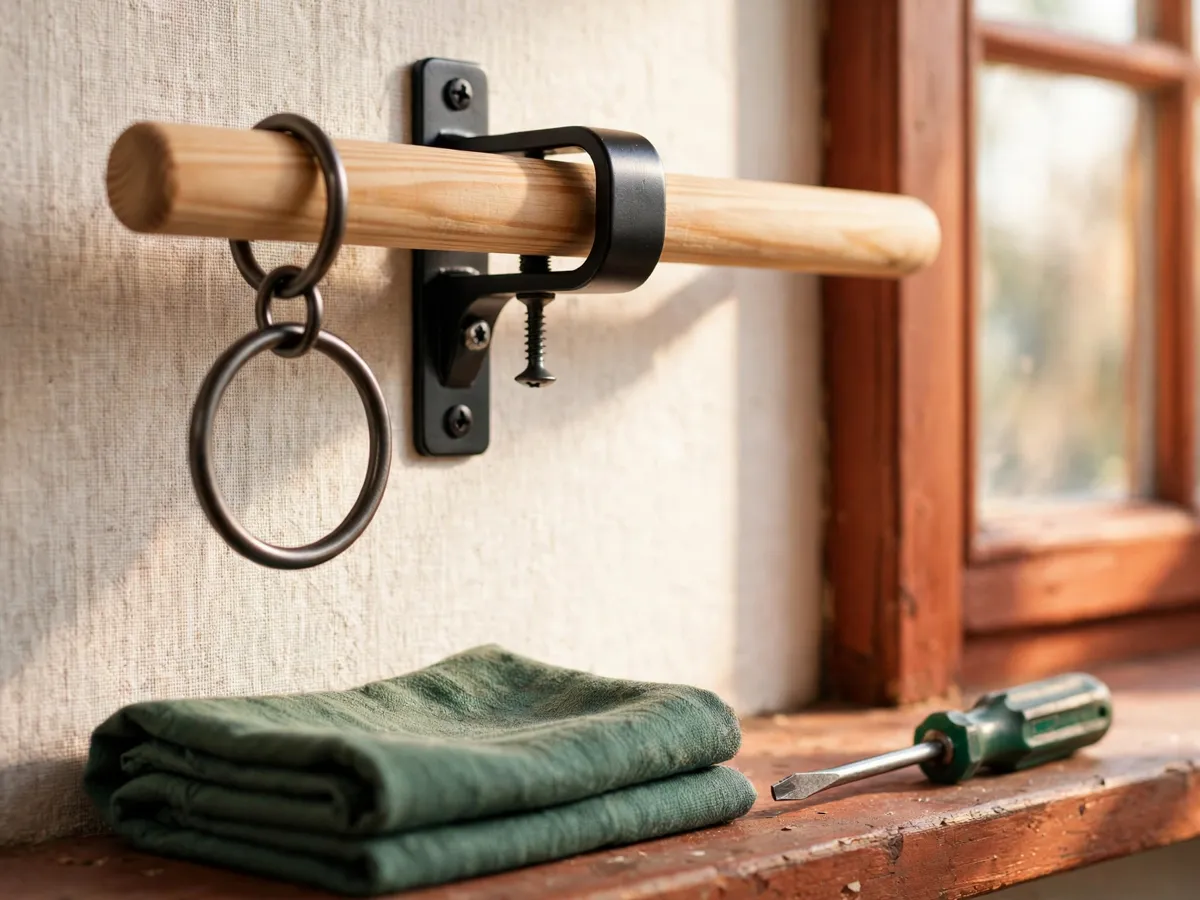
12. Common failure modes and fixes
The five ways a dowel curtain rod fails, and what to do
- Sagging rod. Cause: a span over 48 inches with no center support, or a dowel too thin for the curtain weight. Fix: a support bracket at the midpoint, or step up a diameter (1-1/8 to 1-1/4, or 1-1/4 to 1-1/2).
- Bracket pull-out. Cause: a screw in bare drywall, or an anchor rated below the load. Fix: a toggle rated 30 pounds or more per anchor, or move the bracket onto a stud.
- Too-short overhang. The rod ends at the trim and the curtain covers 2 to 3 inches of glass on each side. Fix: recut to window width + 2 x overhang (section 5).
- Split cut end. Cause: a dull blade or no tape line. Fix: masking tape at the mark, a fresh 24 tooth blade, and sanding 120 then 180 grit.
- Rings catching. Cause: ring inner diameter too small for the dowel, or a lip inside the bracket ring. Fix: rings with 1/4 inch more inner diameter than the dowel.
Cost: $0 to $10, since most fixes reuse the same hardware. Time: 10 to 30 minutes each. One caveat: every failure here is cheaper to prevent during the build, and the center support is the one that matters most.
13. Cost and time, honestly
| Line | Low | High | What moves it |
|---|---|---|---|
| Hardwood dowel, 1-1/4 in x 72 in | $7 | $14 | Wood species, store |
| Two brackets, 1-1/4 in | $6 | $14 | Material and projection |
| Pair of finials | $5 | $12 | Style and material |
| Screws and anchors | $4 | $10 | Stud vs anchor, toggle vs self-drill |
| Center support bracket (if needed) | $4 | $8 | Only when span exceeds 48 in |
| Sandpaper, 120 and 180 grit | $4 | $6 | Whether the house has some |
| Finish (stain, paint, or none) | $0 | $18 | Raw, stain, or paint route |
Time, same shape. Measuring 15 minutes, shopping one trip of 45, cutting and sanding 15, finishing 15 of work plus 2 to 8 elapsed hours of drying, mounting 20 to 40 (35 to 55 with a center support), hanging 15 with two people. Active time: 1-1/2 to 2-1/2 hours; elapsed, one afternoon.
Cost: $20–$55 all in. Time: 1-1/2 to 2-1/2 hours active, one afternoon elapsed. One caveat: drying time is what stretches the build past a single sitting, and skipping it leaves a tacky dowel that marks the brackets.
14. Five questions that come up on every build
What size dowel do I need for a curtain rod?
A 1-1/4 inch dowel holds 4 to 8 pounds on a span up to 48 inches and is the default for most homes. Step down to 1-1/8 for sheers on a narrow window, up to 1-1/2 for blackout panels or wide windows. Section 3 has the full weight table.
When does a curtain rod need a center support?
When the span between the end brackets exceeds 48 inches, which happens exactly when the window is wider than 48 inches, because the brackets sit at the overhang distance. One support at the midpoint covers up to 96 inches of span; two at thirds cover up to 144.
Can I hang a curtain rod without drilling?
For lightweight curtains, yes. A tension rod inside the casing holds about 5 pounds on a 48 inch span, and adhesive hooks hold 3 to 5 pounds each on smooth paint. Neither holds a blackout curtain or a wide window. Section 7 has the limits.
How long should a curtain rod be compared to the window?
Window width plus 2 times the overhang, at 4 to 6 inches of overhang per side. A 36 inch window needs a 46 inch rod and a 48 inch window a 58 inch rod. The overhang lets the curtain stack on the wall beside the glass instead of blocking it.
How do I stop a curtain rod from sagging?
Add a center support at the midpoint when the span passes 48 inches, or step up the dowel diameter. A 1-1/4 inch dowel sags under a mid-weight curtain past 48 inches, and the support mounts exactly like the end brackets. Section 12 lists the other failure modes.
Save these on Pinterest
Pin the sizing math, the cut list, or the center support rule and come back to them when the window is measured. This guide and the rest of the DIY projects live together there, from shelf plans to workbench builds that share the same beginner tool list.