 Plant As Deco
Indoor Plant Stands
DIY Indoor Plant Stand Plans: 5 Builds for Small Spaces
By Plant As Deco · Updated 20 November 2026
A plant stand does three things a side table cannot: it lifts a pot into the light, it gives a trailing plant height to fall from, and it hands the floor back. Below are five indoor plant stand plans, each cut from pine with hand tools: a single-pot column, a leaning stand, a window rail shelf, a stepped pyramid, and a flip from salvaged deck boards. Every build carries a real cut list, material list, a cost you can check at the rack, and a time estimate. None needs a workshop.
Weekend-ready: $12–$85 per build, one afternoon to a weekend. Renter-safe: four of the five stand on the floor and lean on a wall at most, and the fifth leaves two holes you can patch in minutes.
Why a plant stand solves a small-space problem
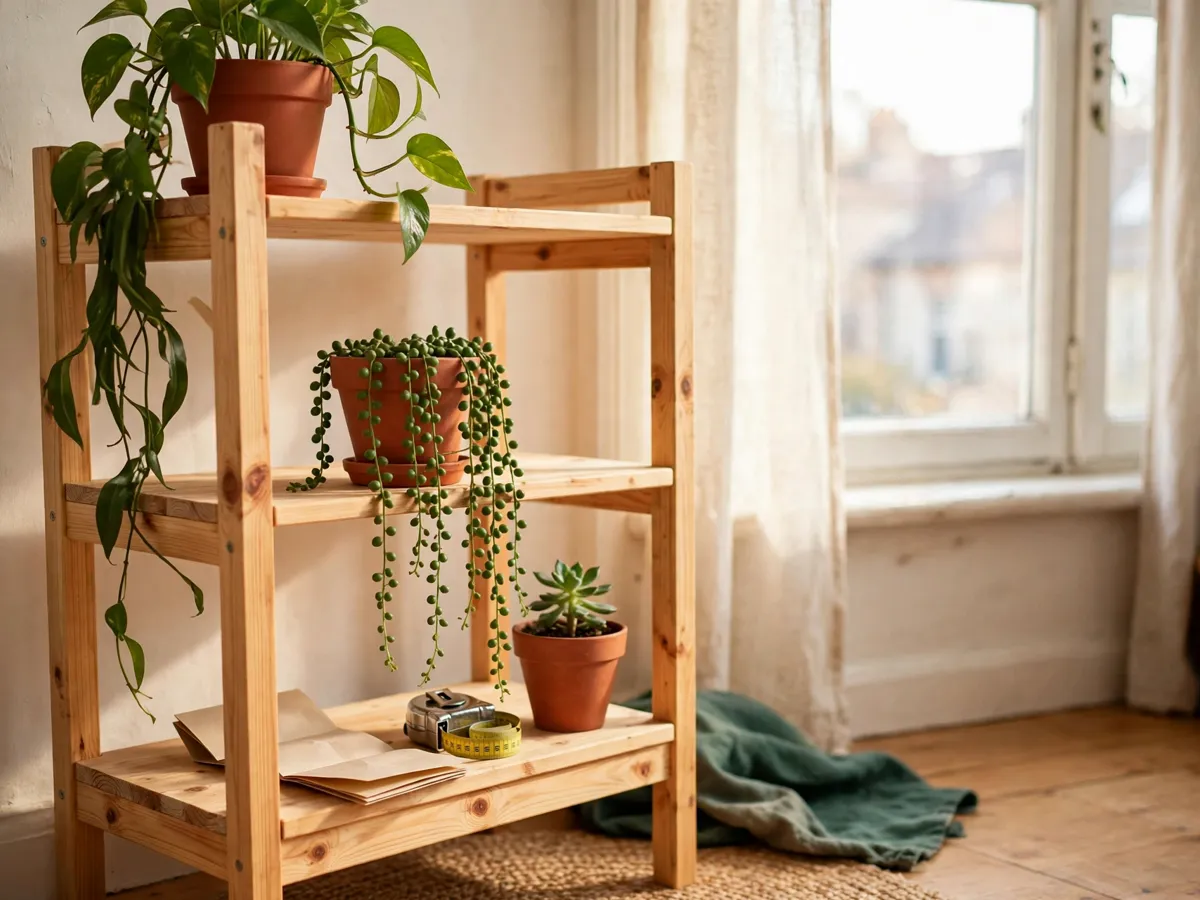
A pot on the floor takes up space the plant is not using. A twelve inch pothos sits eight inches tall, most of its leaves in the shadow of a sofa arm. Raise it twenty inches and the same plant reads as a full-height feature, the floor under it stays easy to clear, and the light it gets improves for free. That is the argument for a stand: two square feet of floor turned into three tiers displays six containers where one sat.
Because you cut the boards yourself, the footprint matches the space you have, from a narrow hallway to the strip of light beside a window. The limits matter too. A stand raises a container; it does not create light, and it does not carry what a table would. Keep the tallest build under the window line and every pot inside what pine can hold, since a twelve inch container of wet soil runs 12 to 15 pounds.
- Footprint: measure the floor square, then add the mature width of the plant.
- Height: the highest container sits at or just under the sill line.
- Tiers: each one you add pushes the lower pots further from the glass.
Entry cost: the cheapest build here runs $12 in pine and screws. Time: 45 minutes to measure and choose, one afternoon to finish the first stand.
Read the plant before you build the stand
The stand should fit the plant already in your hands, not the one on a nursery tag. Answer four questions about the container before you write a line on a cut list, because skipping this step is how people build a handsome stand that the plant outgrows in six weeks.
- What is the outside diameter of the pot, and does it have a drainage hole?
- How wide does the plant get at maturity, not at checkout?
- Does it grow up, sprawl sideways, or trail downward?
- How much light does it need, and how far is that from the nearest window?
Diameter first. A tier exactly the size of a pot looks tight and catches every drop out of the drainage hole. Add two inches to the outside measurement and you have a shelf that reads intentional, with room for a saucer: an eleven inch tier for a nine inch container. Habit second. Upright plants, a snake plant or a small ficus, want a low wide tier near the floor. Trailing plants, pothos or ivy, want the top tier so the leaves fall past the edge.
Weight third, light last. Large containers want width rather than height, and the heaviest pot goes on the lowest shelf every time. Anything more than three feet from a bright window competes with the tier above it, so measure the drop from the glass to the floor before you set the top height. If the shelf sits in dim air, pick from the low-light indoor plants list before you decide how many tiers to build.
One beginner rule: size the stand for the plant you own today, then leave a tier for the one you bring home in spring.
The five builds at a glance
All five builds share one shopping logic: a pine board or two, one box of screws, one sheet of abrasive. They differ in footprint, height and time. Pick by the space you have rather than the picture you like, and read the difficulty line as the order a beginner should work through them.
| Build | Footprint | Height | Lumber | Cost | Time |
|---|---|---|---|---|---|
| Single-pot column | 12 × 12 in | 22 in | 1 pine board | $12–$18 | 90 min |
| Leaning ladder | 16 × 14 in | 47 in | 2 pine boards | $22–$34 | 3 hr |
| Window rail | 30 in wide | at the sill | 1 board, 2 supports | $18–$28 | 2 hr |
| Stepped pyramid | 18 × 18 in | 30 in | 2 pine boards | $26–$40 | 1 day |
| Deck-board flip | 22 × 11 in | 26 in | 1 salvaged section | $0–$15 | 3 hr |
Difficulty runs down the list. The column and the flip are first project territory: straight cuts, square joints, no angles to chase. The leaning stand and the pyramid ask you to keep two rails parallel. The window rail is the only build that touches a wall, so it is the one a renter thinks about twice.
Build one: a single-pot pedestal
The simplest stand in this guide is a small box on four legs. It lifts one pot to eye level beside a window, takes ninety minutes, and the top board hides a crooked edge. If you have never held a saw, start here. Reach for it when you own one specimen plant: a ficus, a calathea, a pot you want the room to look at.
Cut list: two 1x8 pine pieces at 12 inches (top and base) · four 1x2 pieces at 19-1/2 inches (legs) · 1-5/8 inch screws, sixteen · one sheet of 120-grit abrasive. Materials: $12–$18. Time: 90 minutes, plus an hour to seal.
- Lay the top board face down on cardboard and mark 3/4 inch in from every edge. Those marks are where the legs land.
- Stand one leg on a mark, tilt it out five degrees, and drive two screws through the board into it. Repeat on all four so the base splays instead of tipping.
- Flip the piece over, set it on the floor, and slip a sliver of wood under the short leg until the wobble stops.
- Screw the two 1x2 rails between the legs at 6 inches up, one on each side, so the frame cannot rack sideways.
- Work both faces and all edges with abrasive, wipe the dust, and seal both sides so a watering spill cannot warp the pine.
Two details separate a solid column from a wobbly one. The five degree splay widens the footprint as the height rises, which stops a trailing vine from tipping the whole thing. And two screws per leg, because a single screw acts as a hinge while two make a joint. Swap the 1x8 for a 1x10, keep the leg length, and this pedestal carries a fourteen inch pot for about $6 more.
Build two: a leaning ladder stand
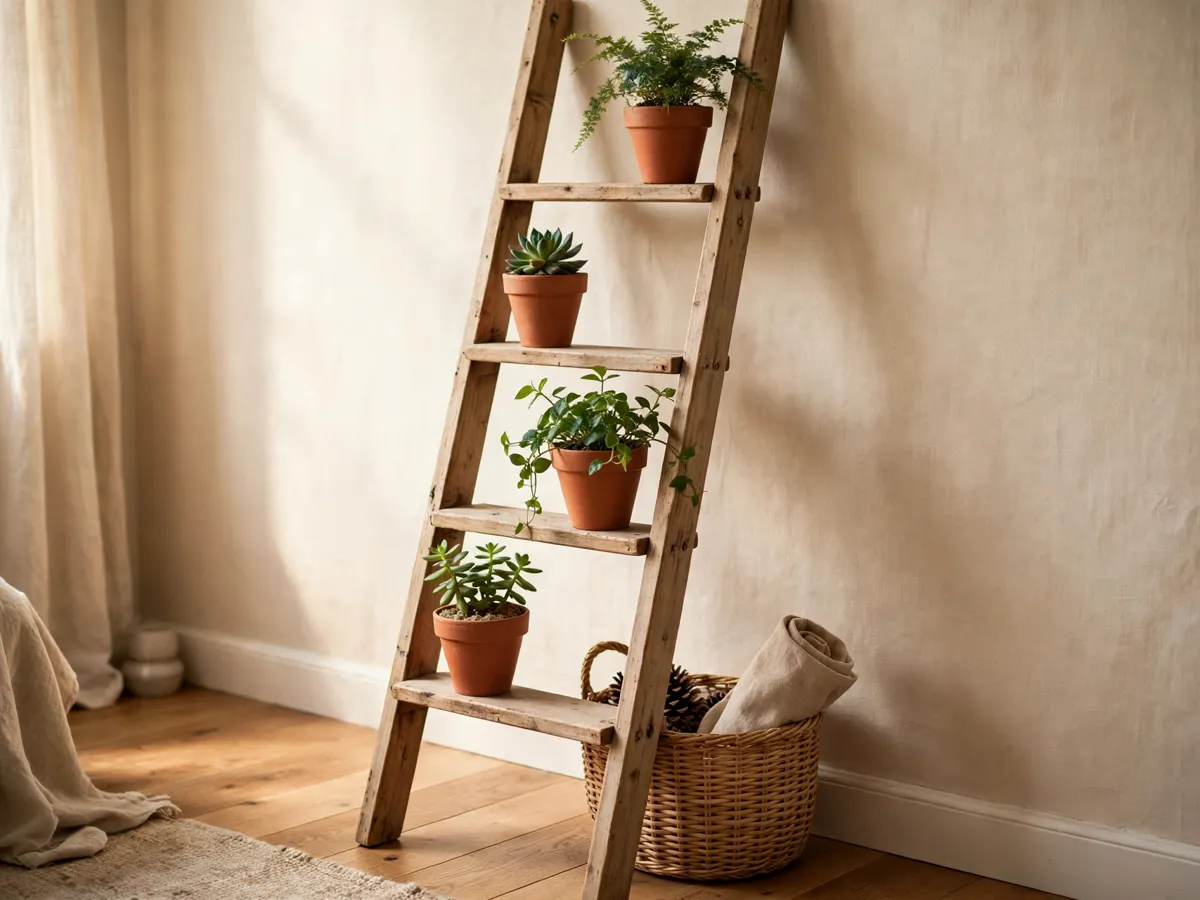
A leaning stand is the tallest display you can build without anchoring anything to a wall. Two long rails rest against the wall at the top and on the floor at the bottom, and short cross pieces between them become the rests a pot sits on. It suits the narrow strip of light between a window and a door.
Cut list: two 1x3 pine rails at 46 inches · three 1x4 cross pieces at 14, 16 and 18 inches · two 1x2 feet at 14 inches · 1-1/4 inch screws, twelve. Materials: $22–$34. Time: about three hours, most of it on the angle.
- Lay both rails flat and aligned end to end, then mark the three rung heights at 12, 24 and 36 inches from the bottom.
- Screw the shortest cross piece at the top mark first. It sets the width for everything below it, so square it before you move.
- Work downward one cross piece at a time, checking the width at each. The rails want to spread as you go, and that spread keeps the build stable.
- Attach the two feet across the bottom, perpendicular to the rails. This piece stops the stand sliding forward on a smooth floor.
- Lean it against the wall, set a heavy book on the lowest rest, and leave it overnight before any container goes on it.
The lean is the design. At about twelve degrees from vertical, gravity holds the top against the wall and the feet bite into the floor. Steeper and the stand tips backward with a wet pot on the top rung; shallower and the cross pieces tilt the containers toward the wall. Put a rubber pad under each foot on hardwood, keep the heaviest pot low, and nothing is fixed to the wall, so the layout moves with the light.
Build three: a window rail shelf
The window rail puts the most plants closest to the light. Instead of a freestanding frame, one board spans the wall under the sill and holds four containers in the brightest air in the room. It is narrow, cheap, and reads built-in rather than borrowed, which makes it the build a small apartment reaches for when the floor is already full.
Cut list: one 1x10 pine board at 30 inches · two wood supports rated for the span · 2-inch screws · one sheet of 150-grit abrasive. Materials: $18–$28. Time: about two hours, plus the cure on the sealant.
- Hold the board under the sill and mark where the wall framing sits behind the drywall. Both supports have to land on framing.
- Confirm each mark by driving a thin screw into it: if it spins freely, there is nothing behind it and the support moves.
- Mount the two supports level, checking left to right and front to back with a small spirit level before the last turn.
- Set the board on the supports, mark the holes from above, then drive one screw through each hole.
- Seal the underside and both ends. Water runs off a saucer down the back edge, and raw pine drinks it.
Renter note: this is the only build of the five that leaves holes. Two to four screws into framing patch with spackle in minutes, and most leases treat a filled hole as normal wear. If you cannot make holes at all, build the leaning stand into the same strip of light. Adhesive ledges hold a small pot or two and nothing beyond that.
Keep the span at 30 inches or less. A 1x10 of pine sags visibly over 36 inches with three wet containers on it, and a sagging rail tips every saucer toward the room. If the window runs wider, build two rails with a gap. The same rule shapes the floating shelf cut list: short spans, stiff boards, weight near the supports.
Build four: a corner pyramid
A pyramid is three stepped tiers that rise from front to back, and it makes the most of a corner nobody uses. Each step sits in its own band of light, so the fern at the top gets the window and the shade-tolerant pot at the bottom gets the floor. It asks for more cuts than the column and every cut is square.
Cut list: three 1x8 pine shelves at 18, 14 and 10 inches wide, each 11 inches deep · four 1x2 stringers at 8, 14 and 20 inches · 1-1/4 inch screws, twenty · one small bottle of wood glue. Materials: $26–$40. Time: a full day with drying waits.
- Draw the stepped profile on cardboard and hold it in the space. Adjust the depths until the back tier clears the front one by four inches.
- Build two identical side frames: screw each stringer between the shelf positions so the profile matches on both sides.
- Stand one frame up, glue and screw the three shelves into it, then set the second frame on and drive the remaining screws.
- Measure both diagonals. Equal numbers mean square; a half inch difference means the pyramid is a parallelogram and it will lean.
- Let the glue cure for the hours printed on the bottle before a single pot goes on top.
Step depth decides whether this looks good. Ten inches per tier hides the plant behind it; fourteen shows every pot in the row. With eight inch nursery containers, keep the steps shallow and the build stays compact. Turn it fifteen degrees out of the wall and the pyramid works as a divider between a desk and a sofa, which is the advantage a stepped shape holds over a shelf: it reads as design from three sides.
Build five: the one-afternoon pallet flip
A sound pallet section is already three slats and two stringers, which is most of a stand before you cut anything. It is the cheapest build here and the fastest, the one to reach for when you want a tiered rack this week for close to nothing. The trade is honesty about the source: use only a section stamped HT, and skip anything marked MB.
Cut list: one heat-treated section at roughly 22 × 11 inches · two 1x2 cleats at 11 inches · four felt pads or caster feet · 1-1/4 inch screws, eight. Materials: $0–$15 once you own the abrasive and a sealer. Time: one afternoon, about three hours with prep.
- Check the stamp first, then pull the section down to size only if the original footprint is too wide for the space.
- Work every face with 80-grit abrasive, then 150, since deck board holds grit in the grain. Wipe it damp and let it dry overnight.
- Stand it on its short end so the slats become three horizontal shelves, the lowest one forward of the wall.
- Screw the two cleats across the back as a spine so the three tiers cannot twist.
- Add the pads or feet, seal the front faces, and put the lightest pot on the top shelf.
At 11 inches deep the tiers sit close and the back row loses light, so hang the trailing plants on top where they fall past the front edge, and keep the shade-tolerant pots below. If salvage work caught your attention, the pallet projects for beginners guide covers sourcing, stamps and fasteners that survive watering spills.
Cut lists, materials, and what each build costs
Every number below is a US home-center estimate read off a rack tag, not a national average. Pine moves with the season, so treat the ranges as the shape of a budget rather than a quote. What holds is the ratio between the builds: the column is cheap, the pyramid is expensive, and the flip is nearly free.
| Stand | Lumber | Fasteners | Finish | Total | Time |
|---|---|---|---|---|---|
| Column | $8–$12 | $3 | $1–$3 | $12–$18 | 90 min |
| Leaning stand | $16–$24 | $4 | $2–$6 | $22–$34 | 3 hr |
| Window rail | $11–$17 | $5–$8 | $2–$3 | $18–$28 | 2 hr |
| Pyramid | $20–$30 | $5 | $1–$5 | $26–$40 | 1 day |
| Flip | $0–$8 | $3–$5 | $2–$20 | $0–$15 | 3 hr |
Lumber is the small line, and fasteners plus finish are the surprise. Buy one box of screws big enough for every build instead of five small boxes and the per-stand cost drops three or four dollars. One can of sealer covers all five stands, so split it across the project. Most stores cut the first two or three pieces free, which turns the pyramid from a measuring day into an assembly day.
Read the true width off the end grain in the aisle, since a board sold as a 1x8 measures closer to 3/4 by 7-1/4. If you would rather study a full drawing first, the beginner woodworking plans page covers a material sheet and a cut list, the skill every stand here assumes.
Screws, glue, and the joints that hold
A plant stand carries a wet, shifting load: soil settles, a vine thickens on one side, and someone bumps the frame while watering. Two rules cover every build above. A screw alone is a hinge, so put two across a joint and it becomes a rigid frame. Glue carries the stiffness while the screw carries the clamp, so use both wherever a container sits.
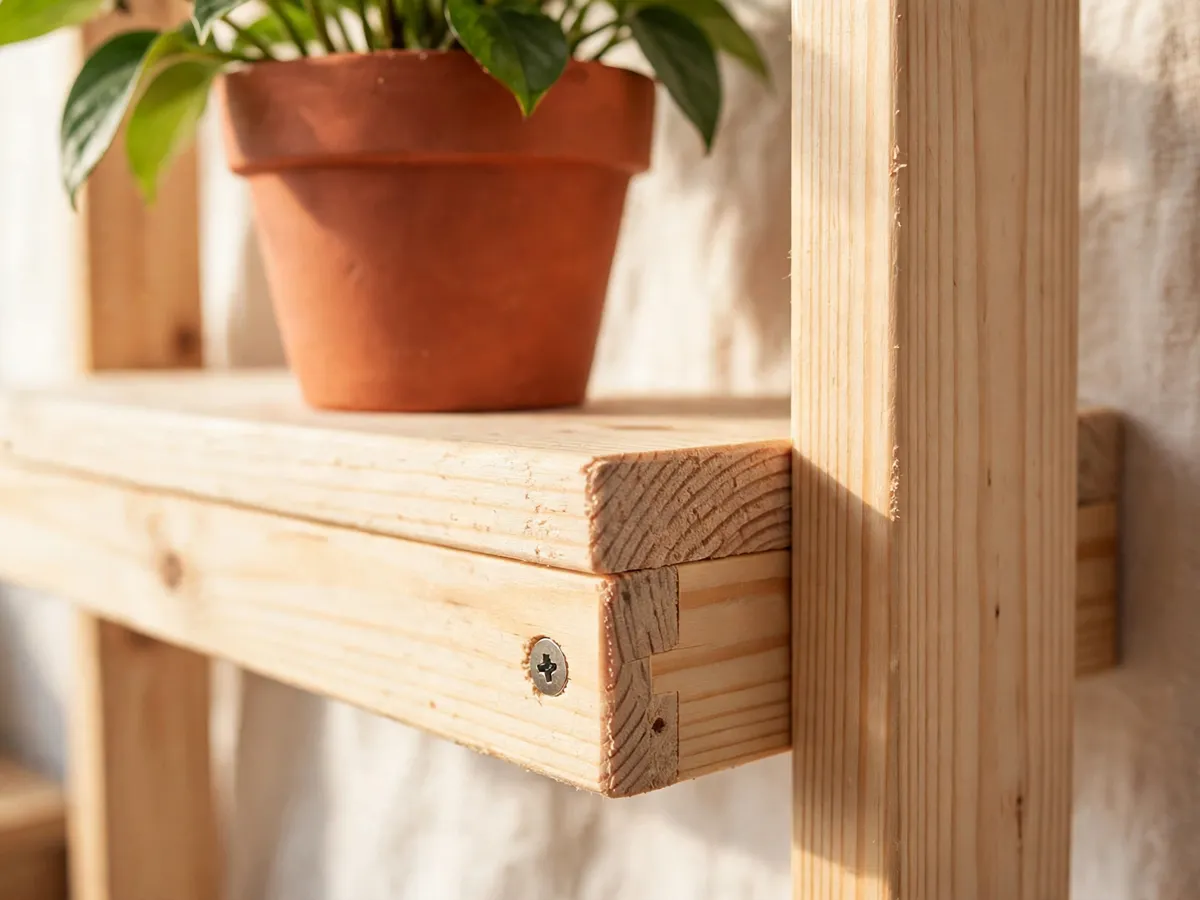
Length matters more than thickness. In 3/4 inch pine, a 1-5/8 inch screw reaches through the face board and bites a full inch into the member behind it, while a 1 inch screw stops short and pulls out under a 15 pound pot. Go one size longer before a fatter screw, and split the pilot hole: a bit close to the shank diameter through the face, a smaller bit for the threads, so the joint pulls tight.
- Wood glue on every butt joint, spread thin, weighted for the thirty minutes on the bottle.
- Two screws per joint, driven by hand for the last turns so you feel the member grab.
- A bead of glue under any foot, so the pad stays put when you drag the stand across a rug.
- Seal every end grain, because open ends drink a spill and swell the joint loose from the inside.
Soft pine splits near an edge, so keep fasteners 3/4 inch out and stop the moment a screw seats snug. If a hole strips, back the screw out, dip a wooden match in glue, snap it off, and drive it into the plug. Measure both diagonals before the glue cures, since a half inch difference means the frame racks the first week you water it.
Styling the stand without cluttering it
A built stand invites everything you own, which is how a good project turns into a crowded shelf three weeks later. Set a limit before the first pot goes up: on a three tier build, use two and leave one empty. The empty shelf makes the rest of the display look chosen rather than accumulated, and it is the tier you fill in spring.
Vary three things: height, leaf size, and pot material. One tall upright plant, one low spread, one trailer that falls past the edge. Two containers of the same terracotta at one diameter read as a mistake; three sizes read as a collection. Keep pot color inside two families, unglazed terracotta and one glazed tone, so the leaves stay the show.
Then check the stand from the doorway instead of from arm’s length. From the entrance you see whether the silhouette has a shape at all: a triangle, a step, a rise. If it reads as a block, move the tallest plant to the back tier and the trailer to the front. For where a stand belongs in a room, the indoor plant decor ideas guide pairs placement with light, the pairing a tiered build either works with or fights.
Add-ons that stay renter-safe: a felt liner on every tier so a saucer cannot scratch the pine, and a tray under the lowest shelf for drips.
Common questions
How much weight does a pine plant stand hold?
A single-pot column with two screws per leg holds about 20 pounds, enough for a fourteen inch container of wet soil. The pyramid holds 15 pounds per tier, the leaning stand 8 to 10 on each cross piece. All of that assumes a centered load; a pot at the front edge levers the joint and halves the safe weight.
What height works for a stand beside a window?
Bring the top of the container to just below the sill line, usually 20 to 28 inches off the floor. Taller than the sill and the plant sits in the shadow of the frame. Measure floor to the bottom of the open window, subtract the pot height, and that is your top tier.
Do I need a saw, or can the store cut this?
The store can cut every piece in all five builds. Bring a cut list written as finished lengths, ask for the first cuts at the desk, and keep a hand saw for trim. What the desk will not do reliably is rip a board lengthwise, so buy a furring strip instead of splitting one.
Will water ruin a pine stand?
Standing water will, and every watering produces some. Seal all six faces of each board, put a felt liner or tray under every container, and wipe a spill the same day. Sealed pine lasts years; unsealed pine swells at the joints inside a season.
Which build is easiest for a beginner?
The column. Six straight cuts, four legs, sixteen screws, and nothing to keep parallel while you work. The flip is faster if you own sound salvage, but it asks you to read a treatment stamp and work old deck board. Start with the column, then take on the pyramid when you want a build that needs glue.
Can I build one without touching the wall?
Four of the five are freestanding: the column, the leaning build, the pyramid and the flip. Only the window rail depends on framing behind the drywall, which makes it the one to skip in a rental you cannot drill. The other four hold by weight and reposition when the light shifts.
How many plants fit on a tiered stand?
Count containers, not plants. A three tier pyramid holds three pots at eight inches or six at four, and the leaning build takes four on its cross pieces. Then subtract one, because the empty shelf keeps the display readable.
Save the plant stand cut list on Pinterest
Pin the two tables, since the footprint and cost lists are the numbers you reopen at the lumber rack. The rest of the plan-led builds live in the home projects collection, with material sheets and tool checklists you can finish in a weekend.